Creating a gallery wall with plates is a unique and stylish way to add personality and charm to your home decor. Whether you’re a fan of vintage finds or modern designs, a plate wall can be tailored to suit any aesthetic.
In this article, we’ll guide you through the steps to create your own plate gallery wall, from choosing the perfect plates to arranging them in a visually appealing layout.
Choosing the Perfect Plates
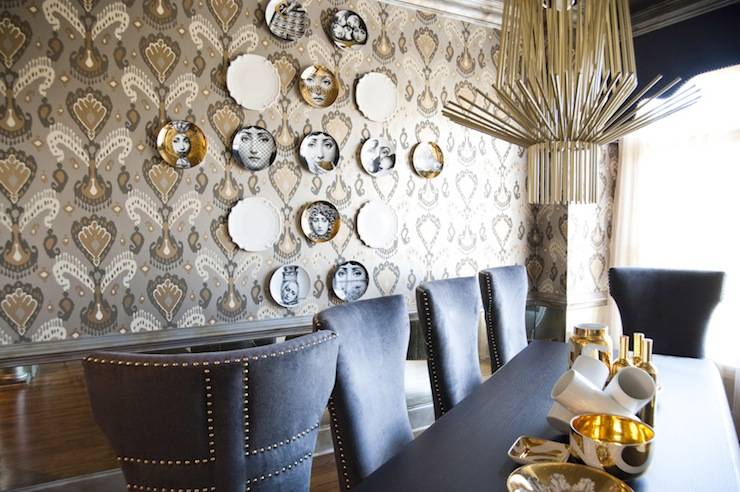
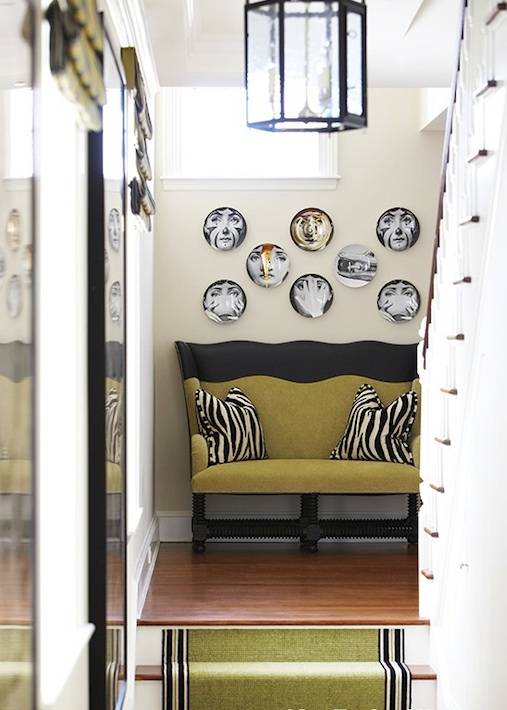
The first step in creating a stunning plate wall is selecting the plates themselves. Consider the room’s overall theme and color scheme where the plate wall will be displayed. If you prefer a cohesive look, choose plates that share a similar color palette or design style. Mix and match plates of different sizes, shapes, and patterns for a more eclectic feel.
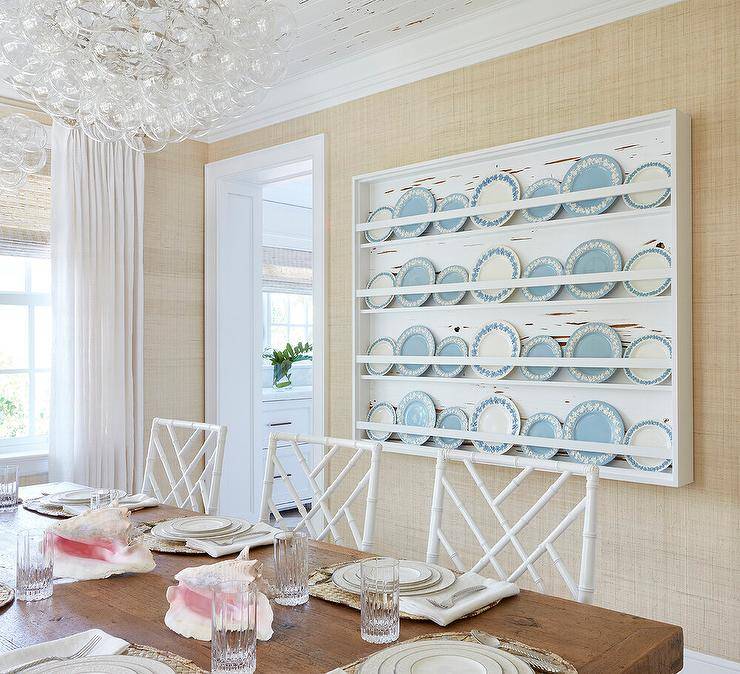
Thrift stores, antique shops, and online marketplaces are great places to find unique and affordable plates. To add depth and interest to your gallery wall, don’t be afraid to incorporate plates with different textures and finishes, such as porcelain, ceramic, or even metal.

Planning the Layout
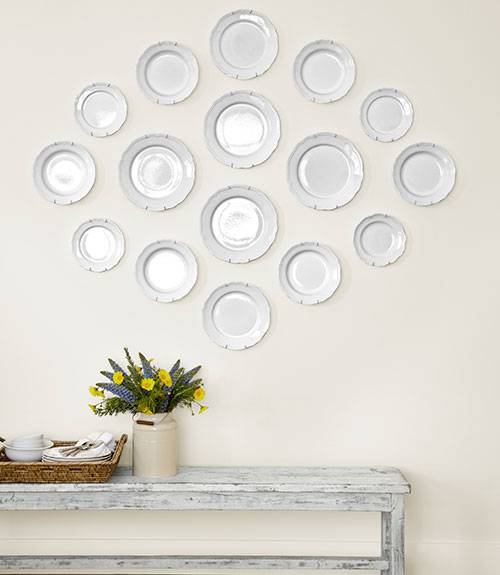
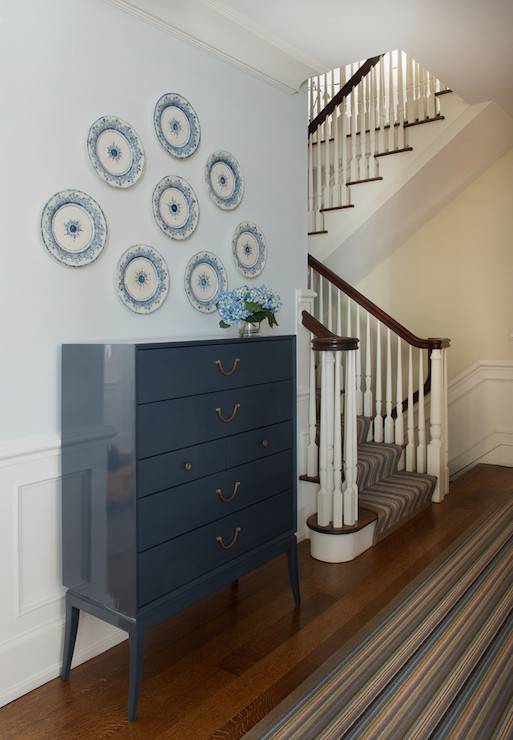
Planning the layout is essential before you start hanging plates on the wall. Begin by laying out the plates on the floor or a large table to experiment with different arrangements. Consider the overall shape you want to create—whether it’s a symmetrical grid, an organic cluster, or a specific pattern.
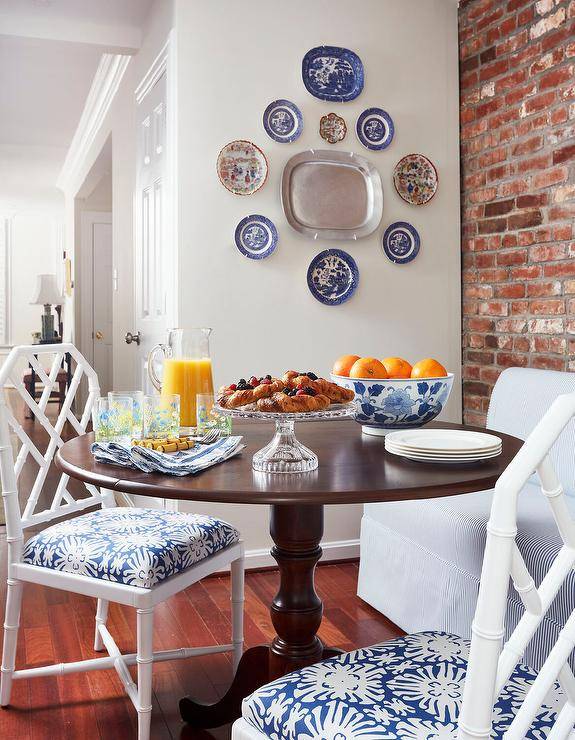
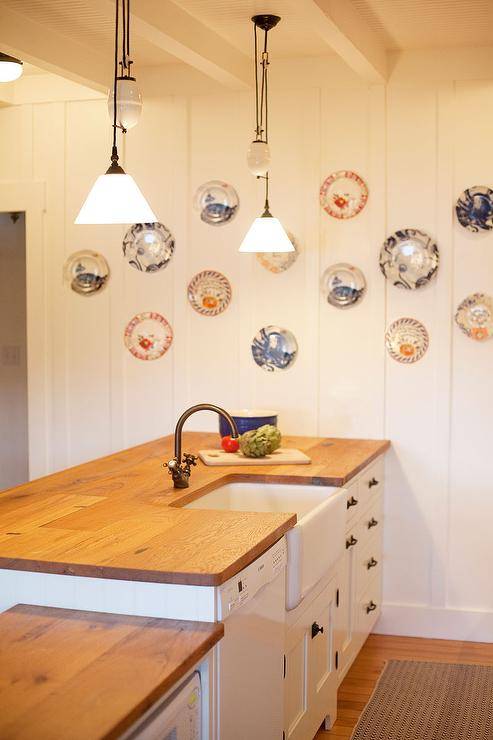
Take into account the size and shape of each plate, and try to balance the arrangement by alternating large and small plates. Once you’re satisfied with the layout, take a photo of it to use as a reference when hanging the plates on the wall.
Hanging the Plates
Hanging plates on the wall requires a bit of preparation and the right tools. Plate hangers, adhesive plate discs, and wall hooks are popular options for securely displaying plates. Plate hangers are metal brackets that grip the plate’s edge, while adhesive plate discs stick to the back of the plate and attach to a hook on the wall.
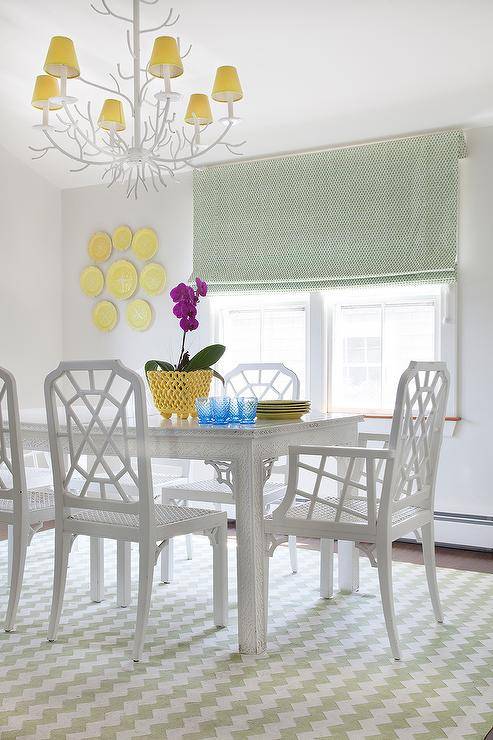
To prevent accidents, ensure that each plate hanger or adhesive disc is rated for the weight of your plates. Use a level and measuring tape to mark the positions of the plates on the wall, starting with the central plate and working your way outward. This will help you maintain the desired layout and ensure that the plates are evenly spaced.
Adding Finishing Touches
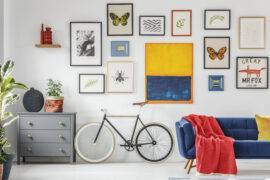
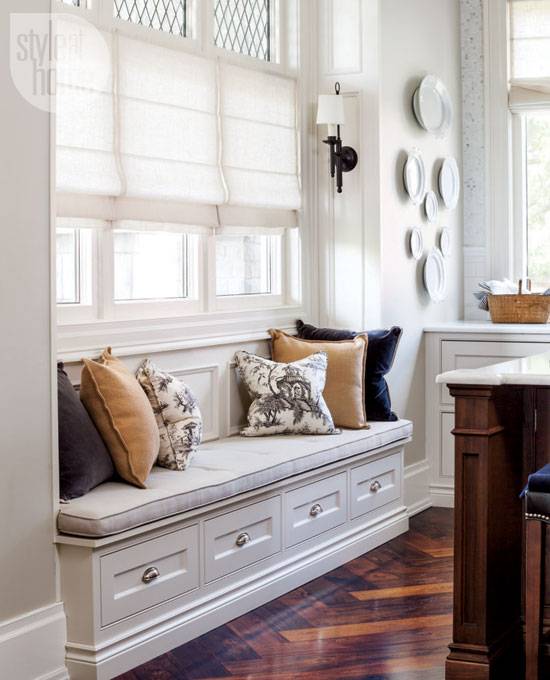
To complete your plate gallery wall, consider adding a few finishing touches. Incorporate other decorative elements like small framed artwork, mirrors, or wall sconces to create a more dynamic and layered display.
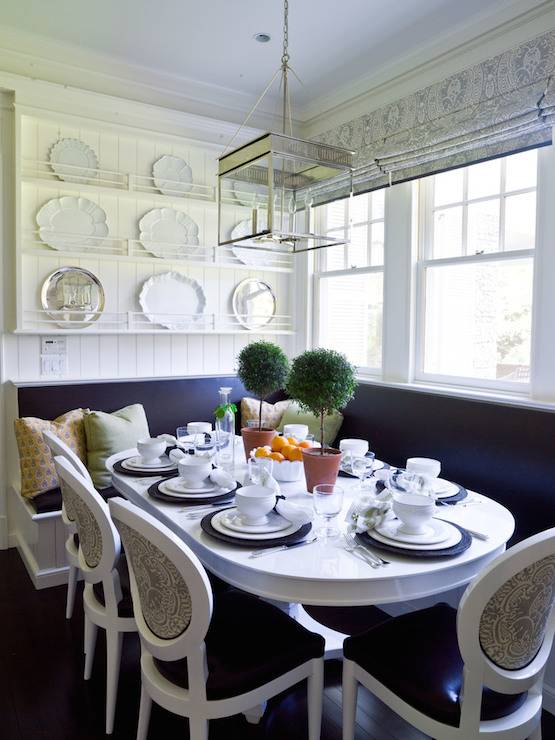
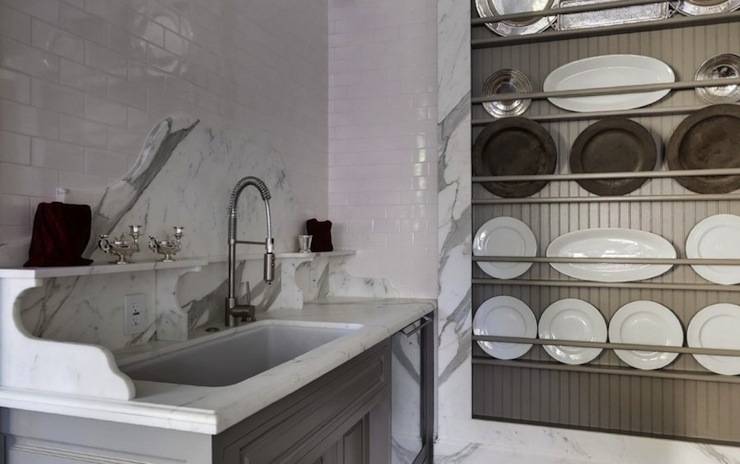
You can also play with the arrangement over time by swapping out plates or adding new ones to keep the display fresh and interesting. Don’t forget to step back and admire your handiwork—your new plate wall is sure to be a conversation starter and a beautiful focal point in your home.
Related Articles
Creating a gallery wall with plates is a creative and enjoyable project that allows you to showcase your style and unique finds. With careful planning and attention to detail, you can transform a blank wall into a stunning work of art that reflects your individuality and taste.
Ready to bring new life to your home? Subscribe to our newsletter for exclusive interior design tips, trends, and ideas that will transform your space. Click here to subscribe!

