Stove grates are the silent heroes of the kitchen, tirelessly supporting our culinary adventures day after day. However, with great cooking comes great responsibility, and that includes keeping these sturdy companions clean and free from the buildup of grease, spills, and burnt-on food.
If you’ve ever found yourself hesitating before the task, you’re not alone. The good news is, with the right approach and a bit of elbow grease, you can restore your stove grates to their former glory.
Transform your kitchen into a haven of style and cleanliness with HomeDesignsAI’s AI-powered decor. Ready to elevate your kitchen experience? Click here to explore the perfect blend of AI decor and cleanliness with HomeDesignsAI!
The Initial Sweep: Starting Your Stove Grate Cleaning with a Dry Brush
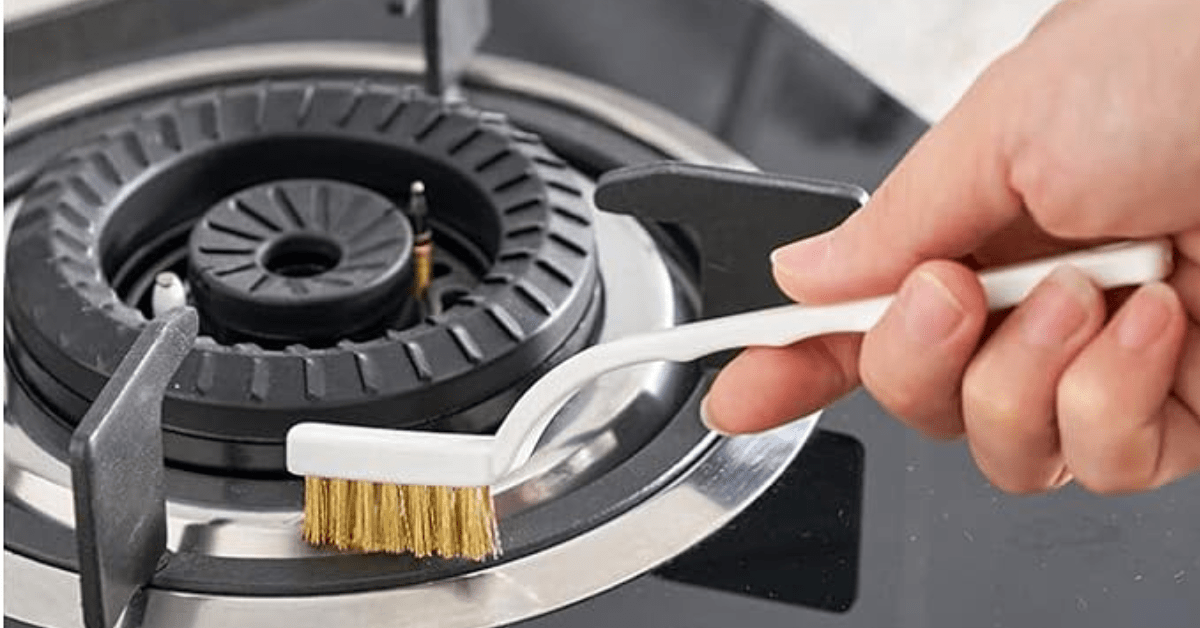
Before diving into the nitty-gritty of cleaning, it’s essential to start with a simple yet effective step: the dry brush-off. Remove your stove grates and use a stiff brush or a dry scrub sponge to brush away any loose debris, crumbs, or ash that may have accumulated.

This initial sweep makes the subsequent cleaning steps more manageable and prevents scratching your grates with abrasive dirt particles. Remember, the key to maintaining the longevity of your stove grates is in the gentle care you take during each cleaning phase.
The Soak Session: Letting Your Stove Grates Bathe in a Cleaning Solution
Now that you’ve brushed off the loose debris, it’s time to let your stove grates soak in a warm, soapy bath. Fill your sink or a large container with hot water and add a generous squirt of dish soap or a cup of baking soda. Submerge your grates and let them sit for at least 30 minutes, or even overnight, for those stubborn, burnt-on messes.
The combination of heat and detergent will work to break down grease and grime, making your cleaning task significantly easier. Patience is a virtue here, as the longer you let them soak, the less scrubbing you’ll have to do later.
The Scrub Down: Elbow Grease and the Right Tools for Sparkling Stove Grates
After the soak, it’s time for some action. Arm yourself with a non-abrasive scrub pad or brush and get to work on those softened food particles and grease. Scrub in a circular motion to effectively lift the grime without damaging the grates.

For those extra tough spots, consider using a paste made from baking soda and water to provide a gentle yet powerful cleaning boost. Rinse the grates thoroughly with clean water, and you’ll start to see the shine come through. Remember, consistent pressure and the right tools are your best allies in achieving that sparkling finish.
The Rinse and Dry: Ensuring a Spotless Finish for Your Stove Grates
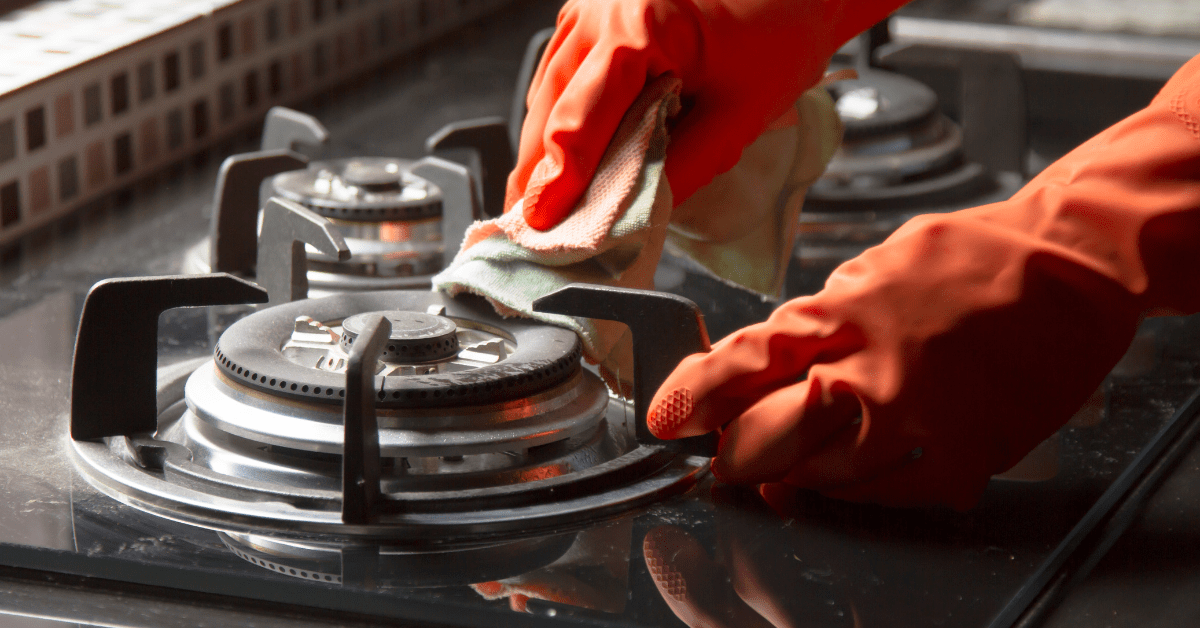
After a thorough scrub, it’s crucial to rinse your stove grates completely to remove any soap residue or remaining debris. Use warm water for the best results and make sure to reach all the nooks and crannies. Once rinsed, shake off excess water and dry your grates with a clean cloth or towel.
This step not only prevents water spots but also avoids potential rusting, ensuring your grates are not only clean but also well-maintained. A spotless finish is not just about aesthetics; it’s about preserving the function and life of your kitchen essentials.
The Final Touches: Reassembling Your Stove and Enjoying a Job Well Done
With your stove grates clean and dry, it’s time to put everything back together. Reinstall your grates, taking a moment to admire the fruits of your labor. A clean stove isn’t just a pleasure to look at; it’s also a safer and more efficient cooking surface.

Now that you’ve tackled this task, you’ll find that regular maintenance is much easier, and your kitchen will thank you for it. Take pride in your work and enjoy the satisfaction of a job well done.


