Creating your own homemade window cleaner is not only cost-effective but also environmentally friendly. With a few simple ingredients, you can create a cleaning solution that leaves your windows sparkling and streak-free. In this comprehensive guide, we will explore the benefits of homemade window cleaner, provide step-by-step instructions for making your own, and offer tips for achieving professional-quality results.
Elevate your home with a touch of brilliance! Pair the sparkle of crystal-clear windows with the future of AI home decor. Unleash the magic of spotless windows and explore the AI-driven design possibilities that HomeDesignsAI has to offer. Ready to harmonize cleanliness and creativity in your living space? Click here now to transform your home with the perfect blend of clarity and AI-inspired decor.
The Benefits of Making Your Own Homemade Window Cleaner
Making your own window cleaner offers several advantages. Firstly, it allows you to control the ingredients, ensuring that no harsh chemicals are used, which is better for both your health and the environment. Also, a homemade window cleaner can be more cost-effective than store-bought alternatives, as the ingredients are often readily available and inexpensive. Furthermore, by using natural ingredients, you can reduce the risk of chemical residue on your windows, promoting a healthier indoor environment for your family and pets.
Essential Ingredients for Making Your Window Cleaner
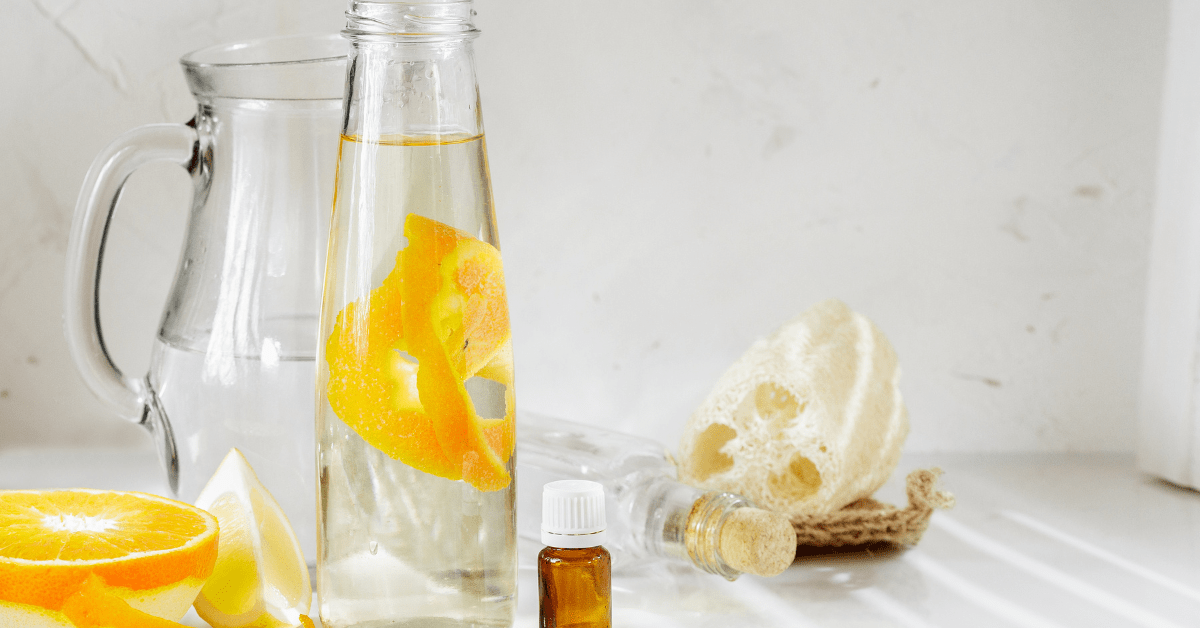
To create an effective homemade window cleaner, you will need a few key ingredients. These typically include white vinegar, rubbing alcohol, and water. White vinegar is a natural disinfectant and helps to cut through grease and grime while rubbing alcohol aids in drying the windows quickly, preventing streaks. However, water is used as a dilution agent to create the cleaning solution. Other optional ingredients may include essential oils for a pleasant fragrance or lemon juice for additional cleaning power.
Step-by-Step Guide to Making Homemade Window Cleaner
Creating your own homemade window cleaner is a straightforward process. To begin, mix equal parts white vinegar and water in a spray bottle. If desired, add a small amount of rubbing alcohol to the mixture. Shake the bottle well to ensure the ingredients are thoroughly combined. For a refreshing scent, consider adding a few drops of essential oil. Once the solution is ready, it can be used on windows, mirrors, and other glass surfaces.
Tips for Achieving Professional-Quality Results
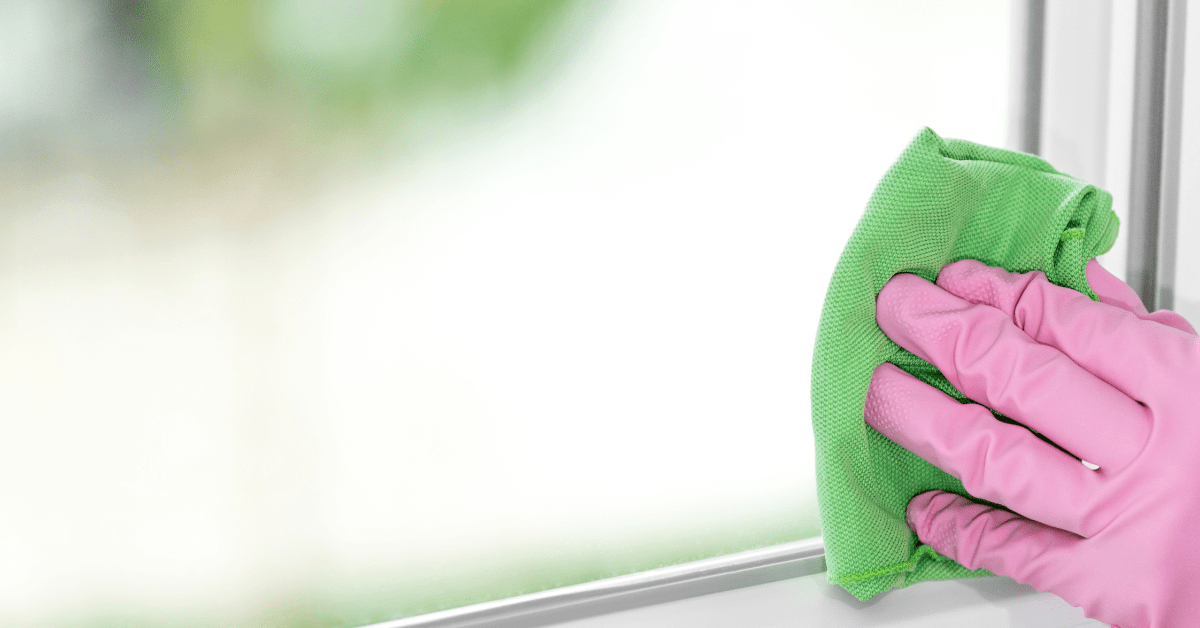
To achieve professional-quality results with your homemade window cleaner, it’s important to follow a few key tips. Firstly, avoid cleaning windows in direct sunlight, as this can cause the solution to dry too quickly and lead to streaks. Instead, choose a cloudy day or tackle the task in the early morning or late afternoon. For even better results, consider using a microfiber cloth or squeegee to wipe the windows, as these tools are effective at removing dirt and preventing streaks. Finally, be sure to wipe in a consistent direction, such as horizontally on one side of the window and vertically on the other, to easily identify and eliminate any streaks.
Window Cleaner Recipes for Different Needs
Depending on your specific cleaning needs, you may want to customize your homemade window cleaner recipe. For example, if you are dealing with particularly stubborn grime or hard water stains, you can add a small amount of lemon juice to your cleaning solution. Lemon juice contains natural acids that can help to dissolve mineral deposits and leave your windows sparkling. Alternatively, if you prefer a fragrance-free cleaner, simply omit the essential oils from the recipe.
Using Your Window Cleaner for Interior and Exterior Windows

Homemade window cleaner is suitable for use on both interior and exterior windows. When cleaning interior windows, simply spray the solution onto the glass surface and wipe it away with a microfiber cloth. For exterior windows, consider using a hose attachment to apply the cleaning solution, followed by a squeegee to remove excess liquid. By using your homemade window cleaner for both interior and exterior windows, you can maintain a consistent level of cleanliness throughout your home.
Storing and Shelf Life of Homemade Window Cleaners
Once you have prepared your homemade window cleaner, you may wonder about its shelf life and the best way to store it. Typically, homemade window cleaner can be stored in a cool, dark place, such as a cabinet or pantry, for several months. It’s important to label the spray bottle with the date of preparation to ensure you use it within a reasonable timeframe. However, if you notice any changes in color or odor, it may be time to discard the solution and prepare a fresh batch.
Safety Considerations For Window Cleaner Use

While making your own window cleaner is generally safe to do, it’s important to take certain precautions to ensure your safety and the safety of others. When handling the ingredients, be mindful of any allergies or sensitivities that you or your family members may have. Another thing to note, avoid mixing your homemade window cleaner with other cleaning products, as this can result in harmful chemical reactions. Aside from that, you will want to keep the cleaning solution out of reach of children and pets to prevent accidental ingestion or contact with the eyes.
Related Articles:
- The Guide on How to Clean Baseboards Like a Pro
- How To Clean Throw Pillows [And How Frequently You Should!]
- How to Clean A Couch [8 Fabrics]
Making your own homemade window cleaner is a practical and sustainable choice for maintaining clean and clear windows. By using natural ingredients and following the tips provided in this guide, you can achieve professional-quality results without the use of harsh chemicals. So, why not give it a try and see the difference for yourself?
Turn your house into the home of your dreams. Our newsletter provides you with design ideas and decor trends. Subscribe now to start your journey to a stunning home! Click here to subscribe now.


