Have you ever looked up and noticed your once-pristine ceiling has become a canvas for dust, cobwebs, and mysterious stains? Don’t worry; you’re not alone. Many homeowners overlook this often-neglected surface, but a clean ceiling can dramatically improve the look and feel of your entire room. In this friendly guide, we’ll walk you through some easy and quick methods to get your ceiling sparkling clean without breaking a sweat.
Essential Equipment for Effective Ceiling Cleaning

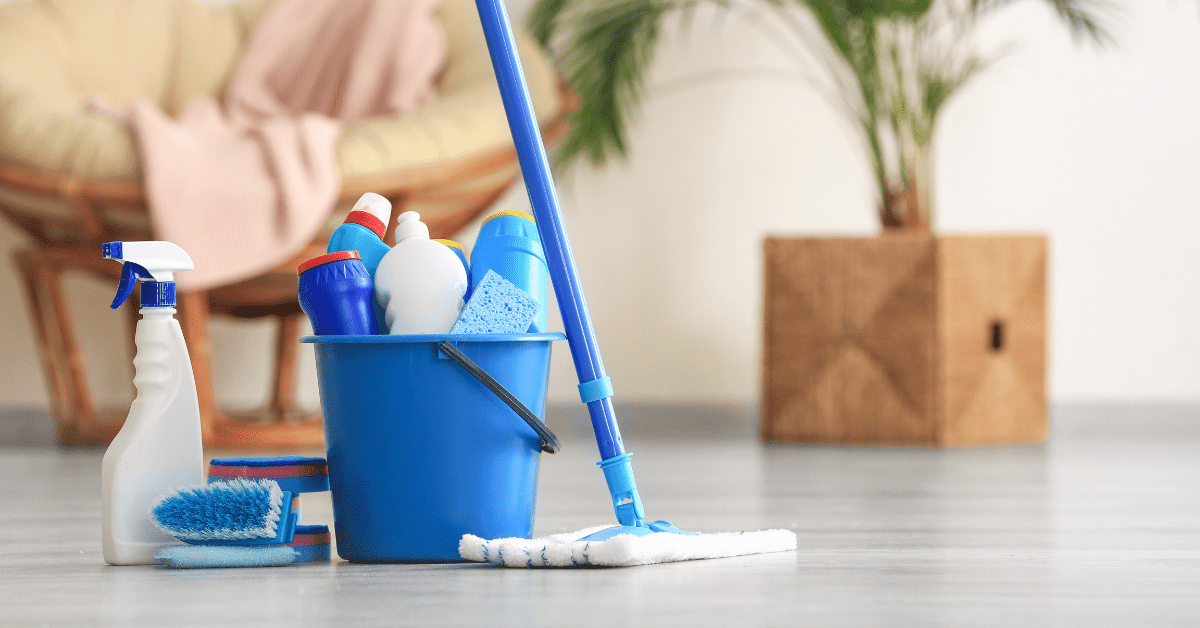
Before you begin your ceiling cleaning adventure, it’s crucial to assemble the right tools for the job. Having everything at hand will make the process smoother and more efficient. Start with a sturdy, extendable pole or broom handle – this will be your best friend for reaching those high spots without constantly climbing up and down a ladder. Attach a microfiber mop head or a soft-bristled brush to the pole for gentle yet effective cleaning.
Don’t forget to grab some old sheets or drop cloths to protect your floors and furniture from falling dust and debris. You’ll also need a vacuum cleaner with a brush attachment, a bucket of warm water mixed with a mild detergent, and a few clean, lint-free cloths. For tougher stains, keep a spray bottle filled with a mixture of water and white vinegar nearby. With these tools in your arsenal, you’ll be ready to tackle even the most neglected ceilings.
Safeguarding Your Space Before the Clean


Before you start reaching for the sky, take a few moments to prepare your room for the cleaning process. This step will save you time and potential headaches later on. Begin by removing or covering any furniture that’s directly beneath the area you’ll be cleaning. Use your drop cloths or old sheets to protect larger pieces that can’t be moved easily. Don’t forget to cover electrical outlets and light fixtures with plastic bags to prevent water damage.
If you have ceiling fans or hanging light fixtures, now’s the time to give them a quick dusting or cleaning as well. This prevents any accumulated dust from falling onto your freshly cleaned ceiling later. If possible, open windows to improve ventilation, as this will help any cleaning solutions dry faster and reduce the risk of mold growth. With your room properly prepared, you’re now ready to start the actual cleaning process with peace of mind.
Removing Loose Debris from Your Ceiling

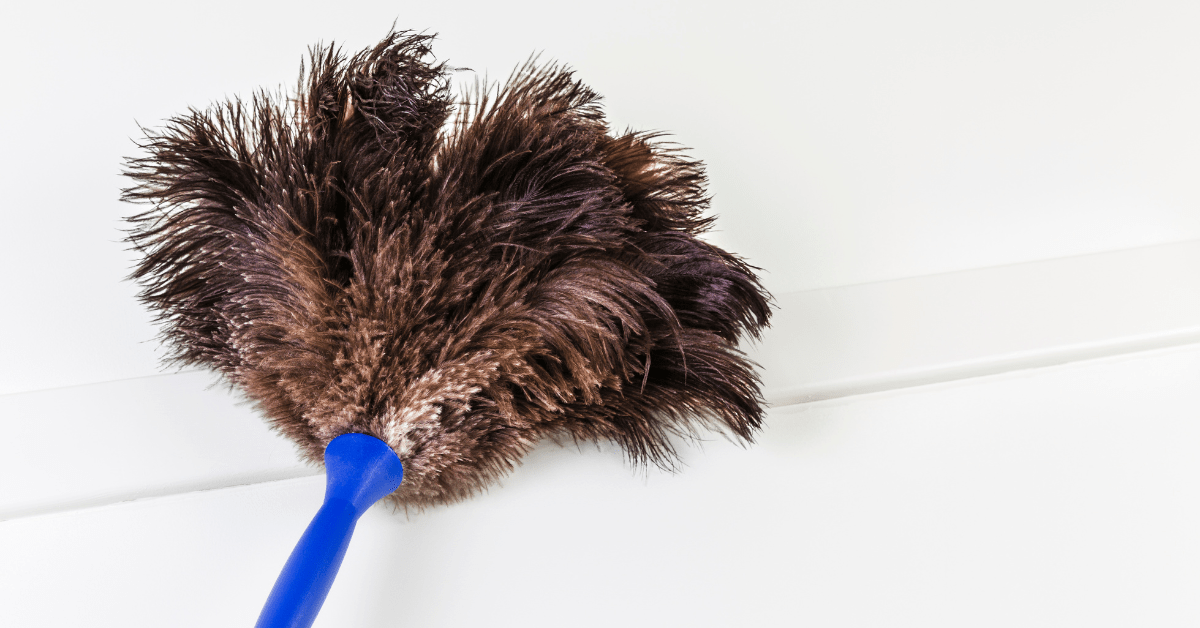
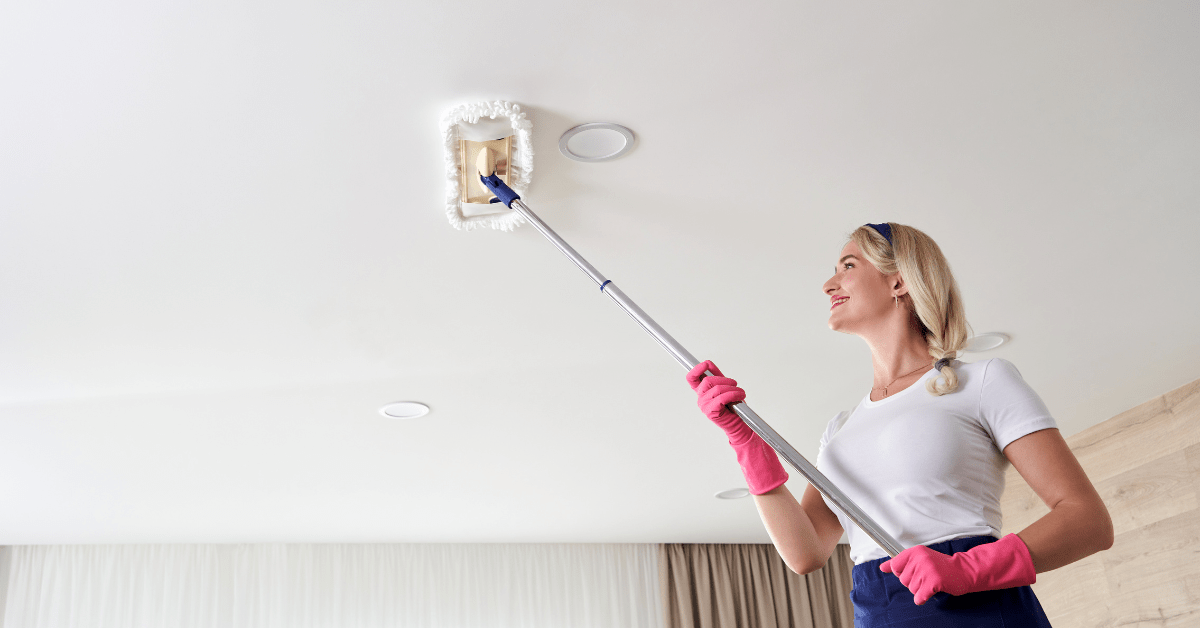
The first step in your ceiling cleaning journey is to tackle the loose dust and cobwebs that have made themselves at home up there. Start by using your extended pole with the microfiber mop head or soft-bristled brush attachment. Gently sweep across the ceiling in overlapping strokes, working from one end of the room to the other. Pay extra attention to corners and edges where cobwebs love to gather.
As you work, dust and debris will fall onto your protected floor and furniture. Don’t worry—this is all part of the process! Once you’ve covered the entire ceiling, it’s time to break out the vacuum cleaner. Use the brush attachment to go over the ceiling once more, focusing on any textured areas or spots where dust tends to accumulate. This step will pick up any remaining loose particles and prepare your ceiling for a deeper clean if needed.
Tackling Stains and Marks on Your Ceiling

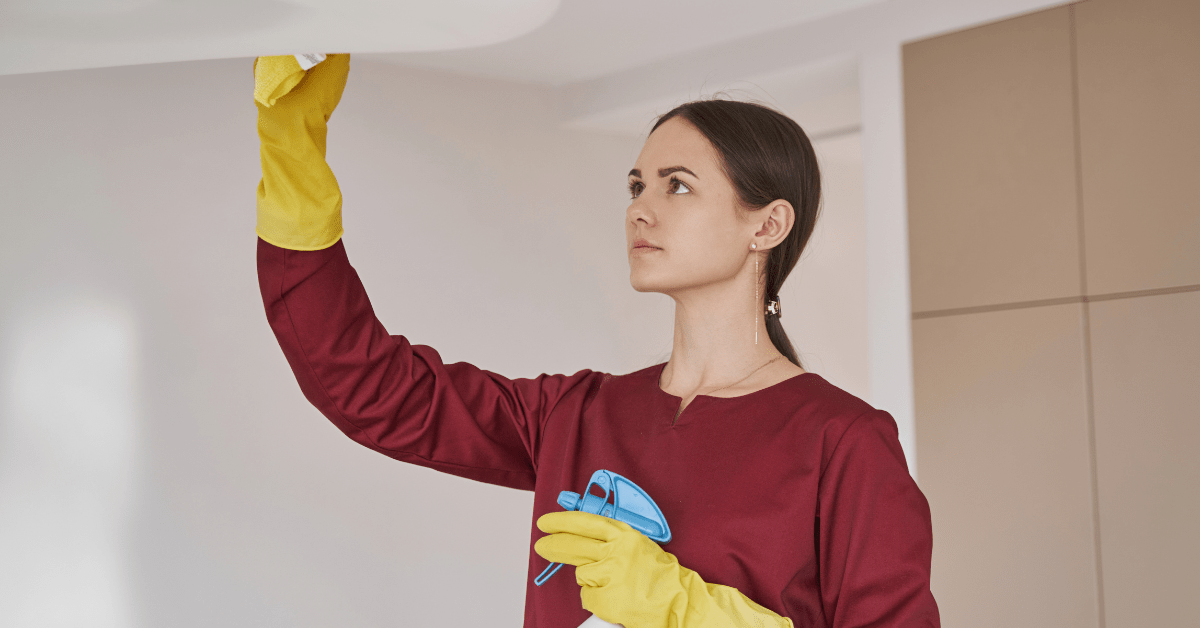
Now that you’ve removed the loose dust and debris, it’s time to address any stubborn stains or marks on your ceiling. Dip a clean, lint-free cloth into your bucket of warm, soapy water and wring it out well – you want it damp, not dripping. Gently blot the stained areas, being careful not to saturate the ceiling material. For tougher stains, you can use your vinegar and water solution in a spray bottle, applying it sparingly and blotting with a clean cloth.
Remember to work in small sections and avoid rubbing too hard, as this can damage the ceiling’s surface or paint. For grease stains, a mixture of warm water and dish soap can work wonders. Always test your cleaning solution on an inconspicuous area first to ensure it won’t discolor or damage the ceiling. If you encounter any mold, it’s best to consult a professional, as this can indicate a more serious moisture problem that needs addressing.
Refreshing Your Entire Ceiling Surface Effectively

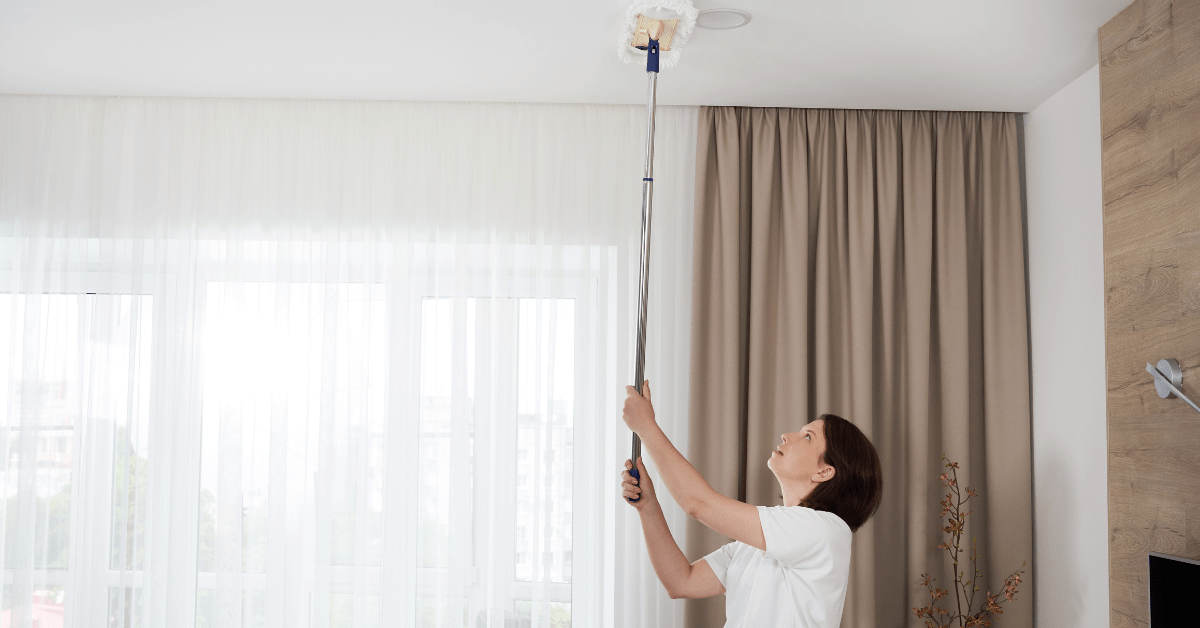
If your ceiling needs more than just spot cleaning, it’s time for a full deep clean. Using your extended pole and a clean, damp mop head or cloth, work in small sections across the entire ceiling. Start from one corner and move in a consistent pattern to ensure you don’t miss any spots. Remember to rinse and wring out your mop head or cloth frequently to avoid spreading dirt around.
For textured ceilings, you might need to use a soft-bristled brush to get into all the nooks and crannies. Be gentle to avoid damaging the texture. If you’re dealing with a particularly grimy ceiling, you may need to go over it twice – once with a cleaning solution and once with clean water to rinse. Always work in a well-ventilated area and take breaks if needed. Cleaning ceilings can be a workout, so pace yourself!
Drying and Finishing Touches

After you’ve cleaned your entire ceiling, it’s crucial to ensure it dries completely to prevent water stains or mold growth. Open windows and use fans to circulate air and speed up the drying process. While you wait, take a moment to step back and inspect your work. Look for any missed spots or areas that might need a little extra attention.
Once the ceiling is dry, you can add some finishing touches. If you notice any small scuffs or marks that didn’t come off during cleaning, consider touching them up with a bit of matching paint. For popcorn or textured ceilings, you might want to use a soft-bristled brush to gently fluff up any areas that got matted down during cleaning. Finally, give your light fixtures and ceiling fans a quick wipe-down before replacing any coverings you used to protect them.
Related Articles
- How to Clean Your Oven with Lemon and Vinegar
- Simple Tricks to Keep Your Microwave Clean
- Effective Tips and Tricks for How to Clean Sticky Kitchen Cabinets
Congratulations! You’ve successfully transformed your ceiling from drab to fab. By following these simple steps, you’ve not only improved the appearance of your room but also contributed to a healthier living environment. Regular ceiling cleaning, even just once or twice a year, can make a significant difference in the overall look and feel of your home. Remember, a clean ceiling reflects more light, making your space feel brighter and more inviting. So, the next time you look up, you’ll be greeted by a spotless surface that truly elevates your entire room. Happy cleaning!
Turn your house into the home of your dreams. Our newsletter provides you with design ideas and decor trends. Subscribe now to start your journey to a stunning home! Click here to subscribe now.