Creative projects are energizing and therapeutic. During this ongoing global pandemic, we’re all spending a lot of time at home. Many of us are on a tighter budget than usual. For some of us, free time is abundant, and for others who are home with children, free time may be incredibly scarce. Using whatever time you may have, consider channeling your creativity to make your abode a place that inspires you!
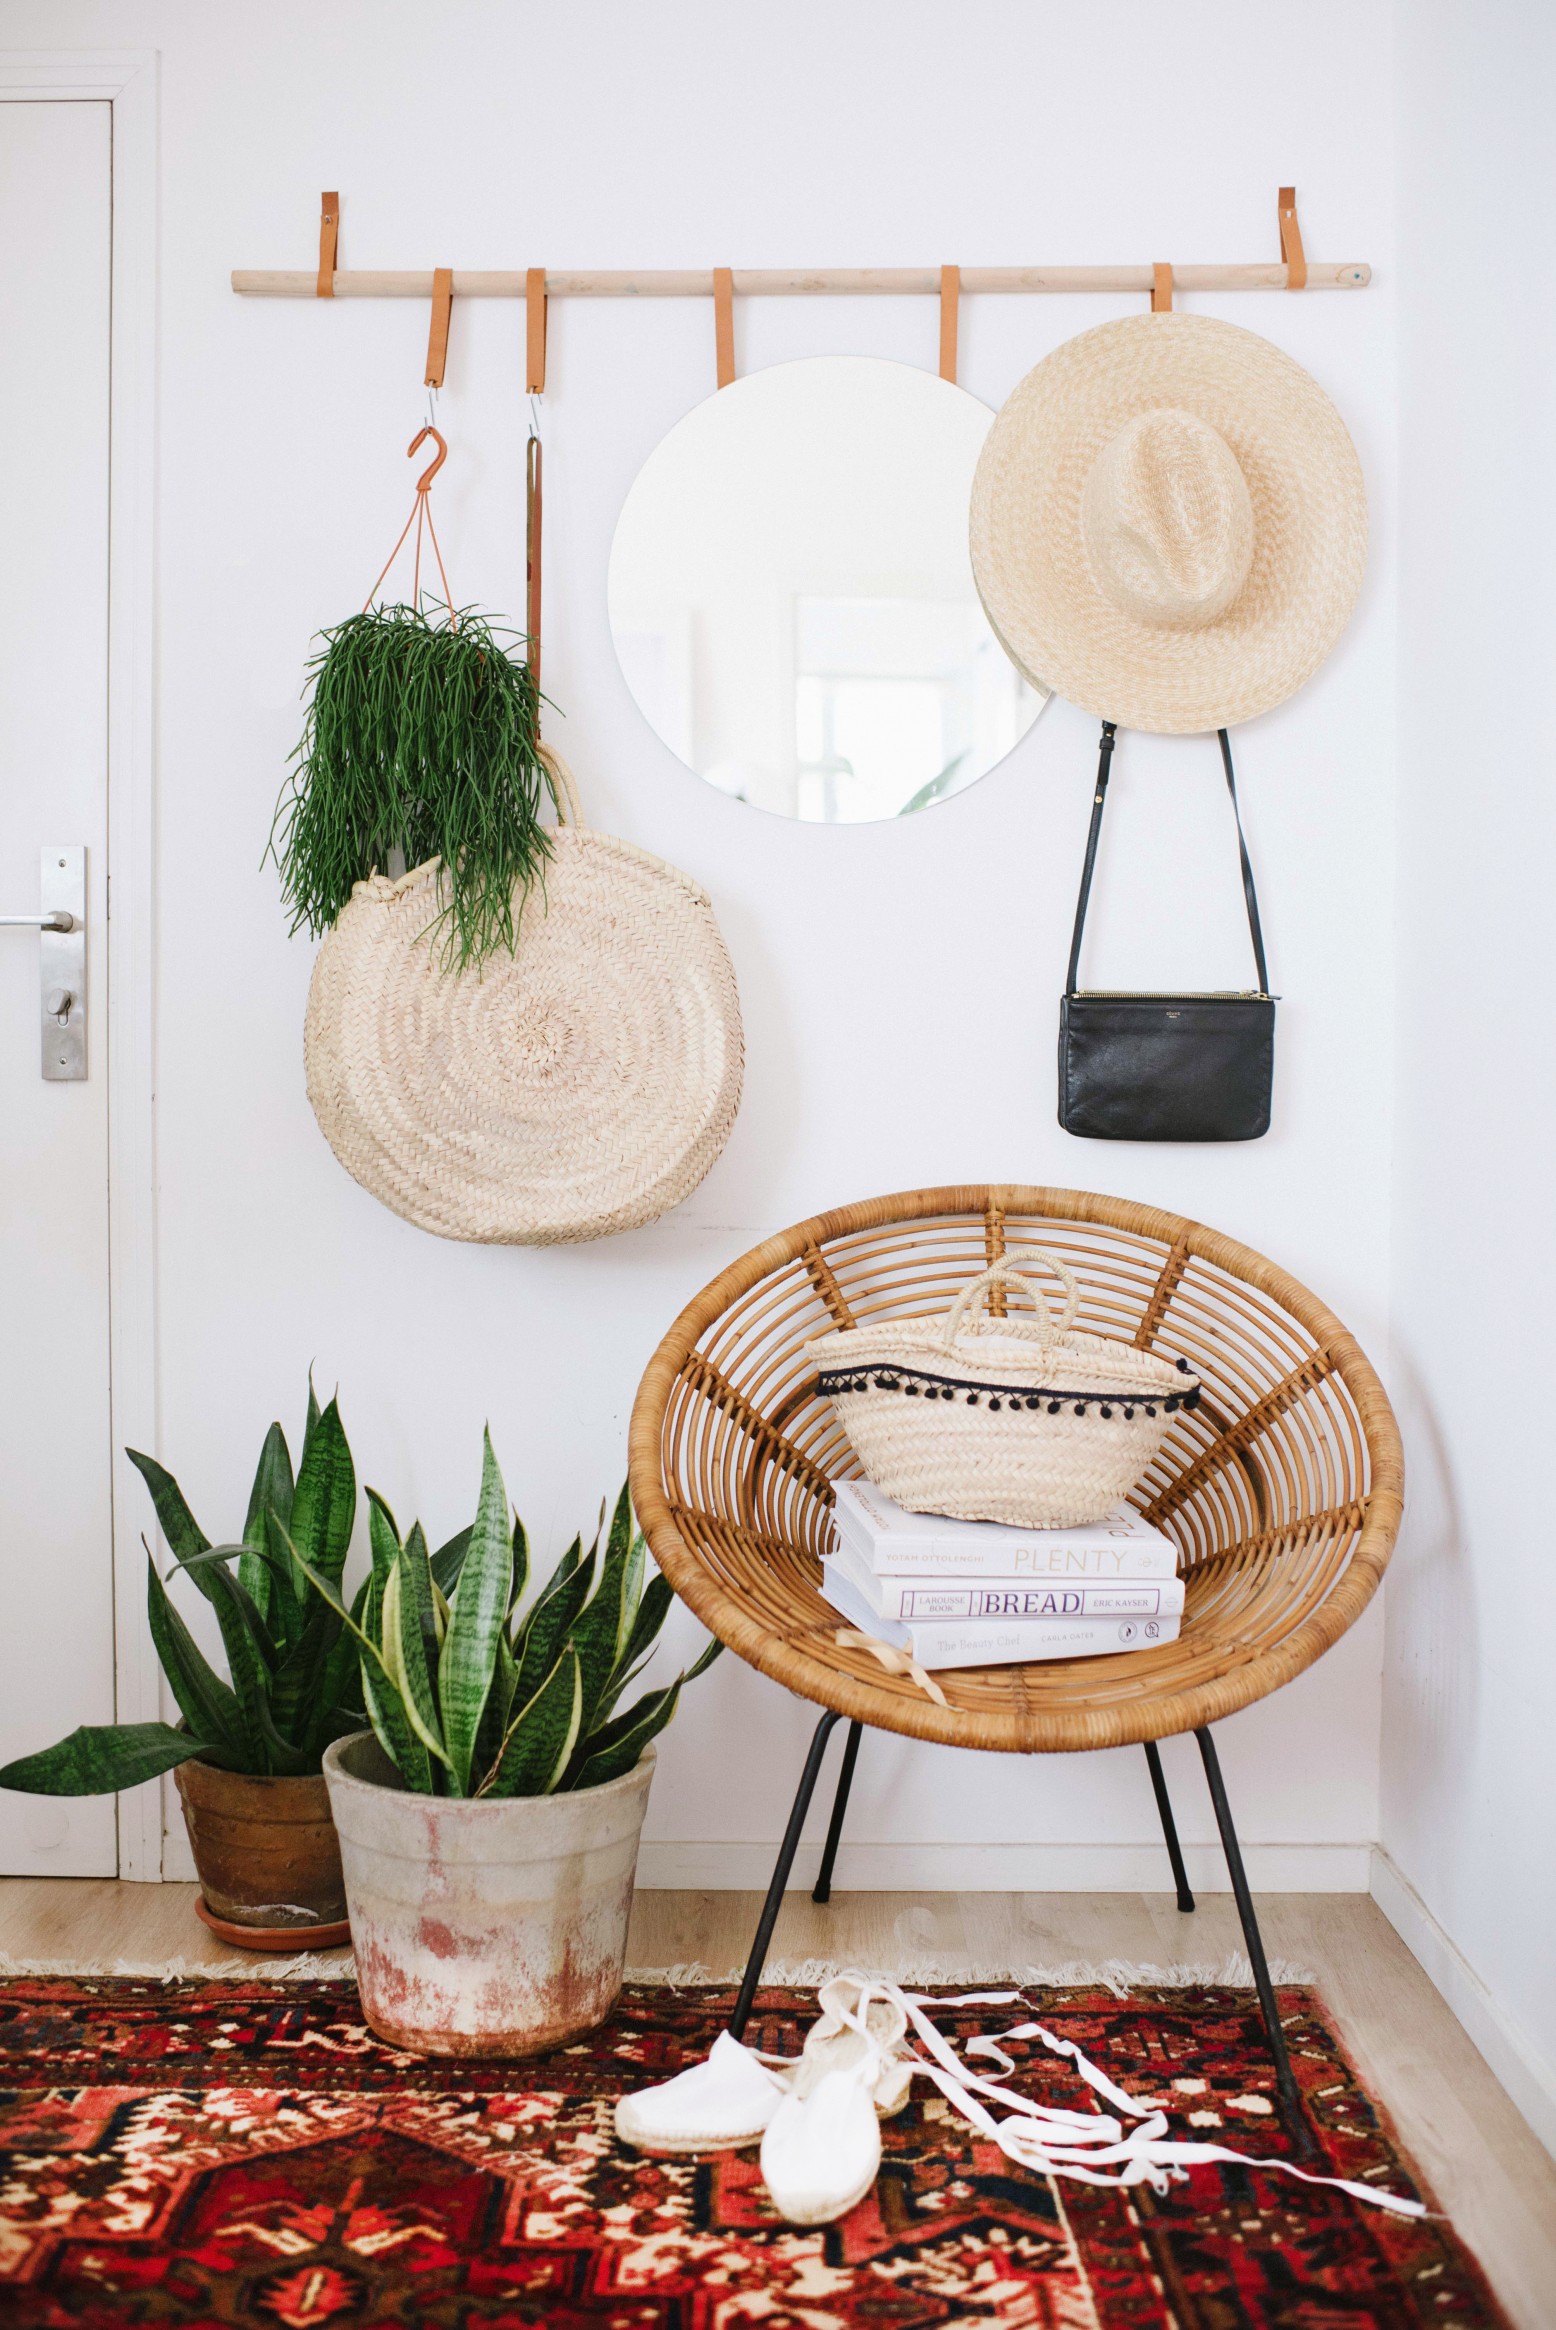
Today’s post features a collection of DIY projects that utilize affordable materials, many of which you may already have at home. Our hope is that you can try at least a few of these do-it-yourself endeavors at a moment’s notice, and that the others can easily be enjoyed with a quick online order of basic supplies if you so choose. You can also decide to modify the projects in order to use items you have on hand. Creative thinking is key at a time like this. Think outside of the box, and you might love the results more than you ever imagined. Get lost in a project and find your inner artist. The process can be healing, and the end result will bring a smile to your face. [photo and project below from Collective Gen, details to follow]
For the Walls
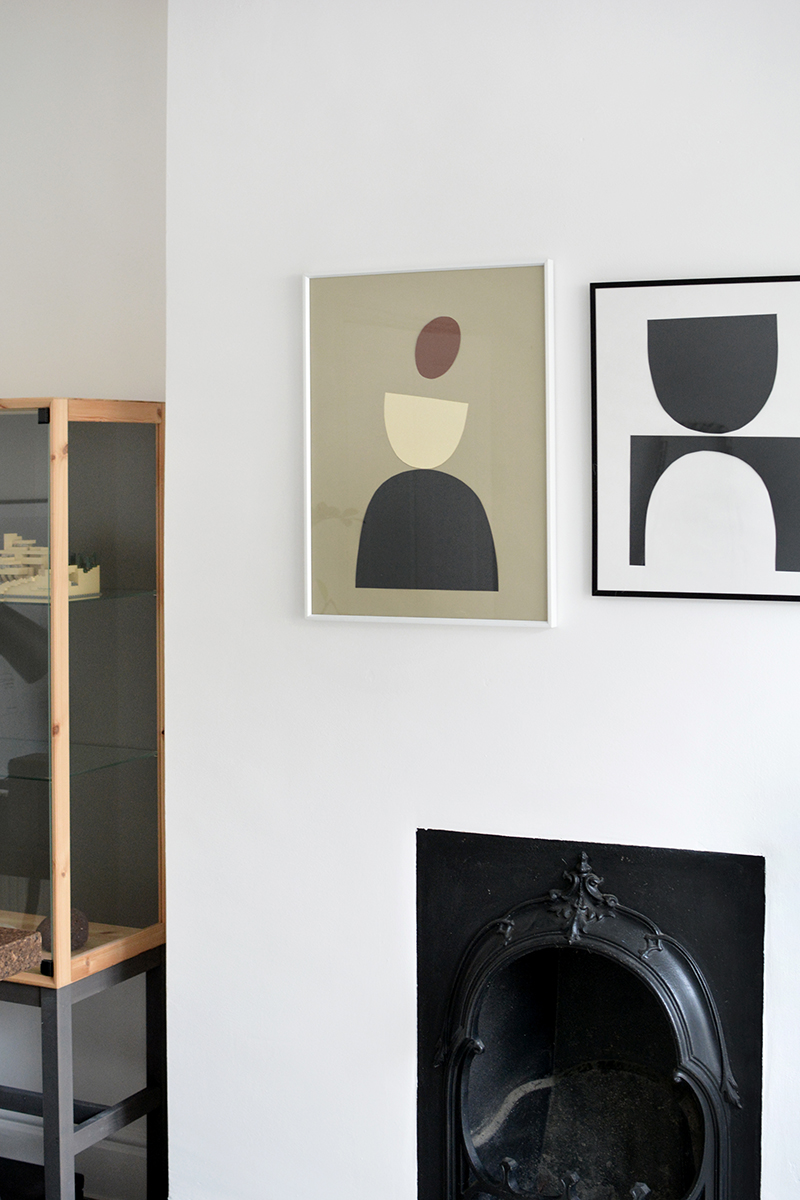
Since you’re staring at the same walls each day, we thought we’d start here. It’s time to get creative with paper! Abstract art never goes out of style, and you can get an on-trend look with a simple pair of scissors. Cut out the shapes of your choice and adhere them to a larger piece of paper. Less is more here, folks. The result is a wall art creation that’s totally framable! Details at Hunker. [photo by Caroline Burke]
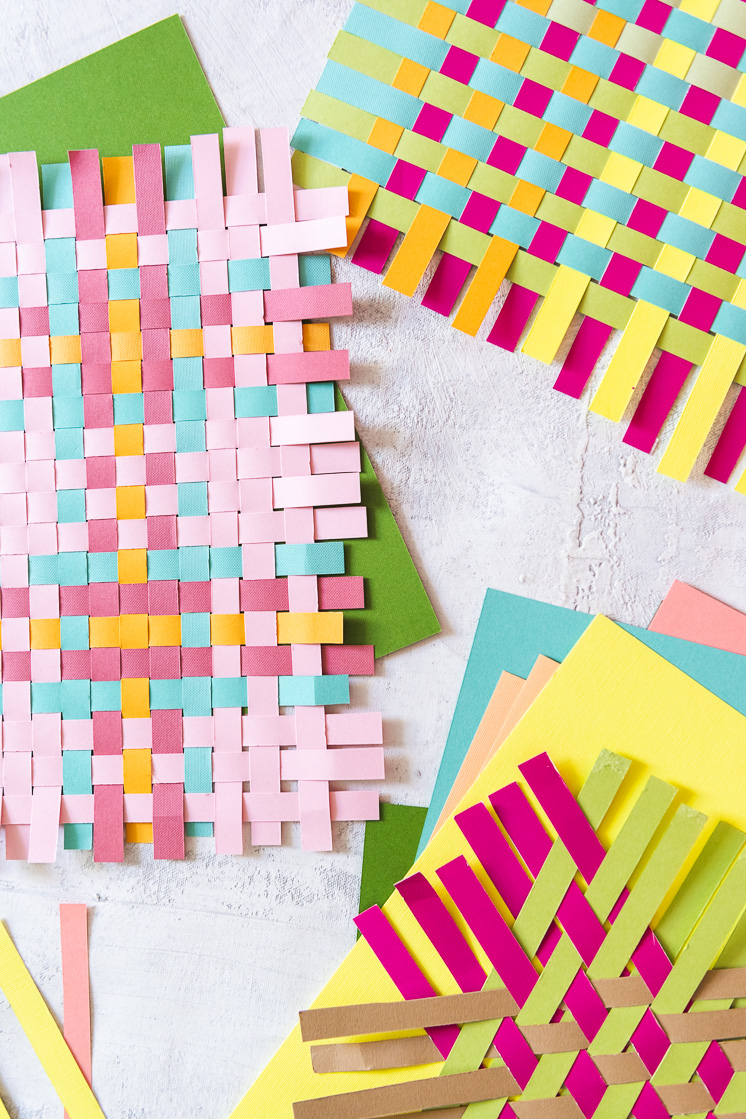
For another DIY wall art idea, try paper weaving! The House That Lars Built has featured some vibrant colors and patterns for your inspiration, and while you could always use the results as gift wrap or placemats, consider framing your creations for the wall. We need all of the radiance we can get at a time like this!
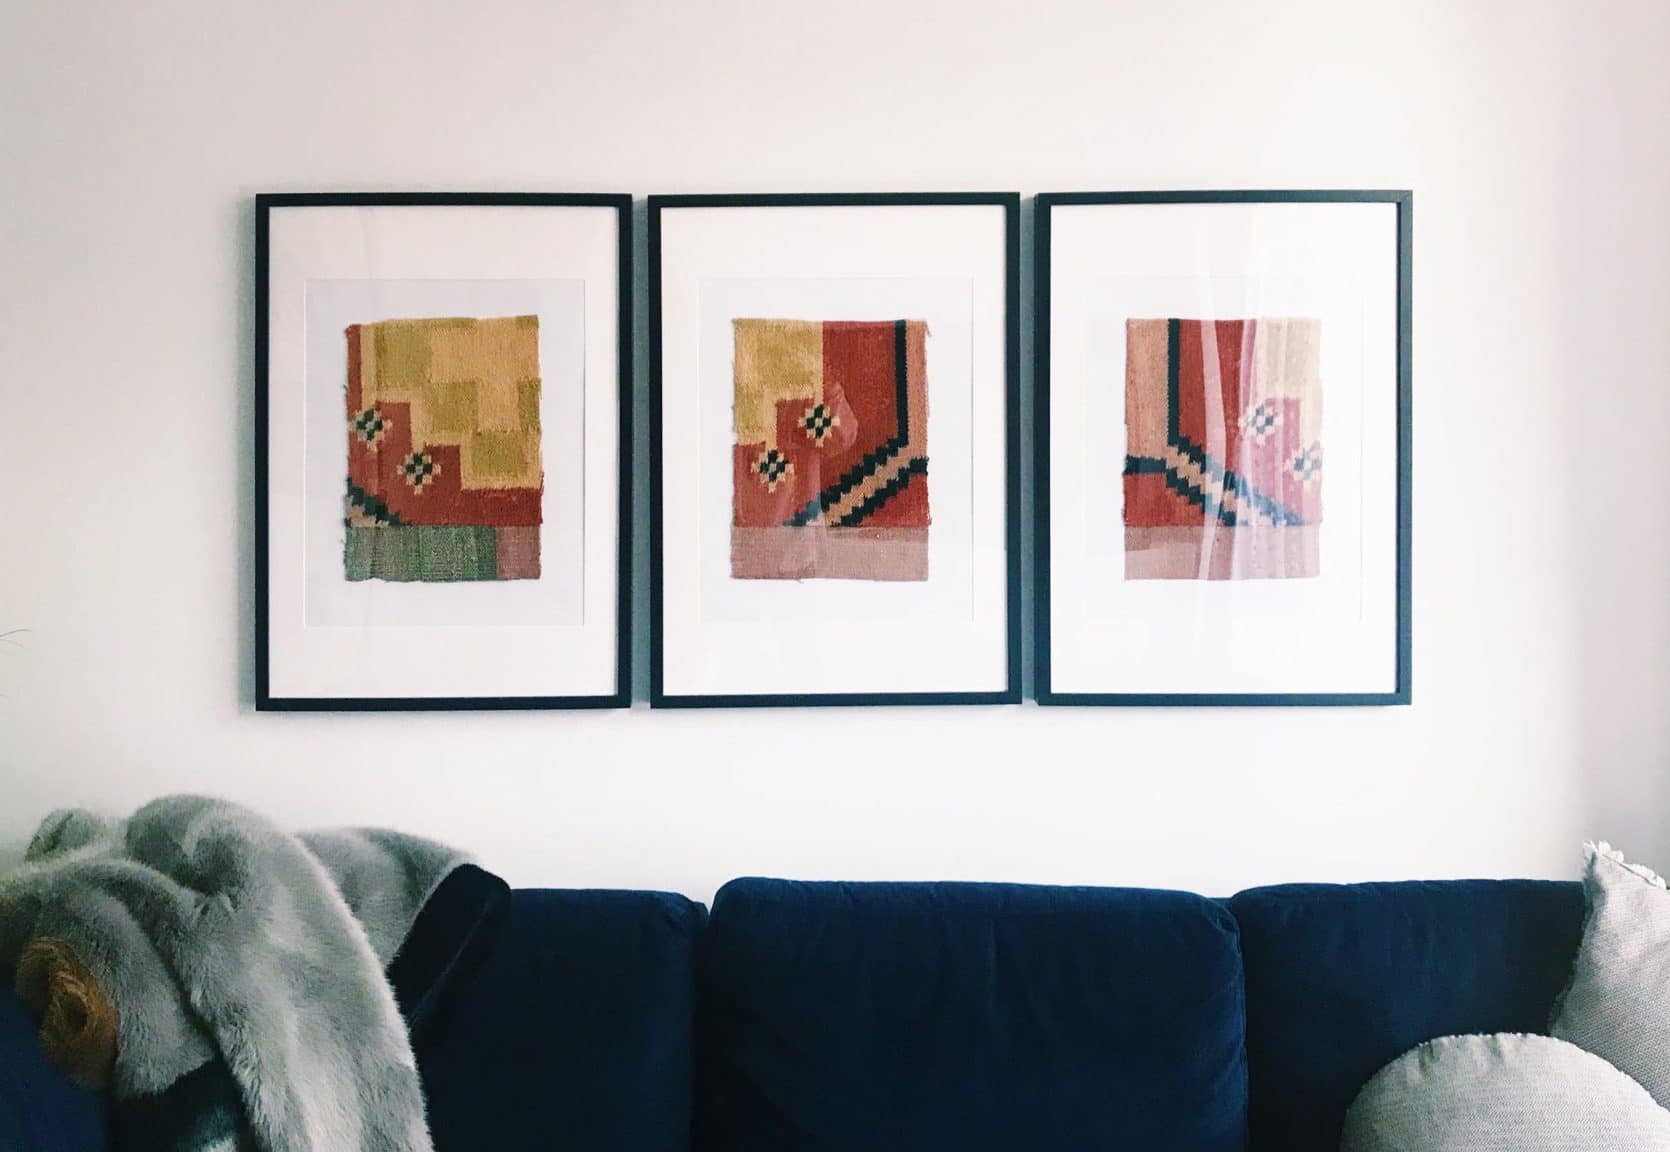
If you have old pillows or textiles that you’ve thrown into a closet, consider repurposing them for the wall. This framed pillow art idea from Emily Funk (featured at Emily Henderson) couldn’t be easier…or more stylish! As mentioned in the article, the best way to frame fabric is to choose pieces that aren’t identical. That way they look like art rather than repetitively patterned fabric. Also note the rough edges, which add texture AND take the pressure off of you for perfect cutting!
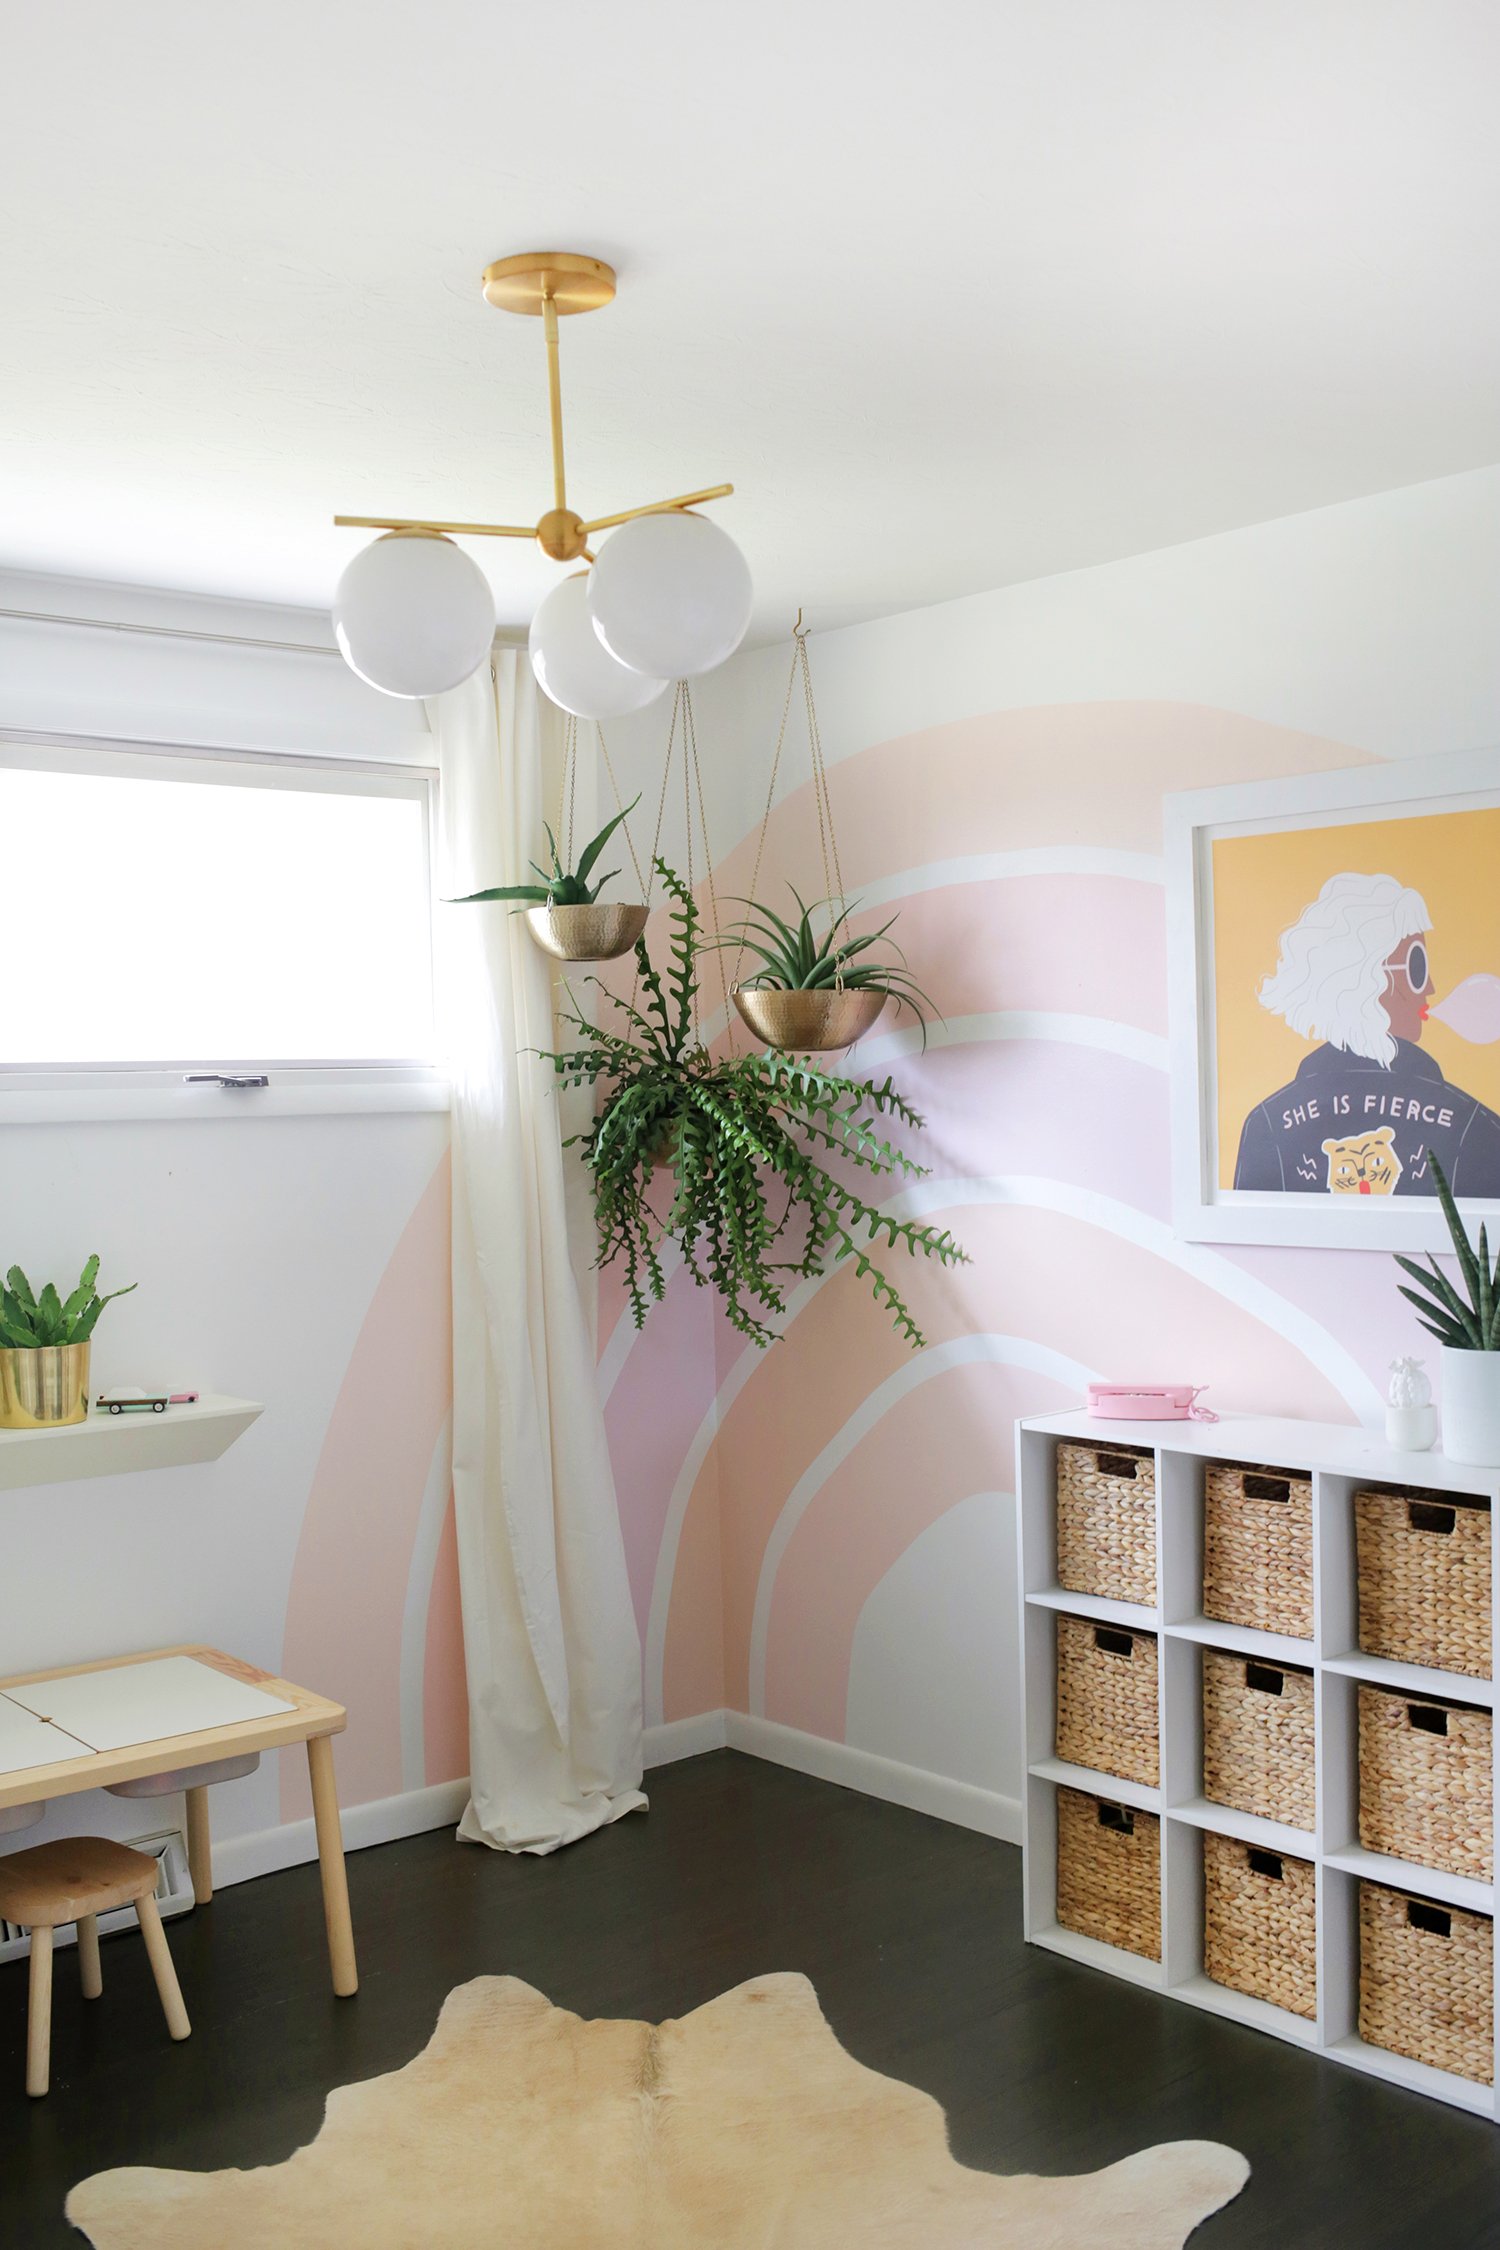
If you have extra paint on hand, now is the time to go to town. Paint something. Anything! What can you embellish? How about that boring cabinet hanging in the laundry room, or even better, you can try your hand at mural painting. Consider using paint from your stash of leftovers. For starters, you’ll be choosing from colors that you know you love, since you’ve likely used them in your home already. If you purchased small containers of sample paint while trying to decide on a color, they’d be perfect for creating a design like the accent wall below, painted by Laura Gummerman in her daughter’s playroom. Check out all of the details at A Beautiful Mess.
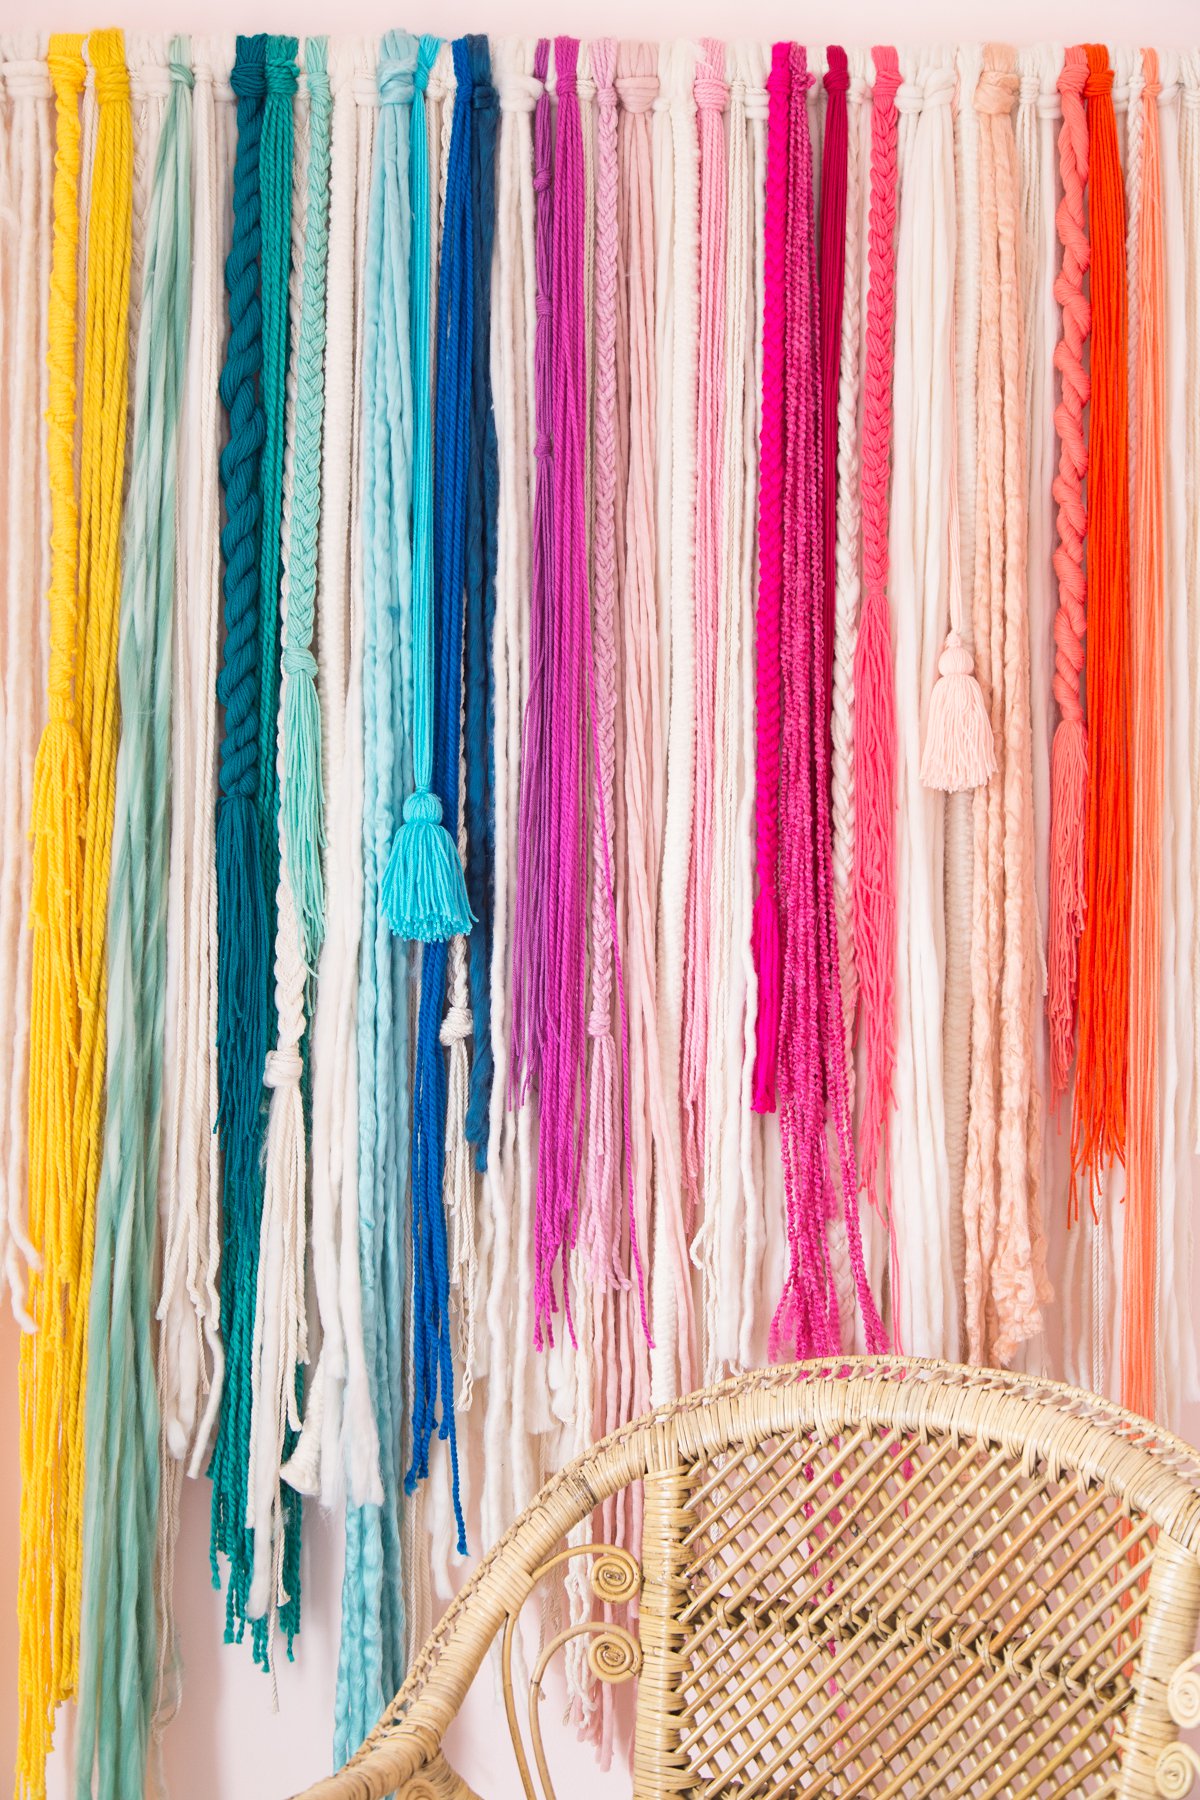
Got yarn scraps? This easy rainbow wall hanging from Studio DIY blends an array of colors and textures for a bountiful result that will add an instant dose of vibrancy. The key is interspersing white yarn with the more colorful selections, as well as adding texture through techniques such as braiding and twisting. While you can use enough yarn to give this project a larger price tag, even a modified version will result in an interesting focal point. Check out all of the DIY details here.
Last but not least, Collective Gen’s DIY Hanging Entryway Organizer features supplies such as leather and a wooden dowel. A circular mirror helps give the piece a “mixed materials” look, but you could easily leave out the mirror and achieve a wonderful minimalist, functional piece that will help keep your entry tidy. Another way to adapt this project using items you have on hand: use a branch from the yard, and repurpose a few old belts for the leather.
Easy Decor Updates
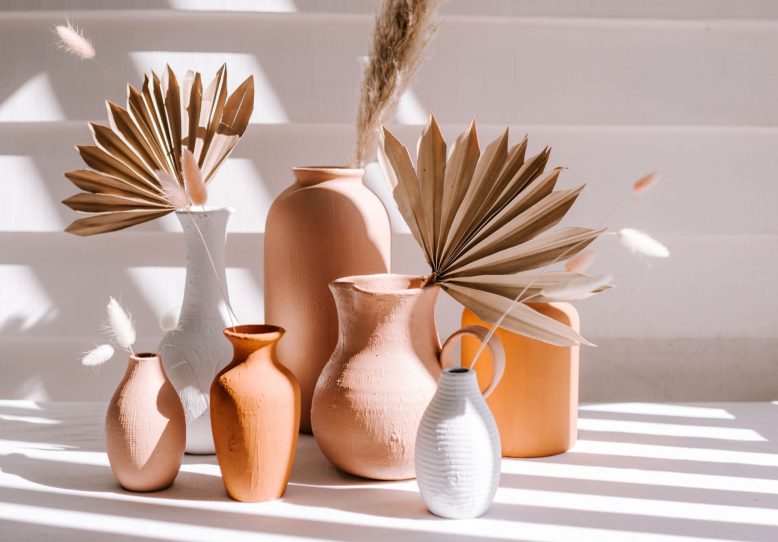
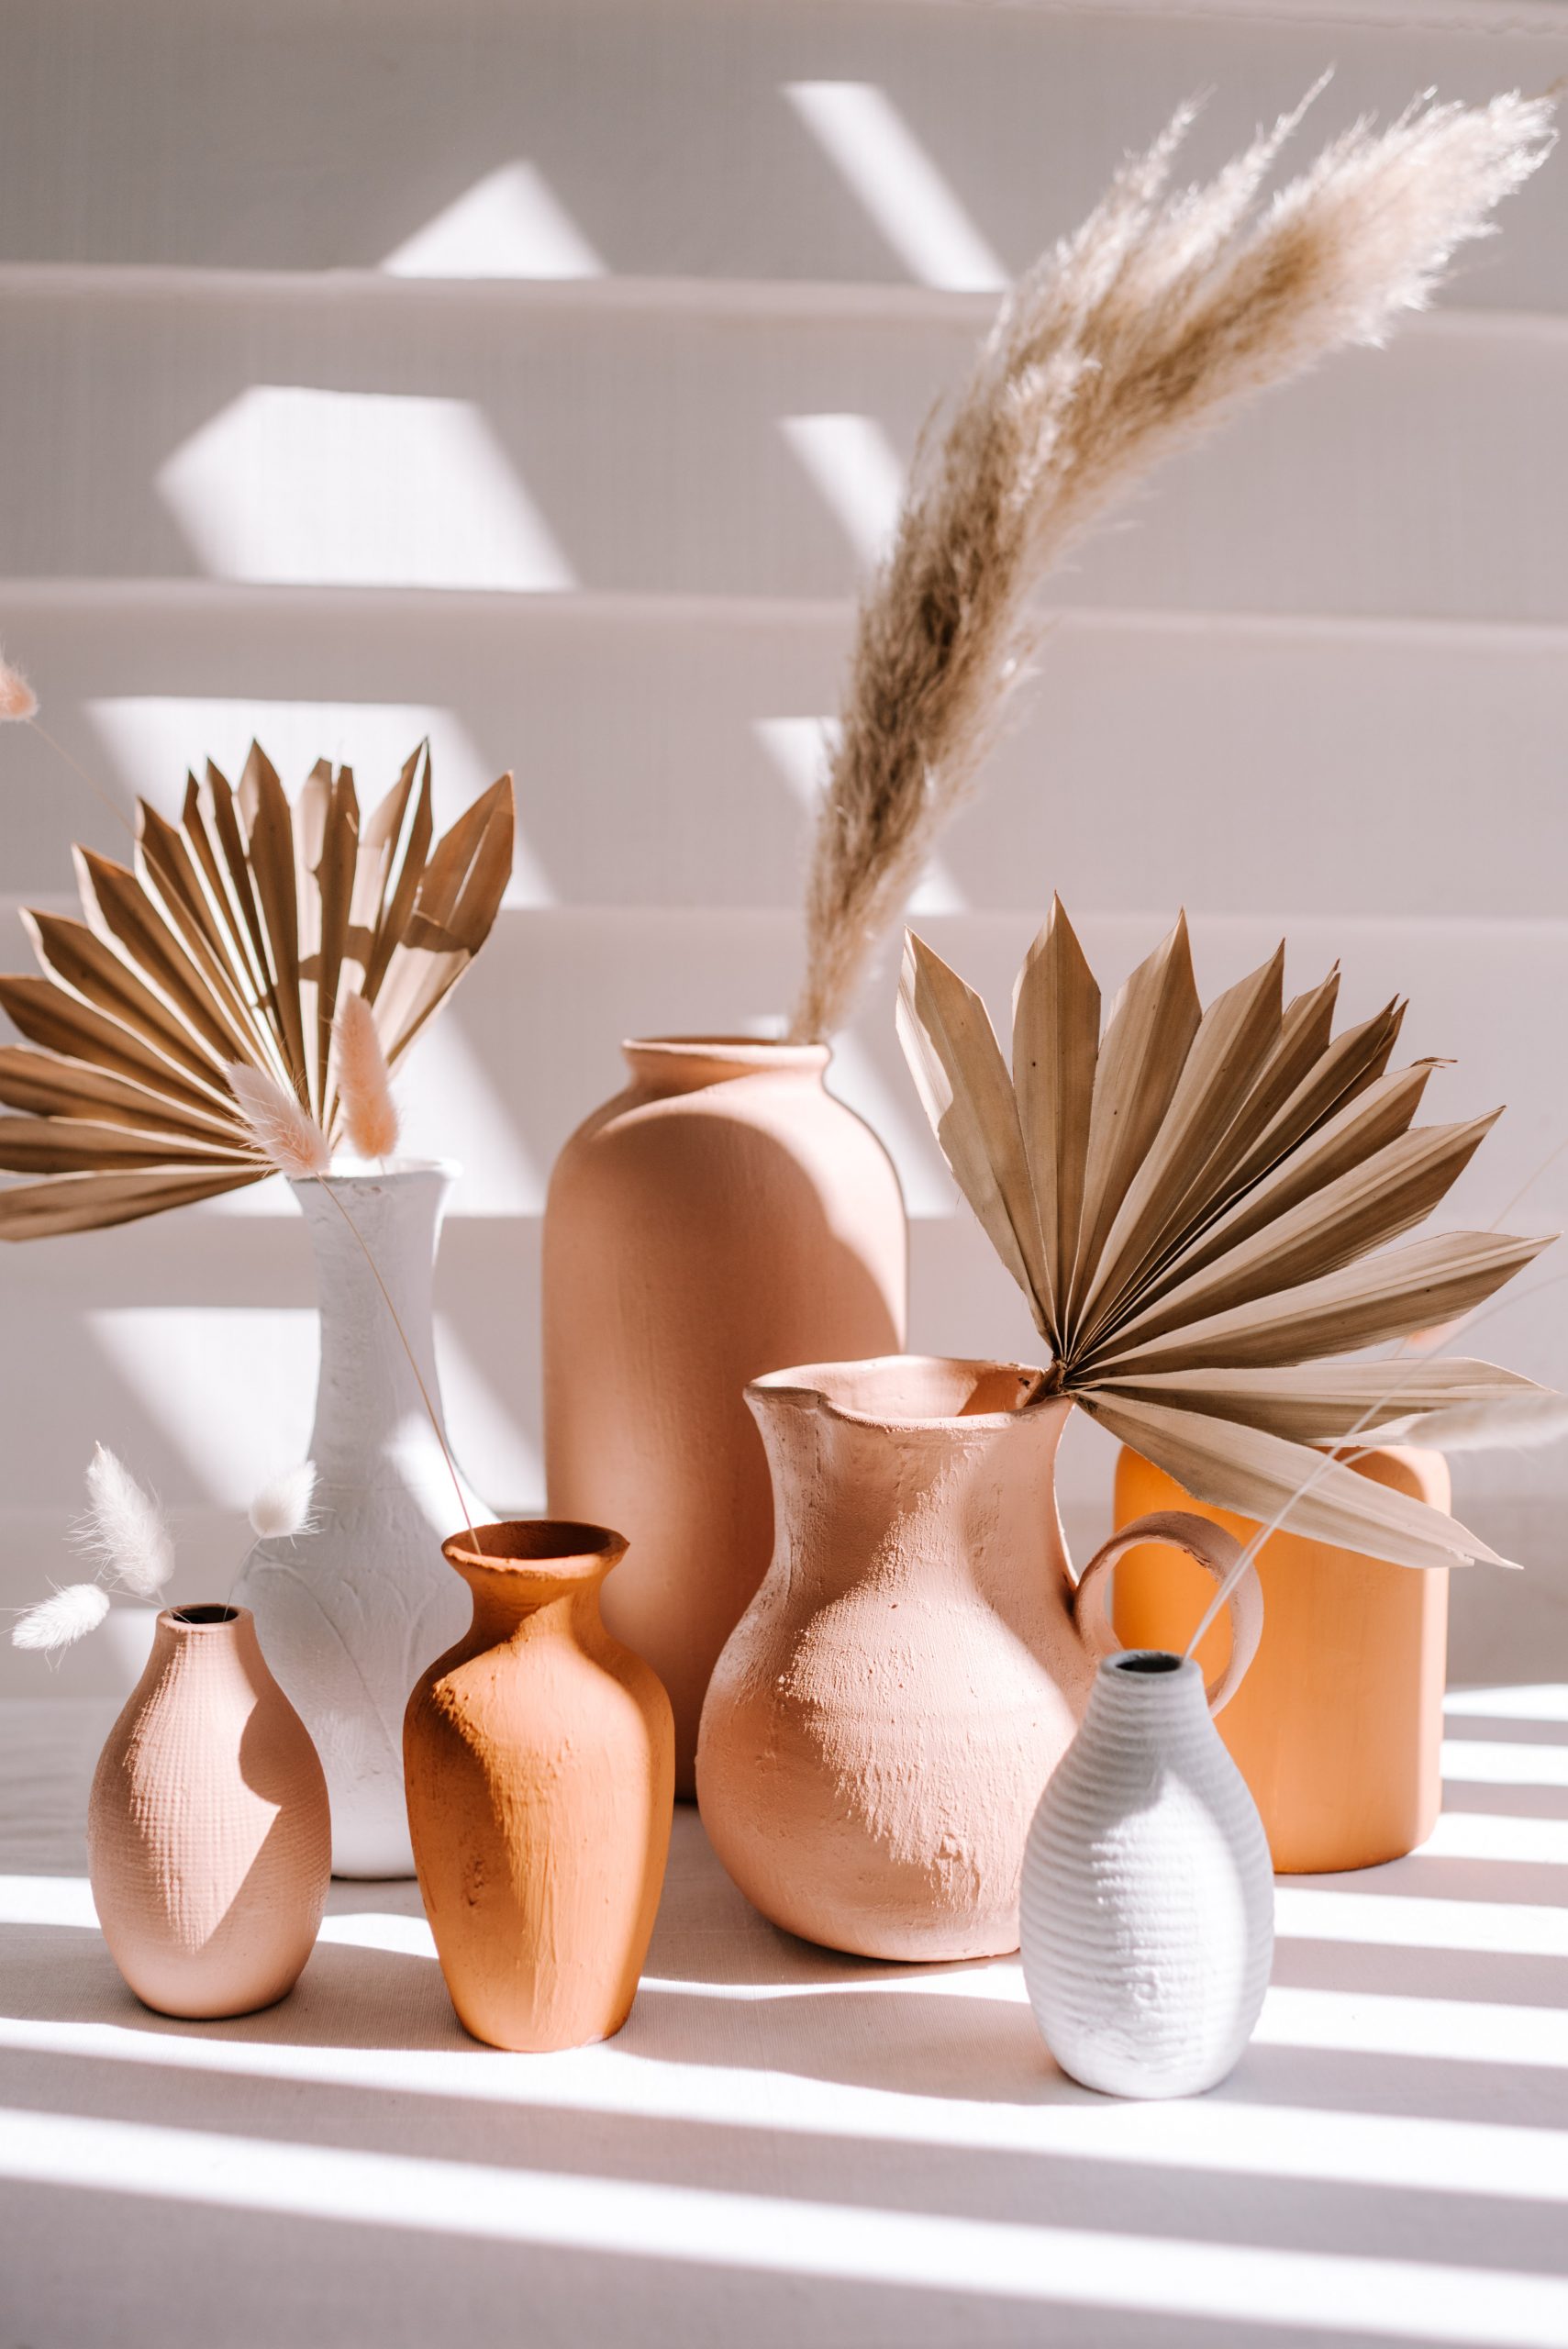
We now move on to projects that prove no item is too small to embellish in the name of DIY magic! If you have an old vase that seems outdated (but you love its form), this next endeavor is for you. Geneva Vanderzeil of Collective Gen has created a “Trash to Terracotta” project that involves adding new color and texture to old vases. In this helpful post, she shows us three ways to get the look, and you may be surprised at the role baking soda can have in helping you create your own DIY chalk paint! We all love the stunning palette below, but do note that you can use any paint you have on hand to refresh the vase of your choice. Stay safe and stay home!
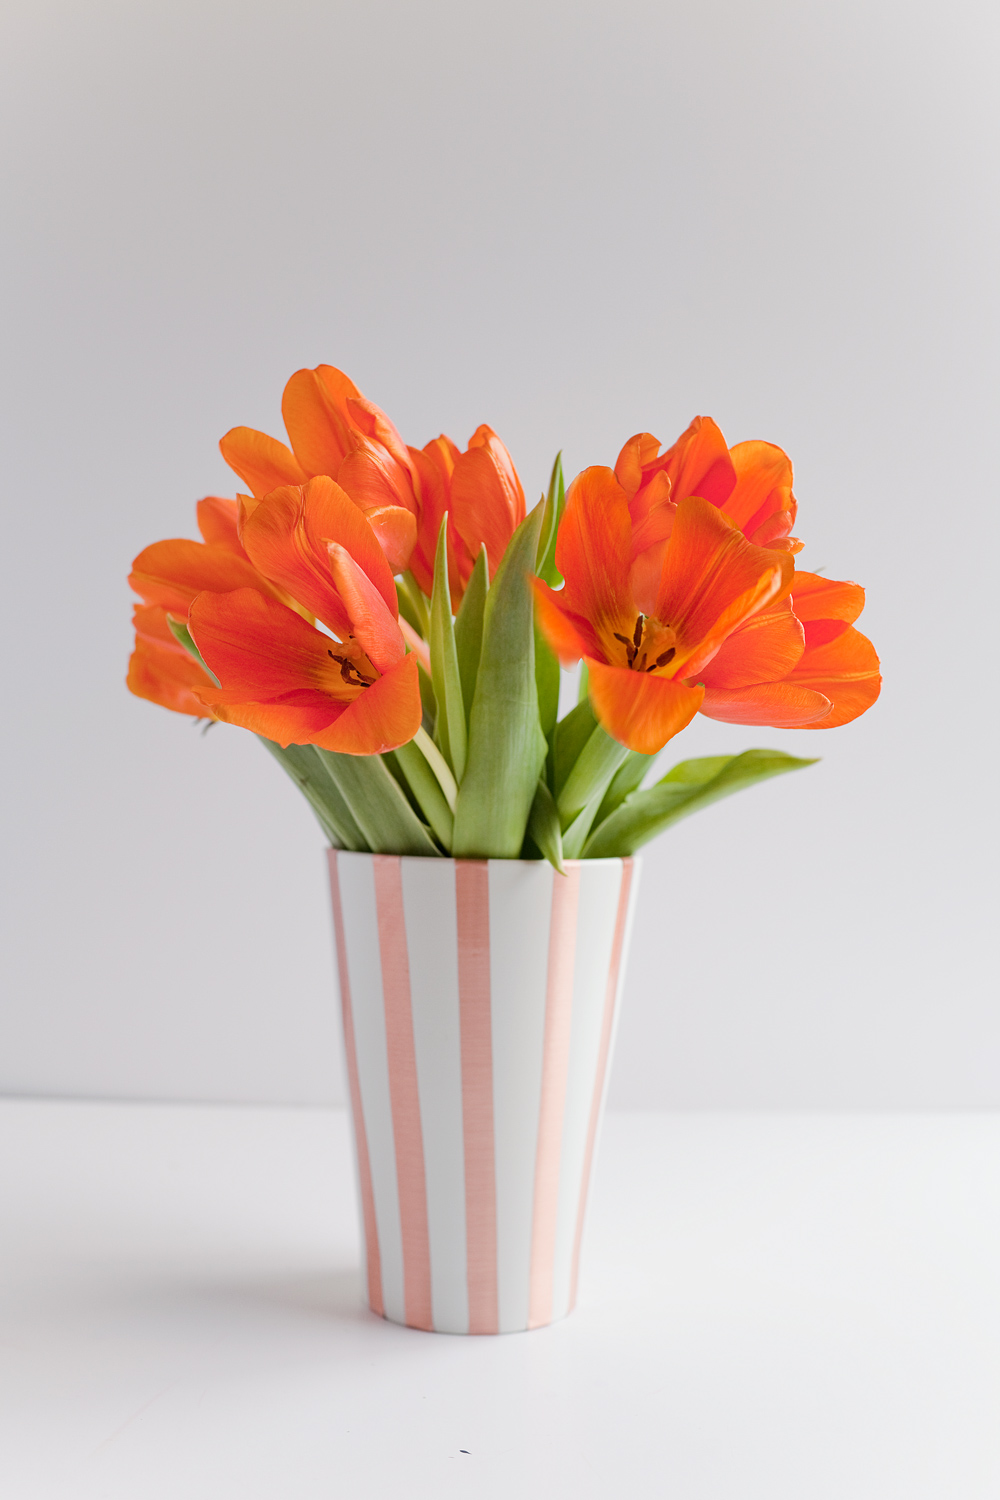
Speaking of vases, almost any one of them you own can be embellished with contact paper. Even the most basic of colors and textures can give a vase a substantial makeover. If you’re lucky enough to have something metallic on hand, you can cut the paper into strips and create eye-catching stripes on the receptacle of your choice. All of the DIY details below can be found at Tell Love and Party. Don’t forget to check out Decoist’s recent post on DIY contact paper projects for even more ideas.
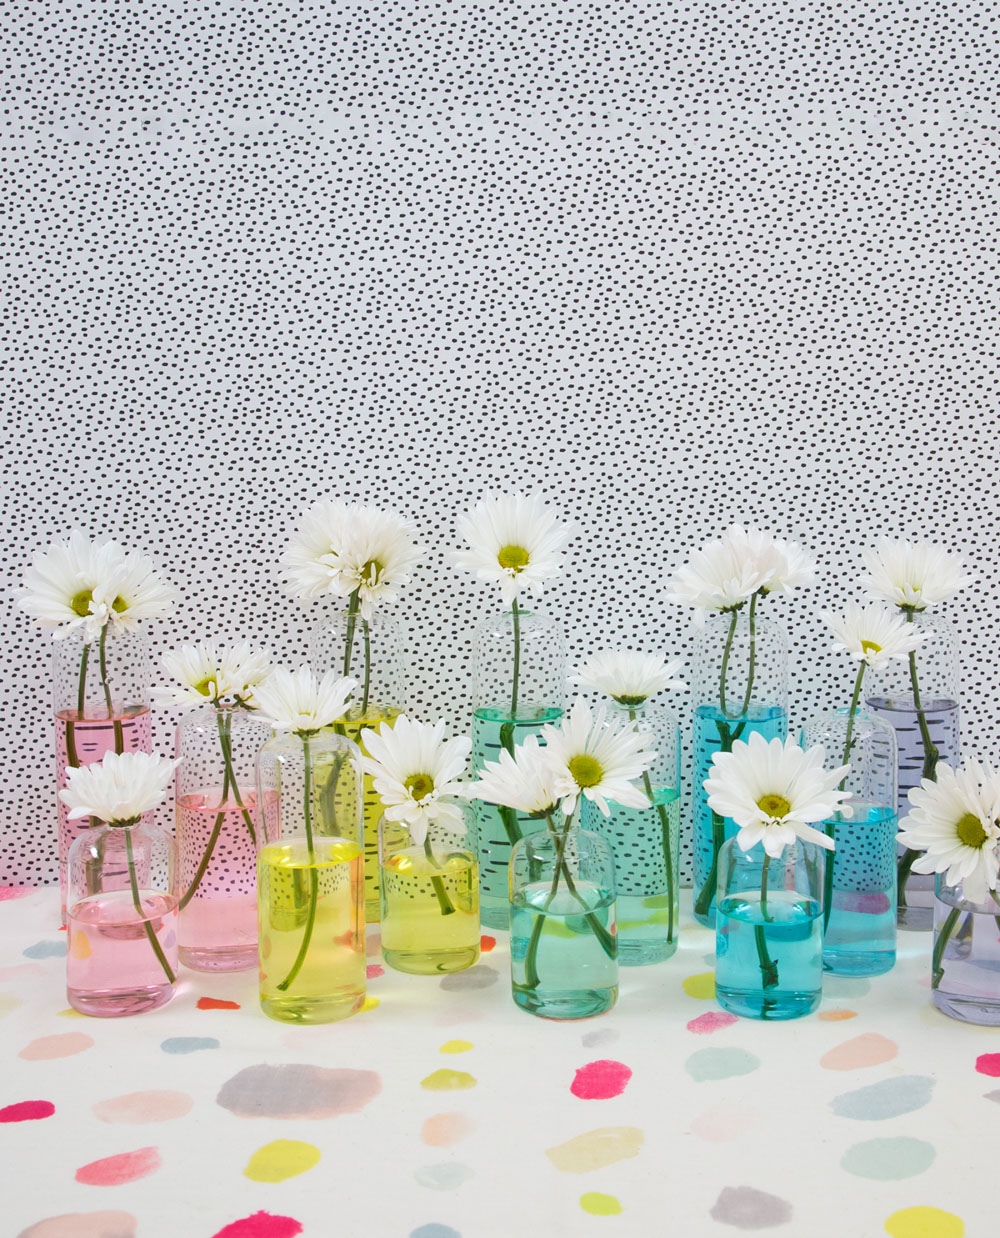
A grouping of flowers is a stunning centerpiece or focal point, but taking things a step further with colorful water is an easy way to add vibrancy to the arrangement. It’s as simple as adding a few drops of food coloring to clear containers of water. And do note that this DIY project is a LOT fun for kids! Details at Oh Joy!
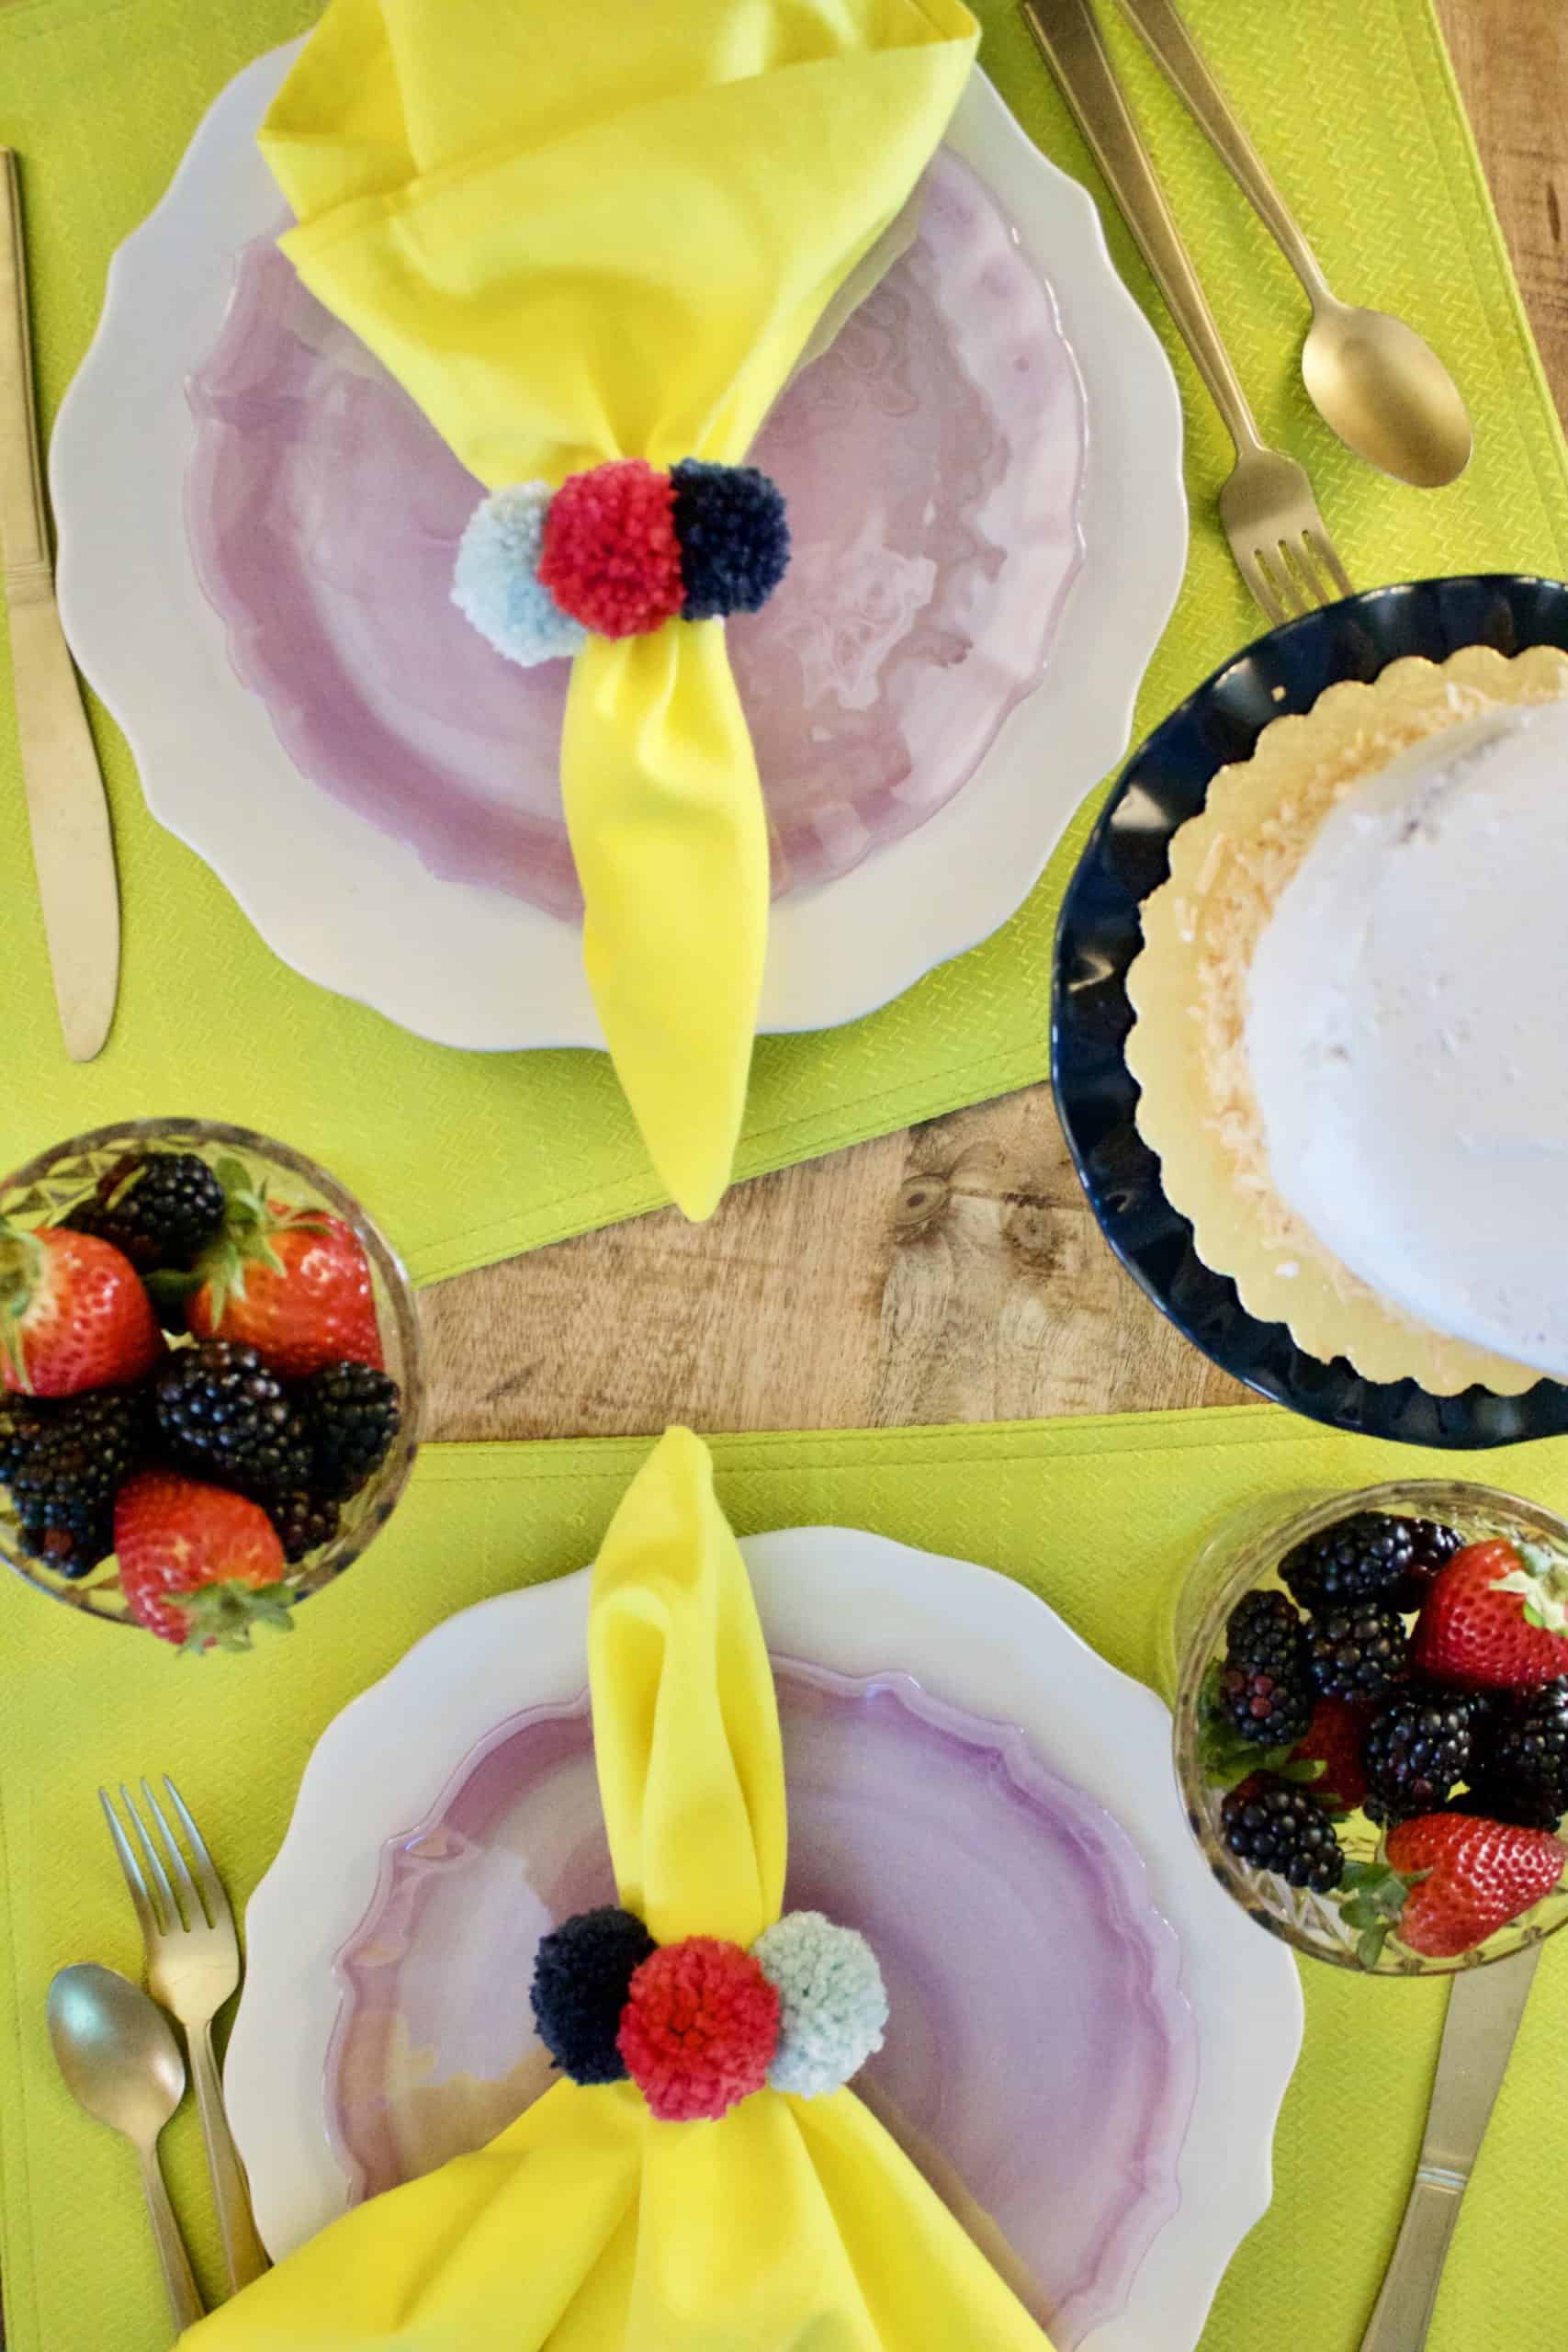
Since many of us are stuck at home, there are times when we need to create experiences such as special moments and memorable meals. Even if you’re using paper napkins these days, try surrounding them with a pom pom napkin ring for an added dash of festivity. They’re super easy to make, and A Subtle Revelry will show you how. No pom poms, yarn or elastic on hand to make your own? You can even glue the baubles and embellishments of your choice to clean hair ties to do your own version of the project.
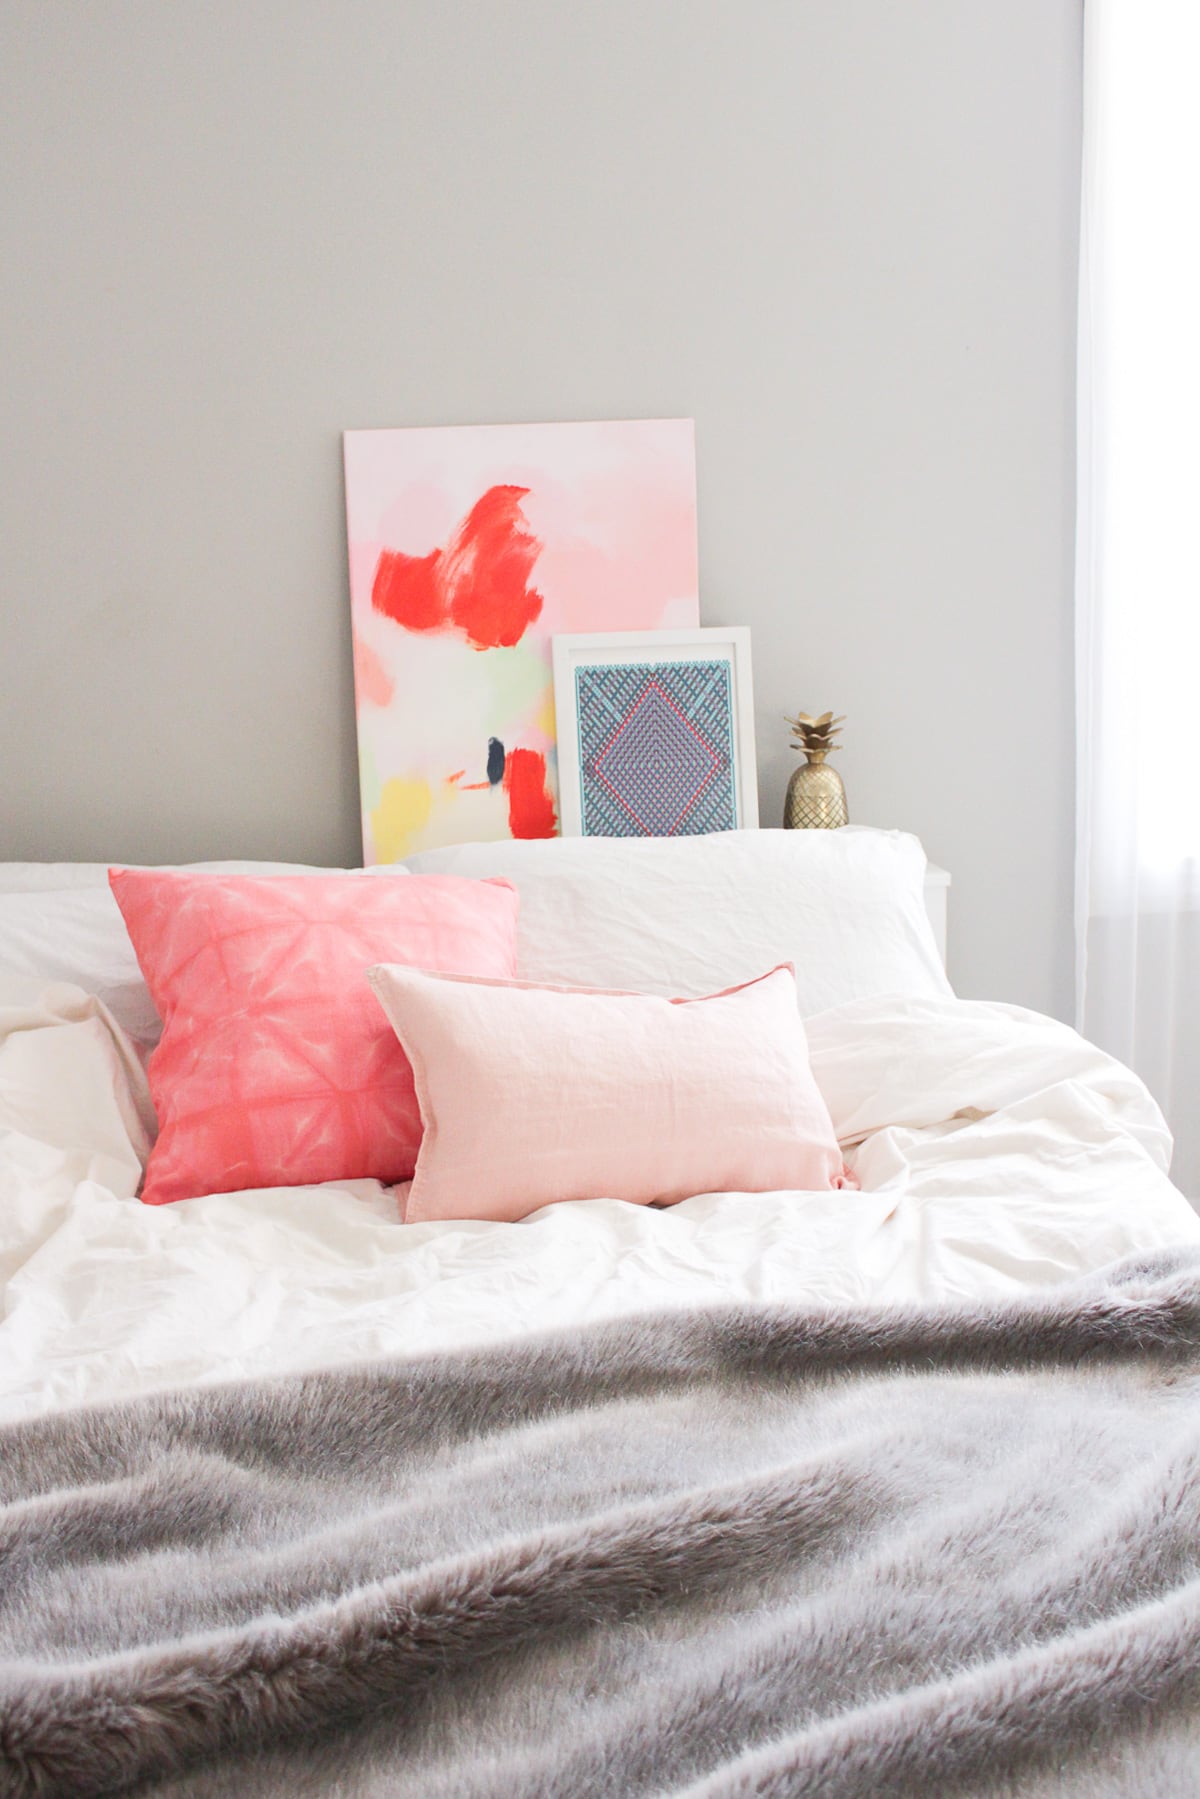
Need a new pillow? Try making your own using the ancient Japanese dyeing technique of Shibori (learn more about Shibori here). With household supplies, you can create an interesting design that the dye will resist, resulting in a pattern that has the power to be a true focal point for the chair or bed of your choice. Check out the entire DIY tutorial at Sugar & Cloth:
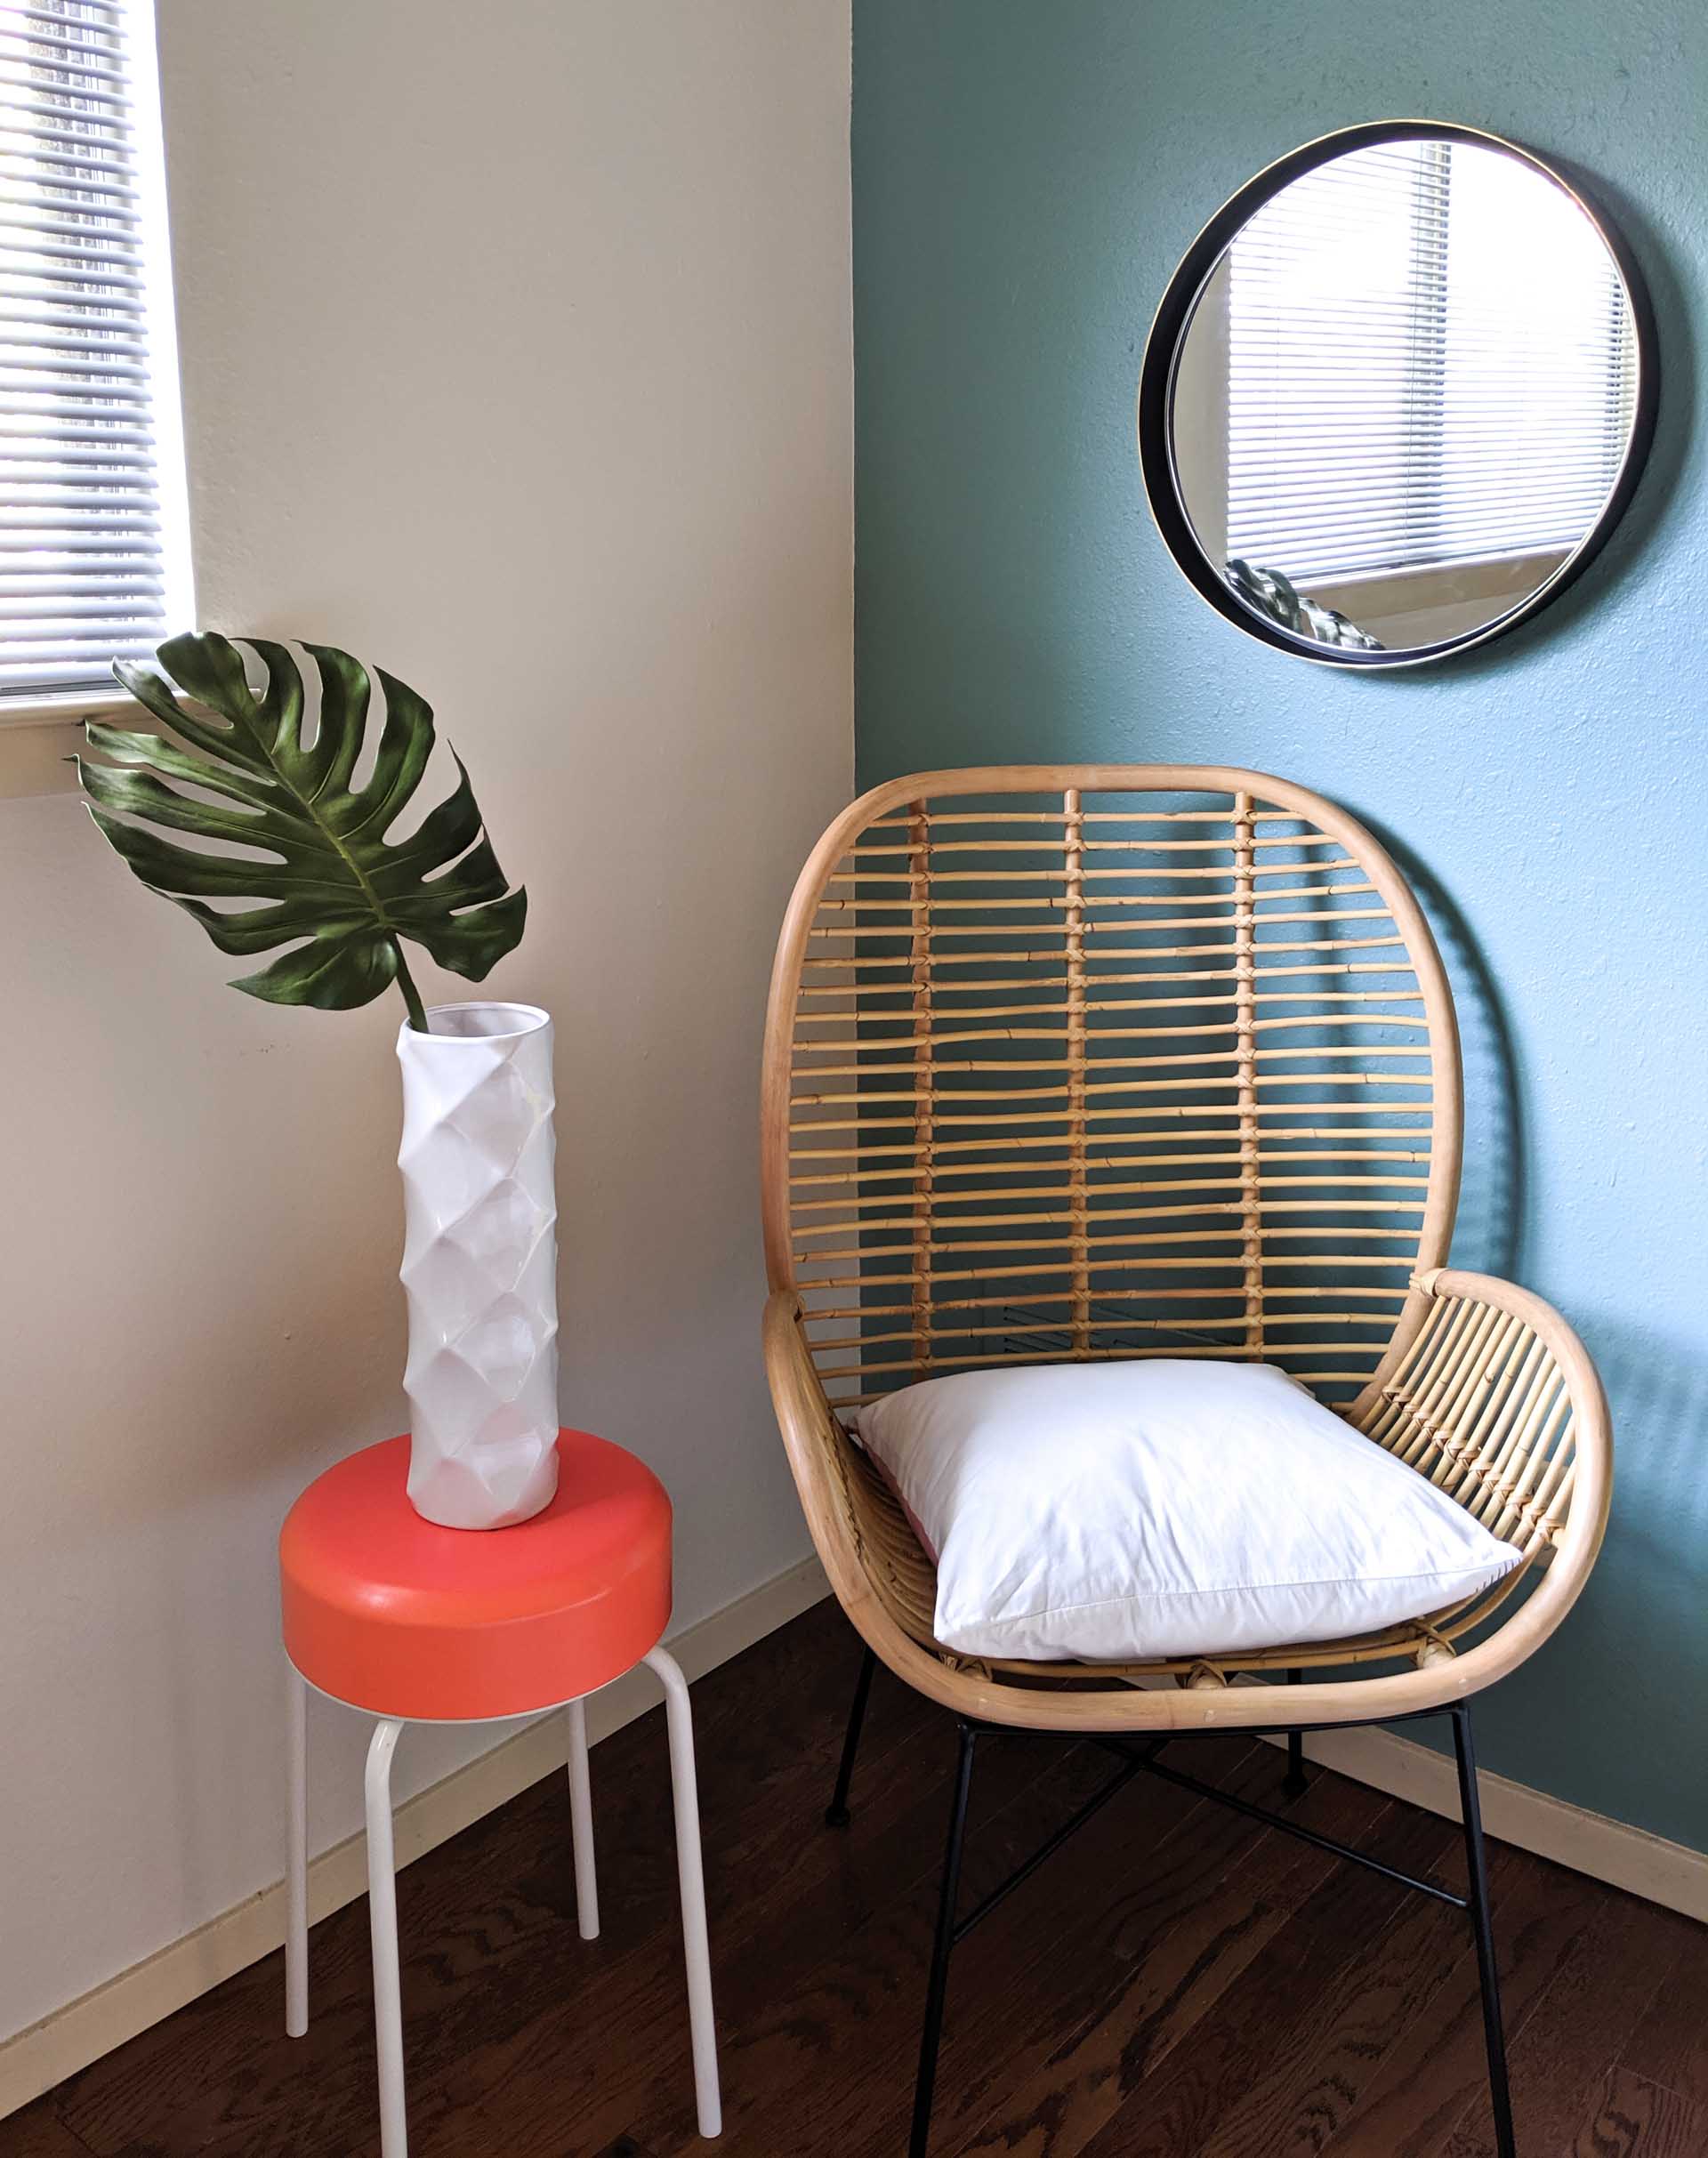
We end today’s post with a reminder that styling a furnishing or a nook can breathe new life into your home. While this idea is more of a design project than a DIY, it can easily refresh an area of your interior with items you already have. Check out how we styled 1 rattan chair 3 ways, and then turn your attention to a cozy corner where items such as a round mirror and tropical greenery have the power to make a big impact.
We at Decoist wish you and yours moments of joyful creativity during these longs days. Thanks for reading!

