Happy Holidays! It’s my goal this season to make life a little more simple, affordable and stylish with easy crafts. If you’re in the mindset of simplifying (but doing so with flair), check out my other recent posts on easy gift wrap ideas and red berry centerpieces, both of which celebrate the art of creating beautifully designed holiday statements on a budget. On that note, today’s featured project is all about using what you have!
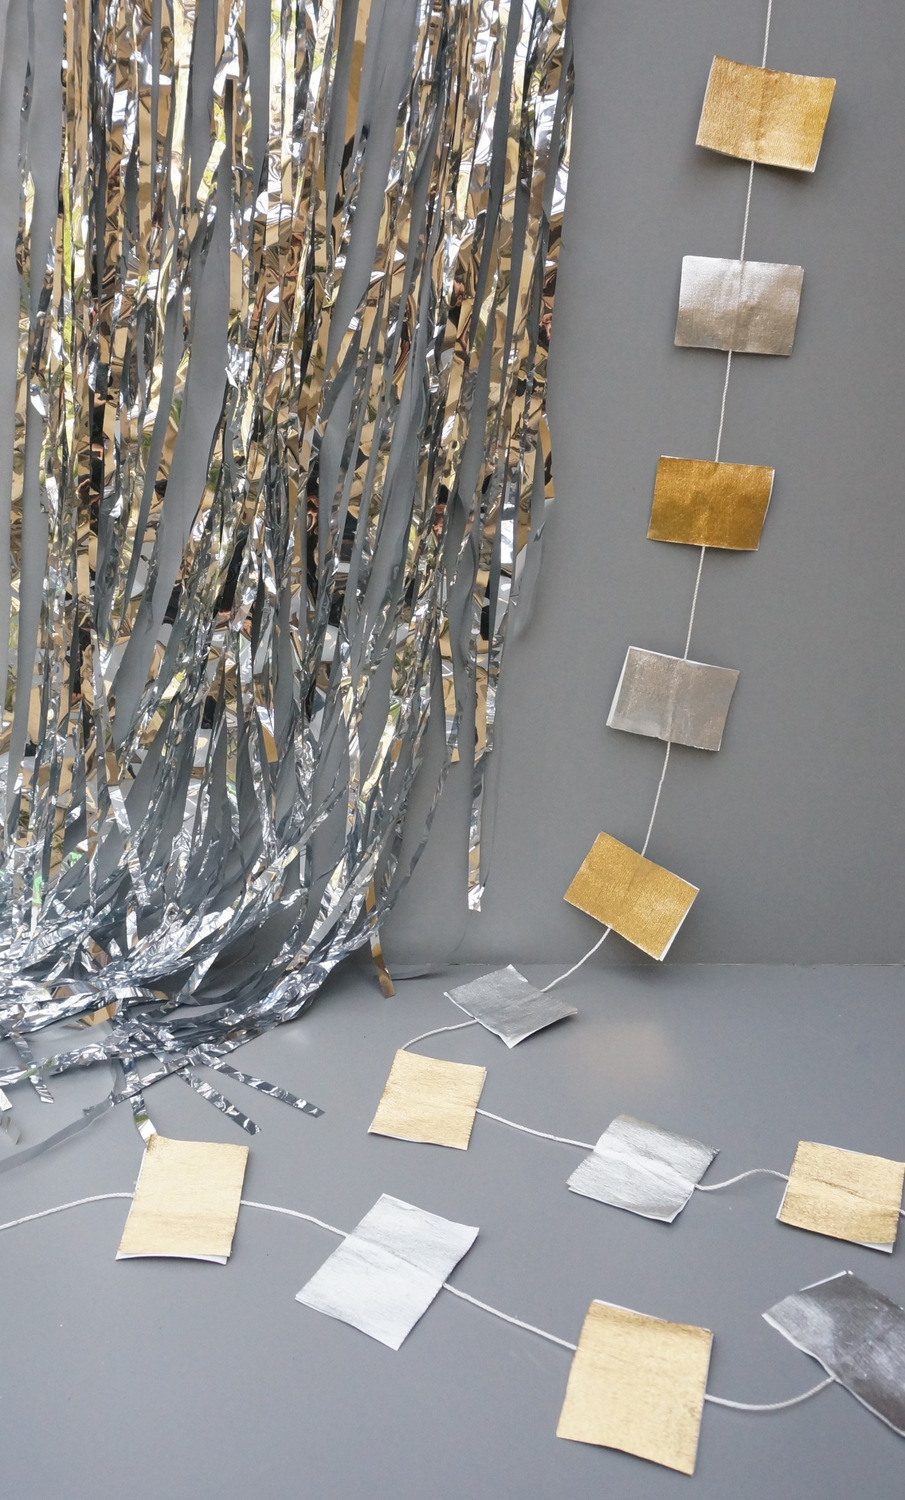
Raid your closet for leftover ribbon, craft paper or crepe paper and build a shimmering garland that will be the perfect backdrop to your holiday festivities. Read on for details…
Supplies
Let’s talk supplies, because as easy as this garland is to make, it’s not going to build itself! Get ready to gather all that shimmers and sparkles…
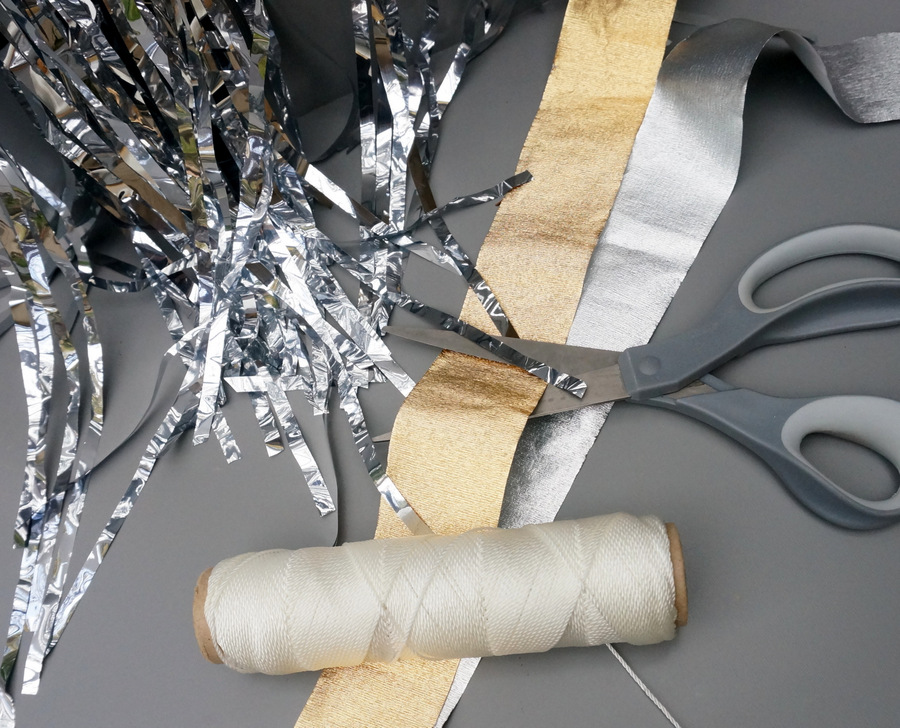
Here’s what you’ll need to get started:
- metallic ribbon, crepe paper or craft paper
- scissors
- string or twine
- a glue gun
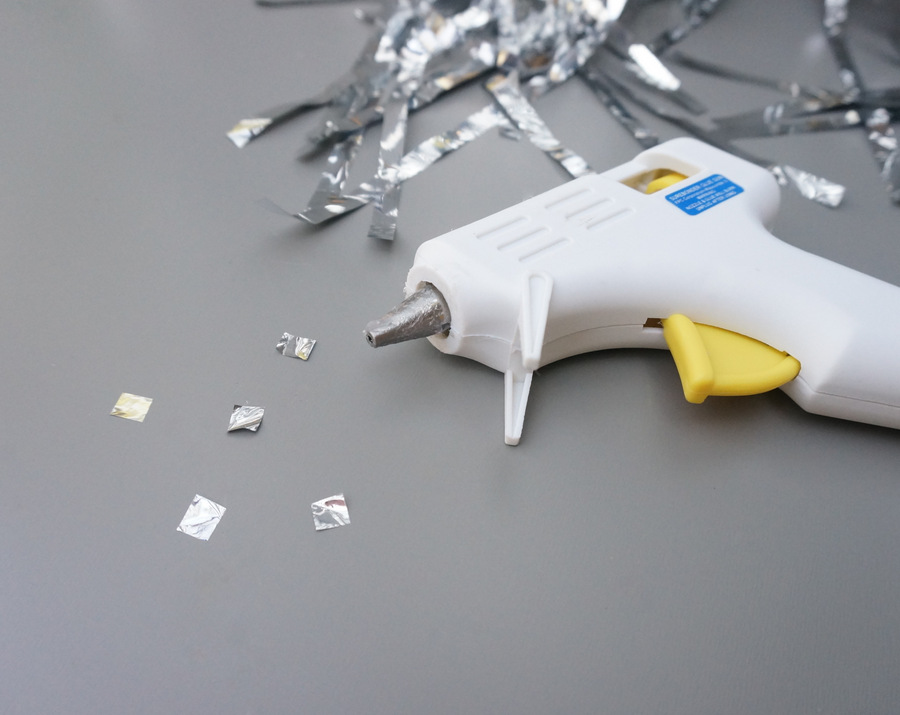
I used metallic crepe paper that I had on hand from last year’s New Year’s Eve gathering. It’s thicker than regular crepe paper, and the width was very helpful. For this project, the wider your ribbon, the better. If you use paper instead of ribbon, you’ll have a little more work cut out for you (no pun intended), as you’ll need to cut rectangles rather than snip ribbon. But it’s still very doable!
Steps
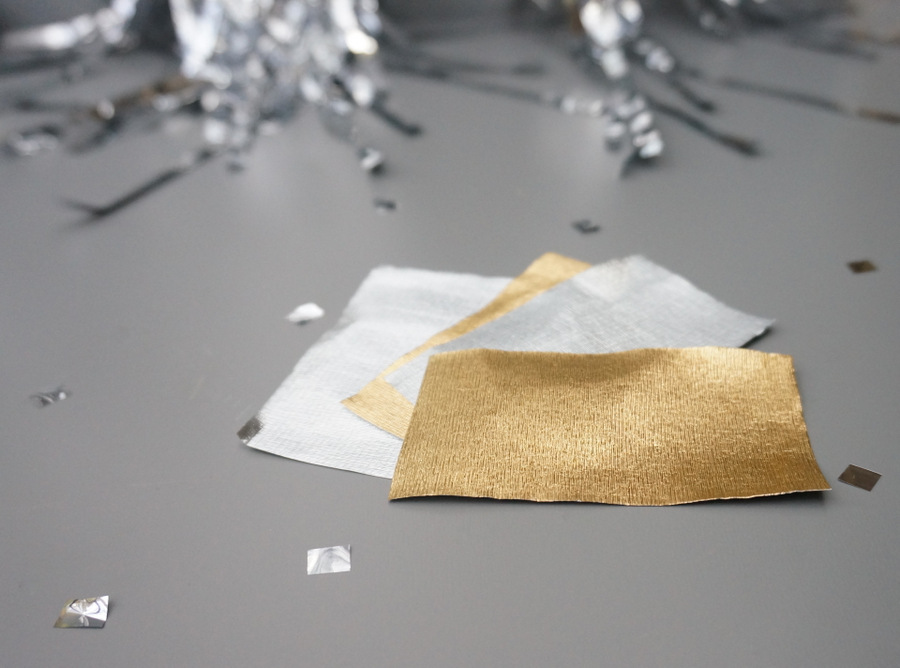
I had to play around with the garland design before I found something that would work. Originally, I decided to cut segments of the crepe paper, group them into stacks of four, and then tie ribbon around the middle of them to make little bows. Super cute! But the bows were heavy in relation to the string, and they didn’t hang right.
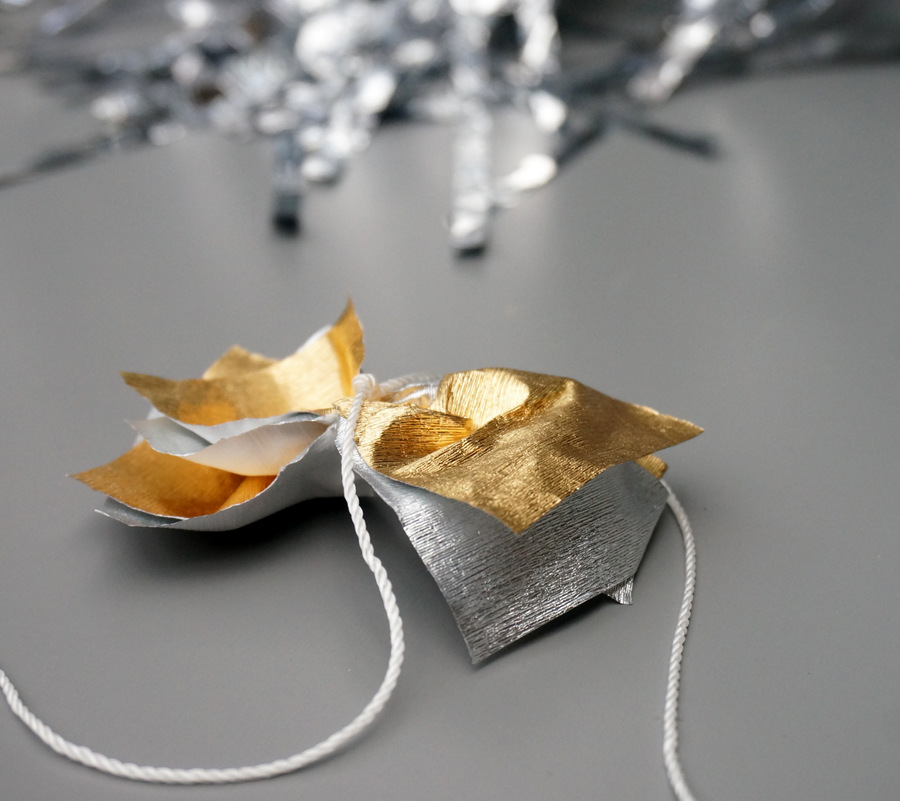
So I scrapped that plan and came up with a chunkier looking garland that ended up working out better with the modern style of my holiday decor. The easy steps will follow…
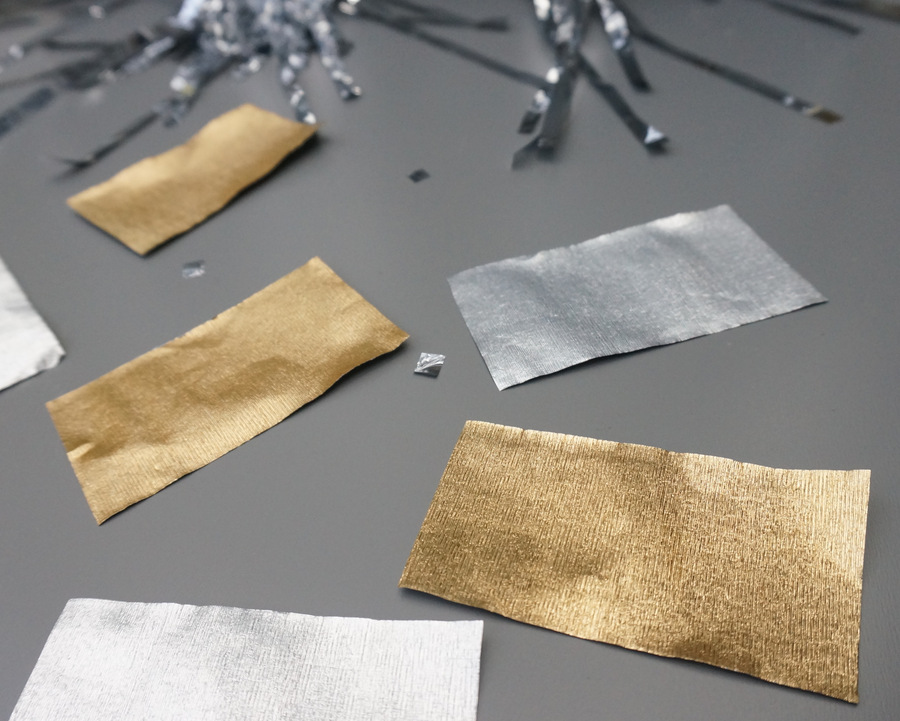
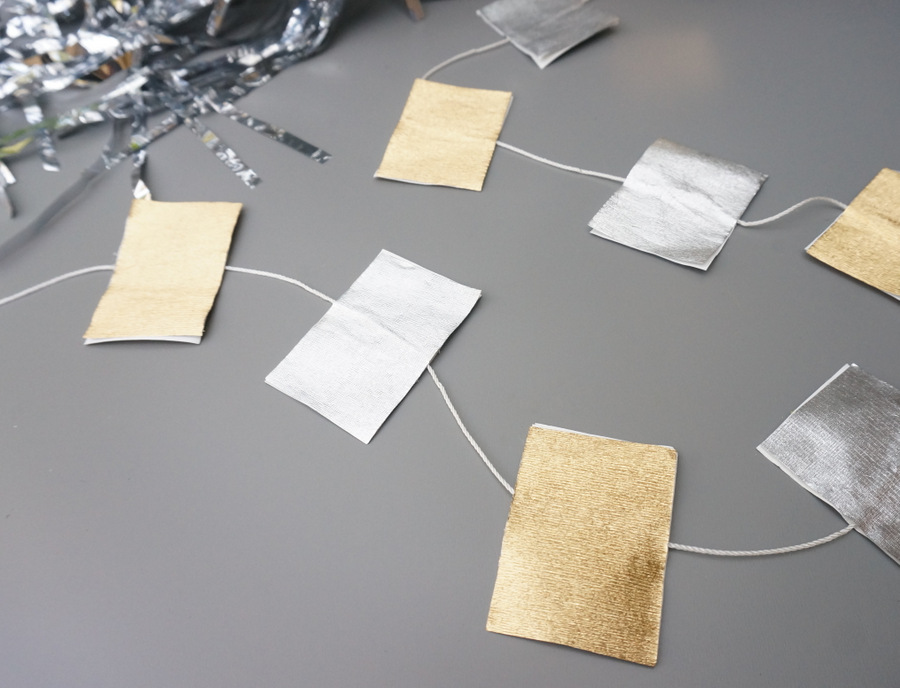
Step 1: Cut your string/twine the desired length for your garland, and then cut your ribbon or paper into rectangular segments.
When it comes to the metallic ribbon/paper, between 2-3 inches is a good length (for the rectangles), although cutting squares rather than rectangles will also work well for this project!
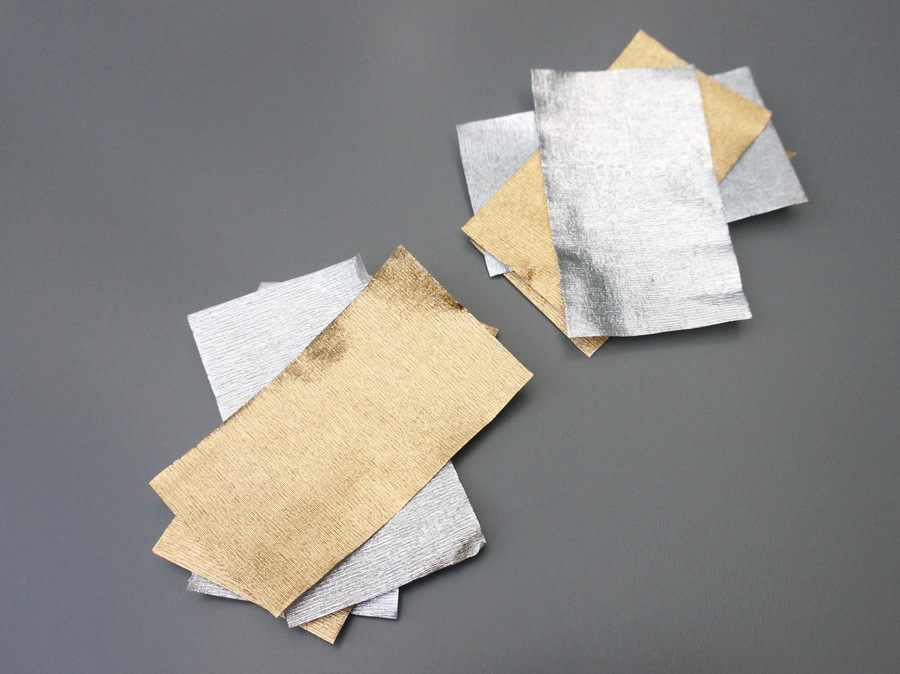
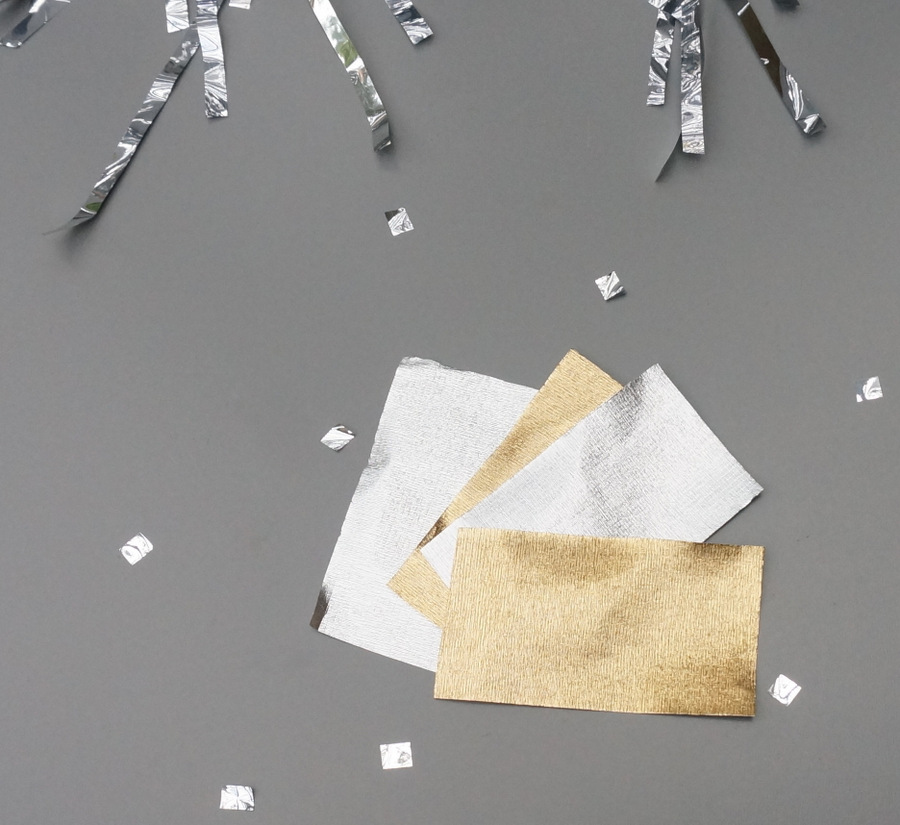
Step 2: Group your rectangles into pairs.
You will be gluing two rectangles together over the ribbon, so grouping them gives you a good idea of how many you have, and how many more you need to create the garland of your desired length.
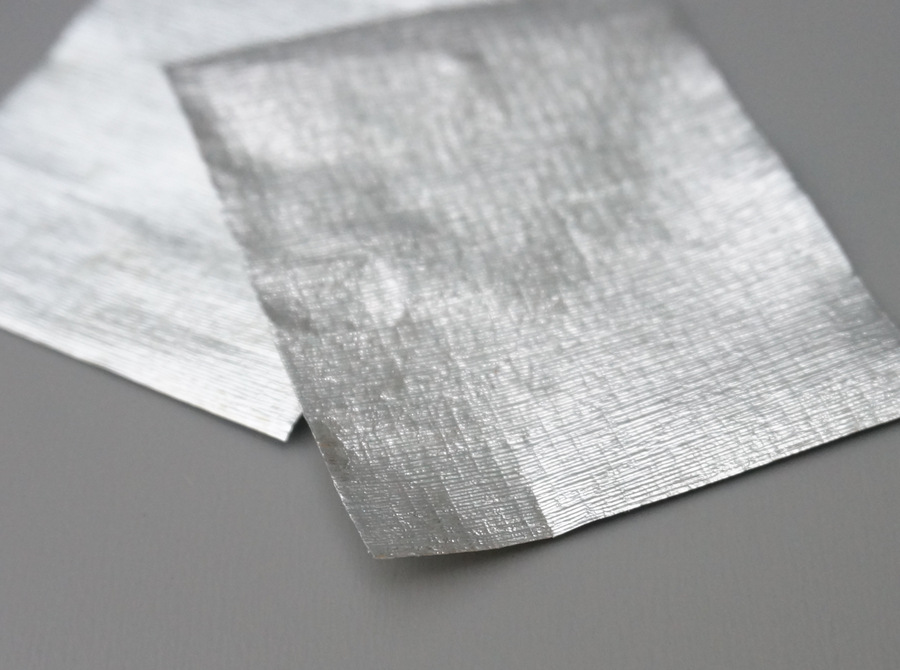
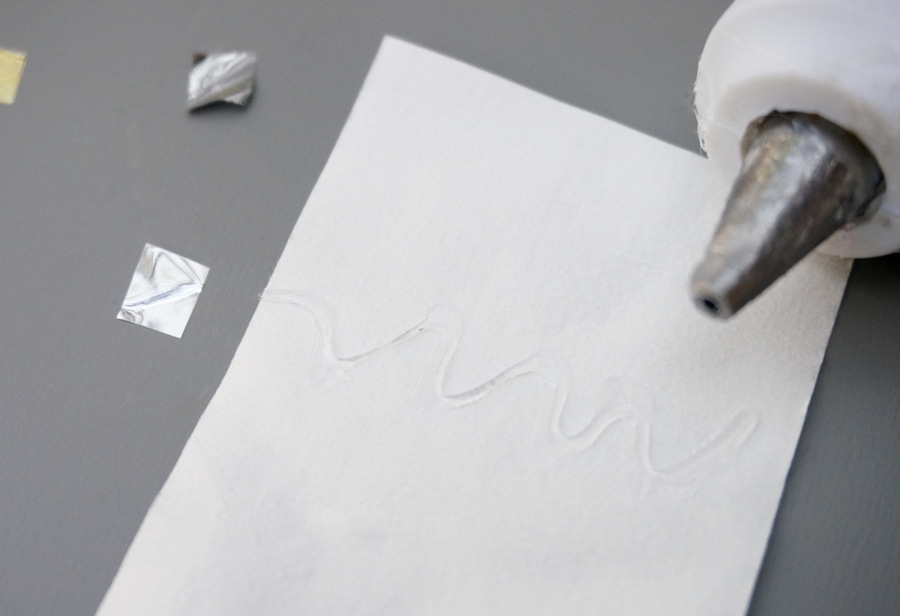
Step 3: Place a squiggle of glue in the middle of one of your rectangles.
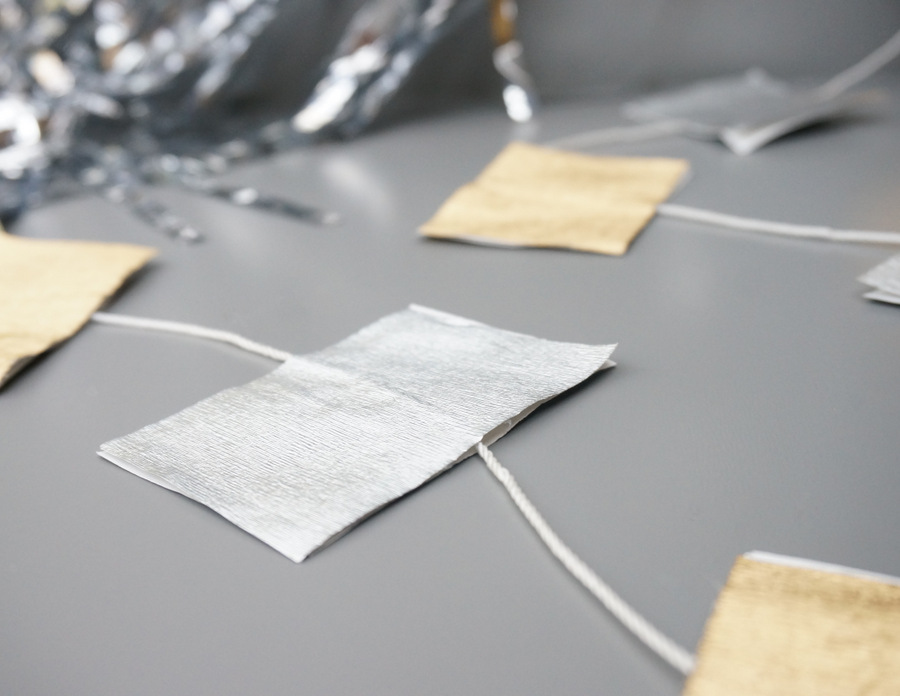
You’ll notice that the crepe paper I worked with was white on the inside. So it was definitely important to me that the white sides of the ribbon were in the middle. This way, I could glue the plain sides together and have the metallic sides remain visible!
Step 4: Lay your garland string down across the wet glue, and then place another rectangle over it. Repeat until your garland is the desired length.
You’ll want to match up the rectangles as closely as possible for consistency. This project goes very quickly, and because of the chunky look, it will make a big statement. Now that’s a lot of bang for your buck (and time)!
Styling
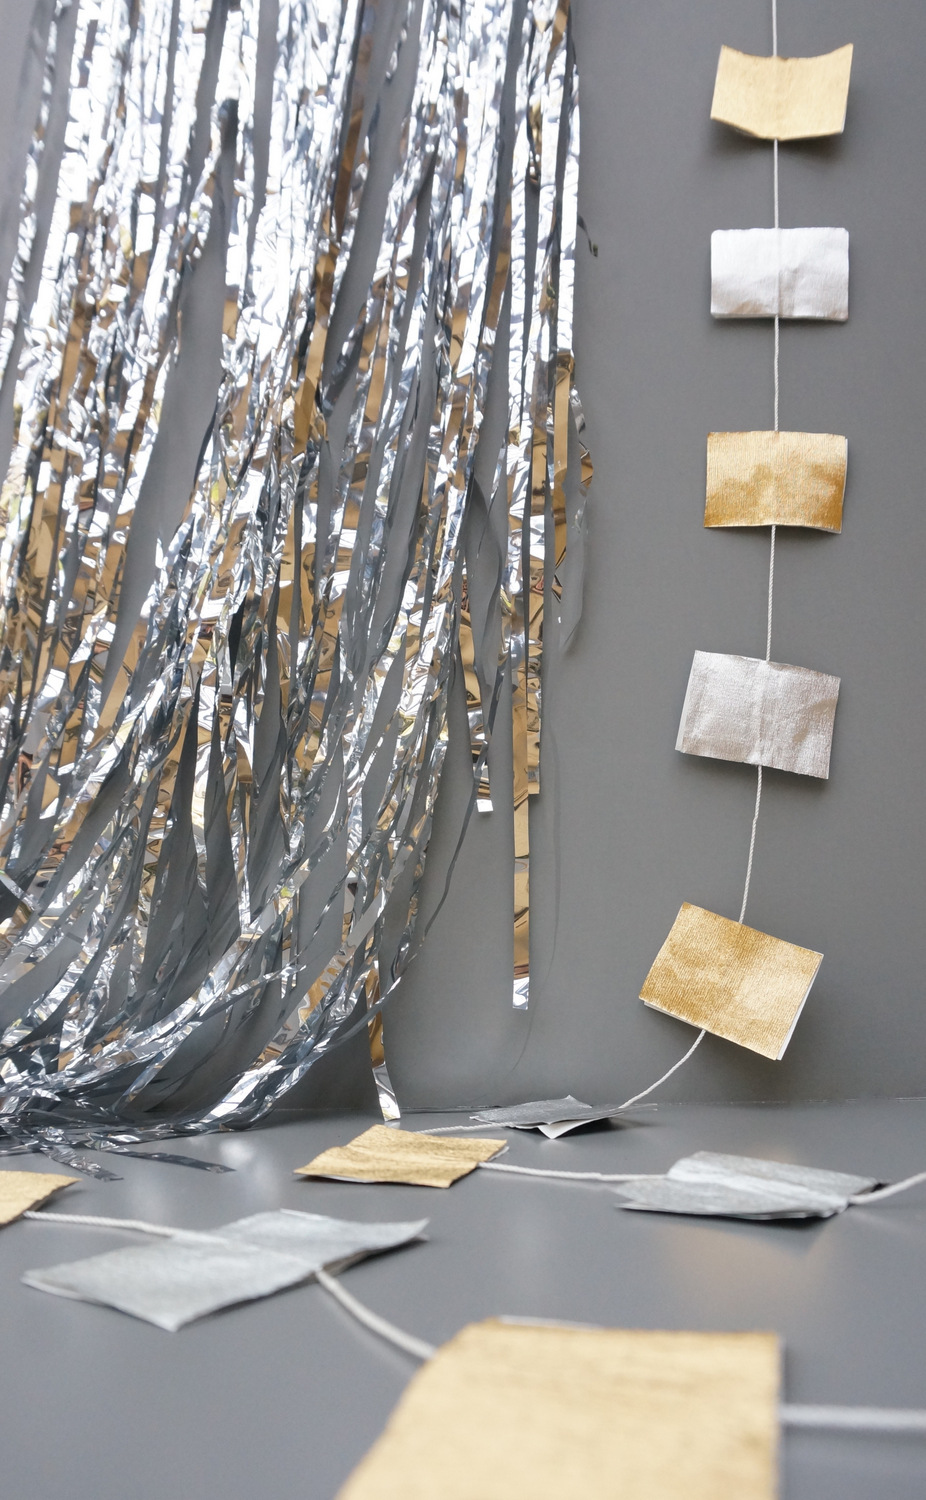
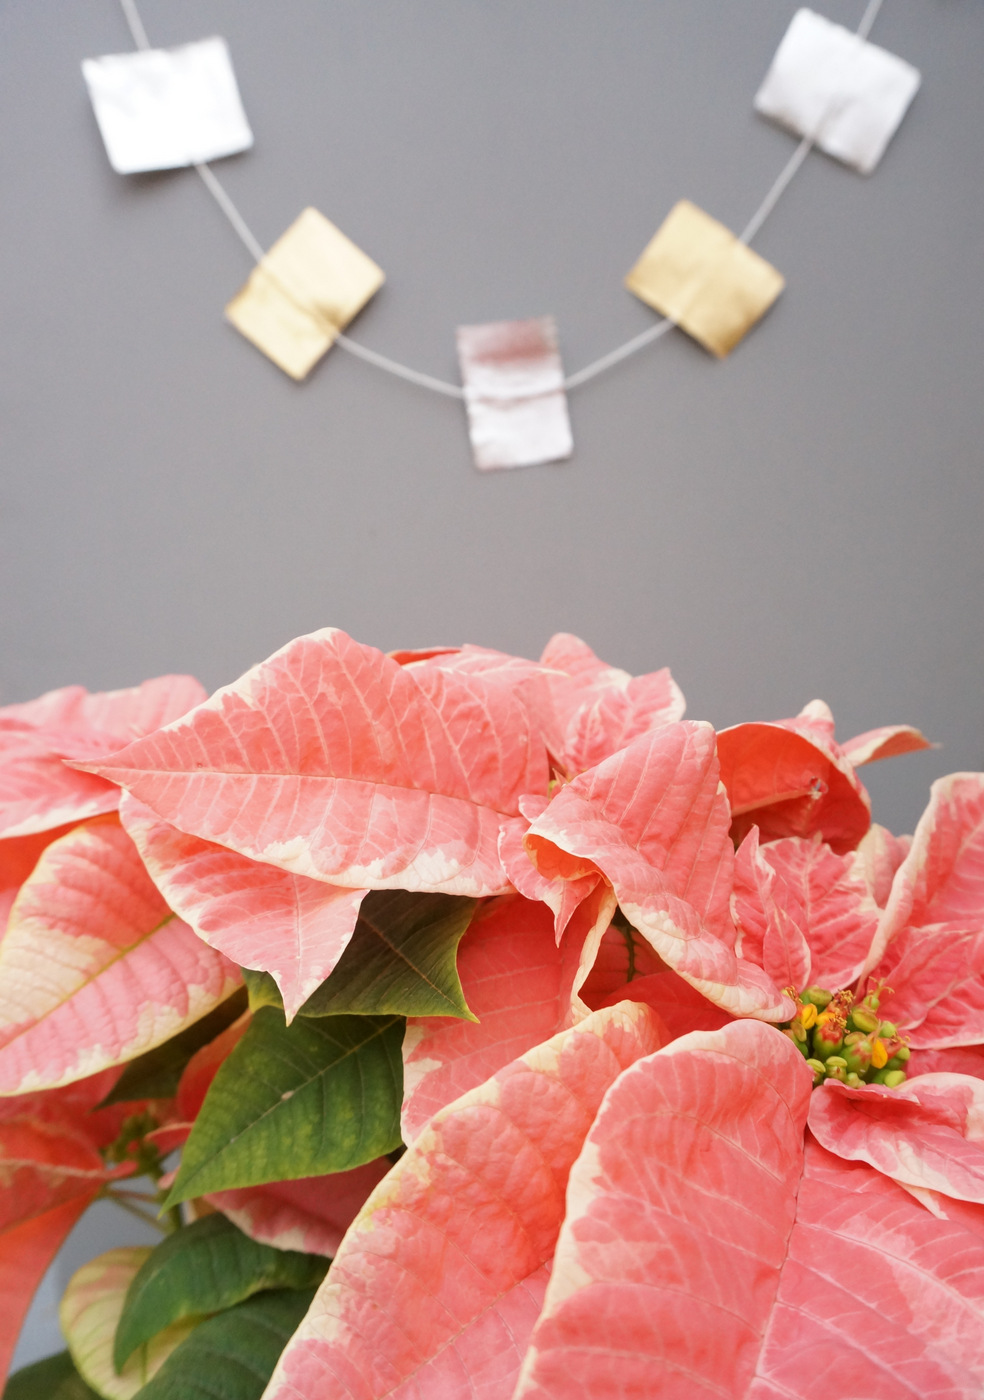
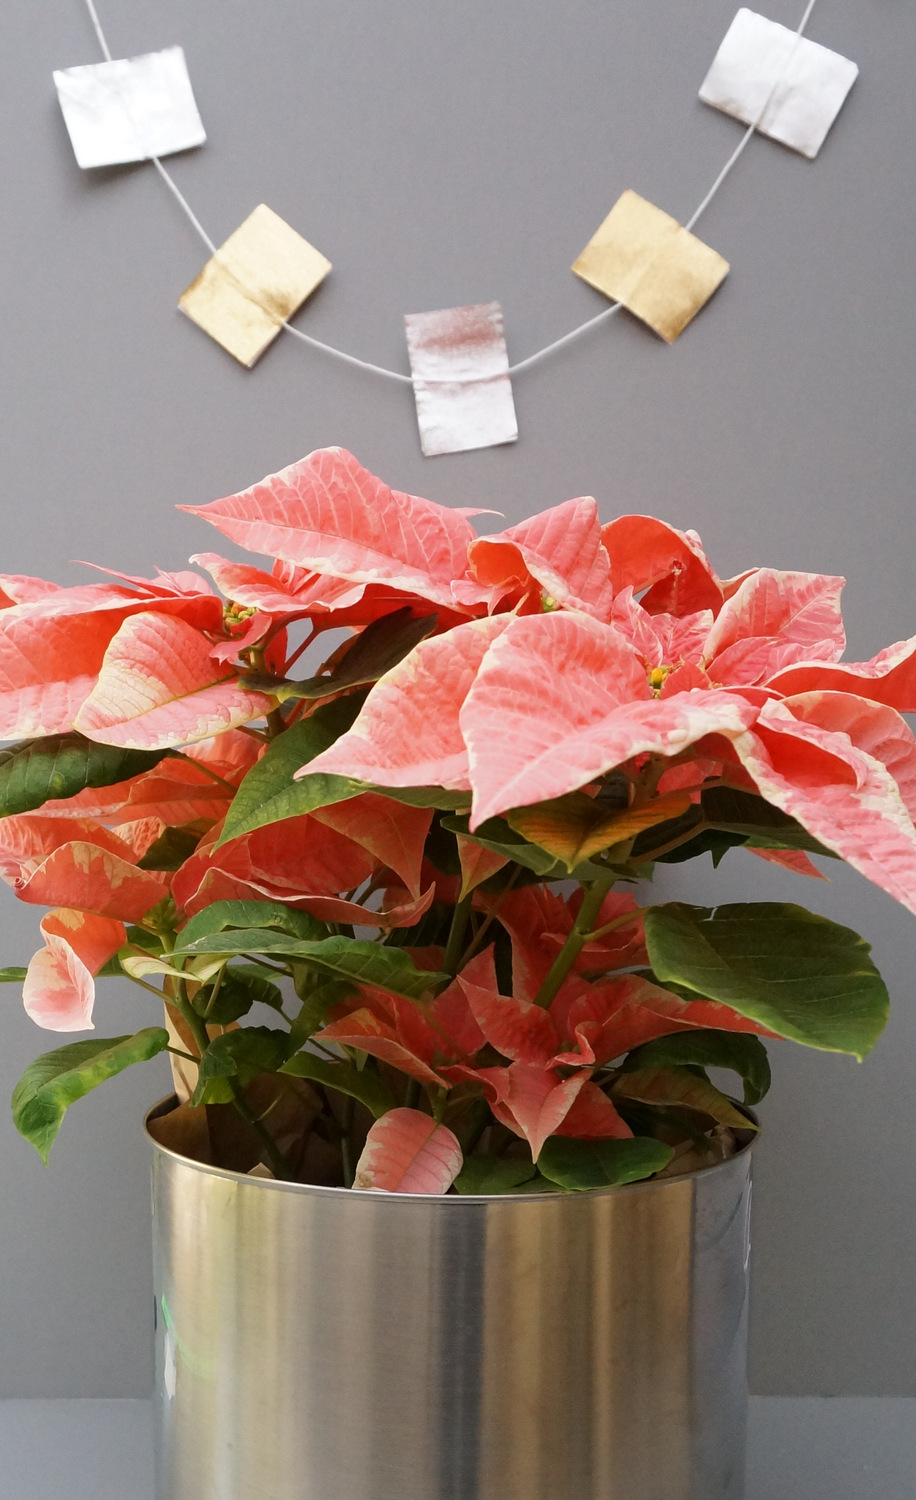
Now we get to the fun part: styling!!! As you’ve probably figured out, the shimmering fringe curtain above is NOT part of the garland. But it does a good job of showing how wonderful this garland looks when placed next to other things that shine. So get out all of your silver and gold holiday decor and go to town! And of course, the garland beautifully combines with vibrant holiday hues. I’m partial to pink this year, as shown by the poinsettia below:
Wishing you a holiday that sparkles! Thanks for reading, and I hope you get a chance to try this project at home.


