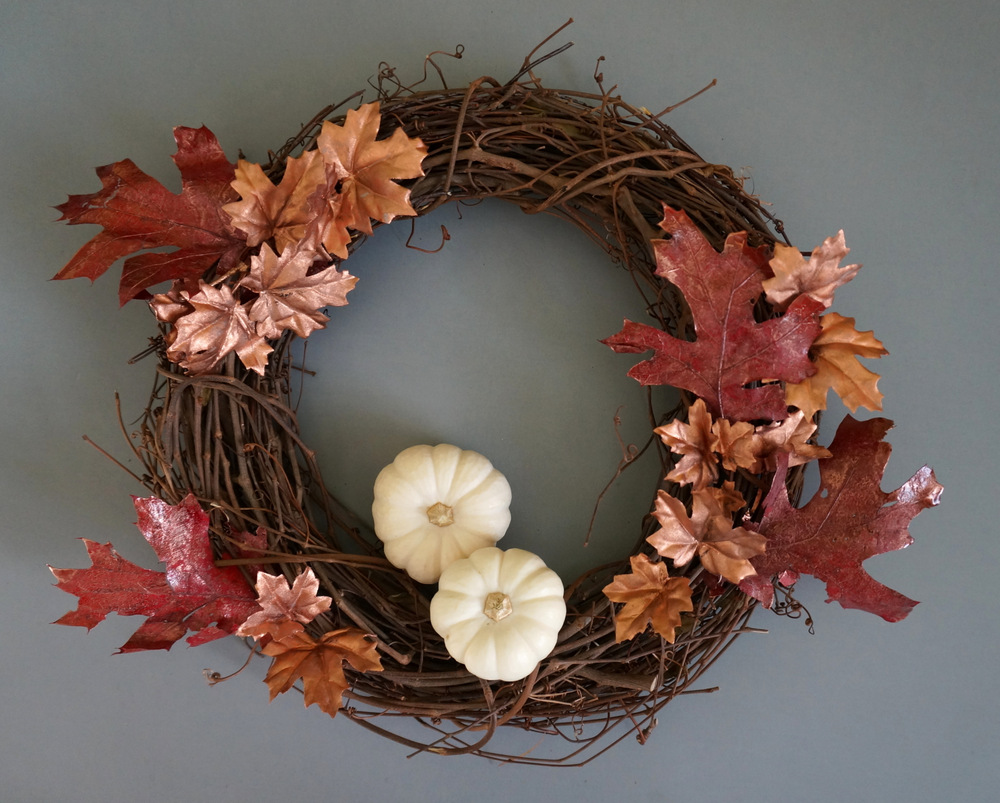
Fall is in the air, so it’s time to put a wreath on the door! Today’s DIY fall wreath idea celebrates seasonal foliage, as well as the current copper trend. Plus, with many craft stores already selling their faux flowers and leaves at half off the regular price (time to make room for the holiday merchandise), this project is as affordable as it is easy to create. Keep reading for all of the DIY details…
Project Supplies
A trip to the craft store will provide you with most of what you need, if not everything! Here’s the supply list for the project:
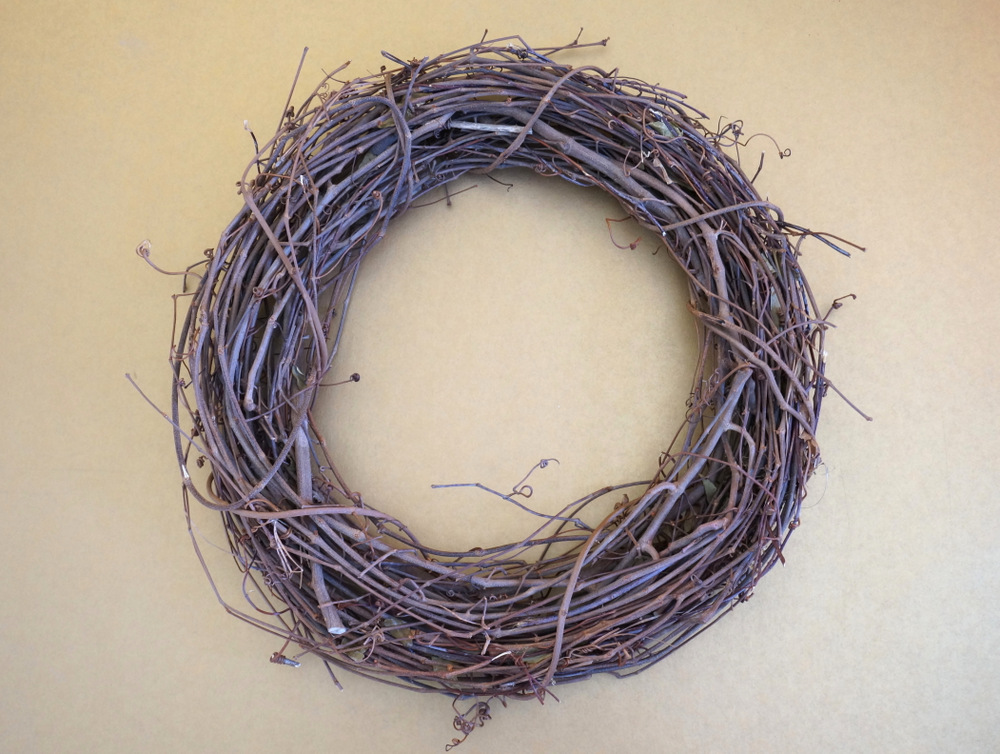
- a grapevine wreath in the size of your choice
- faux foliage
- a glue gun (optional)
- ribbon (optional)
- pumpkins and gourds (optional)
RELATED: Using Fall Leaves In Home Décor
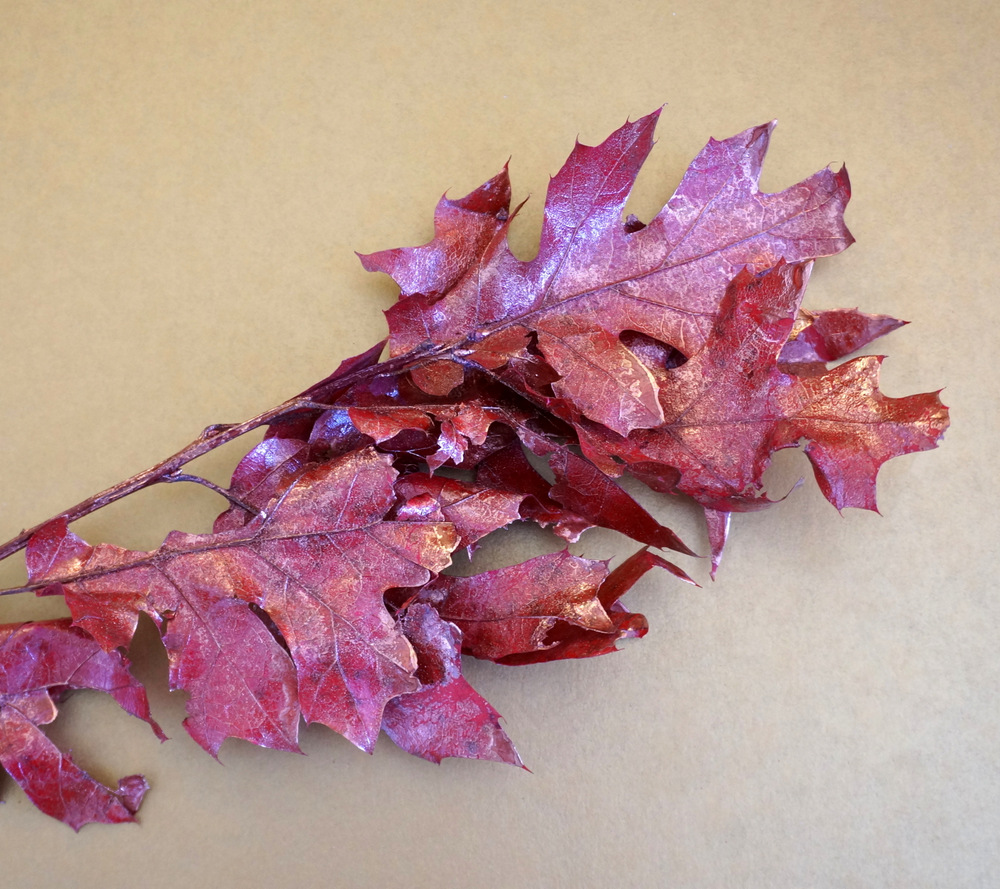
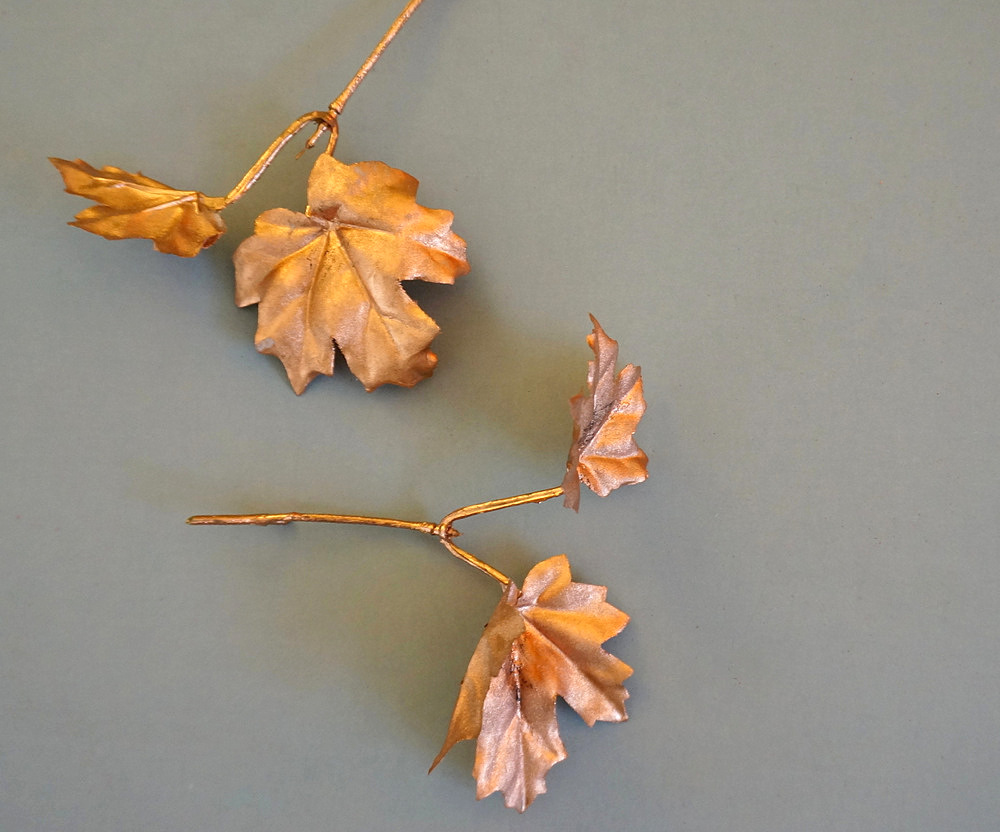
If you can, opt for faux leaves with a metallic finish. I chose copper, as it adds warmth and is one of today’s hottest metallics:
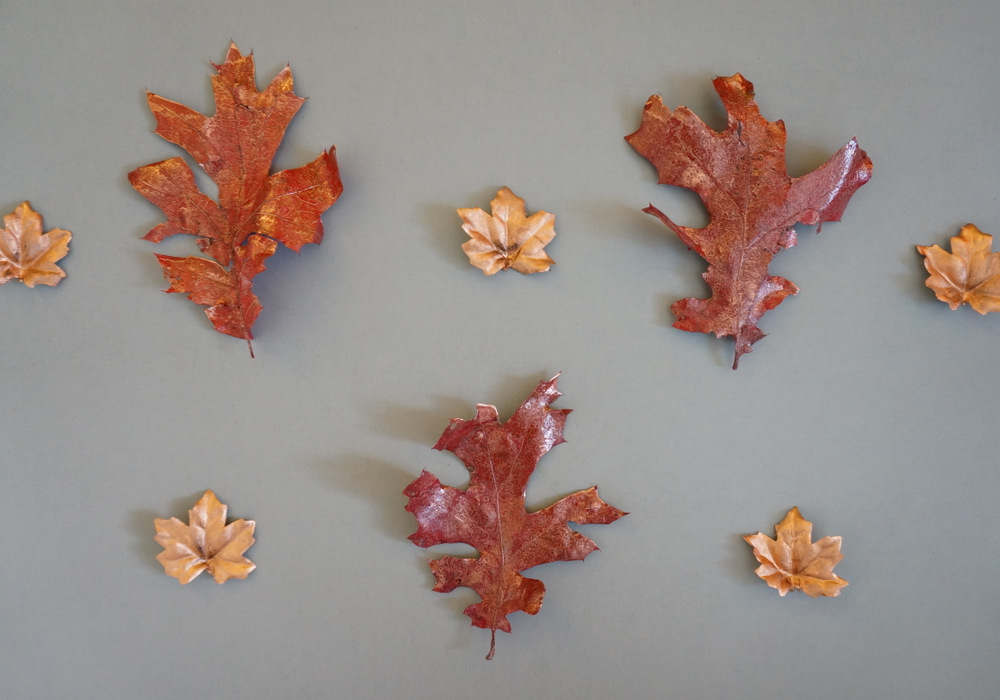
I was also lucky to find dried oak leaves with a copper finish, which gives them a glossy shine. However, this wreath will work with any foliage you bring to the table, so choose a style that makes you happy.
DIY Steps
Ready to get started? This project is easy and fun. You may even be able to pull it off in under an hour. Regardless, make sure you enjoy the process. Half the joy of putting this wreath together is getting to try different arrangements.
Step 1: Begin by cutting leaves from your bundles of foliage. Try to leave a stem, as this will make it possible to attach the leaves to the wreath without the use of hot glue.
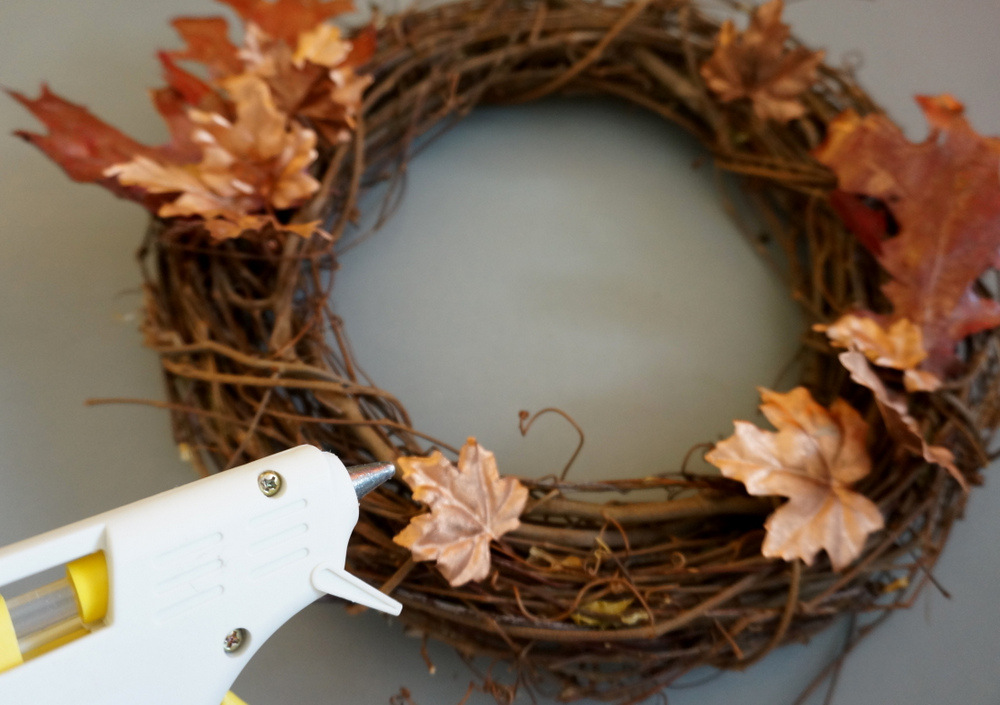
Step 2: Tuck the leaves into the grapevine wreath. If necessary, use a glue gun to secure the leaves to the wreath. Leaves without attached stems may need some help staying put.
As you can see below, the red leaves I used didn’t have much of a stem to work with. I was still able to tuck the bottom part of each leaf into the overlapping vines of the wreath, avoiding hot glue altogether. However, if you want to make your wreath extra secure, a dab of glue certainly doesn’t hurt.
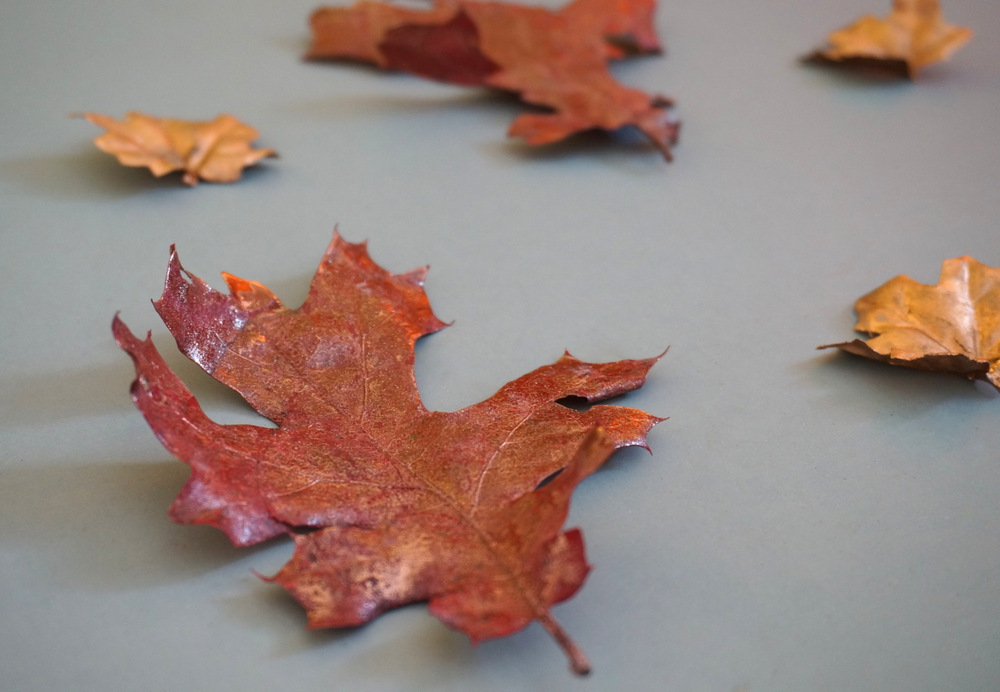
Don’t glue too early in the process. You may decide to change the arrangement of the leaves and play with the design. Gluing should be fine once you’re happy with the basic layout. As you can see below, I didn’t use a large number of leaves. After all, I wanted a big portion of the grapevine wreath to be visible, and I was also going for an asymmetrical look. But there are many wonderful possibilities, so have fun finding a design that works for you!
RELATED: 12 DIY Wreath Ideas For The Holiday Season
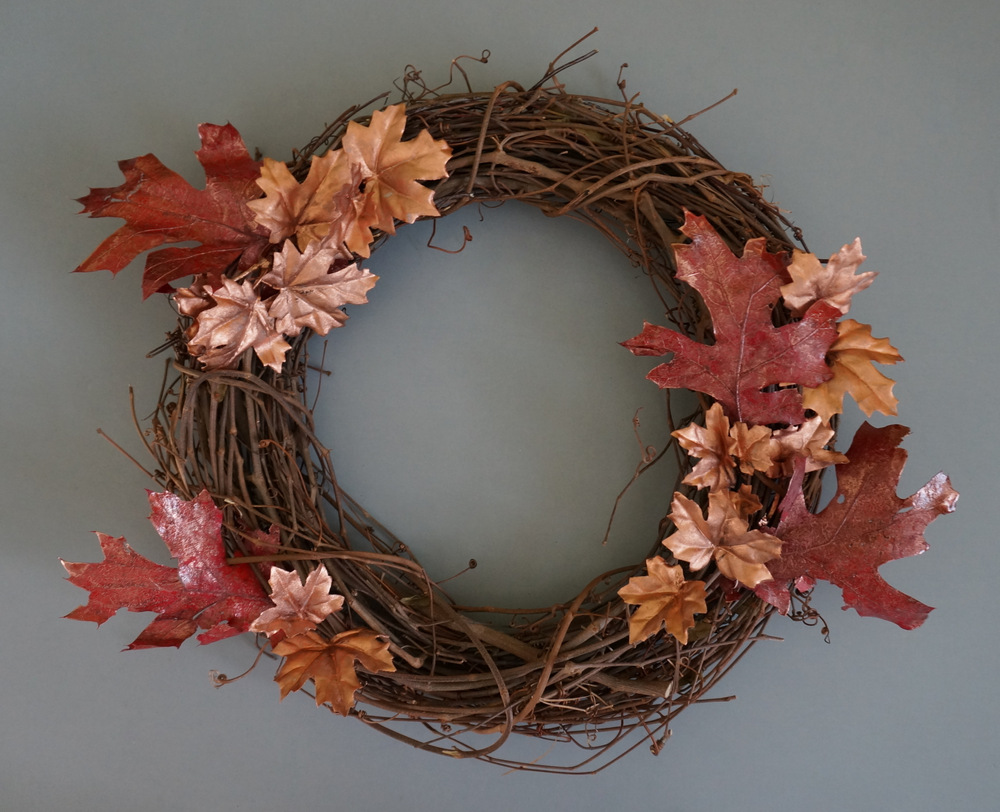
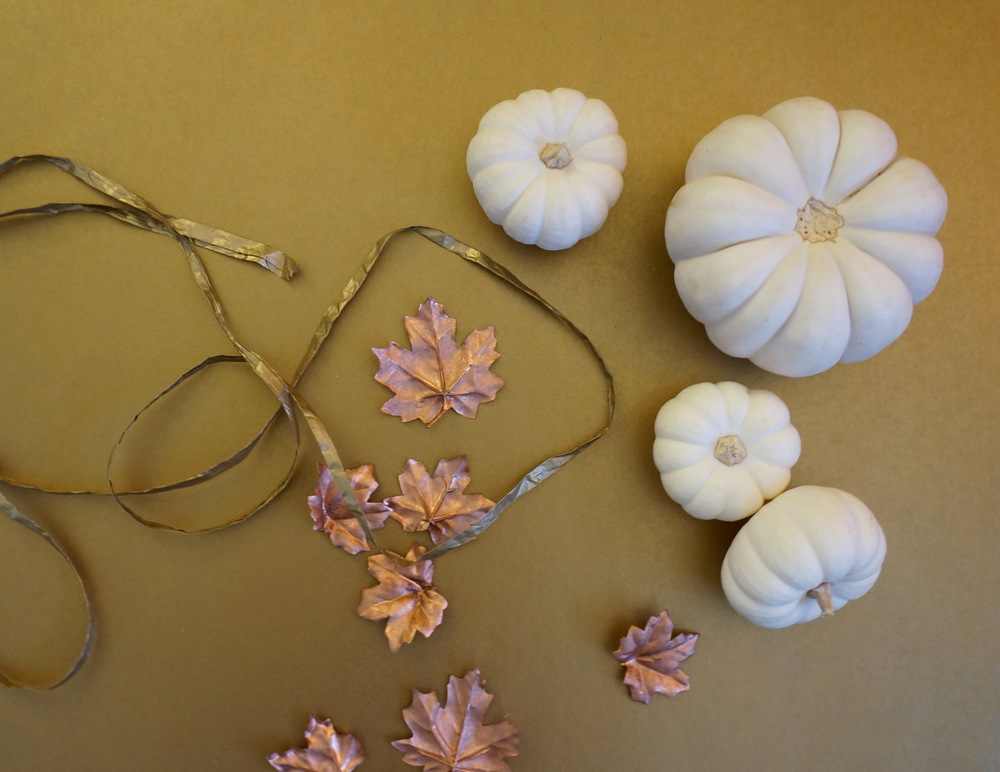
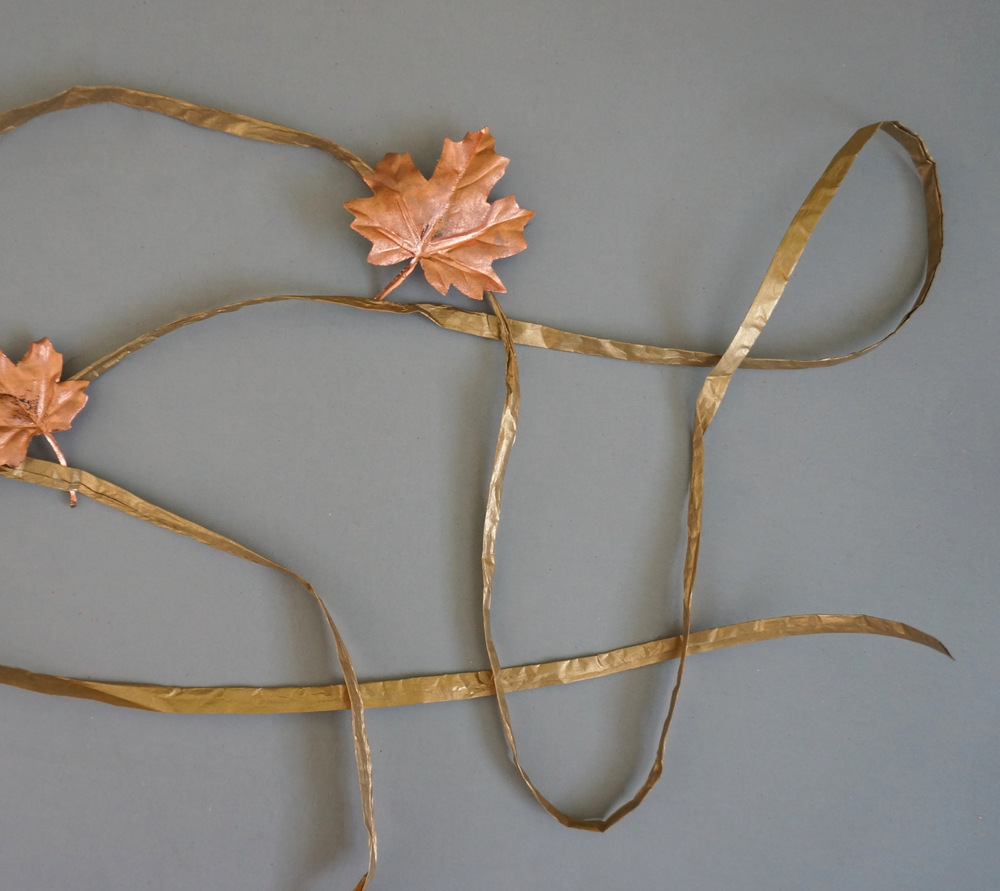
Step 3: Add ribbon, produce and other details if you wish. Faux produce would be easy to attach with the help of floral wire, and you may be able to get away with securing small, lightweight produce to the wreath with the help of a glue gun. I actually chose to leave my wreath just the way it appears above. I prefer a “less is more” approach!
A Wreath or a Centerpiece?
This fall wreath is very versatile. You can hang it on your door, or you can turn it into a centerpiece. A centerpiece, you say?! Bring on the pumpkins…

Placing a large pumpkin in the center of the wreath and smaller pumpkins on the outside helps create a picture-perfect focal point for your dining room table. Plus, you get the benefit of incorporating real pumpkins into the mix without having to attach them to a wreath that will hang vertically on your door. I chose a peach pumpkin for the center:
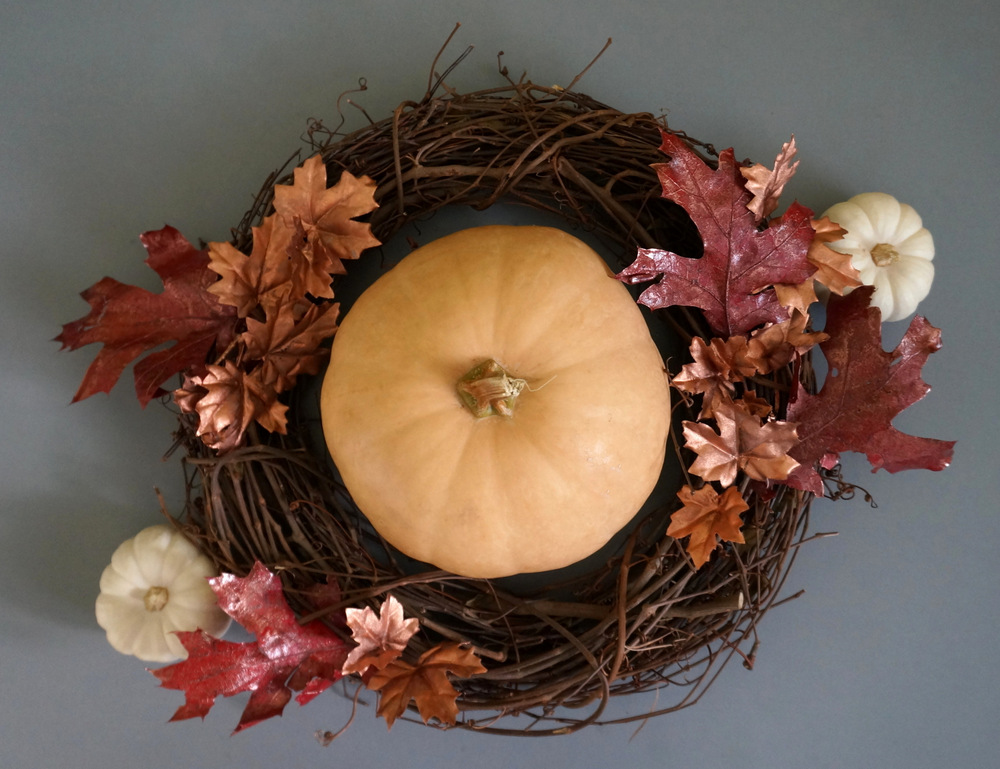
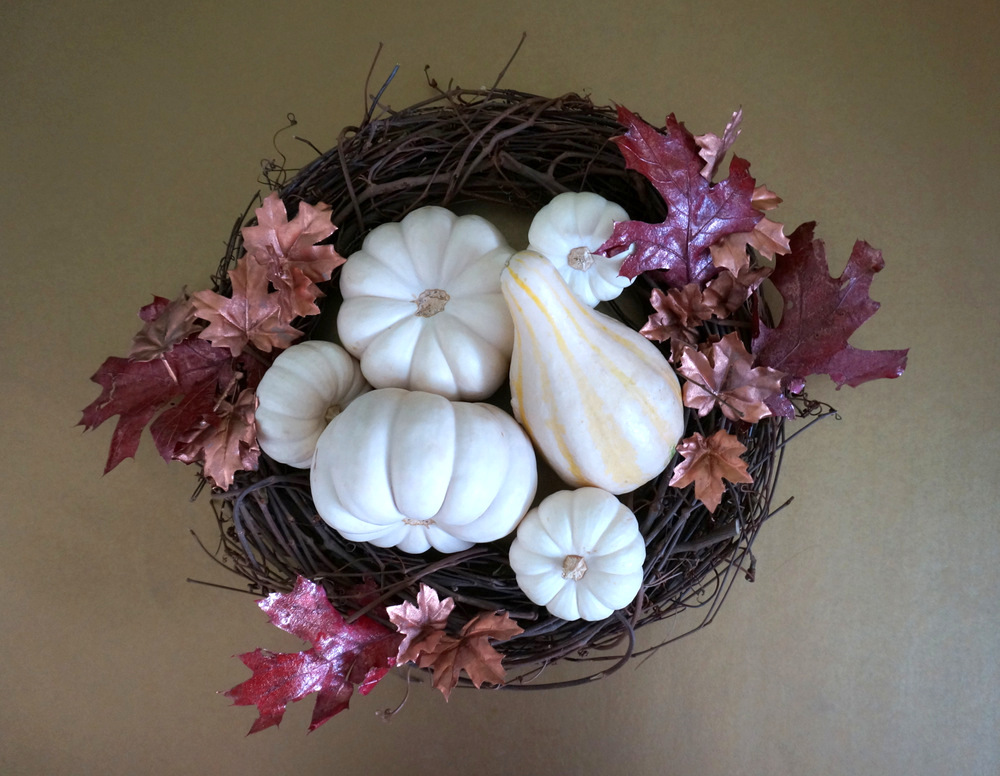
I also had fun creating a variation that involved a collection of white pumpkins, as well as a striped gourd. The white of the produce really pops against the dark tone of the grapevine wreath.
RELATED: Funky DIY Wreaths For The Fall Season
Yes, it’s that easy! Hit a good sale at your craft store or order the supplies online. This budget-friendly project is truly enjoyable, and it gives you the chance to style an arrangement that incorporates the most beautiful elements of fall. Happy crafting!


