It’s beginning to look a lot like Christmas! Today I’m sharing one final holiday DIY project, and this time it’s all about personalizing your gifts. Not to mention, there’s plenty of confetti involved! But first, be sure to check out my other holiday DIY projects: a sparkling holiday garland, easy gift wrapping ideas, and affordable holiday centerpieces. Our focus this season has been budget-friendly design that makes a big impact.
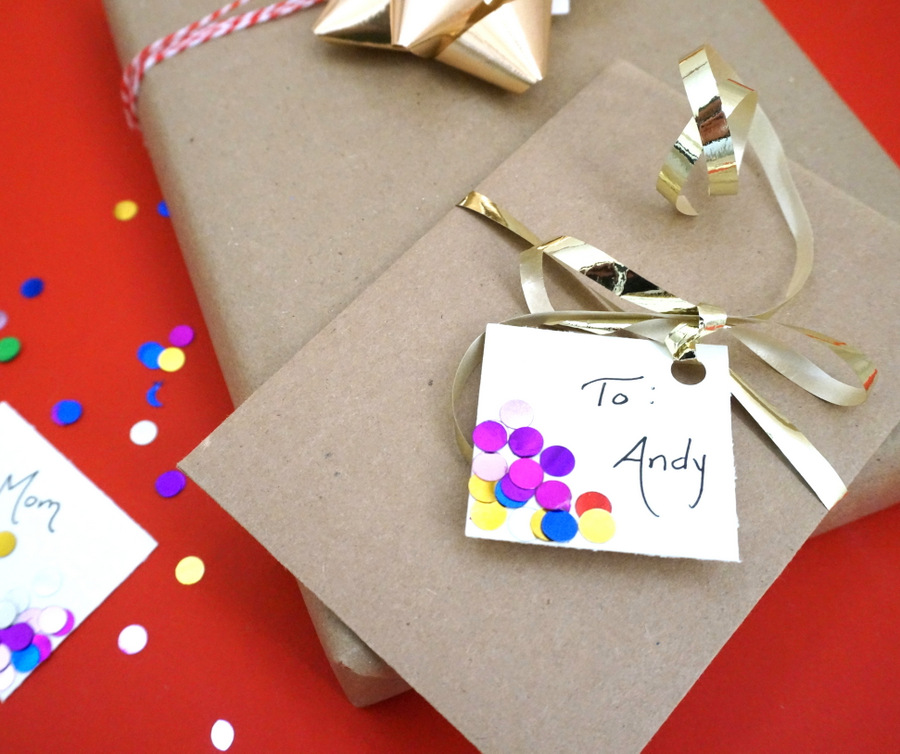
Speaking of creating design statements that count, keep reading for a full tutorial so you can craft your own DIY confetti gift tags!…
Supplies
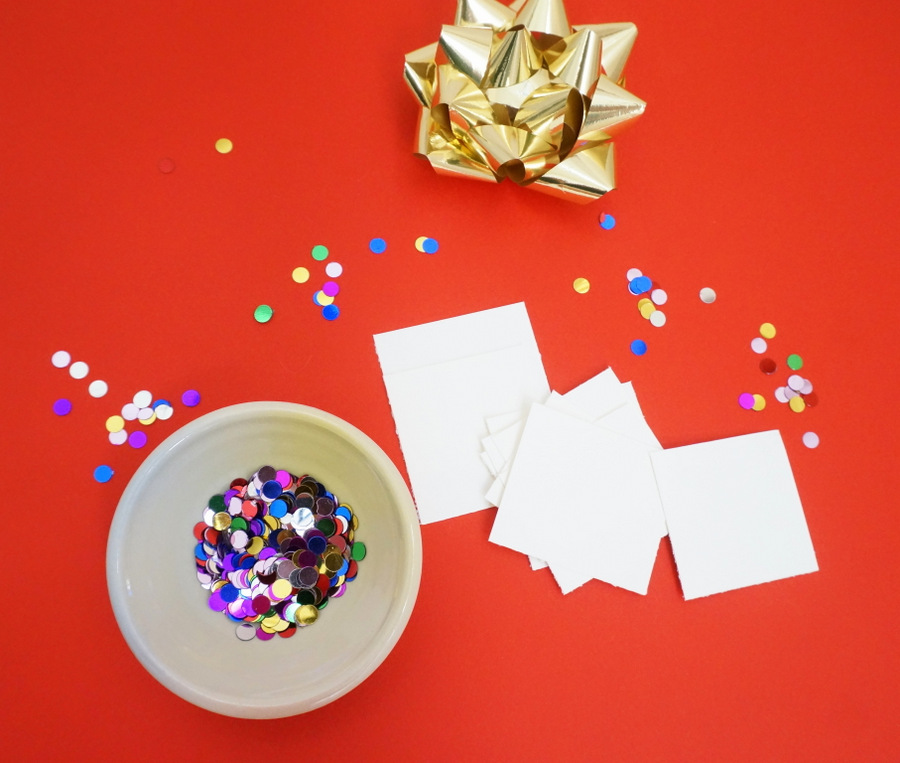
This easy project can be completed with a few simple supplies. Here’s what you’ll need to get started:
- cardstock paper
- scissors or a paper cutter
- confetti
- glue
- a marker
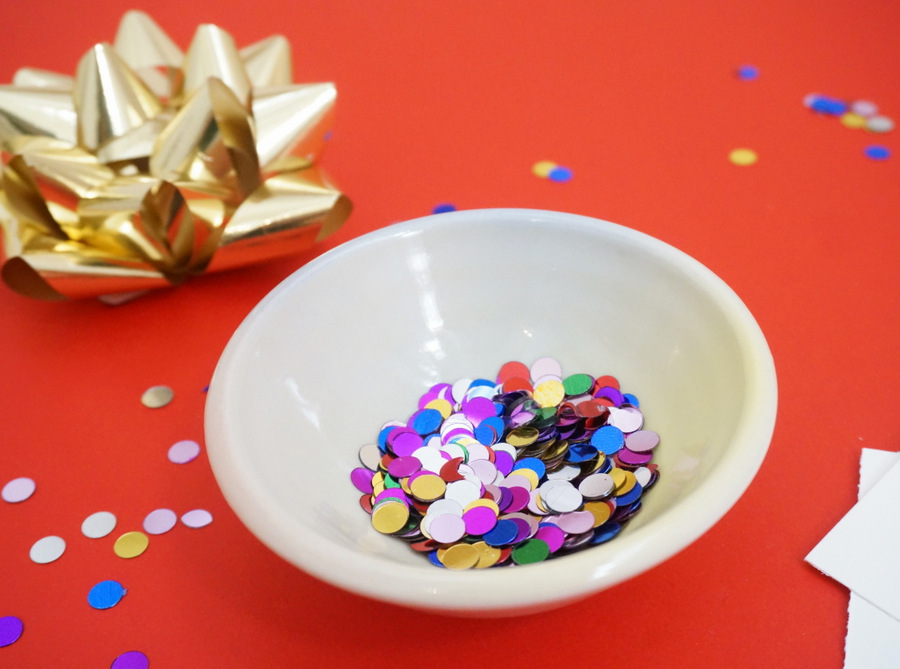
I chose sparkling confetti, and it definitely added a festive holiday touch! Plus, if you use confetti in a variety of colors (rather than strictly red and green), you can ensure that these gift tags will work well with any type of holiday wrapping you have on hand.

Steps
Step 1: Cut your cardstock into tags.
I used a paper cutter, but scissors will work just as well! Choose a tag size that makes sense for the size of your gifts. Make sure there’s room to write the name of your gift recipient, as well as punch a hole if you plan on securing the tag to your gift with ribbon.

Step 2: Add glue to your tag.
There are many strategies here, such as covering one corner of the tag with glue. This works well if you plan on dipping your tag into the confetti. You may also want to add individual dots of glue to your tag if you want more of a speckled effect.

Step 3: Stick the confetti to your tag using the method of your choice.
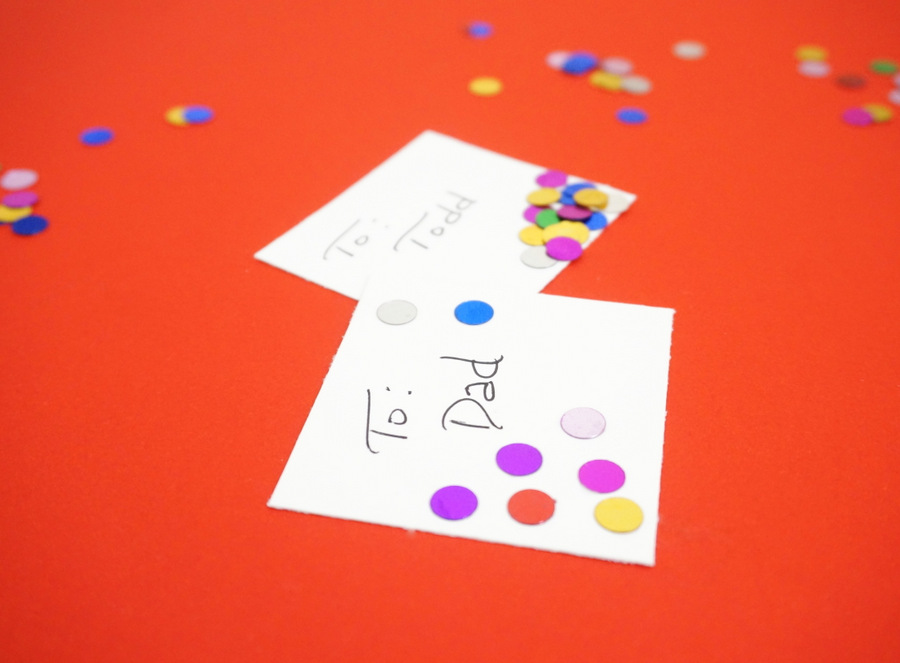
I used a few different strategies, including dipping the tag into a bowl of confetti, sprinkling the confetti onto the tag, and placing individual pieces confetti onto dots of glue. Do what works best for the chosen design of your tag.
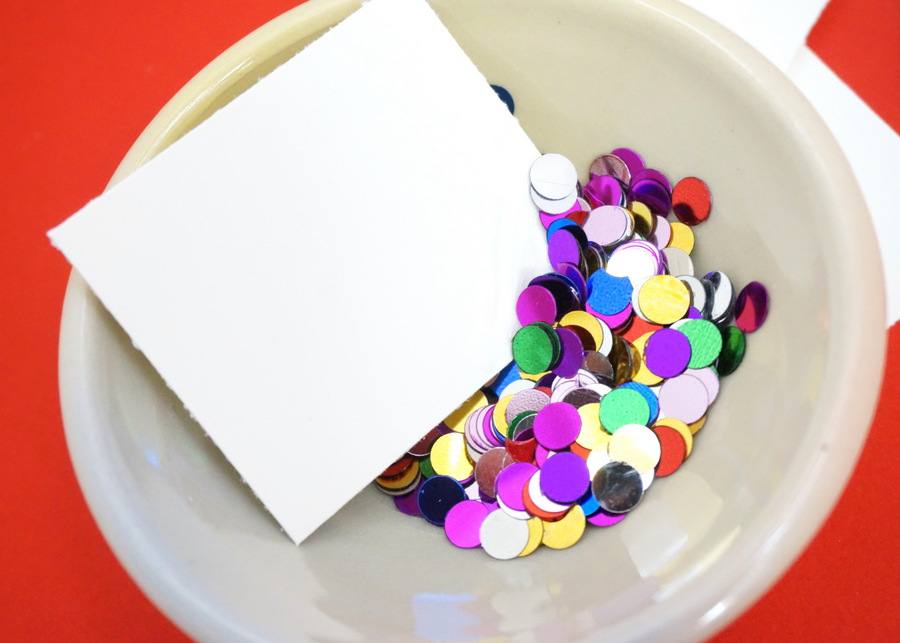
Step 4: Remove excess confetti from your tag.
If you dip the tag, you will likely have a large cluster of confetti, as shown below. Since there are pieces lodged in between the confetti dots that are stuck to the tag with glue, they may fall off in time, and they’re adding thickness that’s not needed. Shake your tag, or gently use your finger to dislodge excess confetti.
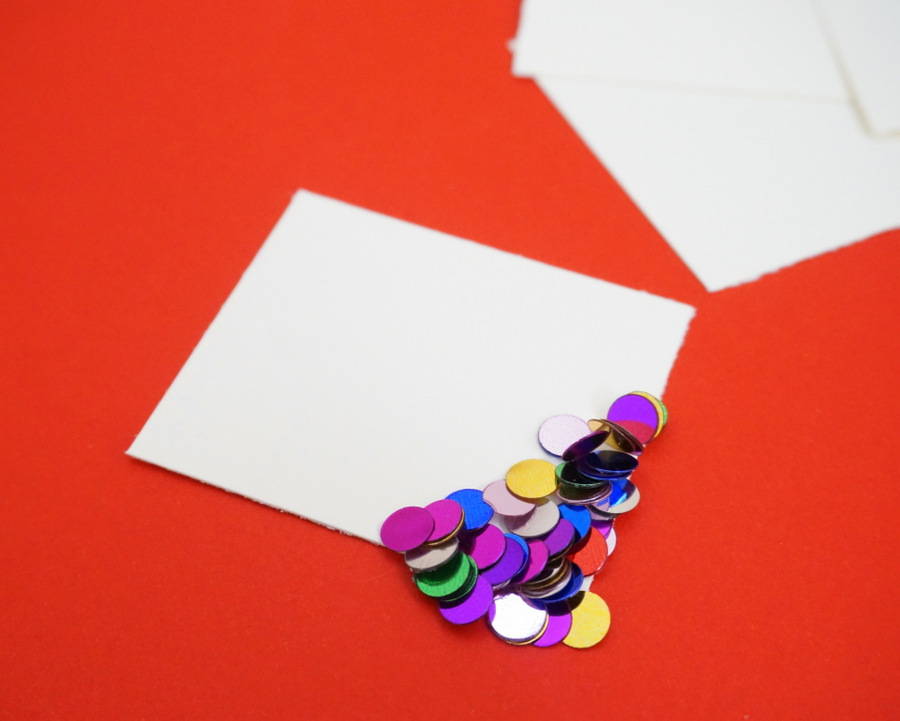
Step 5: Add names to your tags with a marker or pen.
I chose a black pen, but you can get fancy with paint pens, metallic gel pens, and more! You can even make these tags even more vibrant by using colorful markers.
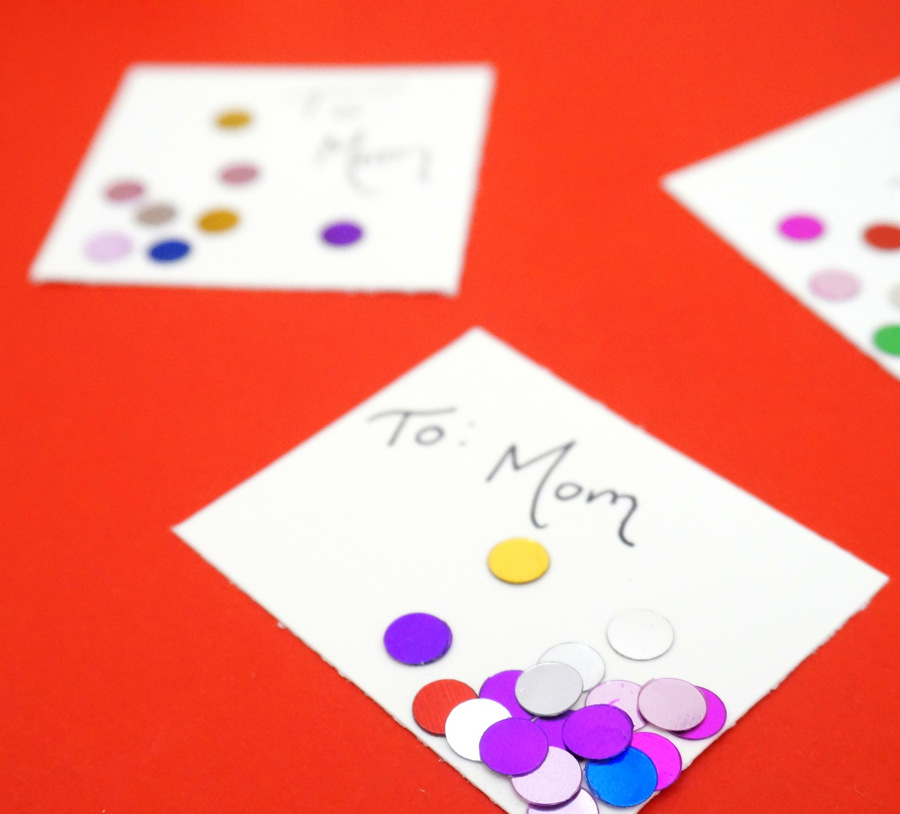
Step 6: Secure the tag to your gift!
I had fun using ribbon to tie the tags to my gifts, and I also used tape to secure them (especially if my gifts were topped with bows).

Styling
Enjoy experimenting with a variety of ribbons and bows as you combine your tags with interesting gift wrap for an eye-catching finish. As mentioned, the tags go with anything and everything, so even brown kraft paper can be brought to life with these sparkling labels!
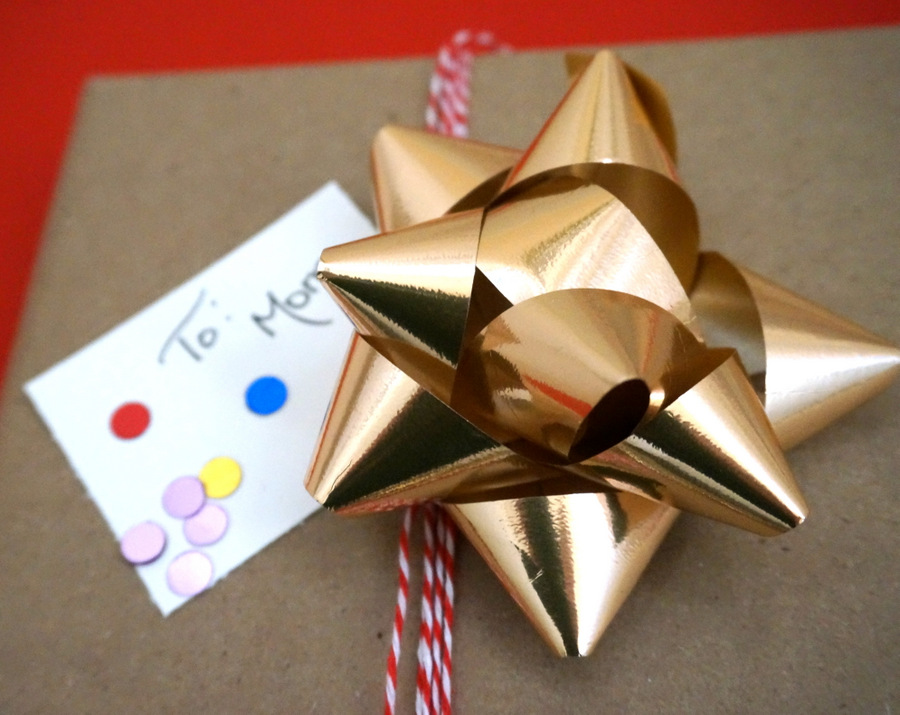
I enjoyed using metallic ribbons and bows that reinforced the shimmer and shine of this project:
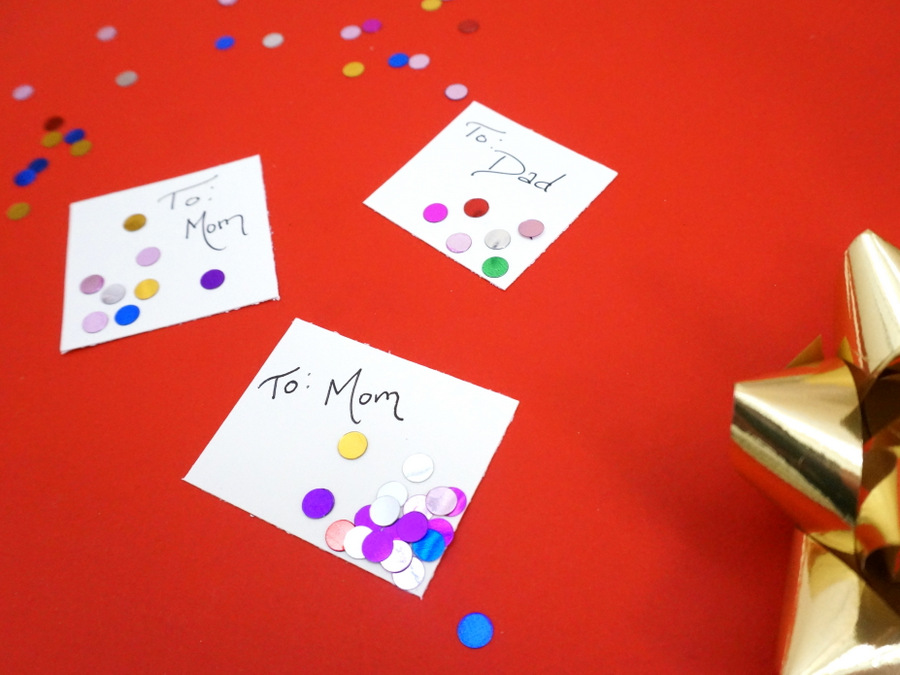
There’s nothing like confetti to make a festive statement during the holidays! Plus, these tags are perfect for any hostess gifts you might bring to a New Year’s party in the coming weeks.

Thanks for reading our holiday DIY series. We promise new and interesting DIY features in 2016. Until then, enjoy the season, and stay cozy!


