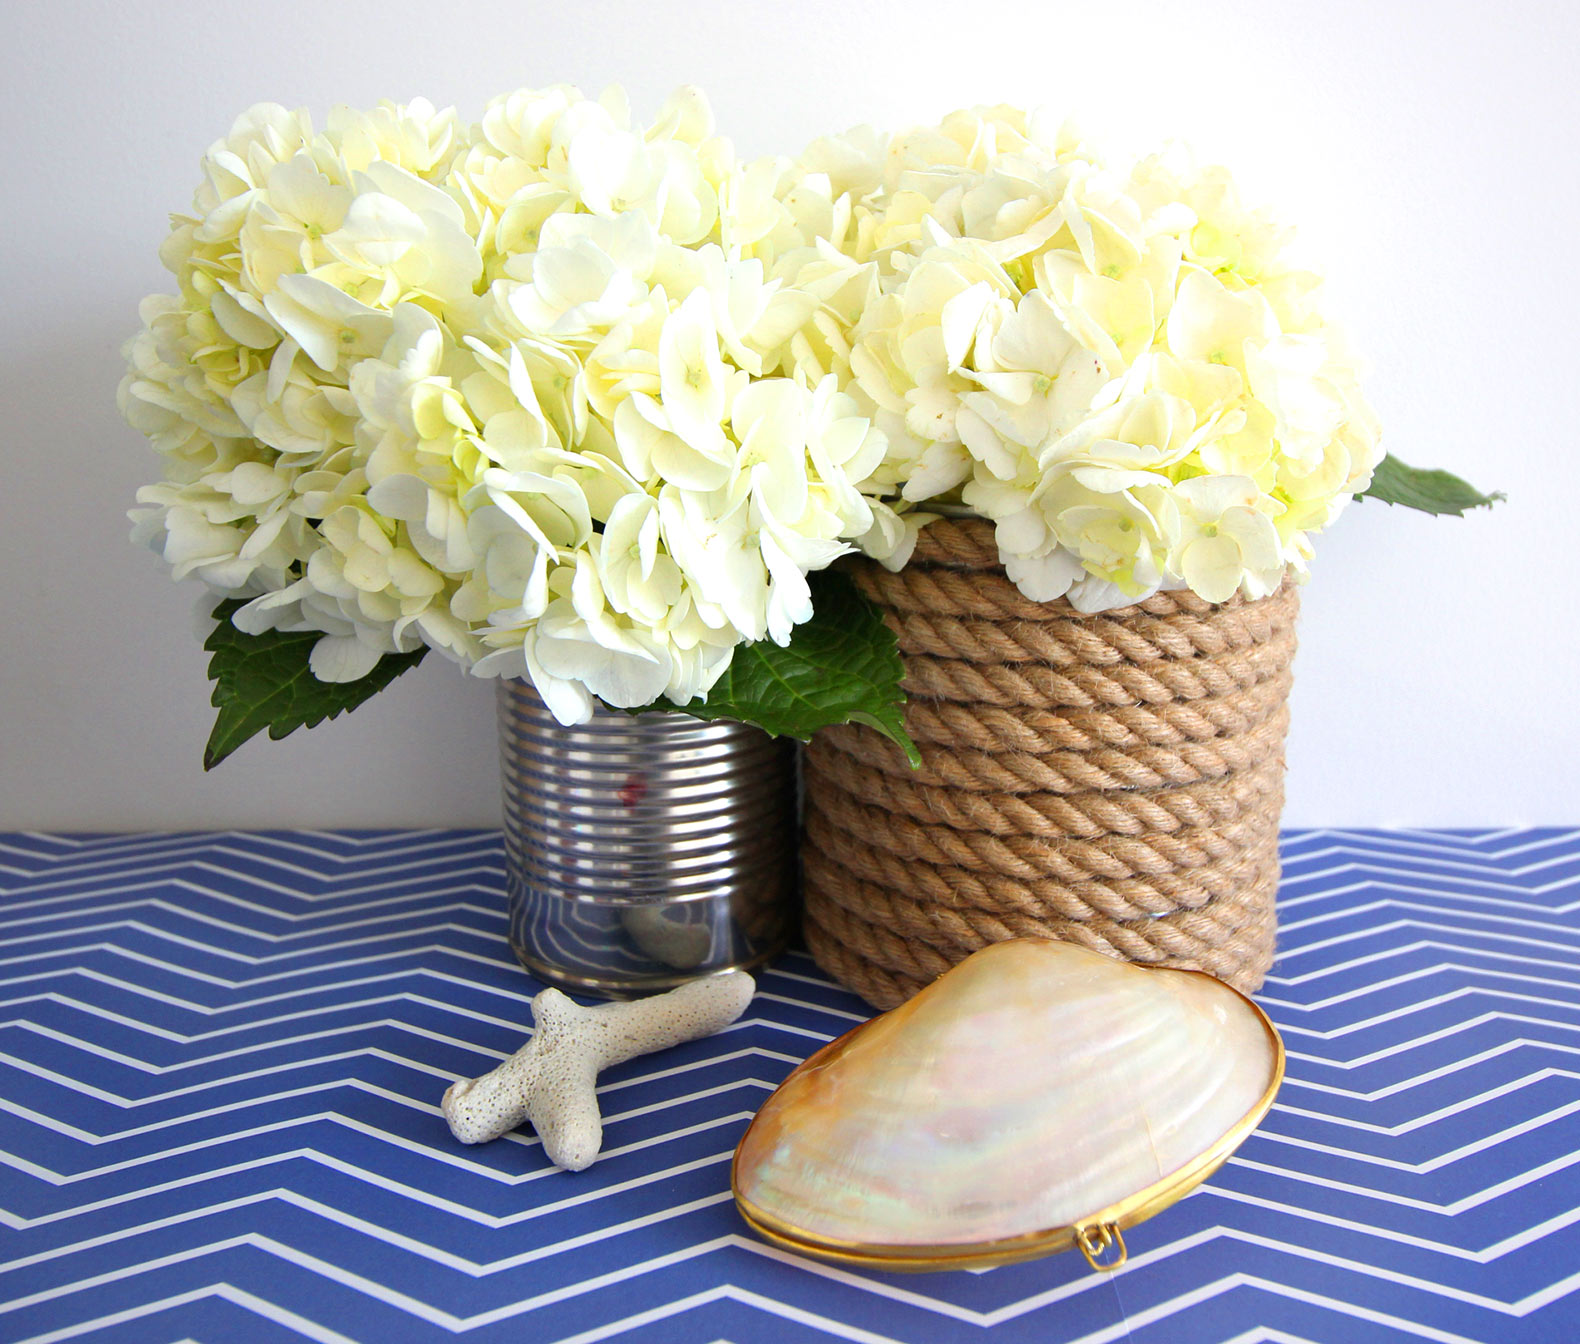
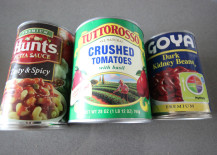
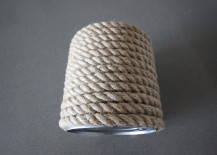
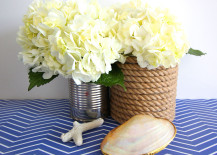
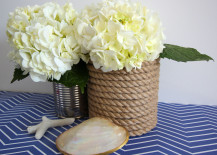
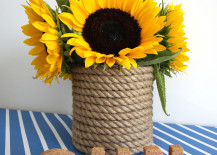
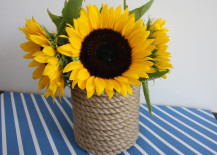
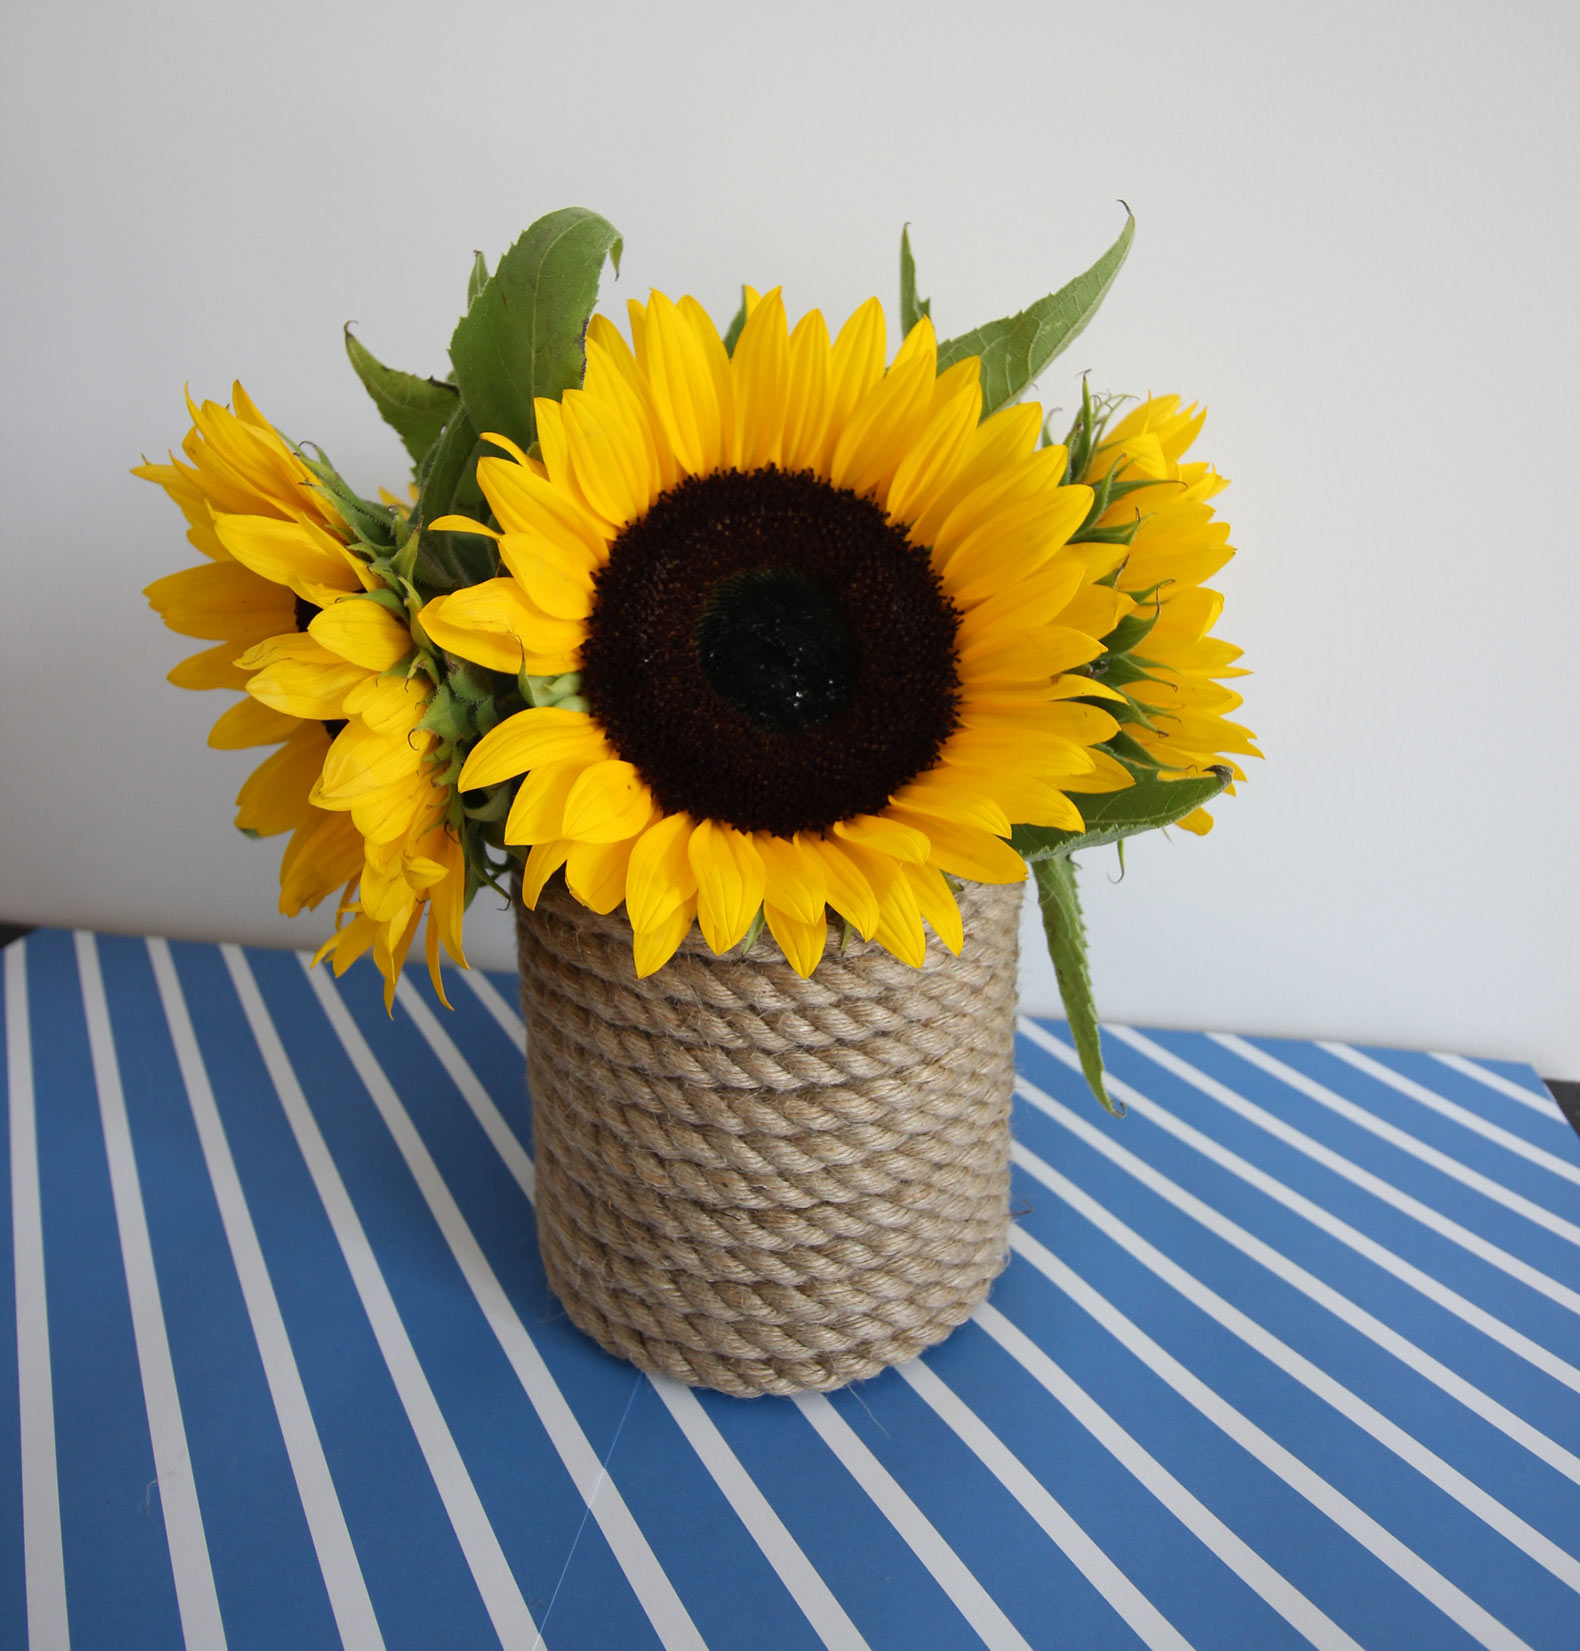
I recently went hunting for some nautical vases for my upcoming wedding, and found a rope-wrapped design that fit the bill perfectly–that is, until I saw the pricetag. Eager to see if I could replicate the costly containers, I set to work wrapping some recycled food cans with inexpensive jute rope, and the result was everything I wanted for just a fraction of the cost of purchasing them. Read on for the DIY instructions and learn how to make these for your waterfront cottage, maritime-themed event, or any other space that could benefit from a beachy vibe.
DIY Rope-Wrapped Vases
Here’s what you’ll need to get started…
– thick jute rope (I picked up 15′ for $5.99)
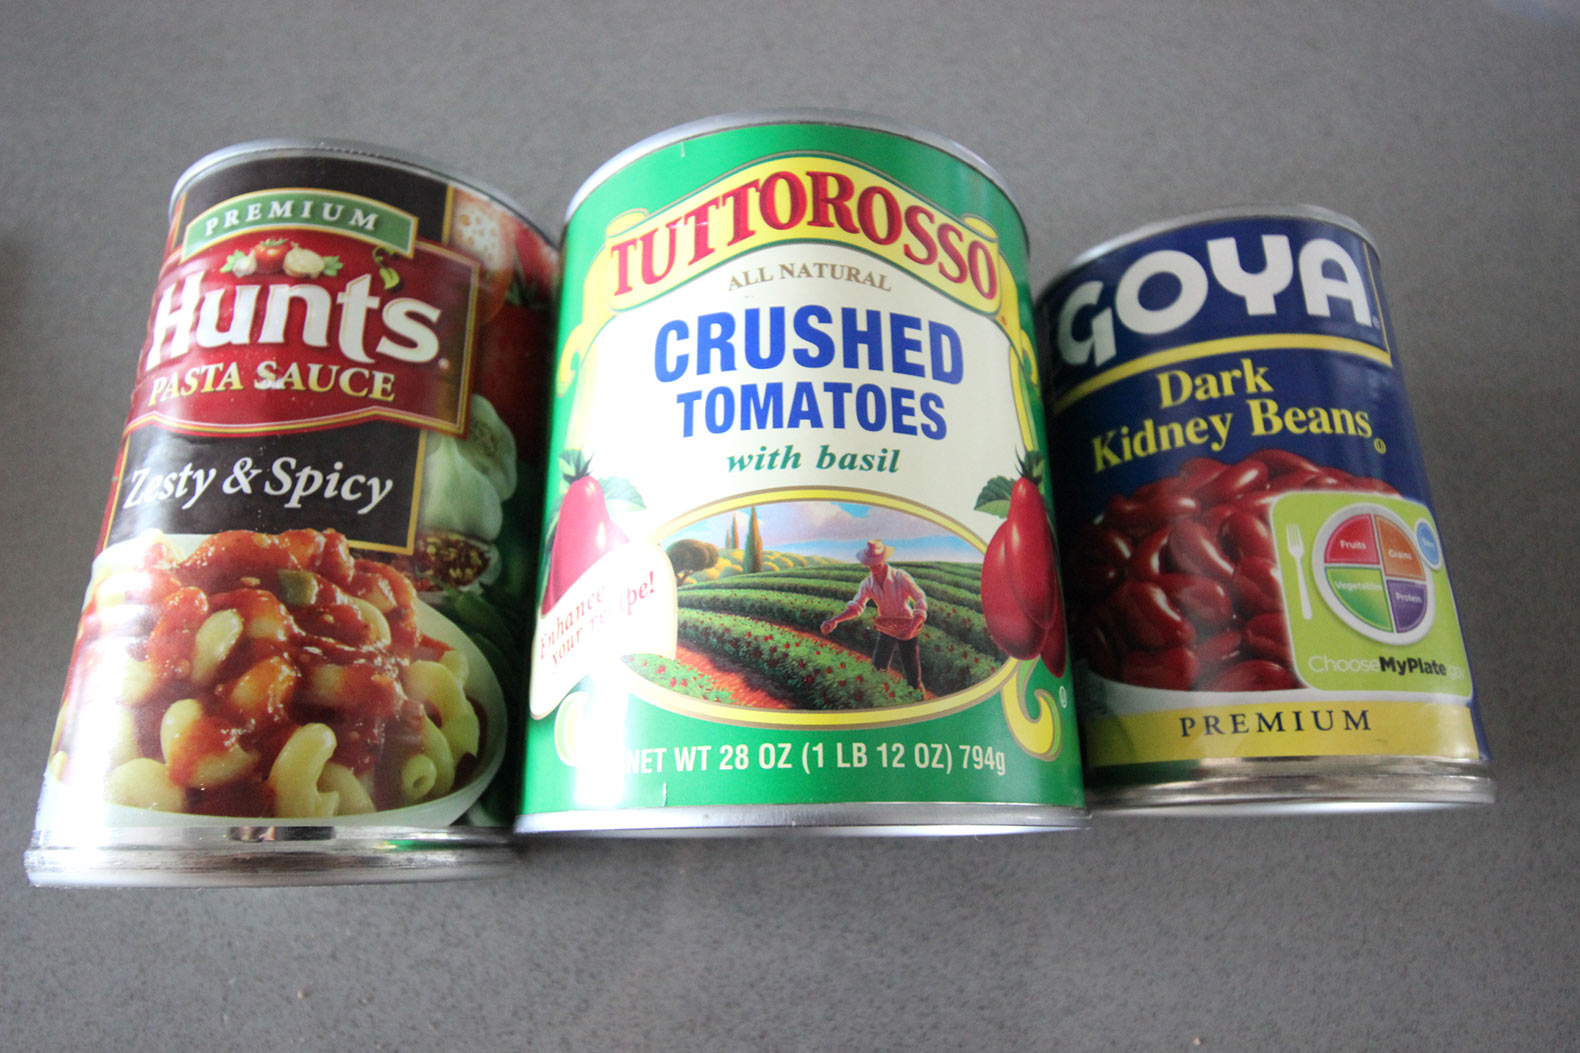
– empty food cans
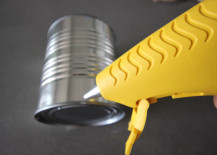
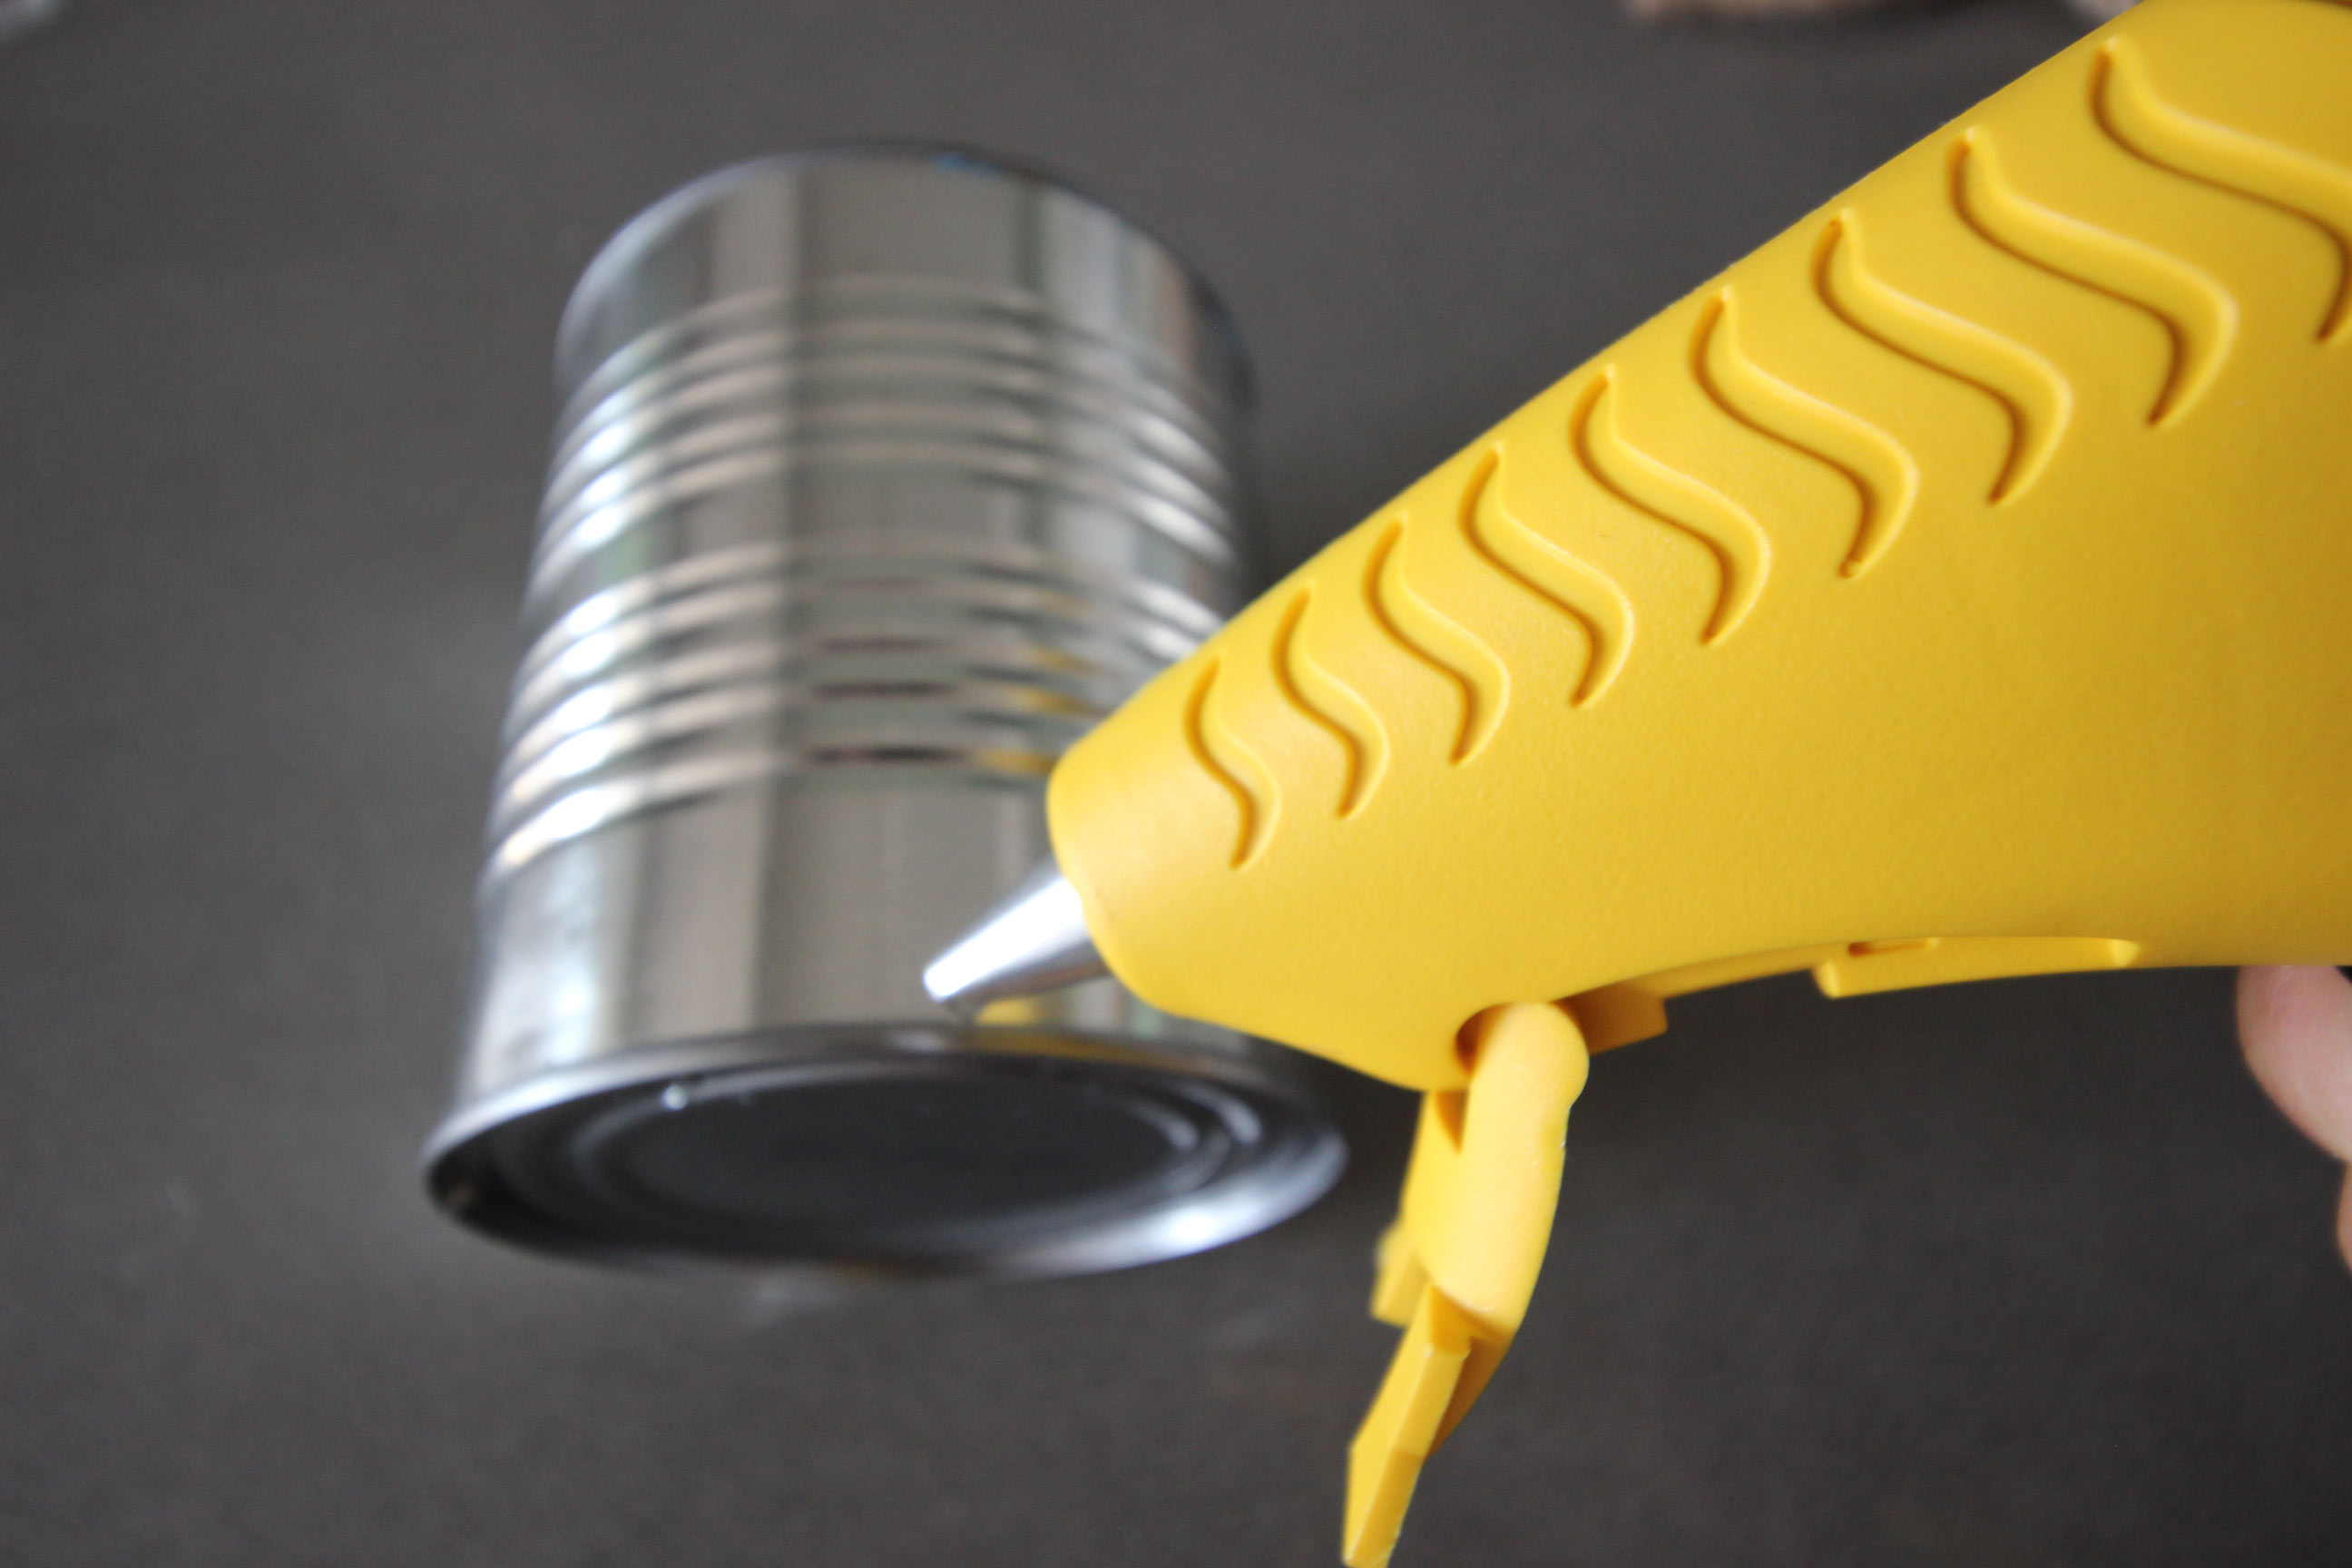
– a heavy duty glue gun and glue
– heavy duty scissors or garden shears
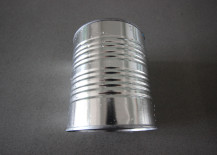
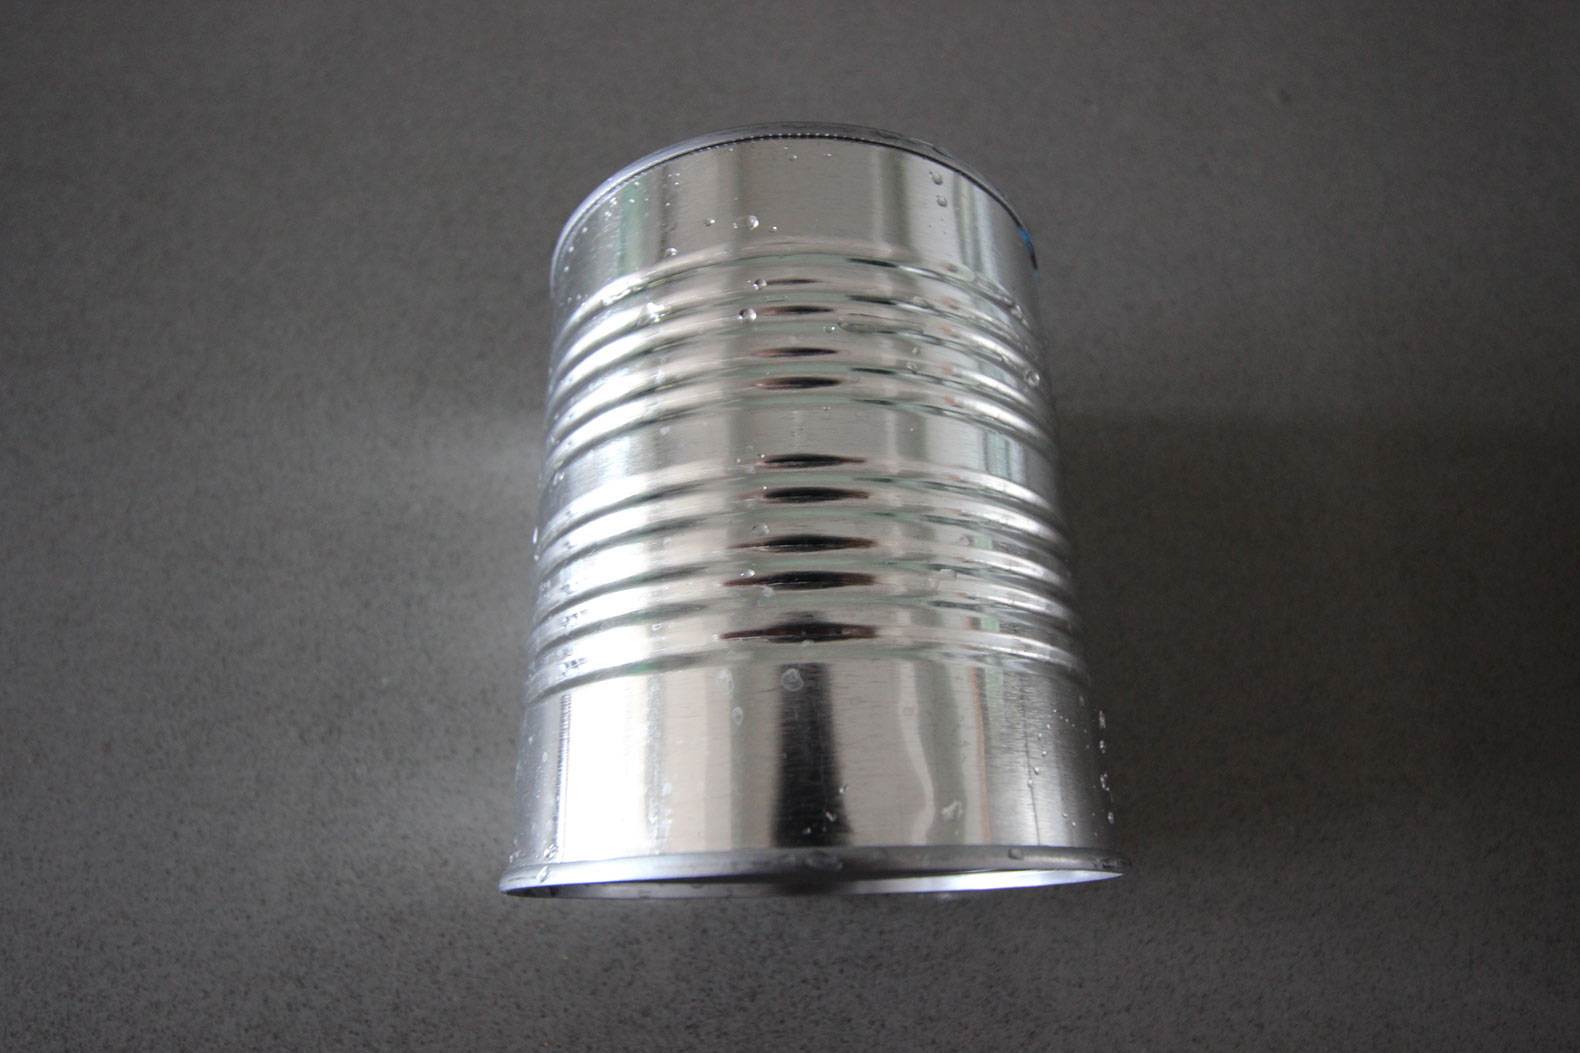
Step 1: Wash and dry your empty metal can and remove the label.
Step 2: Test out your rope by wrapping it around your can once without glue to make sure it is definitely long enough to cover your can. I used 13.5′ of .2″ rope to cover a wide tomato puree can.
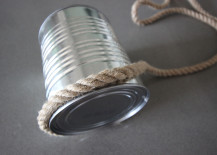
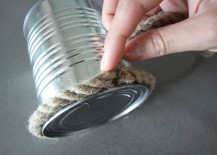
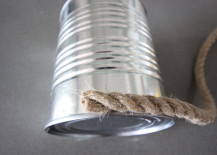
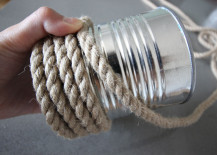
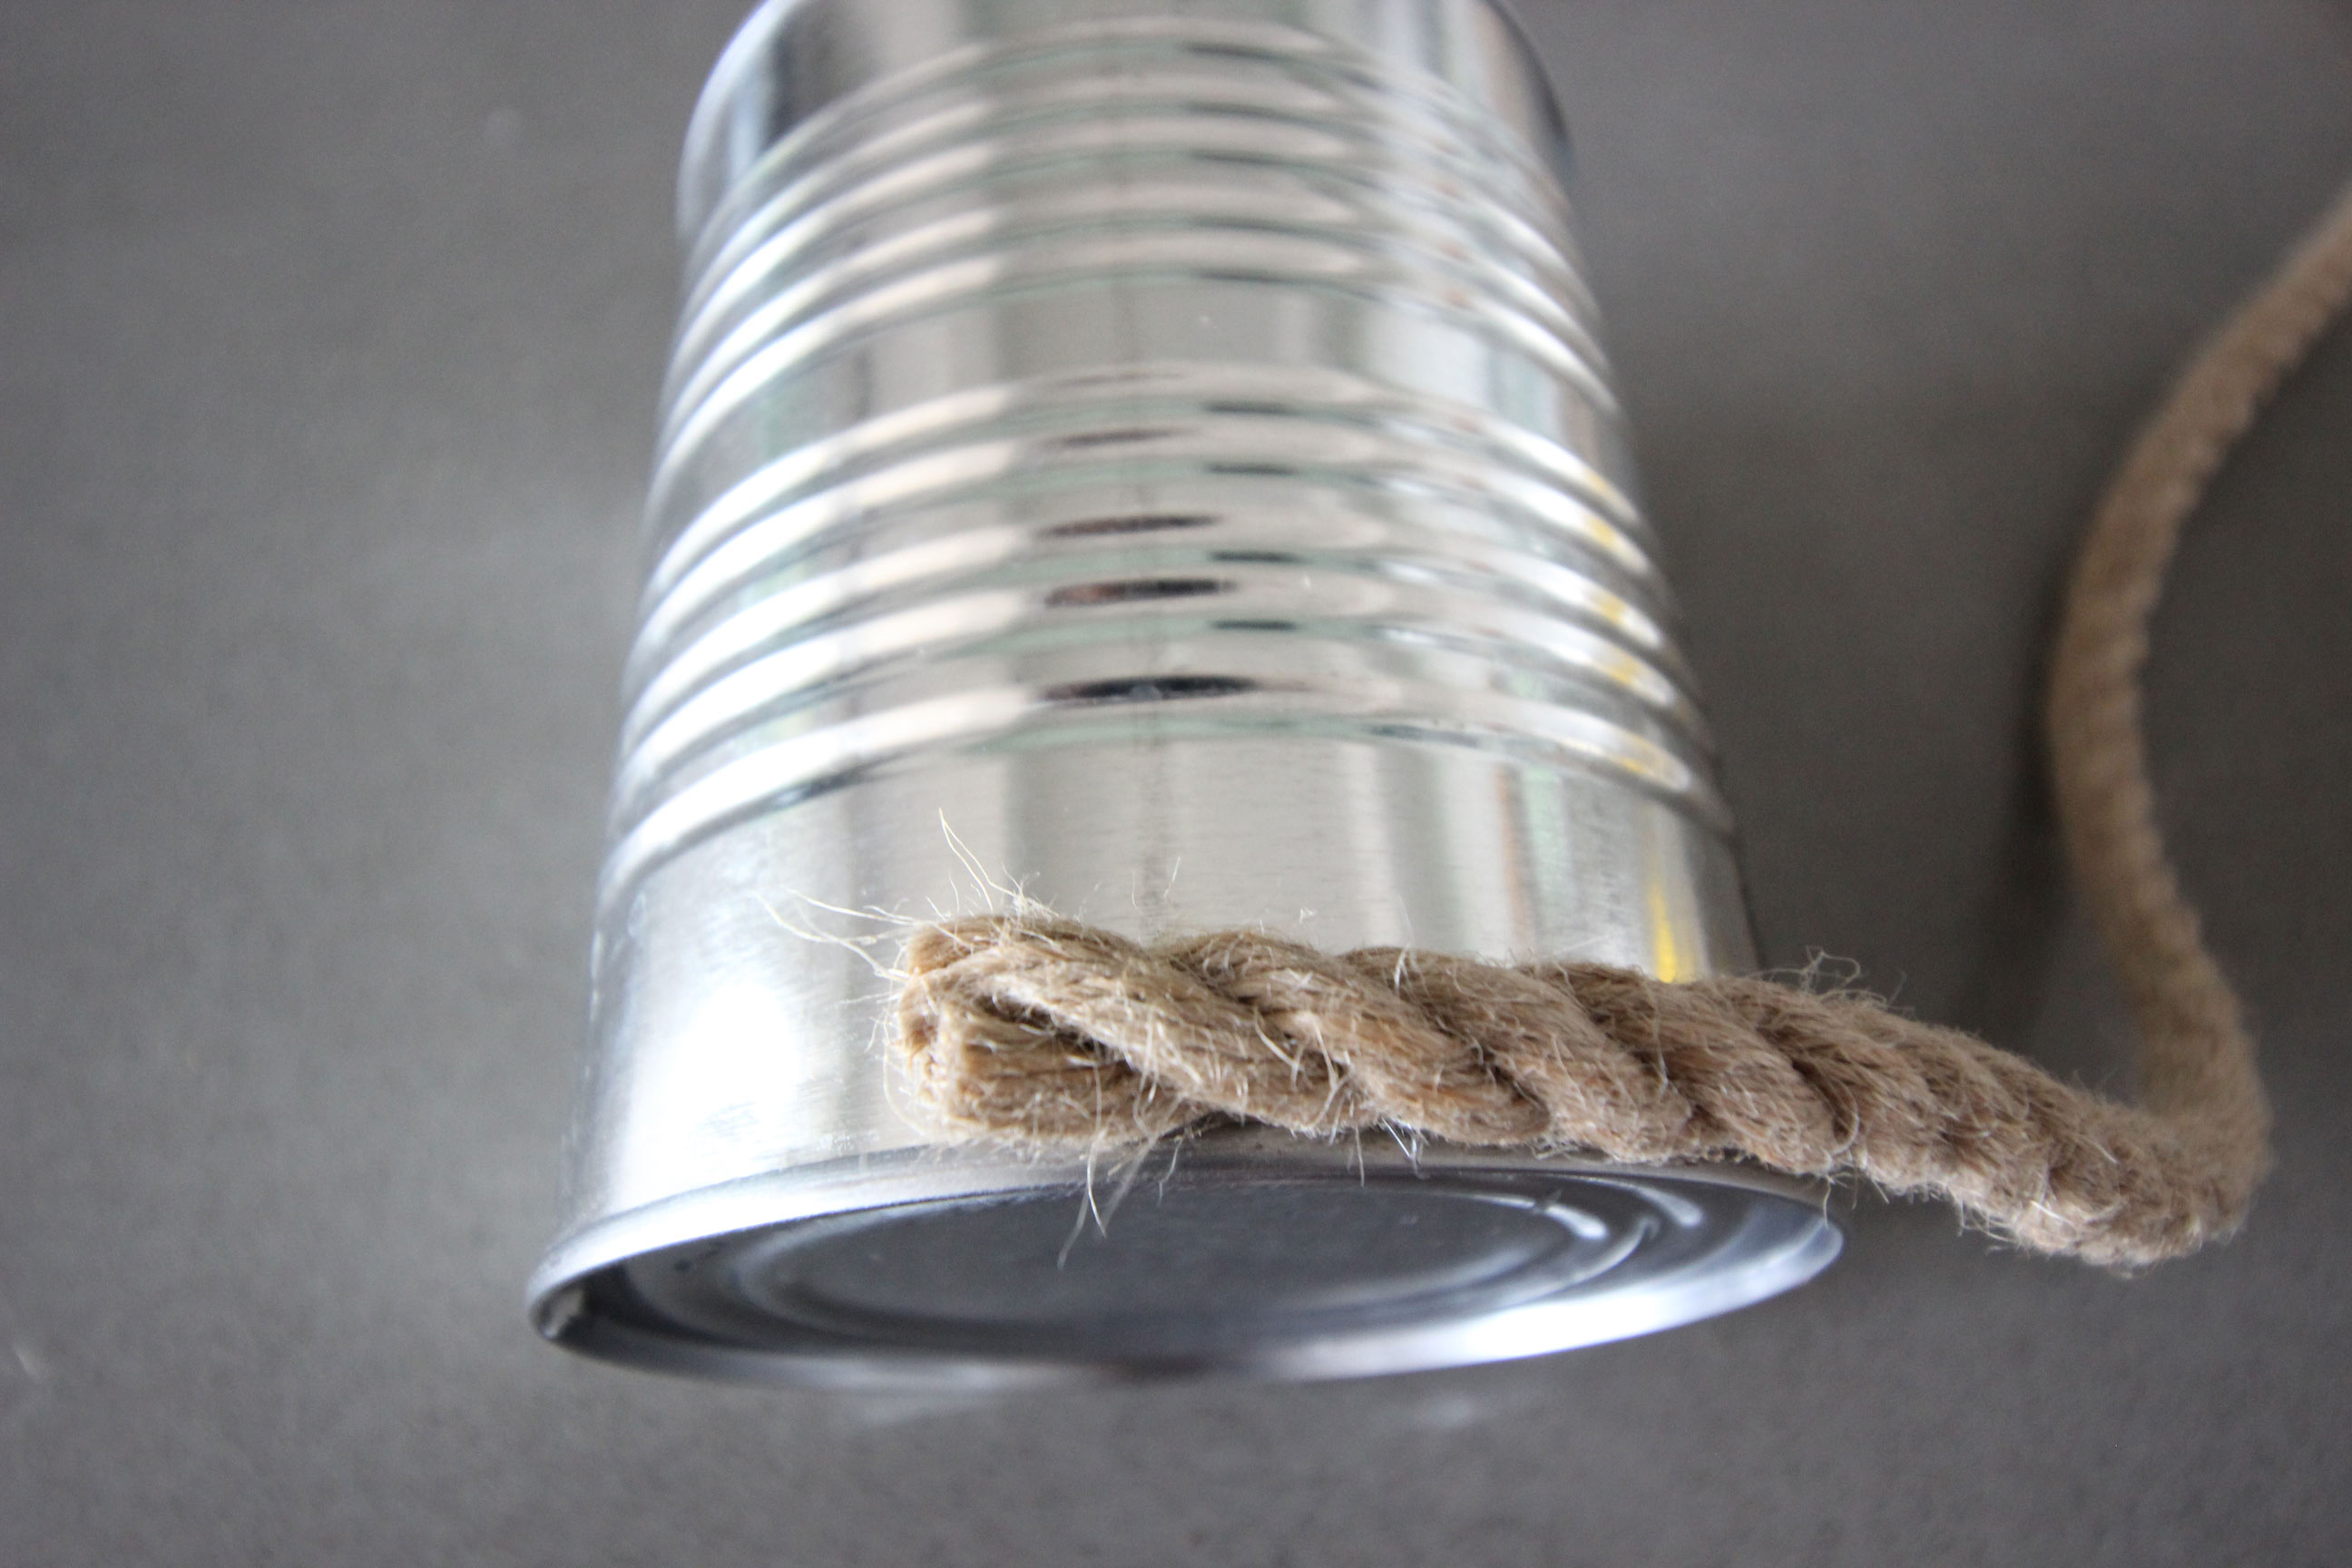
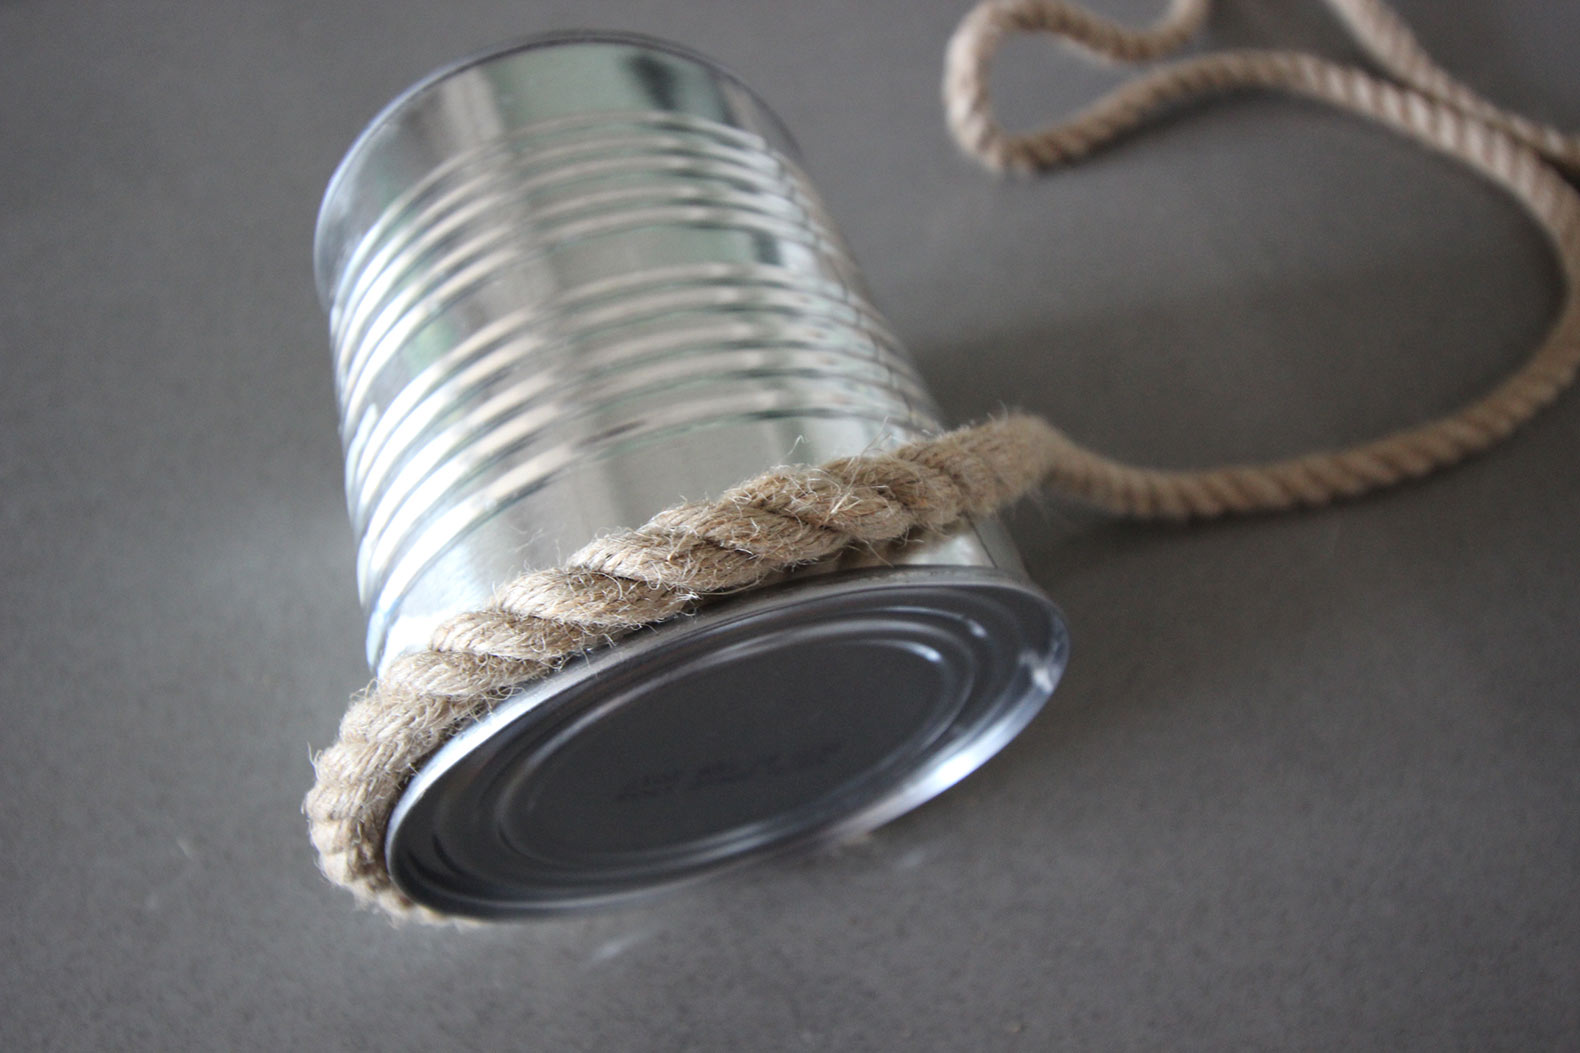
Step 3: Starting at the bottom of your can, lay a small bead of glue and attach the end of your rope.
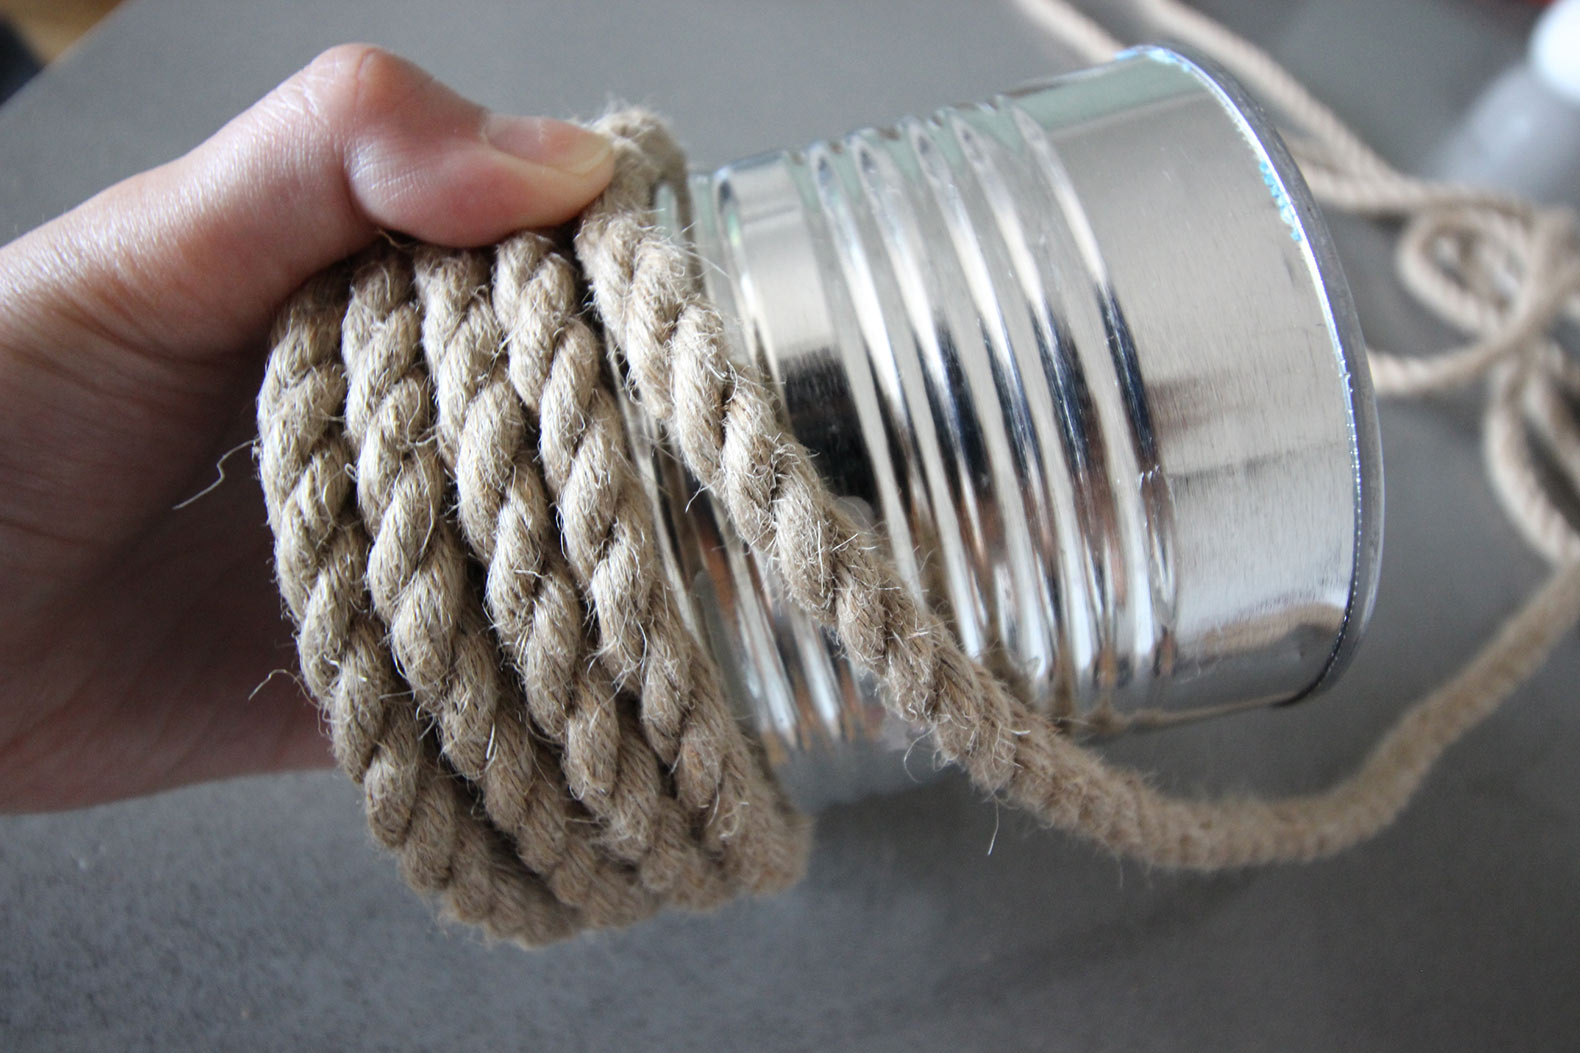
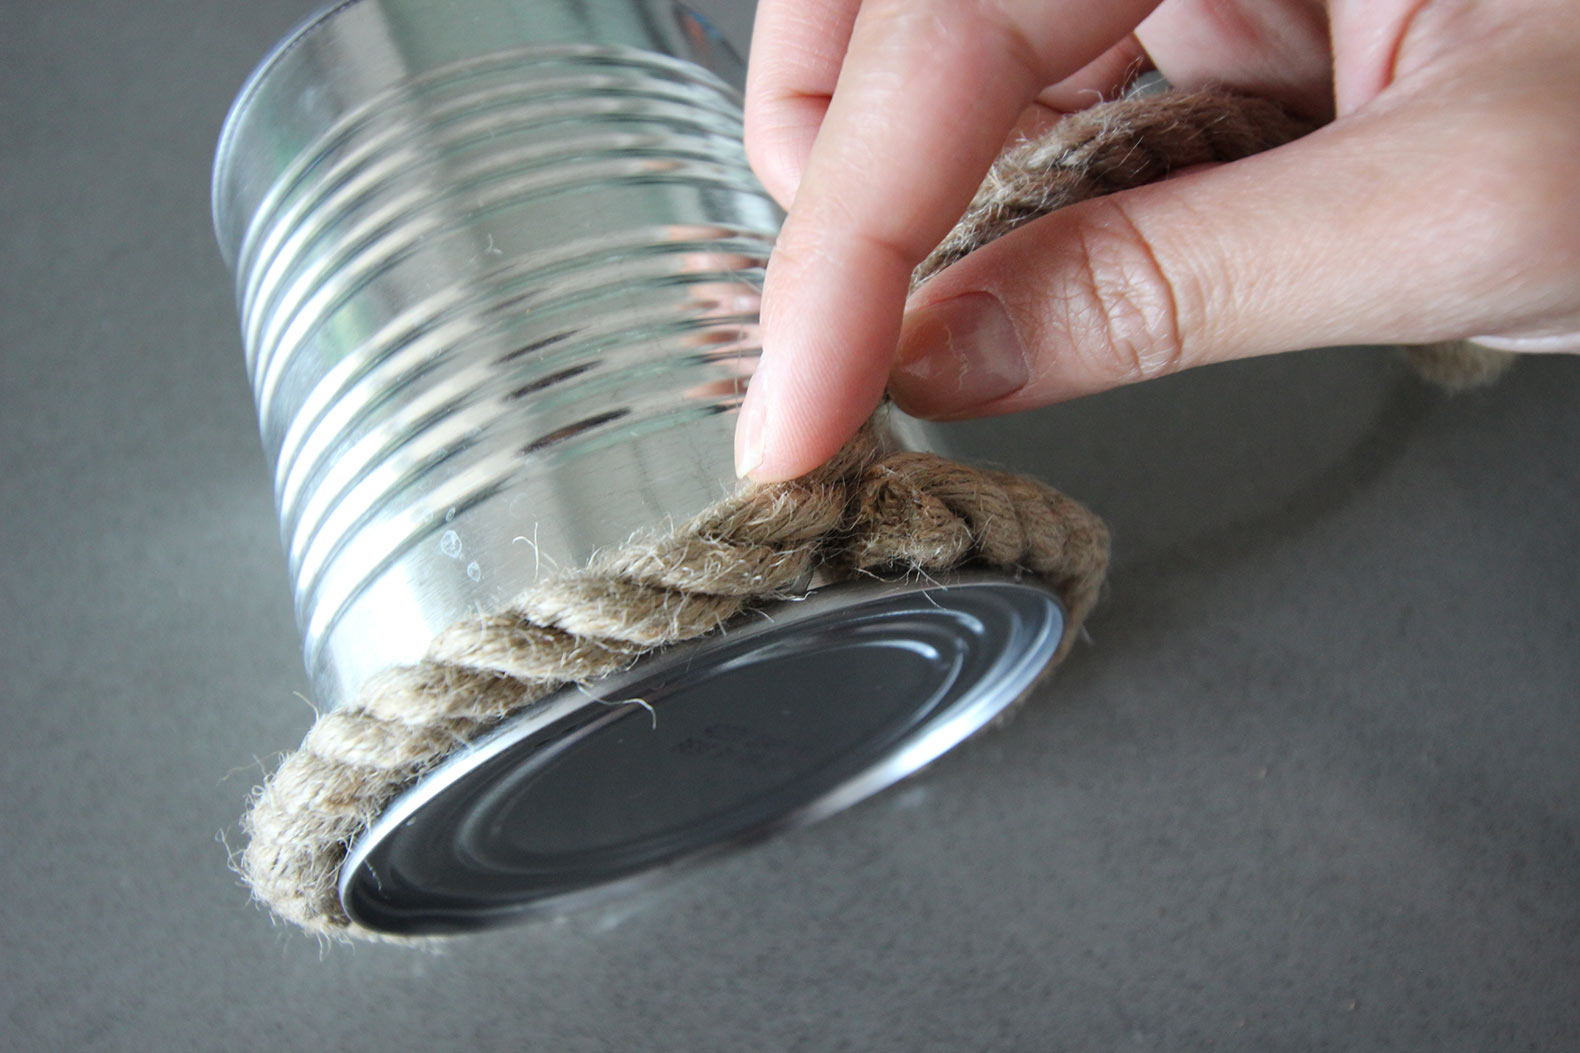
Step 4: Then wrap the rope around the can halfway and put down another bead of glue and use it to attach your rope. Continue wrapping.
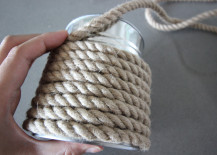
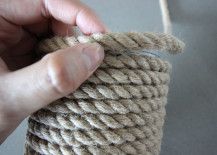
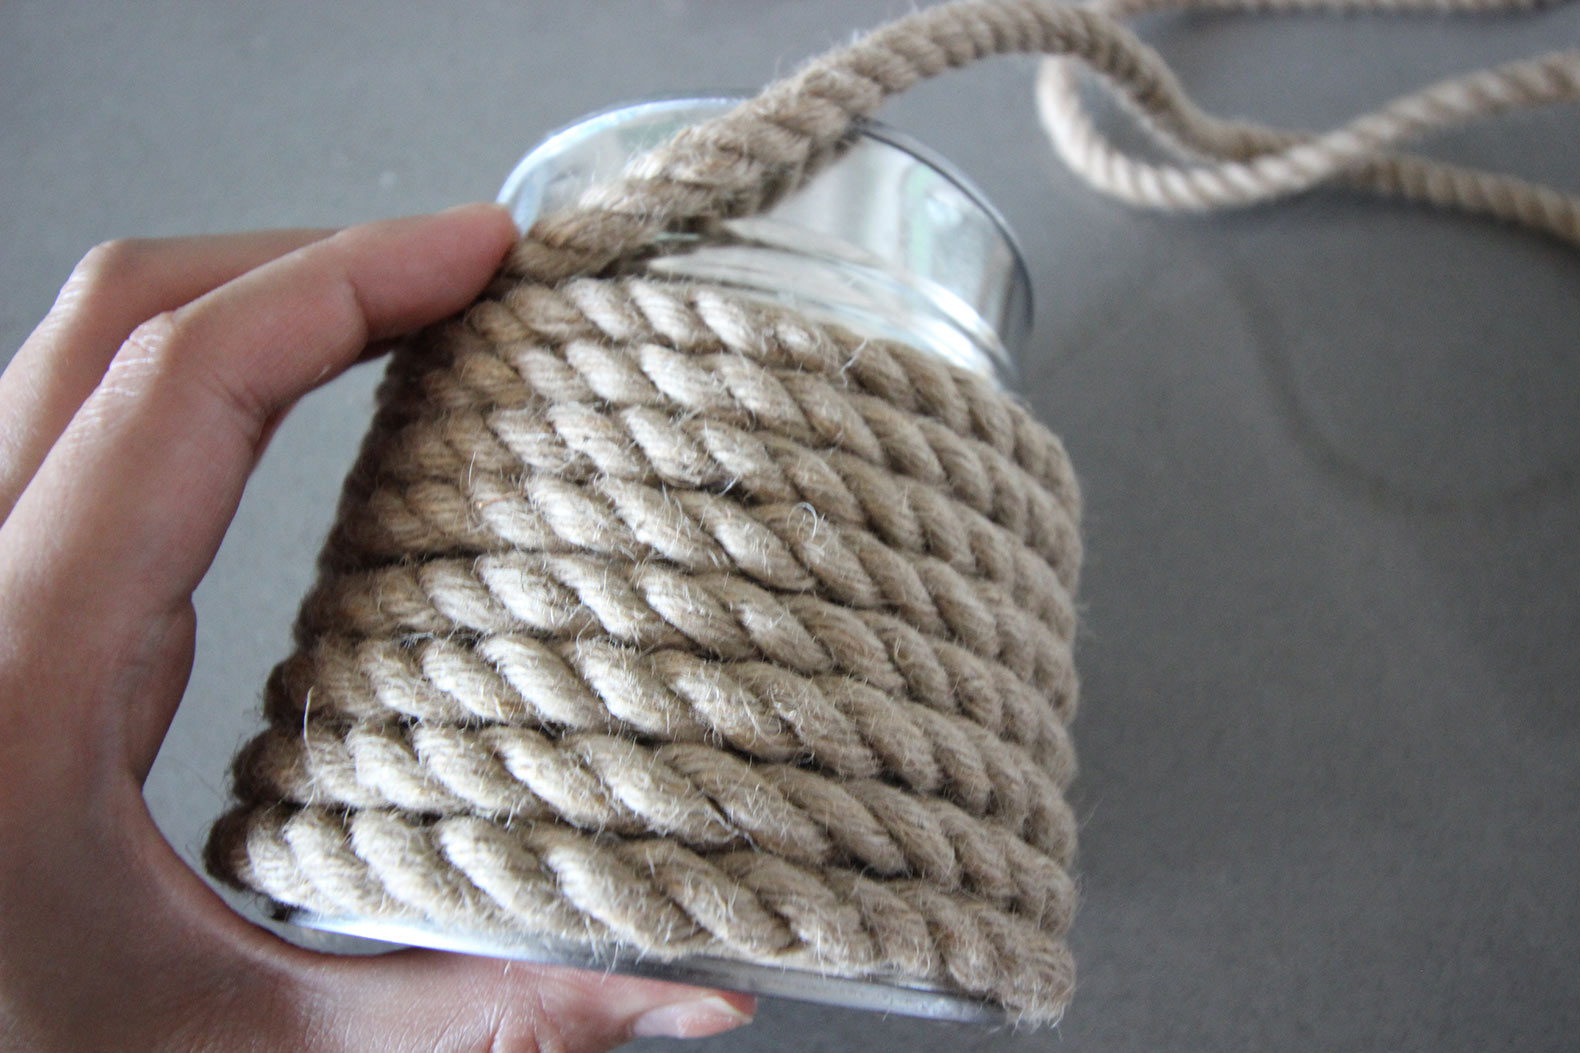
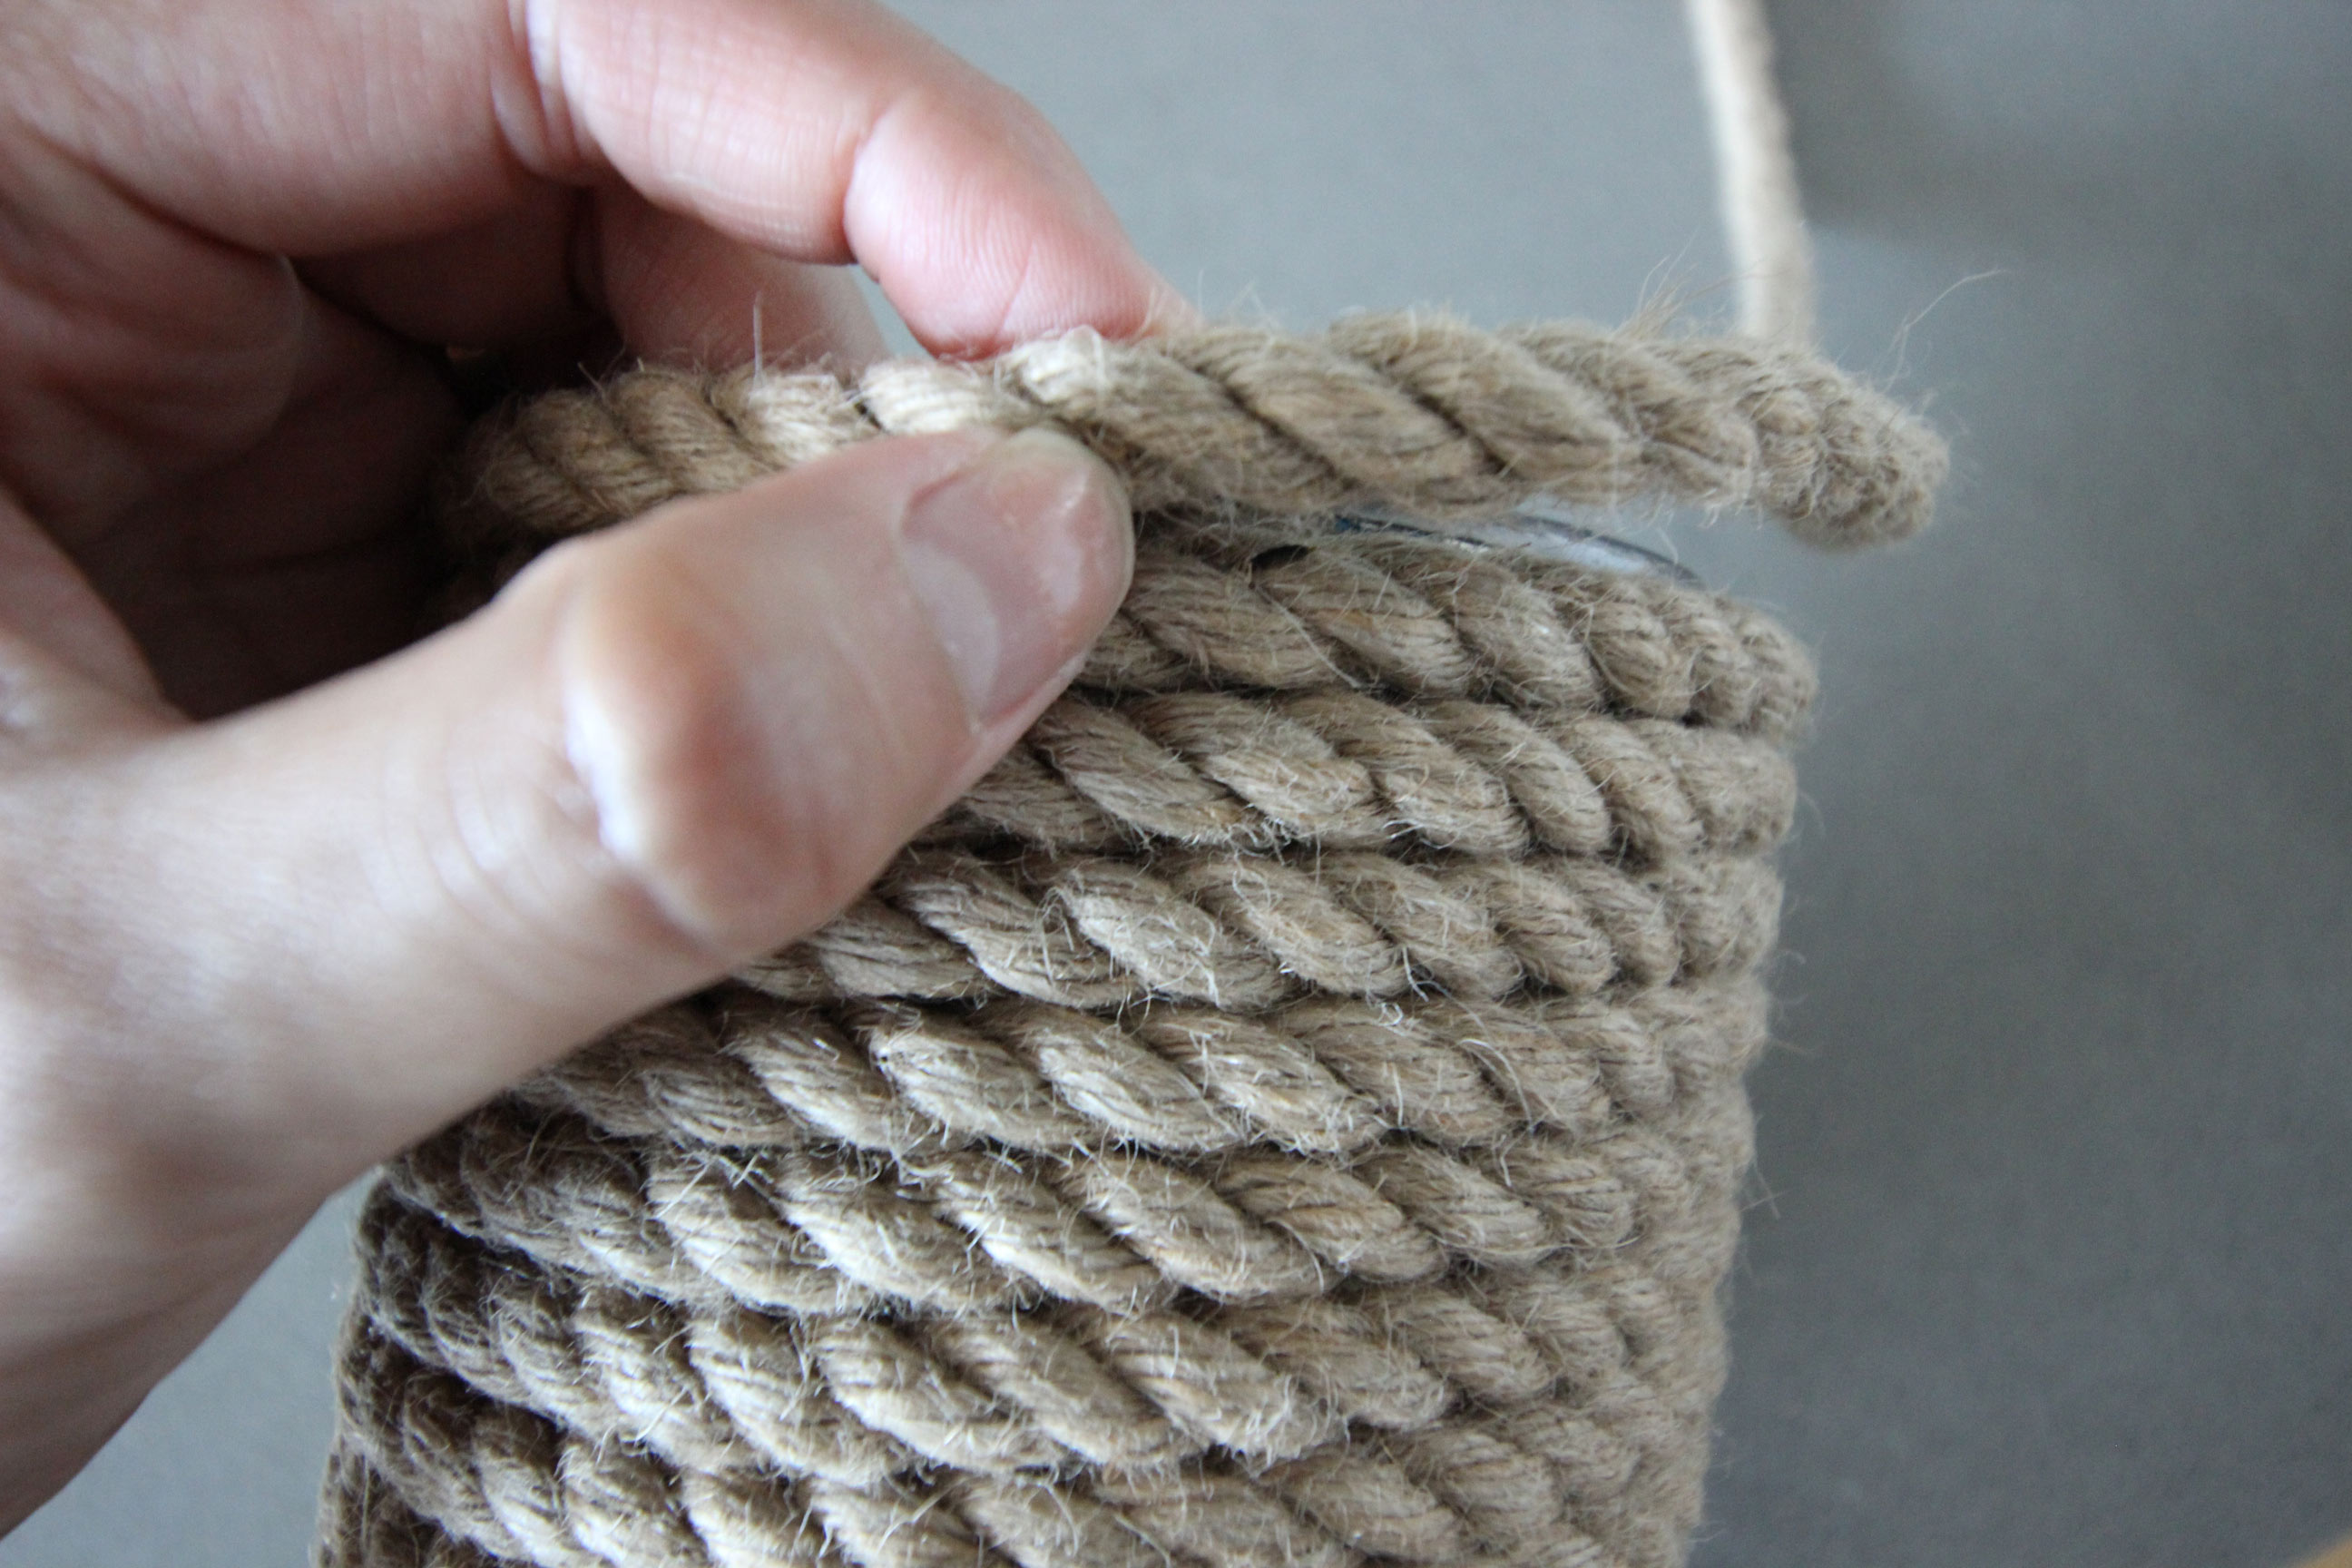
Step 5: When you make one full loop around the can, you’ll have to do a little finagling to start the next “row.” just allow the rope to stack on top of your first row naturally and continue to glue and wrap.
Step 6: Keep going until you reach the very top of your can and cut the excess rope before securing it in place with glue.
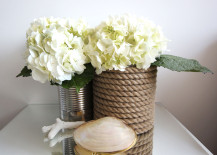
Fill your new rope-adorned vase with fresh hydrangeas for an easy, beachy look. You can display these in batches or even pair them with unfinished metal cans for a rustic vibe.
