Like many people, I keep a very clean home. However, we all have our trouble spots, don’t we?! My area of weakness: the shower. Kate here, and I’m getting ready to recaulk the tub so I can make a fresh start in the shower! I want to make sure it stays clean (and maybe even gleaming) well past the caulking, so today’s post is dedicated to shower cleaning and maintenance. Through my research and personal experience, I’ve picked up some helpful tips and tricks. Plus, I’ve sprinkled in some photos of beautiful showers so we can all keep our eyes on the prize! Here goes…
Regular Maintenance
Let’s talk about regular maintenance, shall we? These are the cleaning techniques that should become part of our routine. Here’s a good rule of thumb:
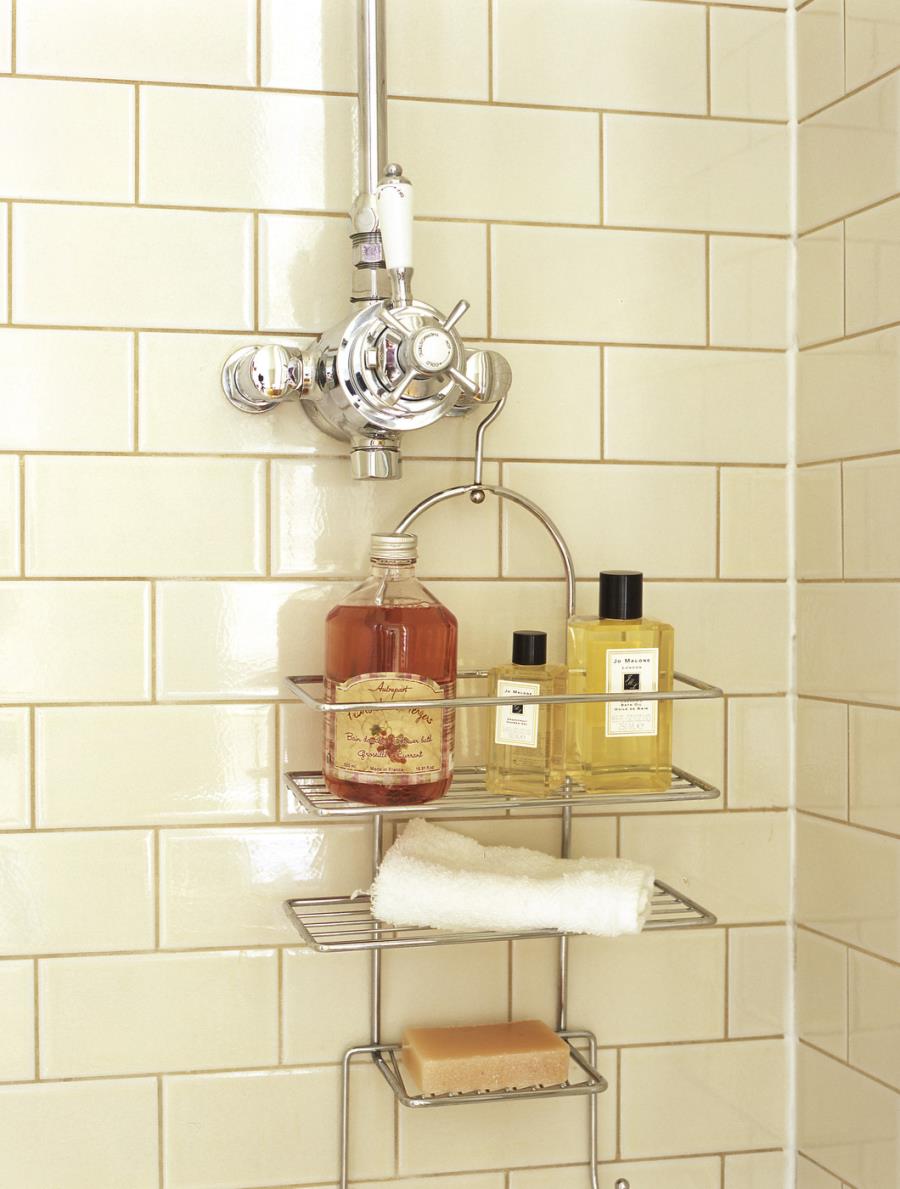
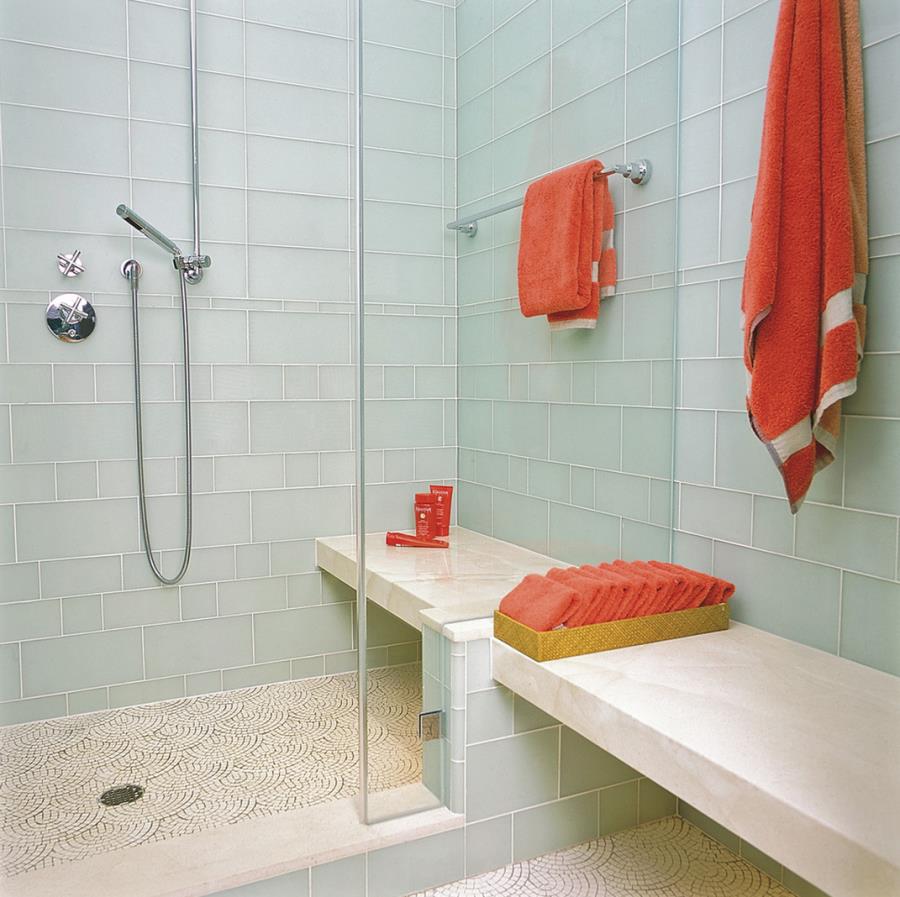
Keep things fresh and prevent hard water stains by giving your shower a quick daily cleaning. This isn’t as involved as it sounds and can consist of something as simple as quickly spritzing the shower with a daily cleaner for easy upkeep. Some people even recommend wiping down the walls with a squeegee on a daily basis (such as right after you shower). If you have glass walls or a glass shower door, this can be key in preventing hard water stains. For more helpful shower maintenance tips, check out this shower cleaning article from Apartment Therapy! [photo above from Neill & Lee, photo below from Lonny]
How quickly your shower needs a deep cleaning depends on many factors, from the hardness of your water and the ventilation in your space to the amount of grout in your shower and the consistency of the bath products you use. Regardless of specifics, here’s another helpful hint: Give your shower a good cleaning every 2-3 weeks.
This means spraying it with a cleaner and wiping down the walls with a sponge or a soft cloth. You may need a bristle brush for areas where mold and mildew have accumulated. There are many eco-friendly products on the market today, so if you’re sensitive to chemicals, you can often find a non-toxic alternative. [photo below from Lonny]
If your shower requires the strong stuff, don’t forget to keep the area well ventilated while you clean. Now let’s talk details…
Shower Doors and Curtains
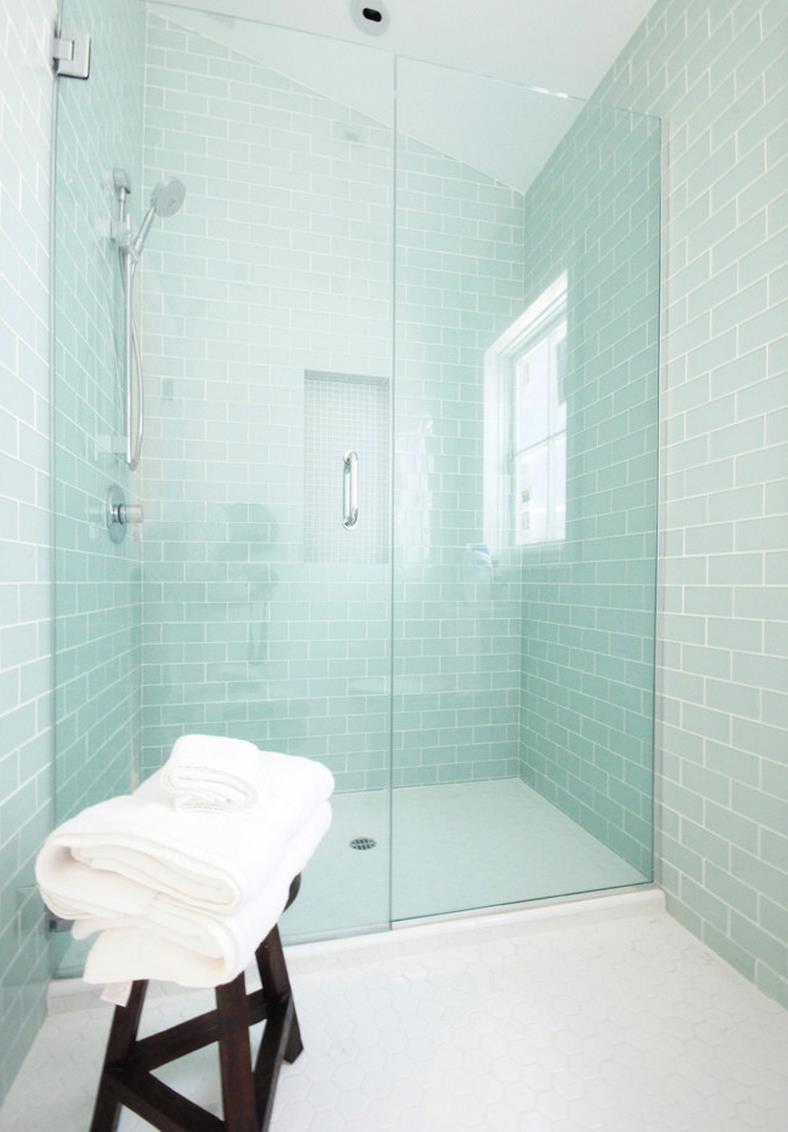
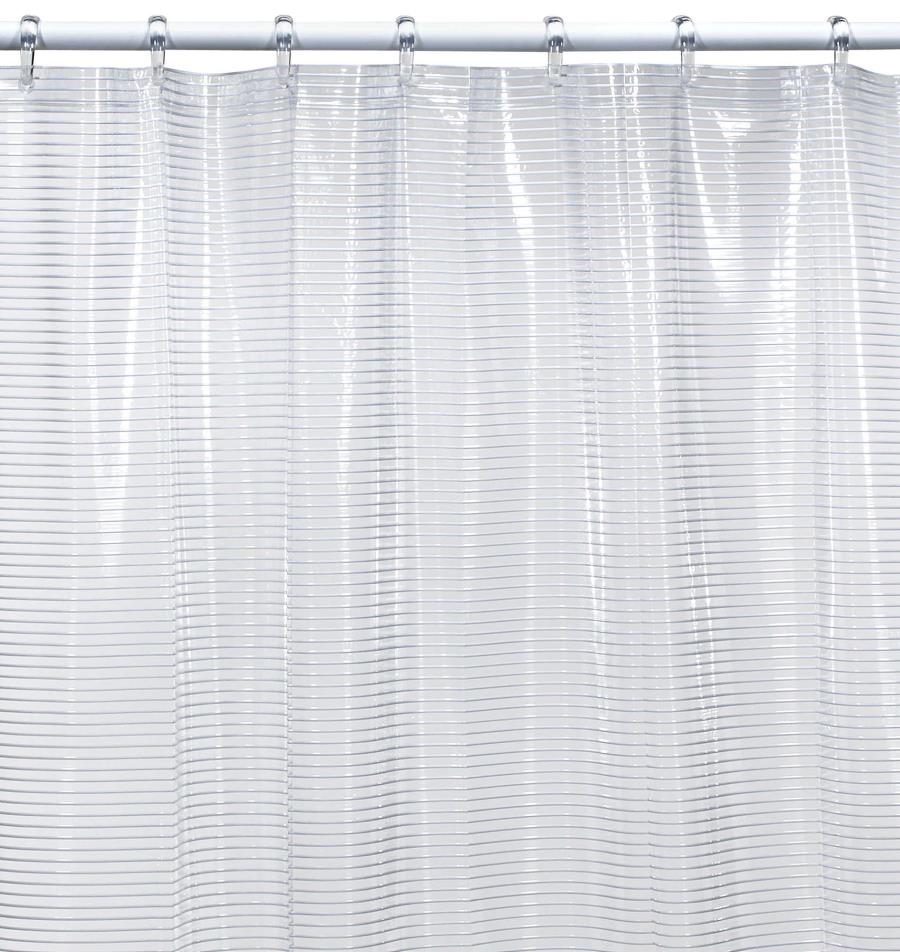
Shower doors can quickly become covered with hard water stains, and there’s nothing that makes a shower look dirty faster than a glass door that you can’t see through! As mentioned above, wiping down glass doors with a squeegee on a regular basis will go a long way in keeping your shower fresh. Some people keep the squeegee hanging in the shower so they can quickly clean right after they turn the water off. [photo above from from Courtney Blanton Interiors, photo below from Bed Bath & Beyond]
Then there’s the shower curtain and liner! Some liners can be laundered, and some just need to be replaced once they’ve become a mildewy mess. I found some super-handy shower curtain and liner washing suggestions at Reader’s Digest, so check out the link for more details!
The Shower Floor
Perhaps you’re great at regularly tending to the walls of your shower, but it may take an extra push to focus on the floor. Why? Because it can be yucky! But avoiding a yucky mess just makes it yuckier. And gives the soap scum and grime more time to accumulate! Take the time to deep clean your shower floor by spraying it with cleaner and wiping it with a sponge or a cloth, or by using a bristle brush to work on tough stains.
Whether you use natural cleaners such as baking soda and vinegar vs. a chemical cleaner will depend on your preference and the state of your shower floor. For suggestions on cleaners and techniques, head on over to Mrs. Clean. [photo above by James Bruce Photography, from Element 5 Architecture]
Caulk Talk
If you regularly clean your shower and there’s still mold showing up, chances are your caulk needs replacing, at least in trouble spots. Good thing you have our Decoist caulking article to use as a reference!
Be sure you remove old caulk rather than simply covering moldy spots with new caulk. For more details and suggestions, check out the above-mentioned caulking article, complete with tips and easy steps! [photo by Margot Hartford, Sunset Books & Magazine, from Gast Architects]
Finishing Touches
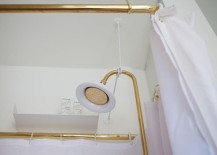
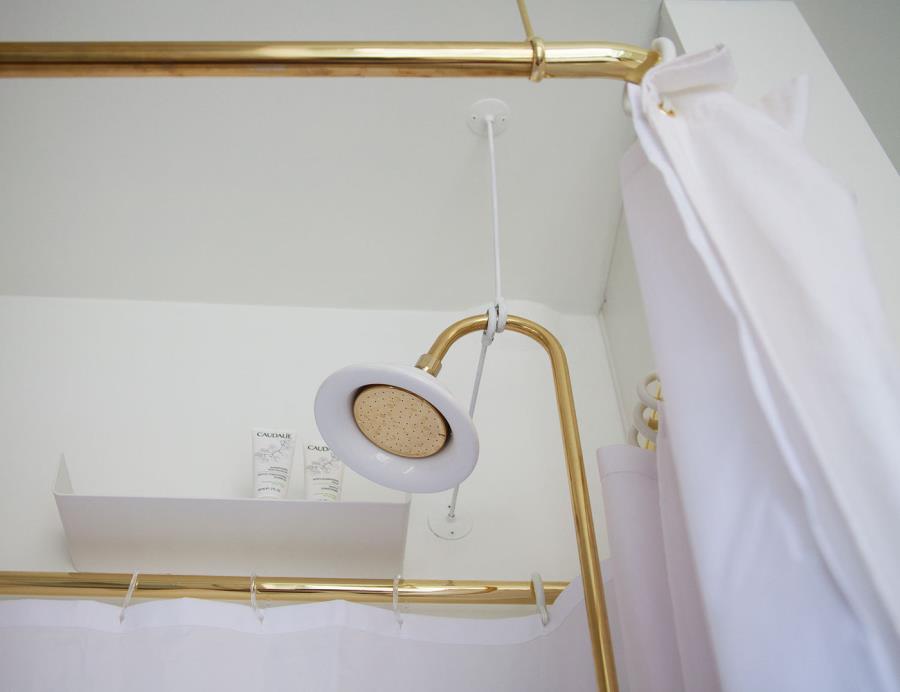
We end with some finishing touches to add sparkle, shine and true cleanliness to your powder room. First up: Don’t forget the shower head! There’s nothing like watching the water come out, only to notice mold and mildew growing in and around the little holes. For an easy trick, fill a plastic bag with vinegar and secure it around your shower head. Leave it overnight, and when you remove it in the morning, the shower head will be clean! The best part: this method is non-toxic! [photo above from Lonny]
Other handy tips such as washing the bath mat, freshening up the towels and replacing grooming products such as bath scrubees and pumice stones can help keep your shower area clean and crisp. [photo below from Amy Trowman Design]
The bottom line: have a super-quick daily shower cleaning/tidying ritual, and follow it up with a deep cleaning every few weeks. Staying in a good routine will keep things from getting out of control and will make shower maintenance a snap!


