Mother’s Day is around the corner! Have you started thinking of gift ideas for your mom, wife, mother-in-law, grandmother, and the other special women in your life? Don’t be overwhelmed! Today’s post is dedicated to the art of the gift basket, and this DIY project celebrates two top trends: geo style and pastels. By adding a few personal touches to a plain woven basket and then filling it with the recipient’s favorite items, you can create the perfect Mother’s Day gift. Ready for a closer look?…
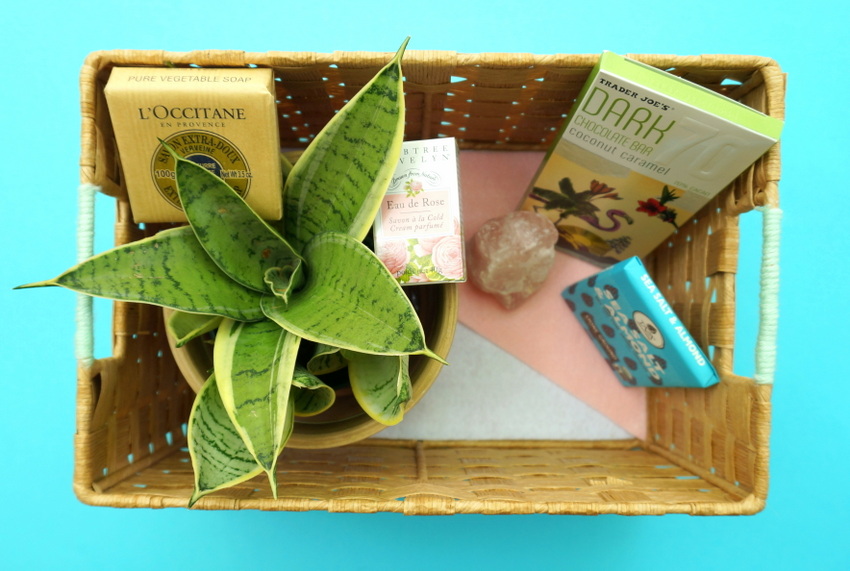
Gift Basket Supplies
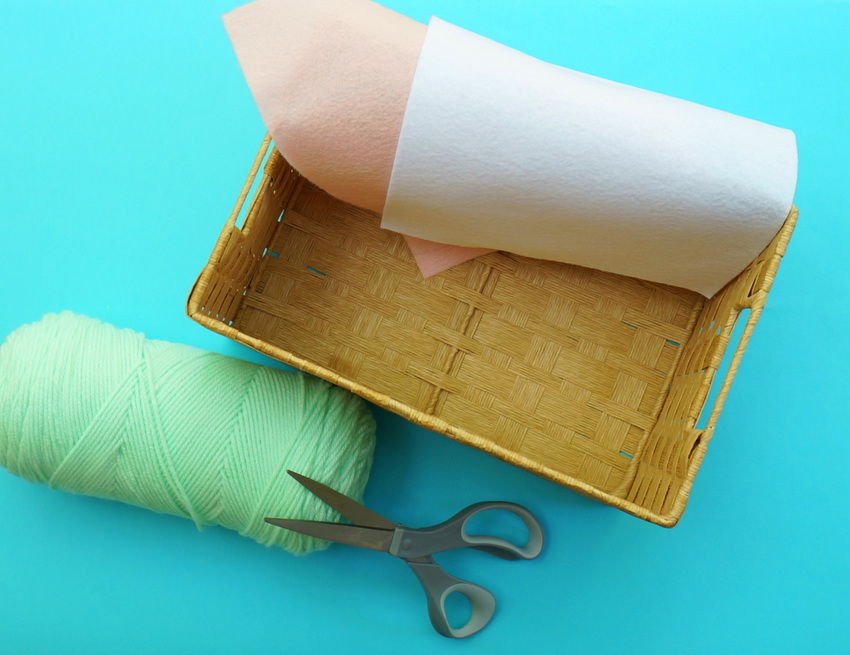
Here’s what you’ll need to get started:
- A basket with handles
- yarn
- scissors
- a glue gun and a glue stick
- 2 sheets of felt (pick 2 different colors)
- a variety of gift items to fill the basket
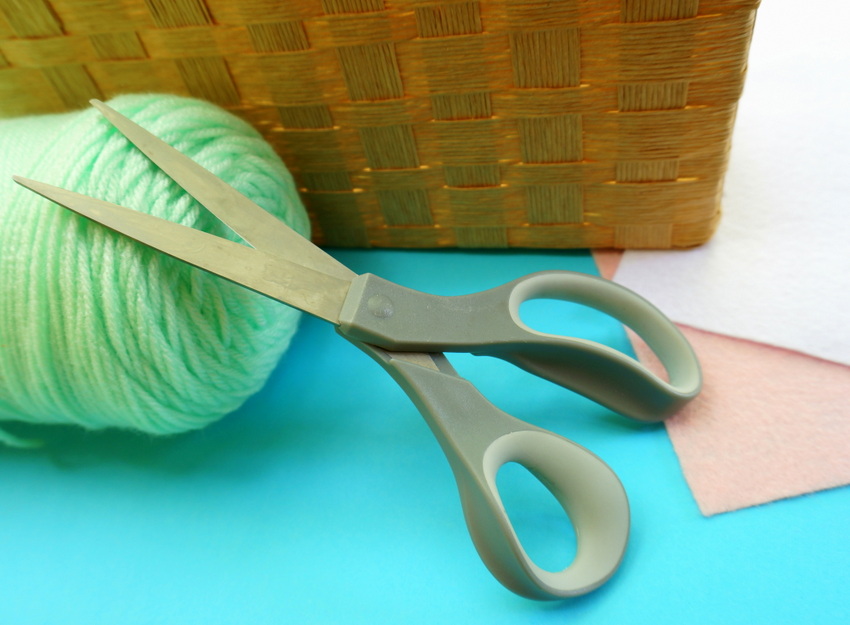
Of course, if you want to make multiple gift baskets, you’ll need to purchase additional baskets, felt and gift items. About those gifts…
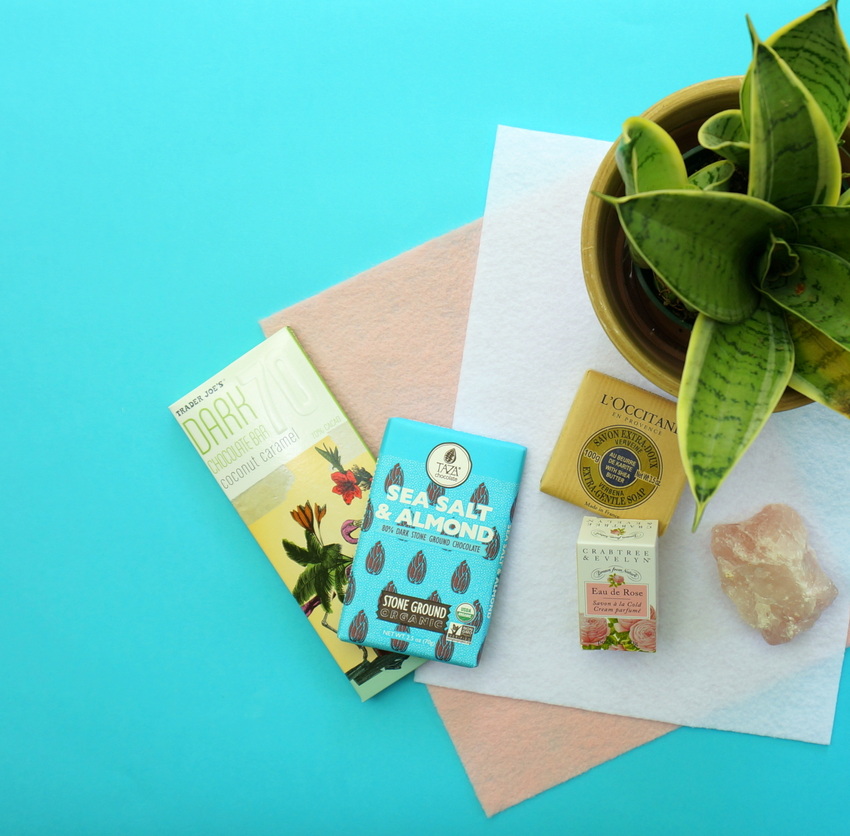
Here are some gift basket filler suggestions for Mother’s Day:
- chocolate and other gourmet edibles in beautiful packaging
- a plant or bouquet of flowers
- soaps and other bath products
- mineral specimens and objets d’art
- gift cards to favorite shops and restaurants
DIY Gift Basket Project Steps
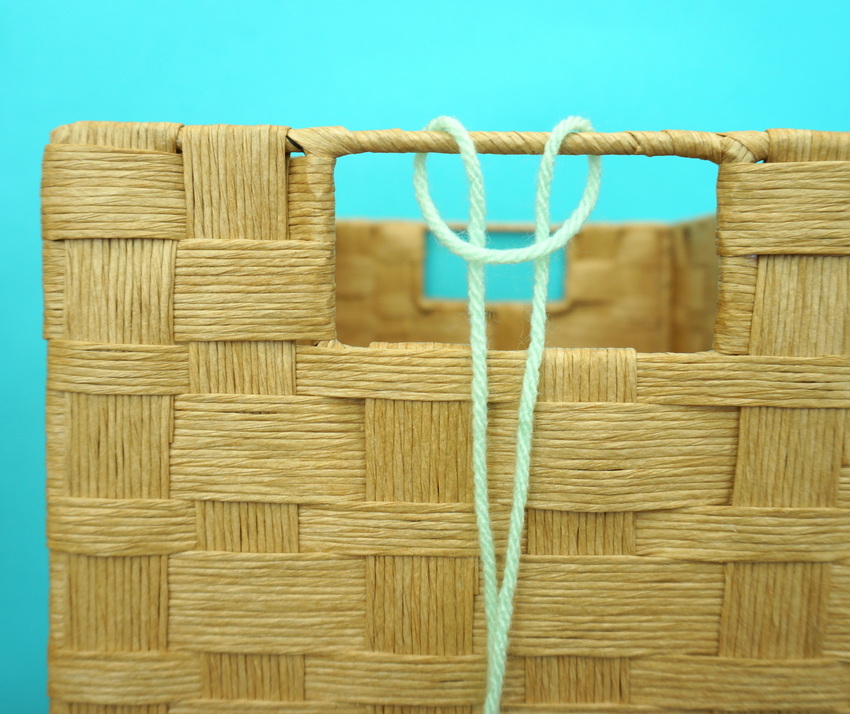
Step 1: Add some color and charm to the handles of your basket by wrapping them in yarn.
I chose yarn in a shade of mint green. To get started, I created a knot in the middle of the handle (I used the center of the handle as my starting point), and then I wrapped the handle in yarn from the middle to the edge (from the middle to the right with one of the hanging strands of yarn, and from the middle to the left with the other hanging strand).
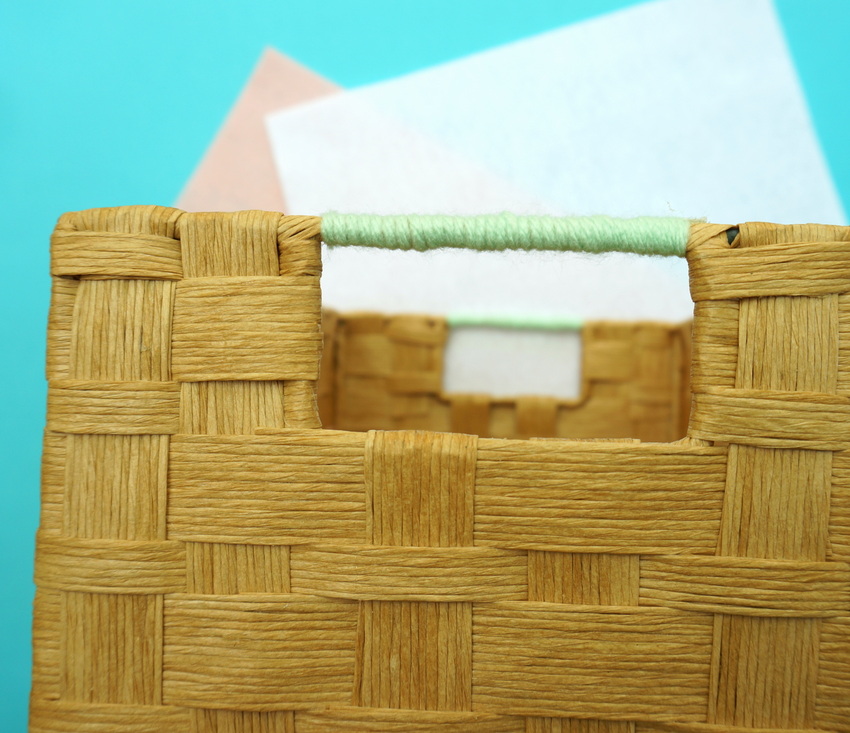
Step 2: Secure the edges of the yarn in place with a dab of hot glue.
Be careful not to burn your fingers! You may want to use a skewer to press the yarn into place. Or perhaps you’ll want to secure the yarn by tying it. Whatever is easiest for you!
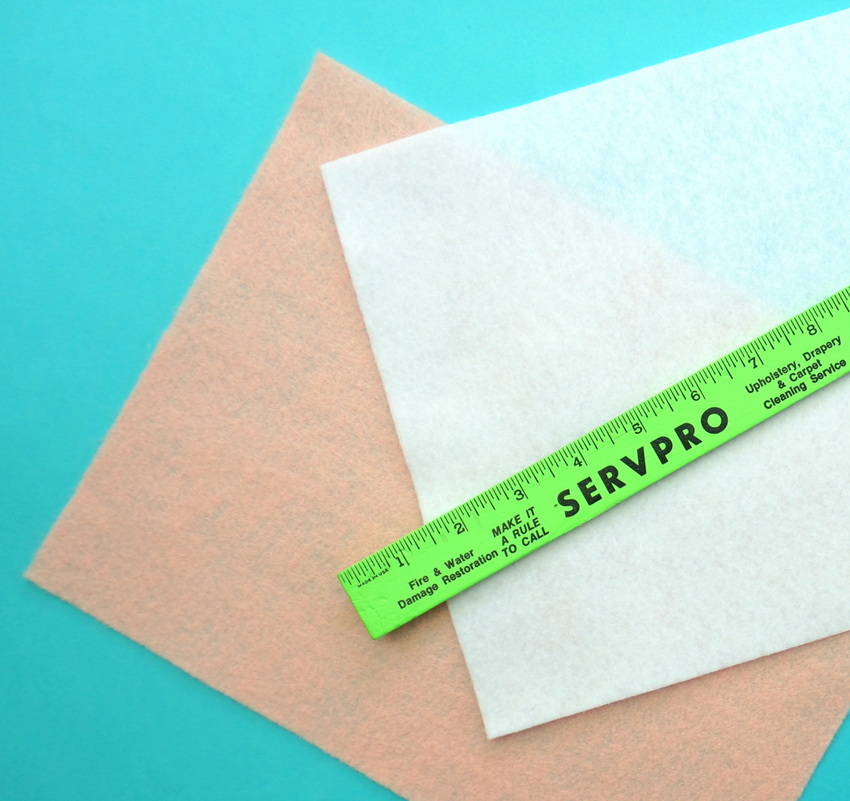
Step 3: Measure the bottom of your gift basket, then use a ruler to mark the dimensions on your felt sheets. Cut the felt so you have two pieces identical in size.
This felt will line the bottom of your basket for a colorful geo touch! It’s easiest if you create two sheets of felt that are the same size and then do some additional cutting for a dash of geo flair. Keep reading to find out how…
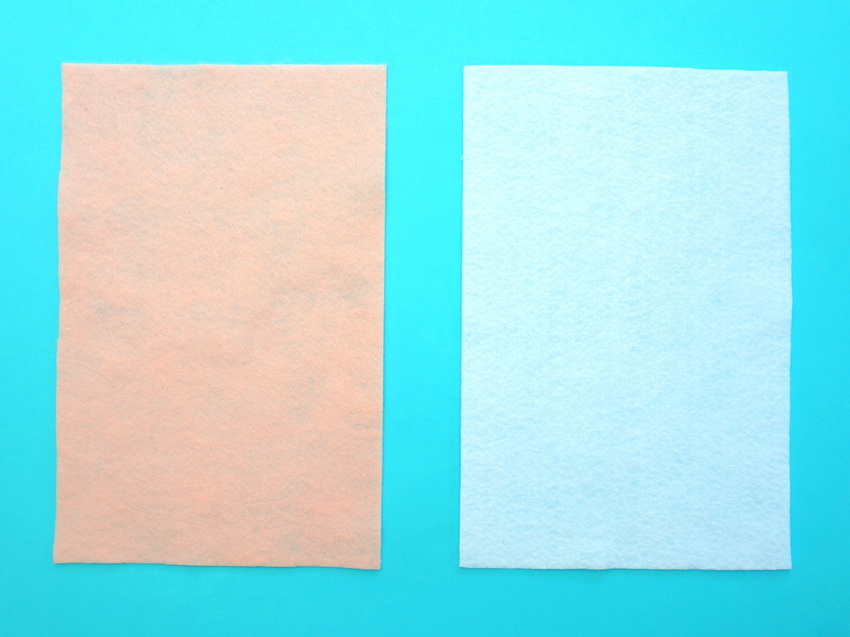
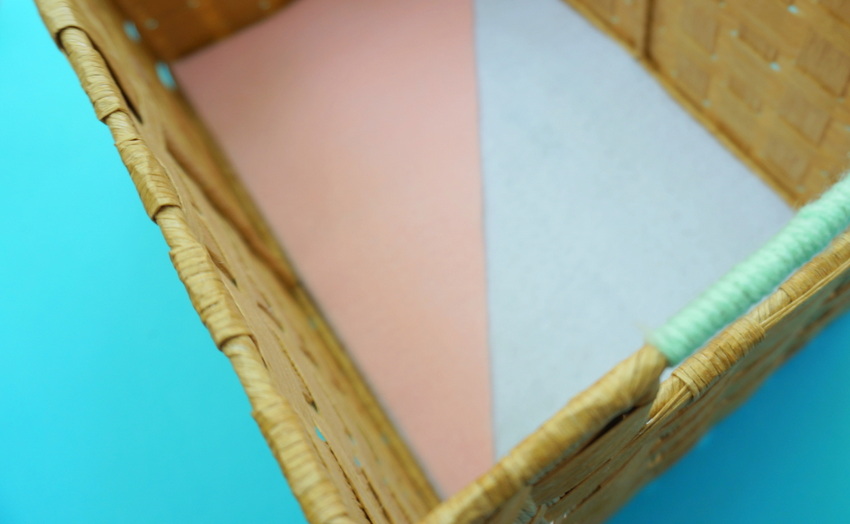
Step 4: Choose one sheet of felt and cut it in half on the diagonal so you have 2 triangles. Now place the rectangular felt sheet in the bottom of your basket, and add 1 triangular piece for a colorful geo effect.
I love that this project creates an element of surprise. Normally we don’t pay much attention to the inside of a basket, but this project makes getting to the bottom of the container all the more exciting! Plus, you’re creating a fun backdrop for the goodies:
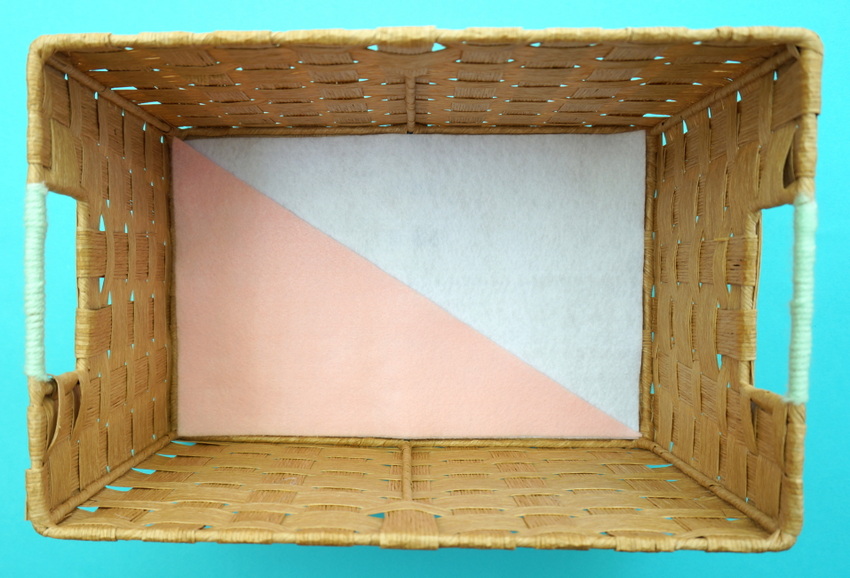
The combination of pink, white and mint creates a soothing pastel statement that’s both feminine and very on-trend. Perfect for the design-loving mom who enjoys modern style!
Step 5: Add your gifts to the basket and have fun creating an eye-catching vignette.
You may want to start with the largest items first, or try a few different vignettes until you find the perfect combination. Since the bottom of the basket takes center stage here, you don’t need to worry about adding tissue paper or packing the entire container!
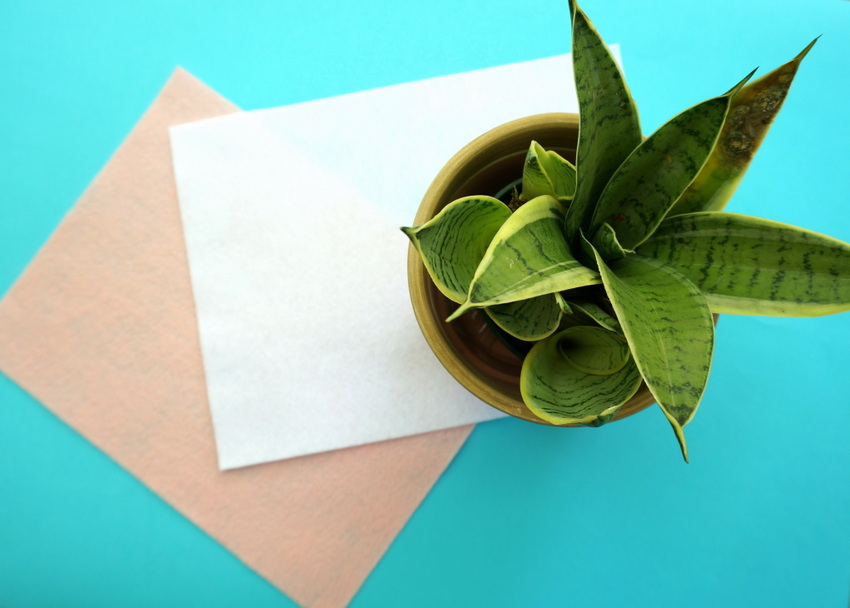
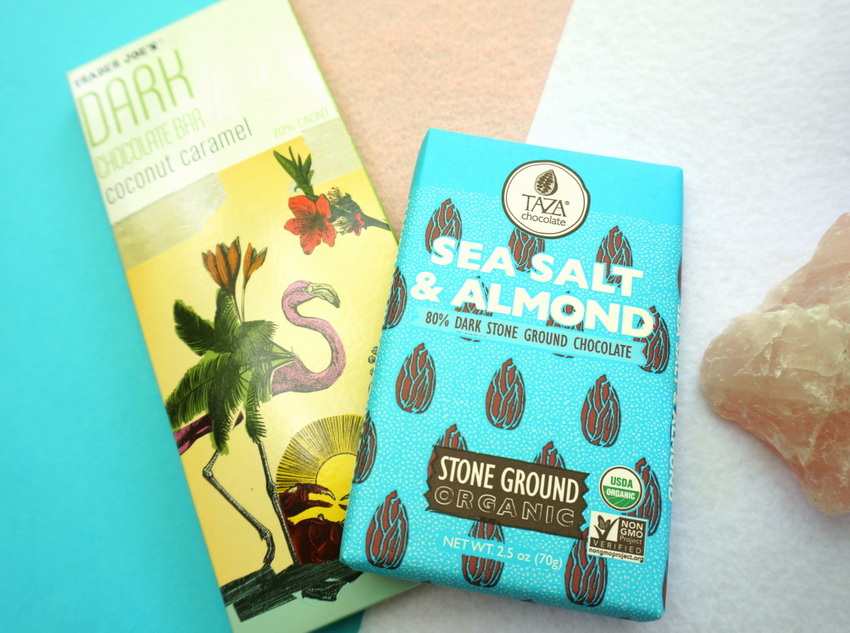
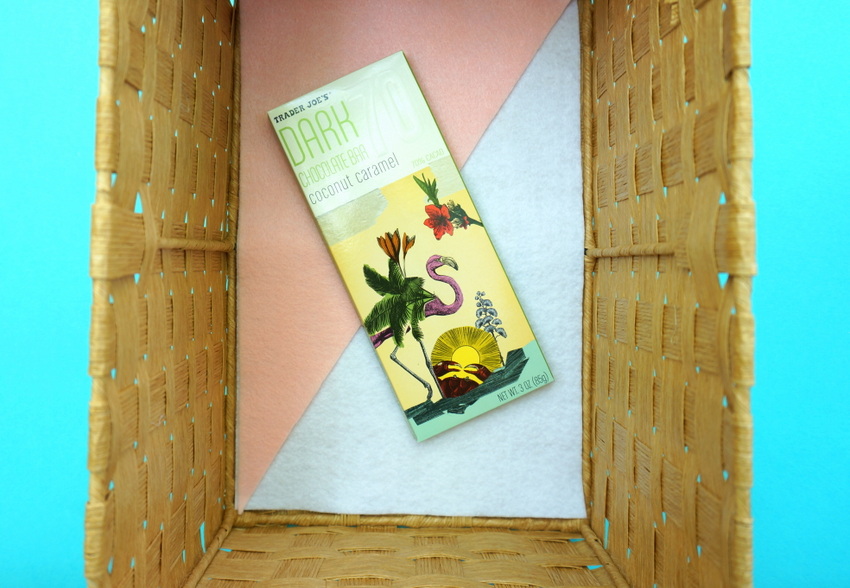
With a pastel geo backdrop as your starting point, each and every item is given a special touch. In fact, as mentioned in the supply list, you may want to choose gifts and goodies with special packaging, like this chocolate and coconut caramel bar from Trader Joe’s!
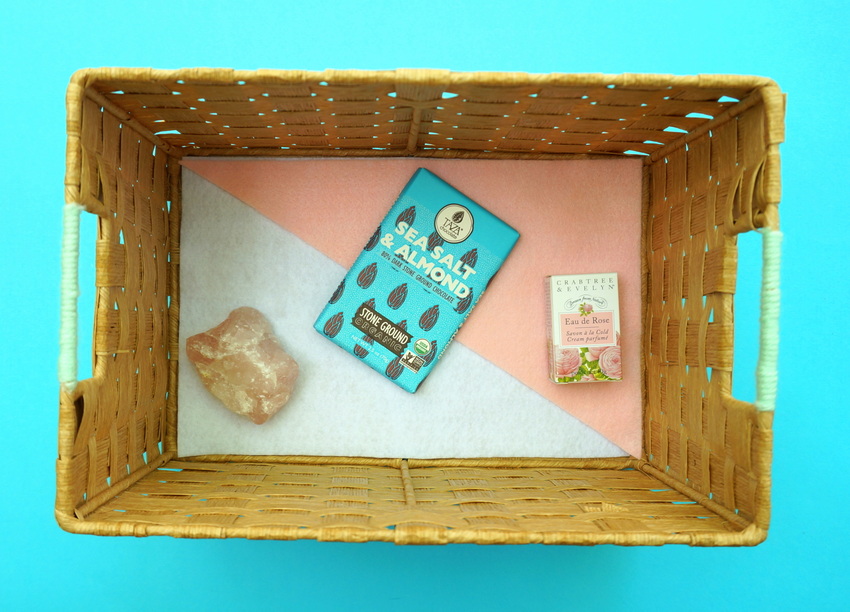
In addition, Taza Chocolate has some beautiful packaging, as you can see below. Also shown: a rose quartz specimen and a bar of rosewater soap from Crabtree and Evelyn.
Styling the Basket
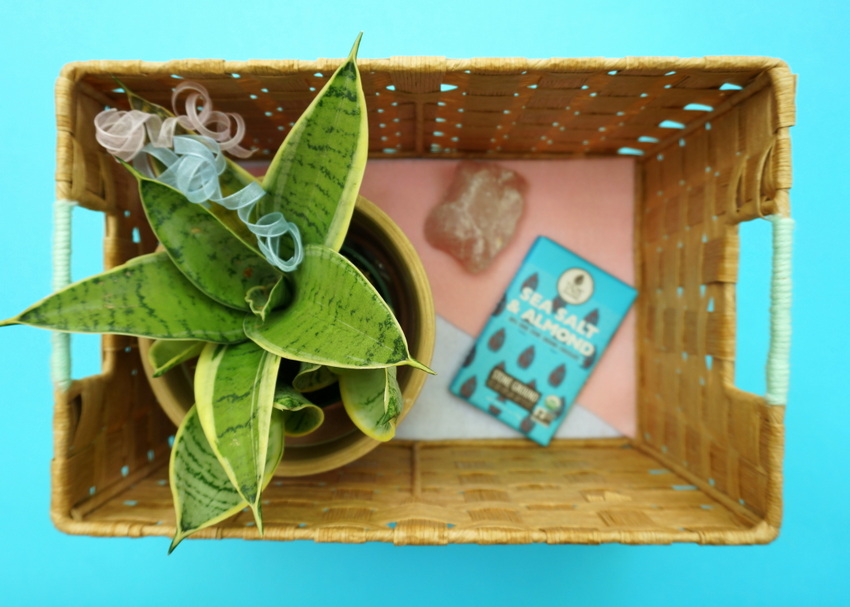
Don’t hesitate to get creative as you style your gift basket. Add ribbon or a bow, and have fun arranging and stacking the gifts at different levels and heights. Though not shown in the photos, you can decorate gift card envelopes to match the geo pattern in the basket, and feel free to add a special Mother’s Day card in pastel shades.
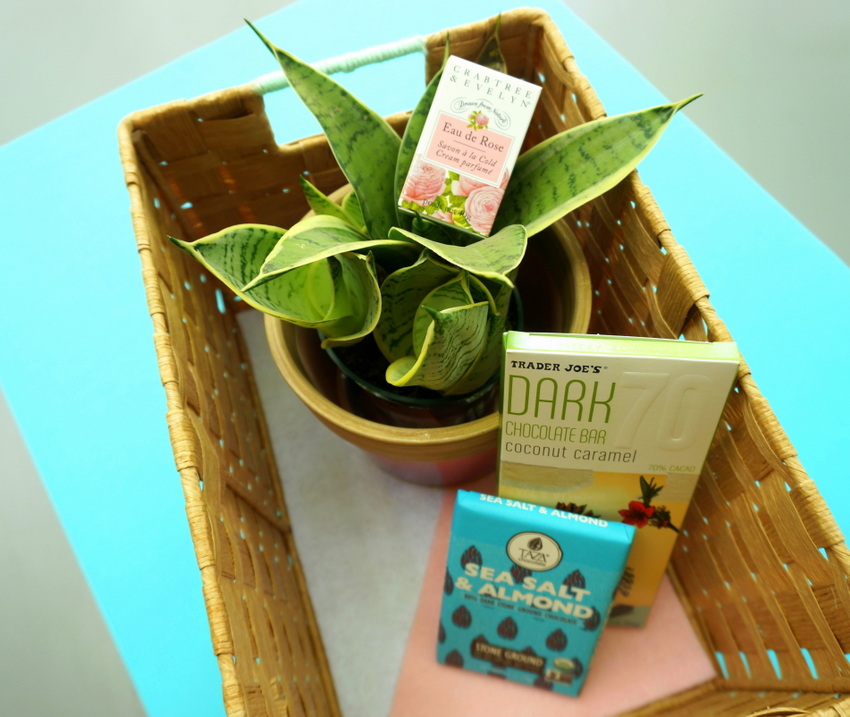
Give a gift with meaning this Mother’s Day by creating a customized basket that’s tailor-made for the recipient. Happy crafting!


