If you’re looking for a way to celebrate the arrival of spring and you love preparing delicious fresh food, today’s DIY project is for you! Enjoy the benefits of an herb garden that’s easy to maintain by creating a stylish, low-maintenance vignette using terracotta pots and the plant markers of your choice.
The simplicity of this project creates a charming finished product that beautifully fits with both traditional and modern settings. Read on for easy-to-follow tips that will inspire you to create your own DIY herb garden…
DIY Herb Garden Supplies
You only need a few basic supplies to create your herb garden:
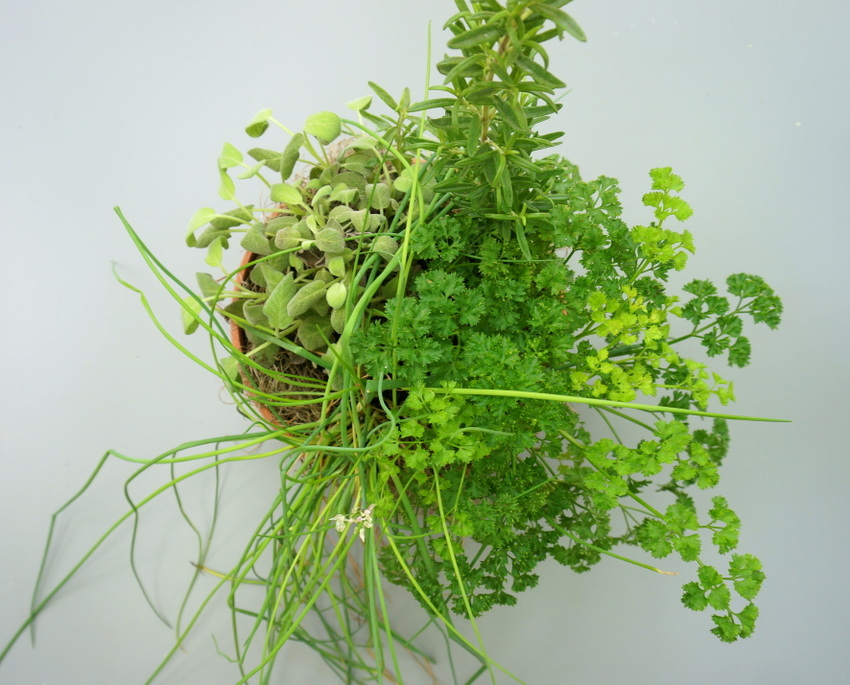
- herbs (I used rosemary, parsley, chives and sage)
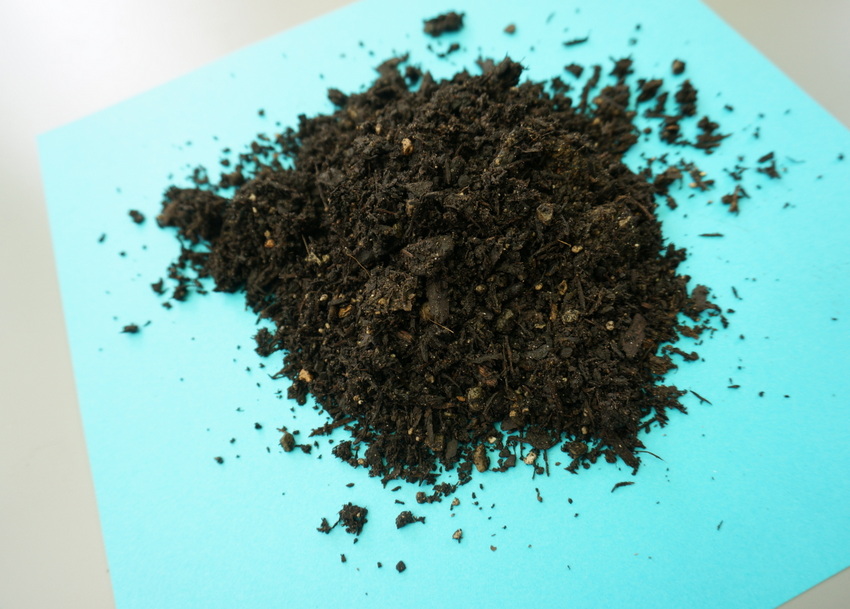
- potting soil
- pots/planters
- plant markers and a permanent pen (optional)
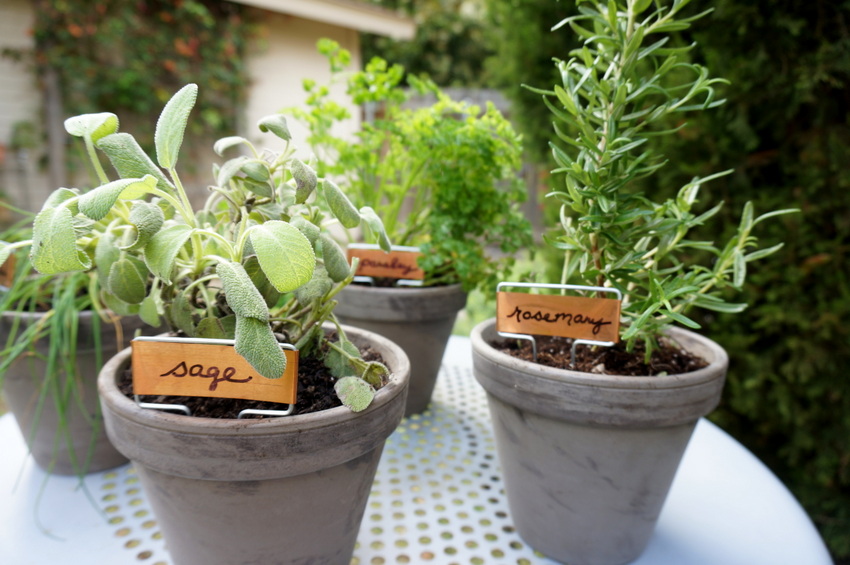
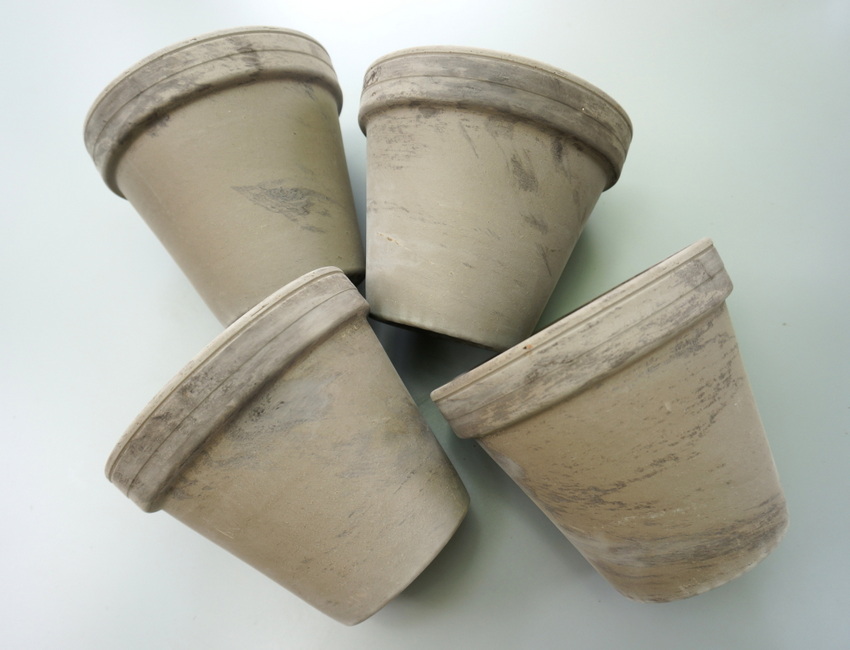
These chocolate brown pots were only $1.99 each at my local nursery, and I love their simplicity. By choosing 4-5 of the same style of pot, a clean, uncluttered look is achieved. Plus, the attention is on the fresh greenery, which is exactly where it belongs when it comes to a thriving herb garden!
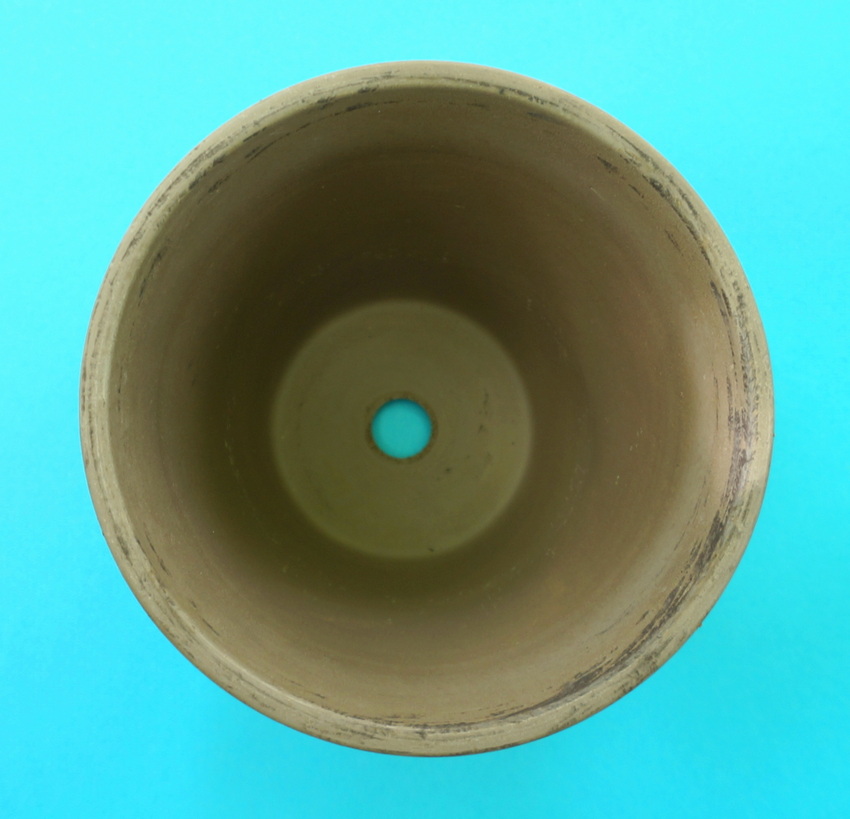
Make sure your pot has plenty of drainage. After all, you want to create ideal growing conditions:
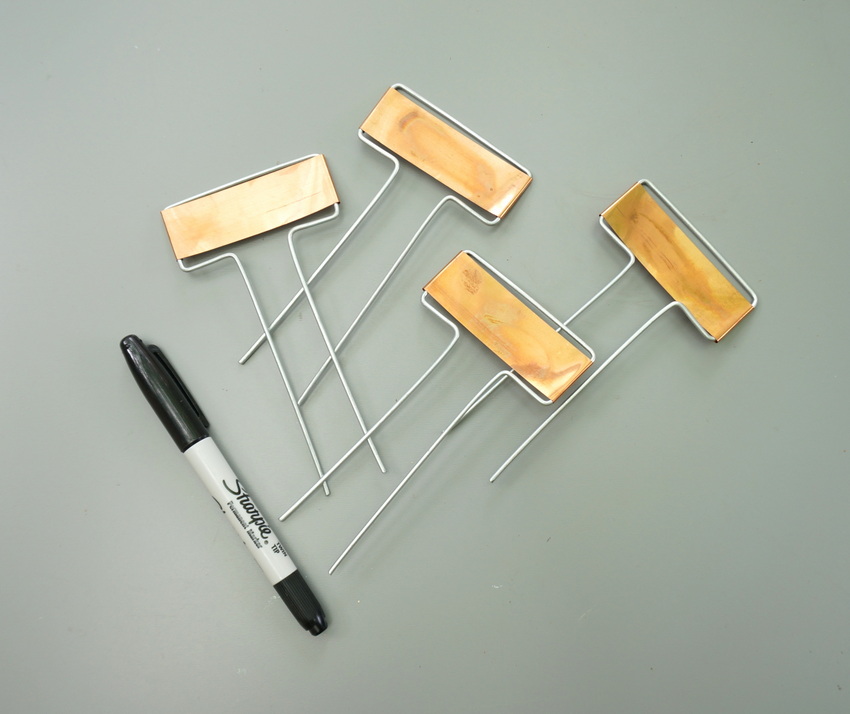
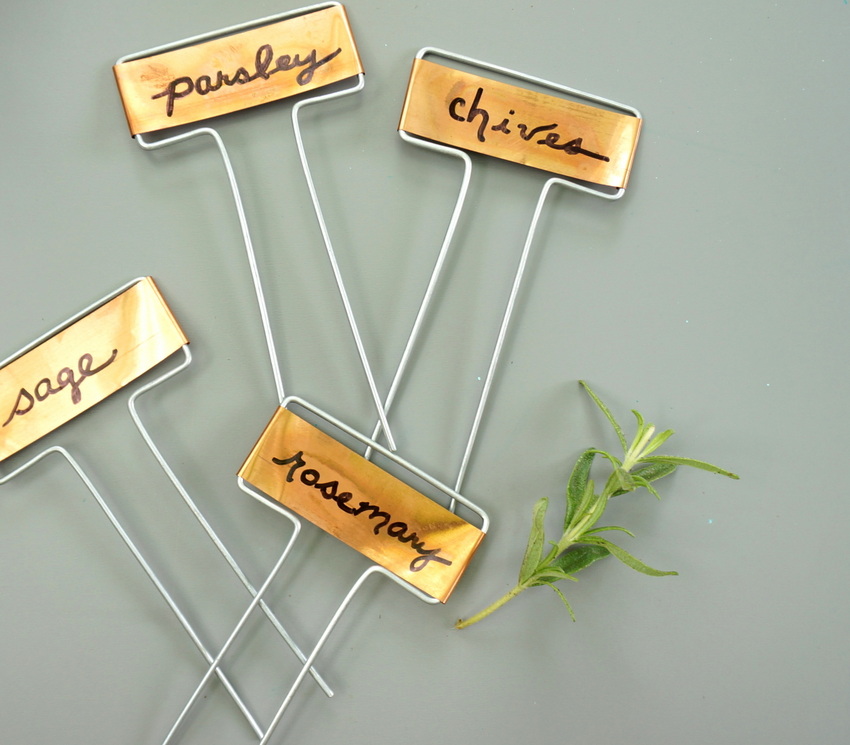
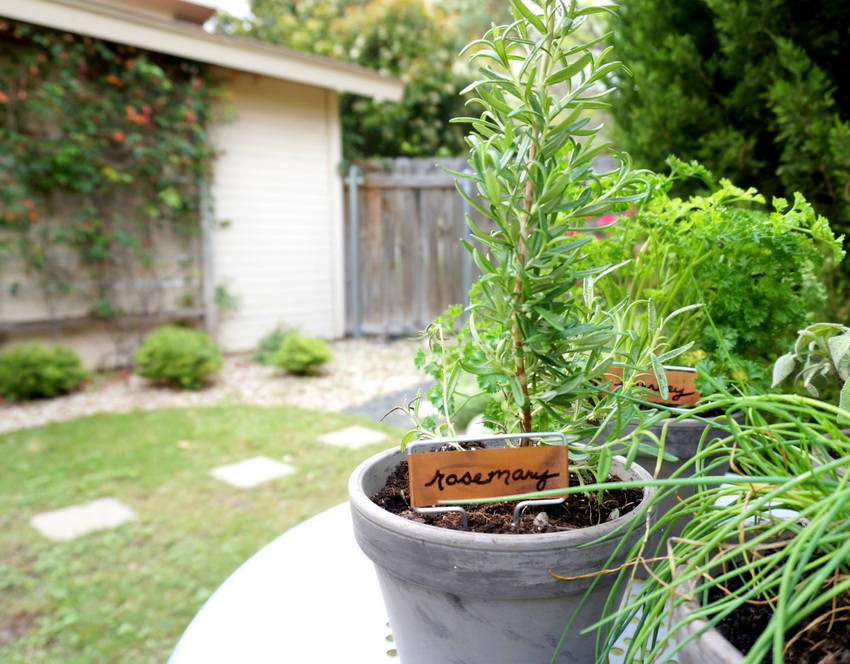
I used copper plant markers for my labels, but they come in plenty of styles and materials, from the plastic to the ceramic. Some people seem to have concerns about copper and toxicity, so do your research and feel free to choose materials that you’re comfortable with. You can write on the plant markers with a permanent marker, or you can stamp or engrave letters into the metal.
Steps, Tips and Styling
The steps of this project are very basic, which makes it easy to enjoy the planting process. It’s spring, after all! We’ve waited a long time for the warmth of the sun and the joy of outdoor DIY projects…
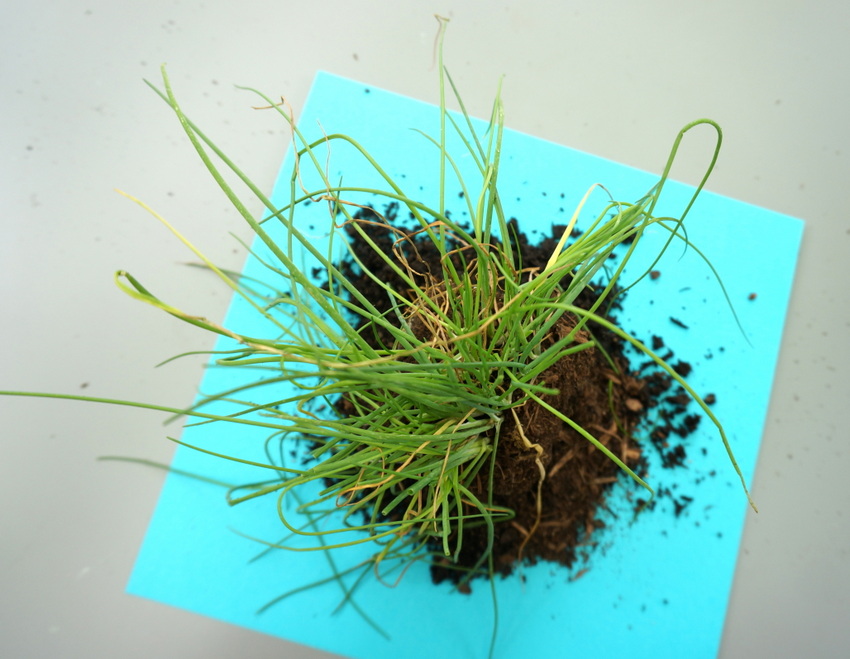
Step 1: Gather your herbs.
My sweet Mom-in-Law gave me an herb garden in a large pot as an Easter gift. I decided to separate the herbs and re-pot them so they’d have more room to flourish and grow. You may choose to purchase your herbs individually at a nursery, or you may even want to plant seeds.
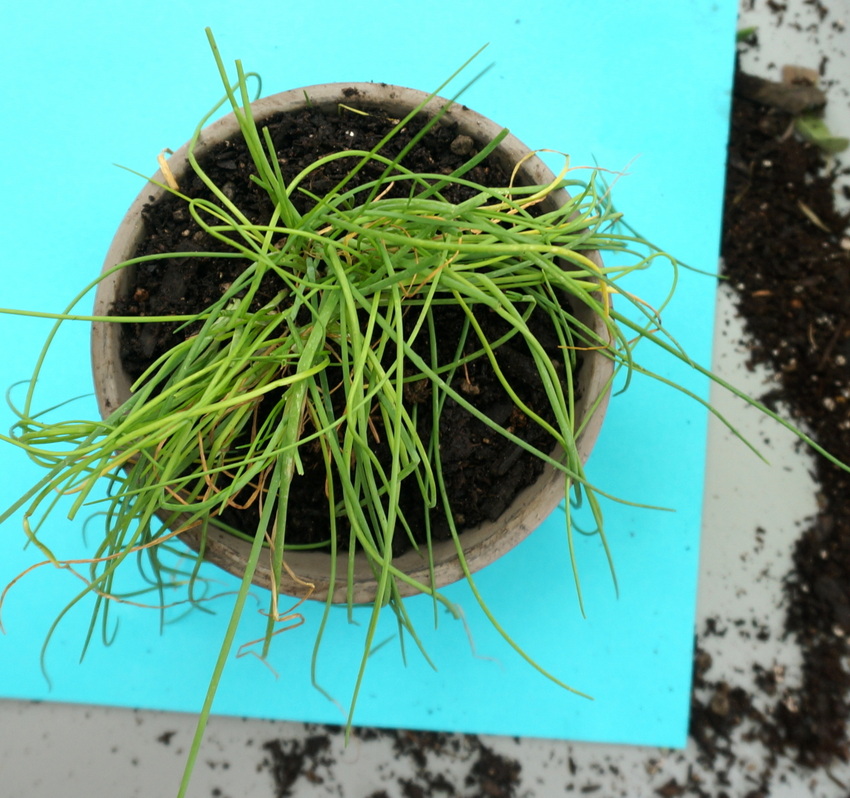
Step 2: Plant the herbs in their new pots, adding soil if necessary.
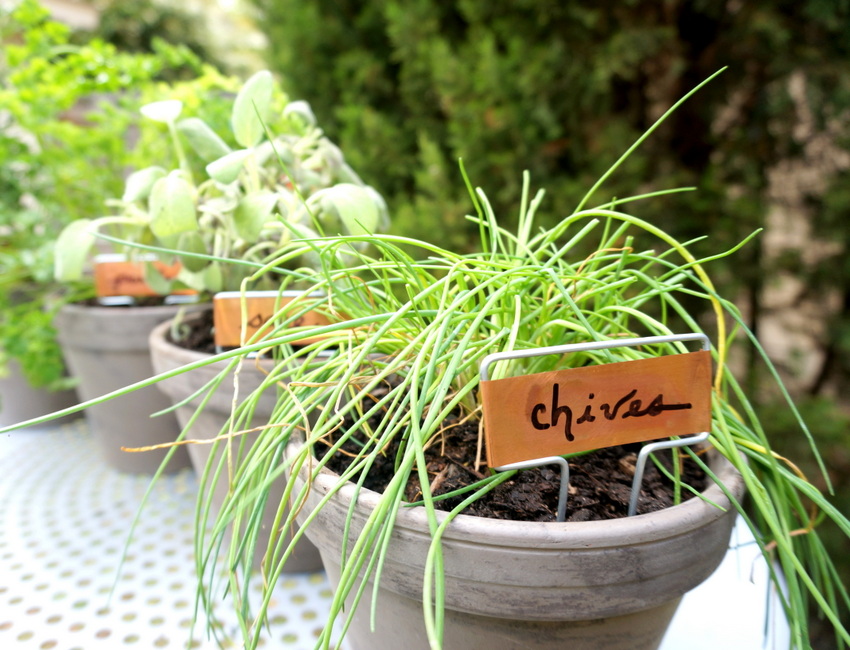
Above you can see the planted chives, and below is the sage in its pre-planted stage. The fun of this step is the wonderful fragrances you’re treated to as you handle the herbs!
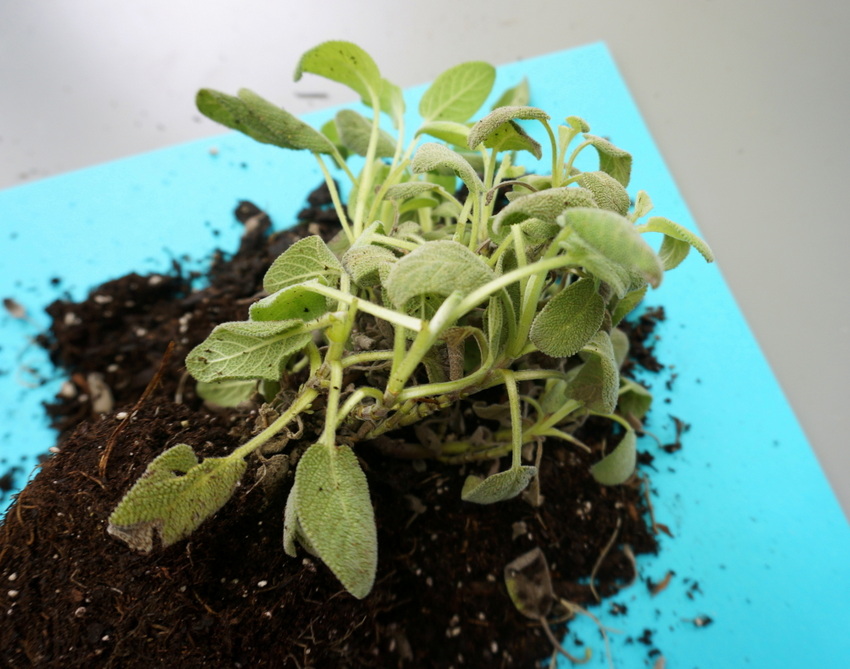
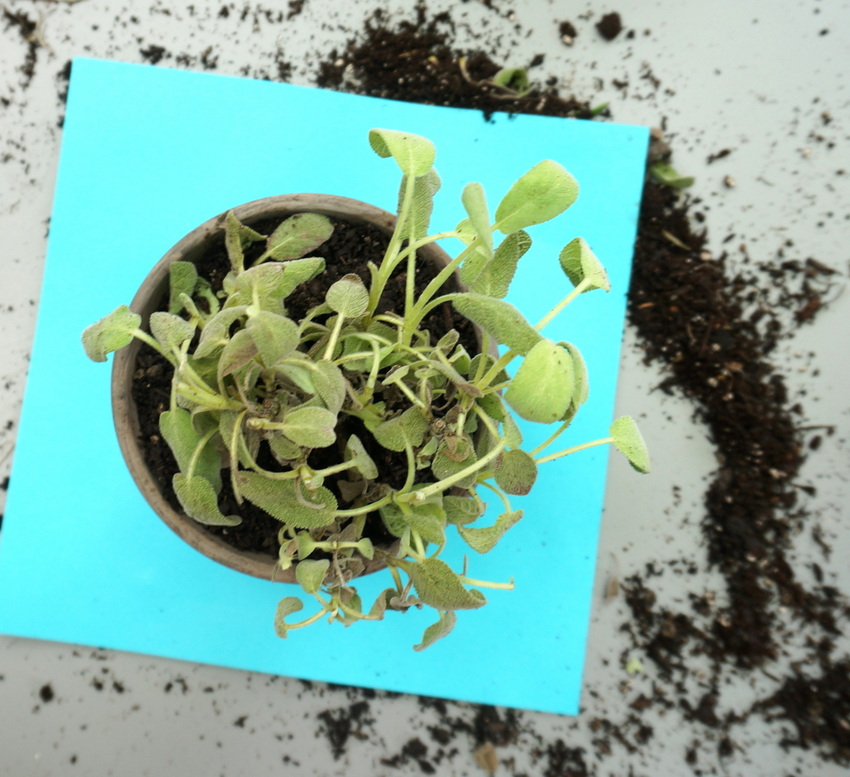
Plus, each herb takes on a new life when placed in its new pot:
Step 3: Label each plant marker and place them in their respective pots.
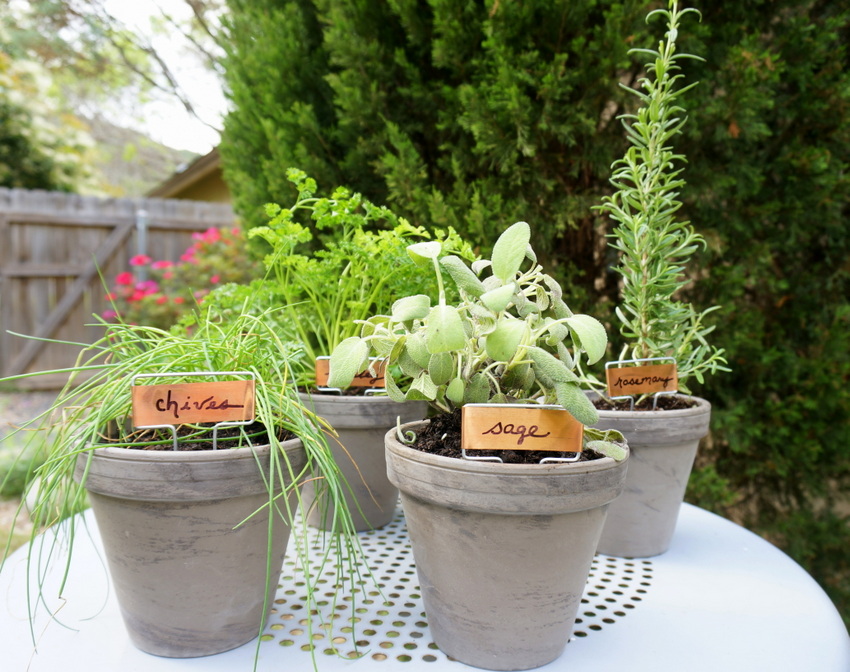
I’m reminded of a Simon and Garfunkel song when I see the labels below: “Parsley, sage, rosemary and chives”. Although I’m pretty sure it was “thyme” instead of “chives”!
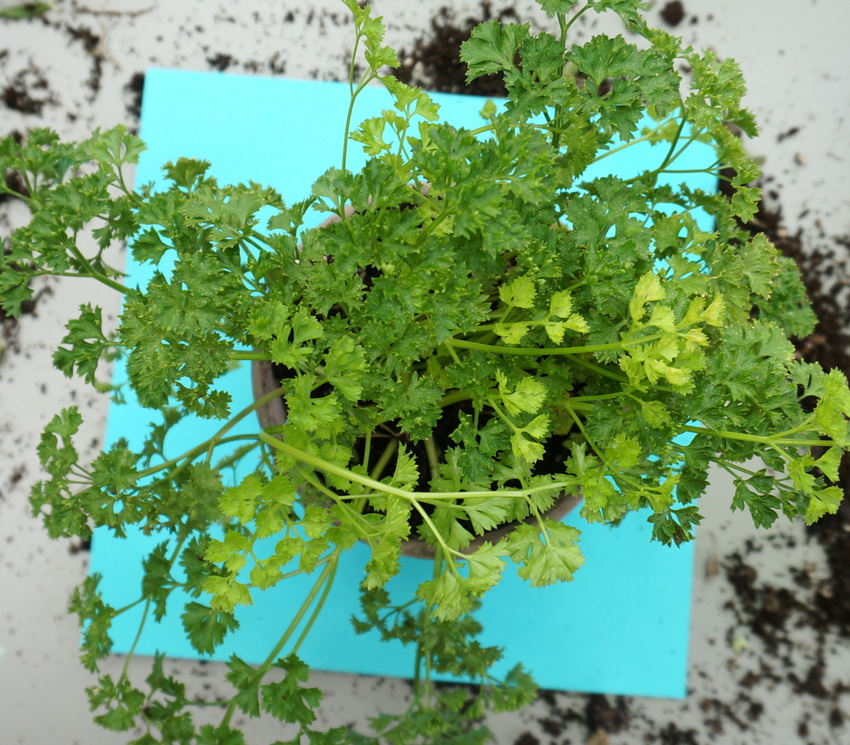
The parsley was fun to re-pot, as this was by far the fullest of the herbs. I can only imagine how large this plant will get now that it has its own growing space. I’d better start incorporating parsley into some new recipes!
Step 4: Arrange your potted herbs on the surface of your choice.
I chose a metal table in my backyard—on my patio, to be exact. Herbs love the sun, so to me, it was worth it to make space for this tabletop garden outdoors. Plus, the fact that the herbs are on a table under a covered patio next to the house makes it nearly impossible for squirrels and birds to find their way to the pots. Which makes me feel better about cooking with the herbs!
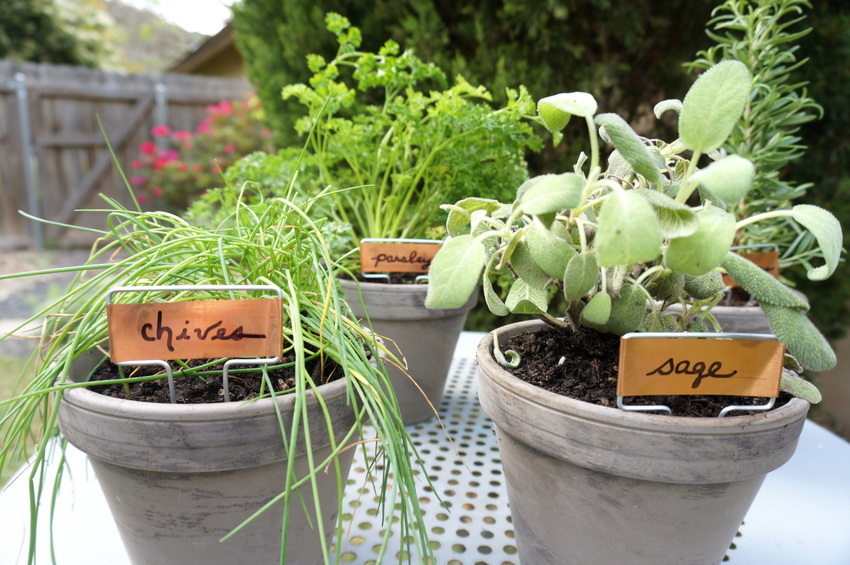
Remember, simplicity is key here. You may even choose to forgo the plant labels and make this herb garden a bit more minimalist. There’s beauty in the understated, don’t you think?!
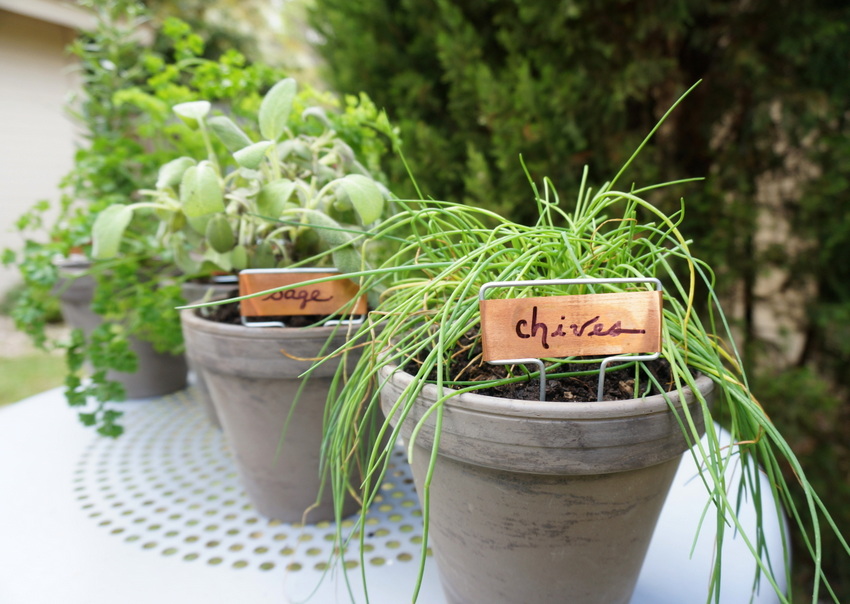
This herb garden brings a smile to my face, as its freshness inspires me to cook on a daily basis, and the modern feel created by the repetition of understated pots is the perfect fit for my outdoor space.
Thanks for letting me share my latest DIY project. Wishing you and yours a Happy Spring!
