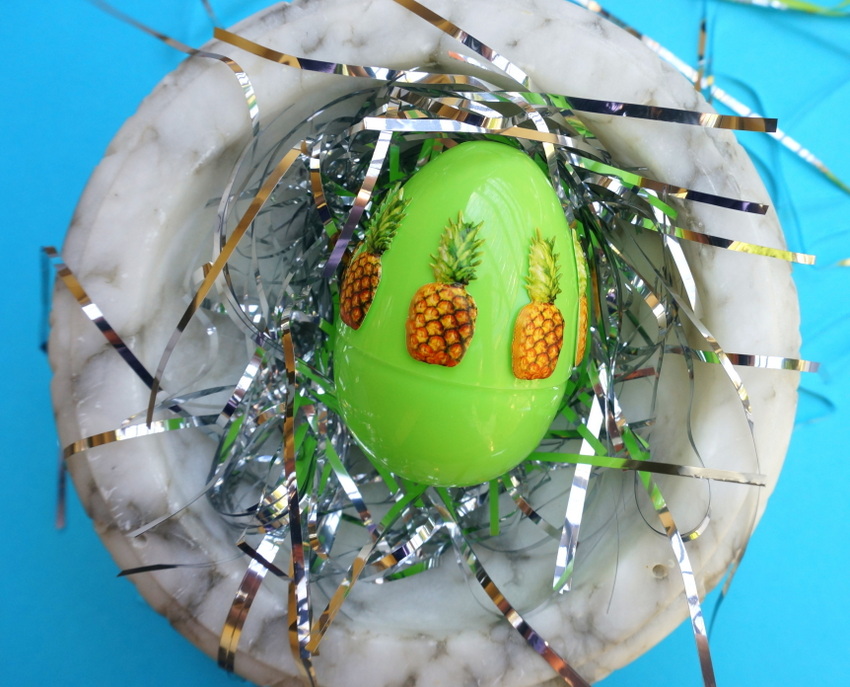
Today I’m sharing a super-easy way to add some modern style to your Easter celebration. With a few plastic Easter eggs (yes, the really affordable kind) and the stickers of your choice, you can personalize your Easter decorations and have fun in the process. If you love DIY projects but you’re short on time this week, today’s post is for you. Enjoy!
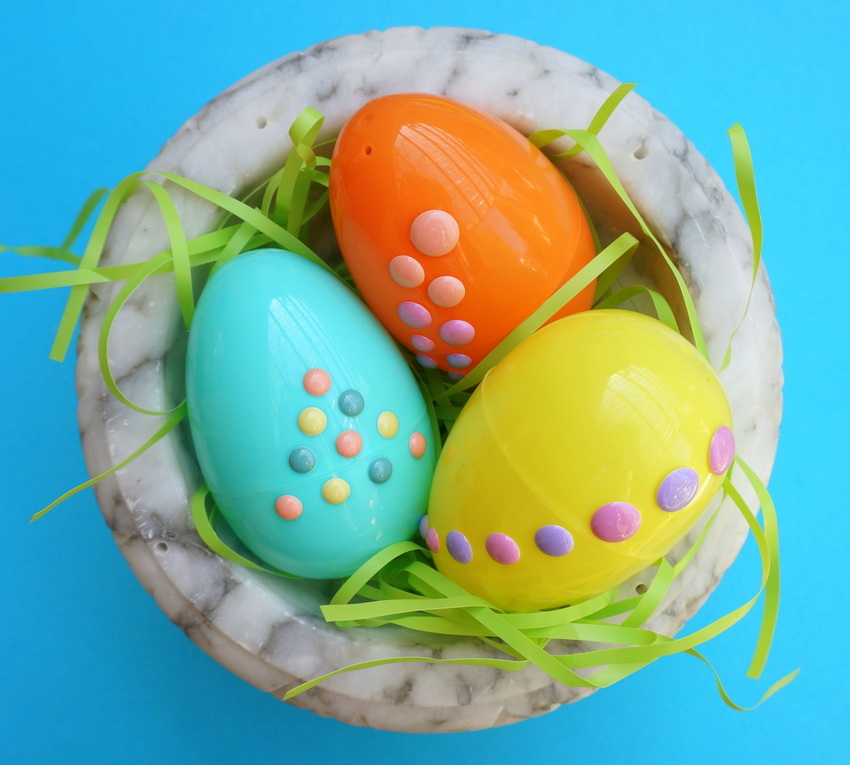
Getting Started
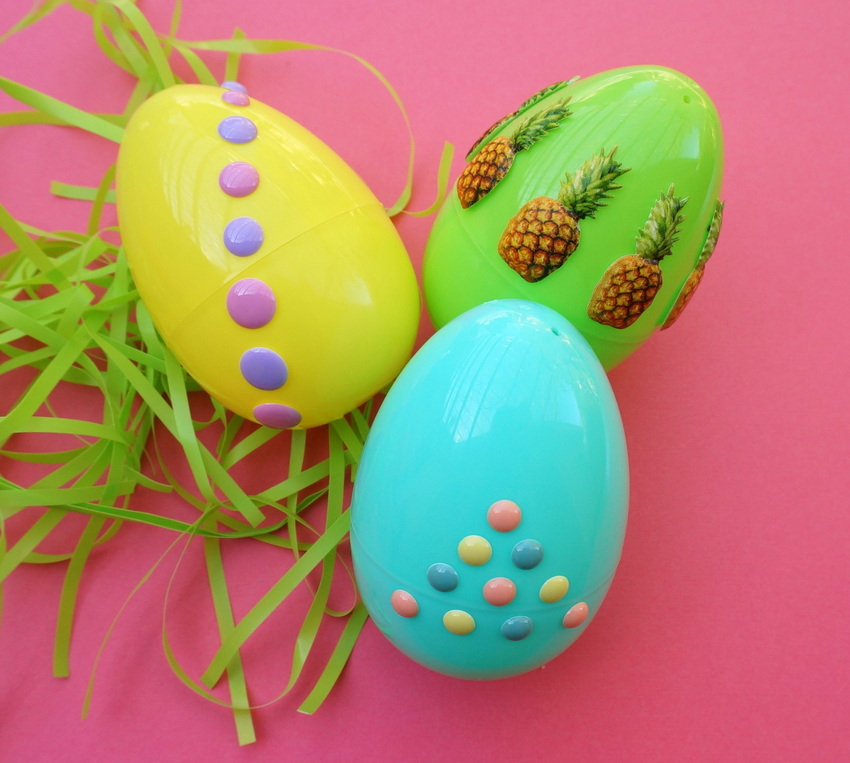
Here’s what you’ll need to get the ball—or the egg—rolling:
- medium- or large-sized plastic Easter eggs
- stickers (I used dots and pineapples)
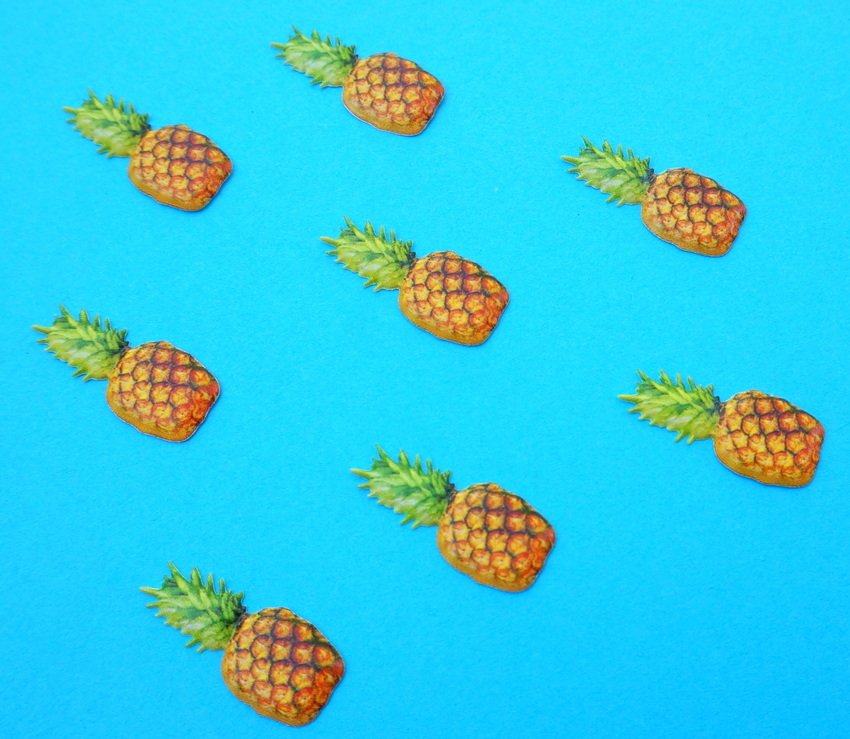
About the stickers… I wanted dots and fruit! Dots so I could create shapes with them and fruit because I’m a fan of the current still life movement, and I love photography that features edibles on brightly colored backgrounds. I wanted to mimic the look with the pineapple stickers and plastic eggs!
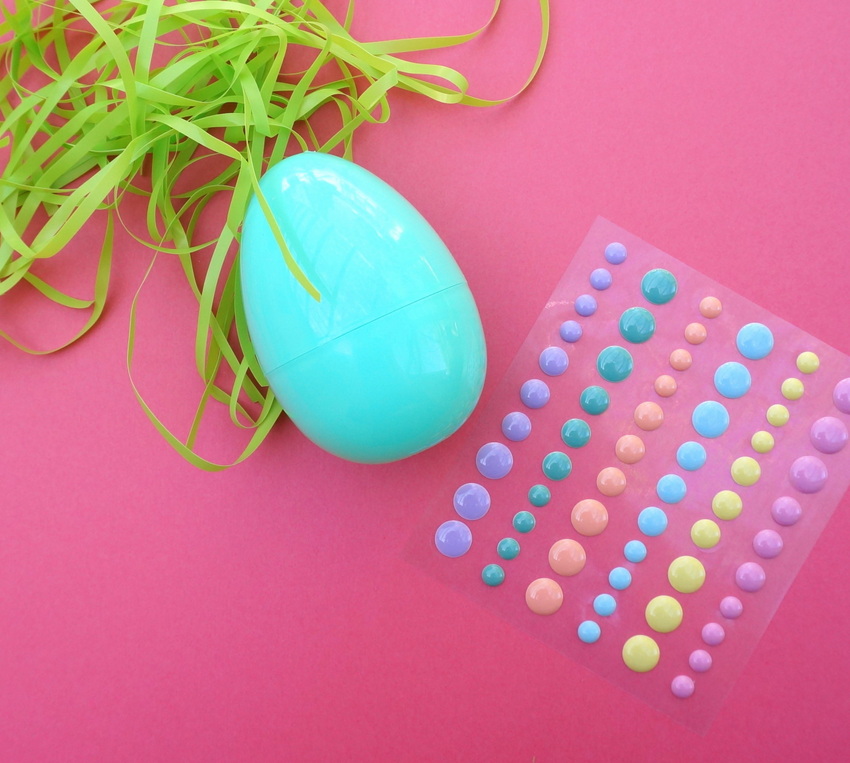
I went to my local craft store (Michael’s) and found puffy dots and pineapples from Recollections. The puffiness is perfect for the dots, but you may want your fruit stickers to be a bit more flat than mine if you’re not going for a 3D look.
Project Steps
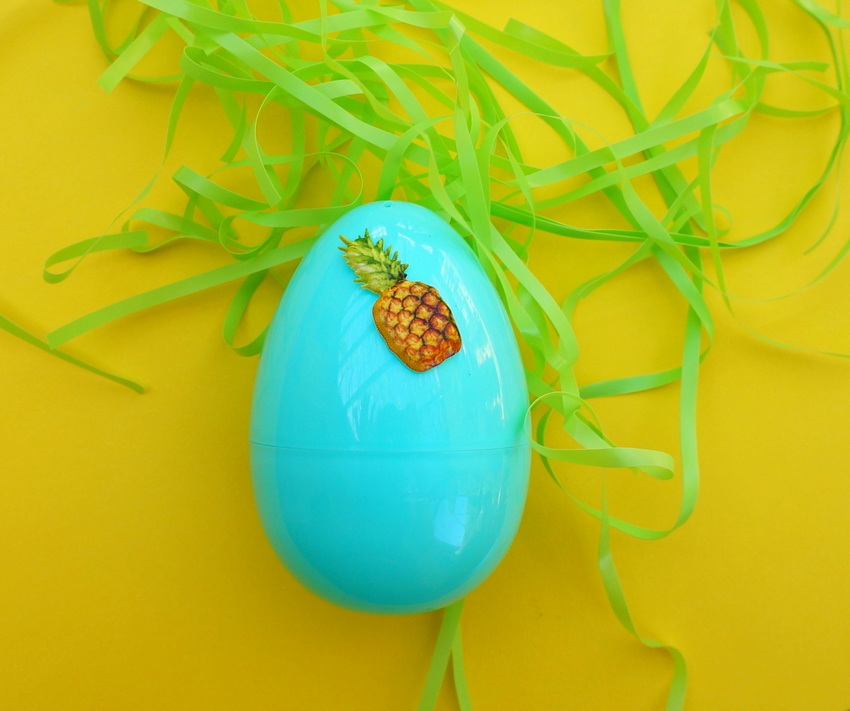
Step 1: Plan your design
Honestly, many stickers are easily re-positionable, so you don’t have to perfectly plan the design right from the start. But it’s helpful to have a general idea of what you’re going for before you begin peeling and sticking!
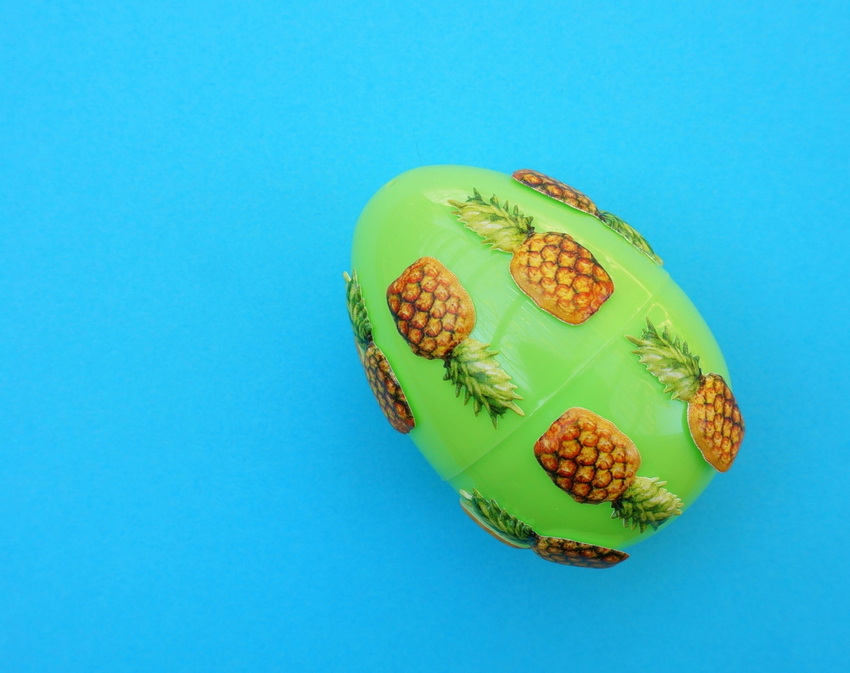
Step 2: Position one sticker at a time until you have the design of your dreams.
Yes, it’s that simple and you’re done! Really and truly. Have fun and enjoy the process. I really got into this project and spent a good hour trying out different designs. If you’re pressed for time, this can be a quick project as well. Below I’ll share a little bit about my process, as well as some tips and tricks for getting the best results.
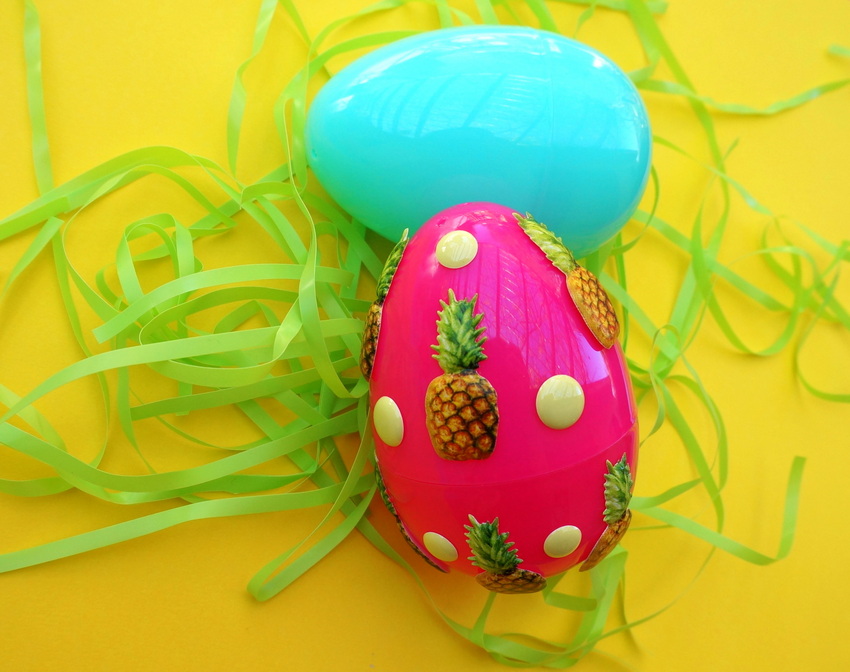
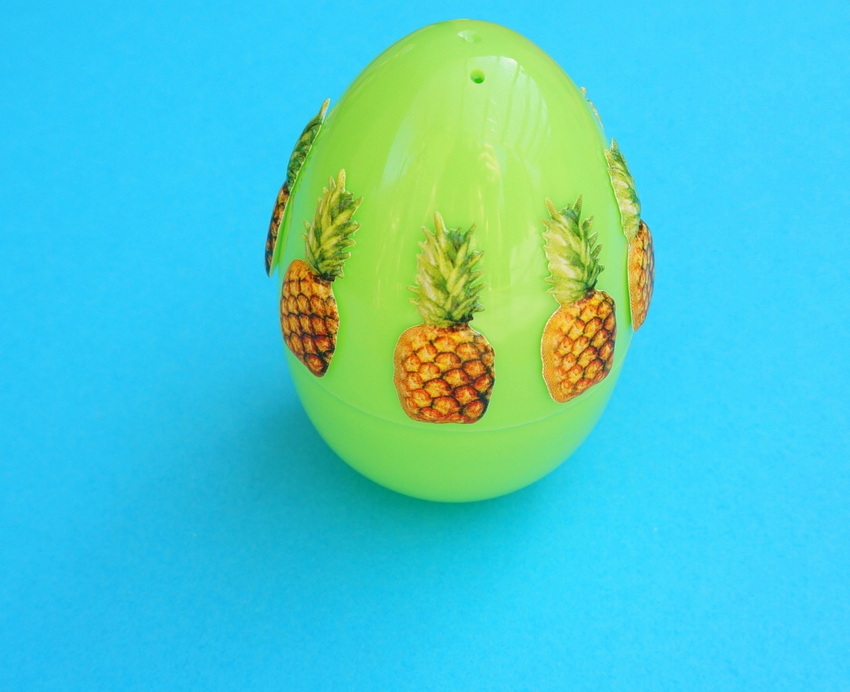
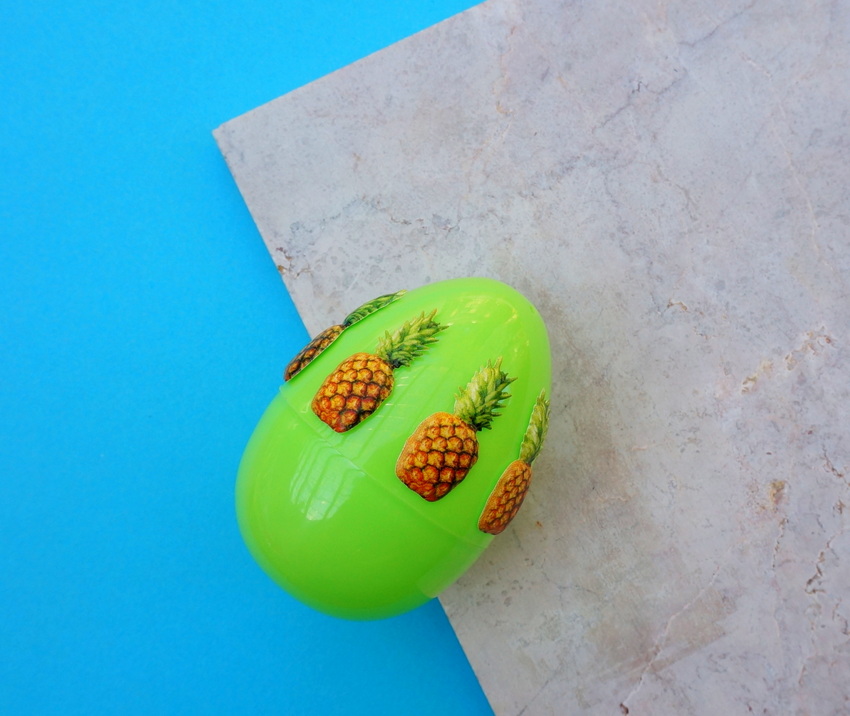
I had fun playing with the pineapple stickers and experimenting with a few different designs. As you can see, above I combined pineapples and yellow dots to create a pattern all around the egg, and below I made a ring of pineapples. If you’re placing the stickers all over the egg and they’re puffy, you may need a bit of glue to secure the edges, as they tend to pop up near the top and bottom of the egg.
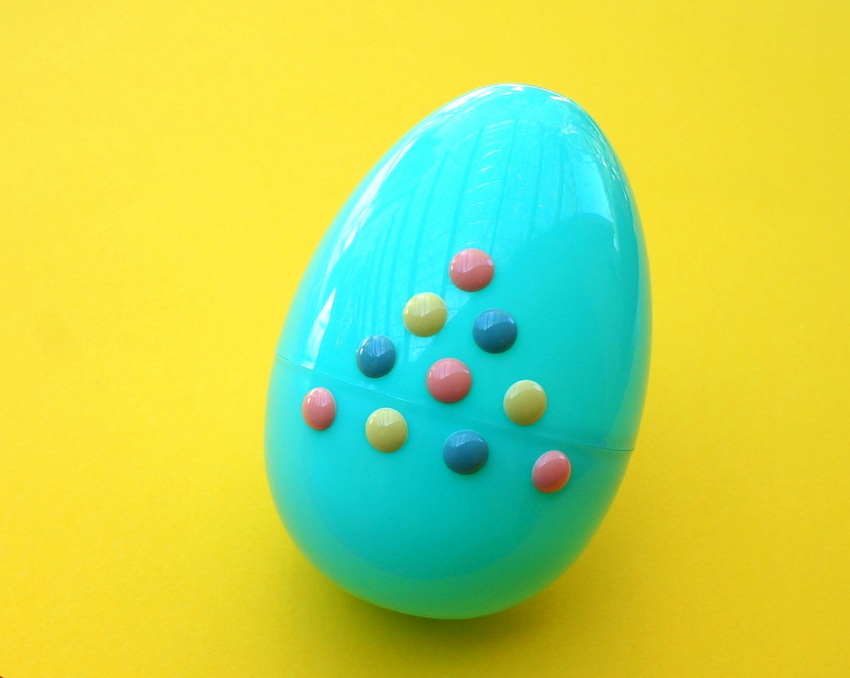
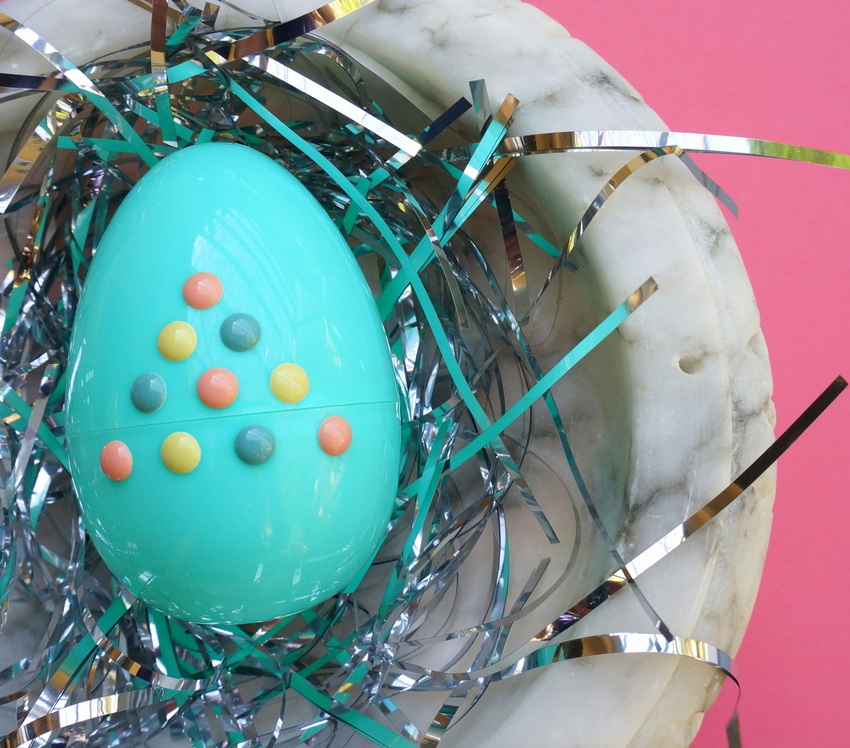
Since the dots aren’t as large, they do a better job of staying put! I created a triangle with my dots, making sure that no stickers were blocking the ring where the egg opens and closes:
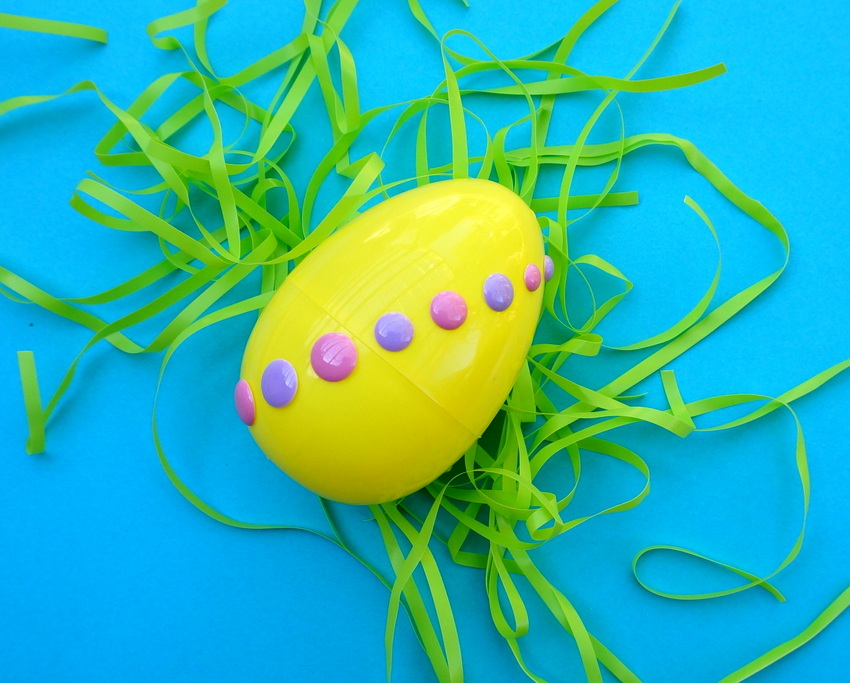
I enjoyed creating range of designs with the dots, including this diagonal line made from berry-toned stickers:
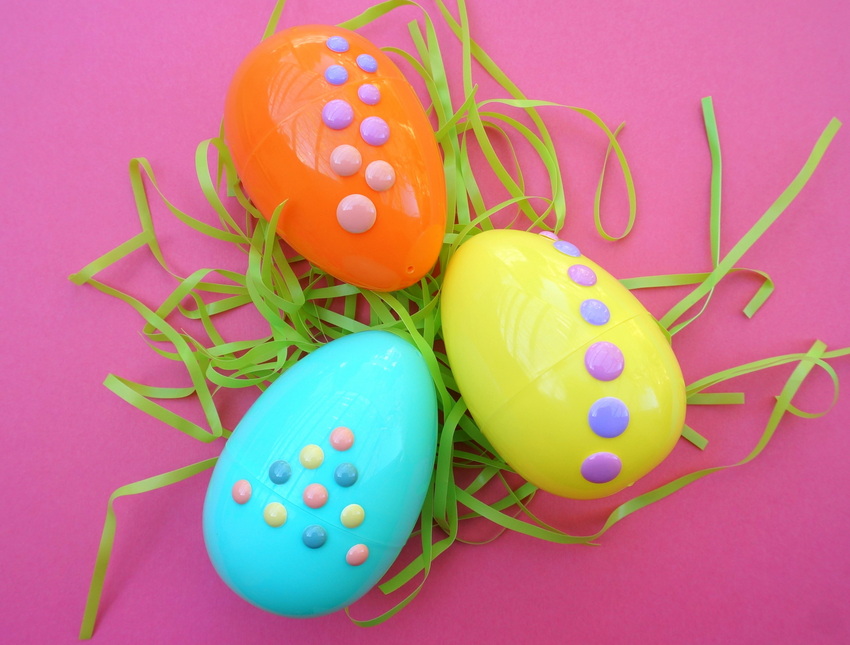
I created a similar look with the orange egg in the next image, adding some peach dots and arranging the stickers from smallest to largest (and darkest to lightest) to create a bit of an ombre effect:
Easter Egg Styling
The best thing about these DIY eggs is the way they put a new spin on a very simple plastic product with the help of affordable stickers. If you’re going to go plastic, you may as well play it up with some equally shiny stickers in eye-catching designs! I’ll be giving these to my relatives on Easter, after filling them with goodies, of course!

For the time being, I’ve placed them in a marble urn on a nest of grass. I can’t decide what I like better: the green Easter grass or the silver metallic shred!
And of course, if you’re playing up the still life aspect of the fruit-motif egg, you can always throw in some other still life elements, such as marble tile. These eggs also look pretty great (and modern) arranged on a shelf, either alone or in a group. Simply put a roll of tape on the bottom to keep each egg upright.
We at Decoist wish you and yours a colorful Easter! May it be filled with delicious food and meaningful time with the people you care about.
