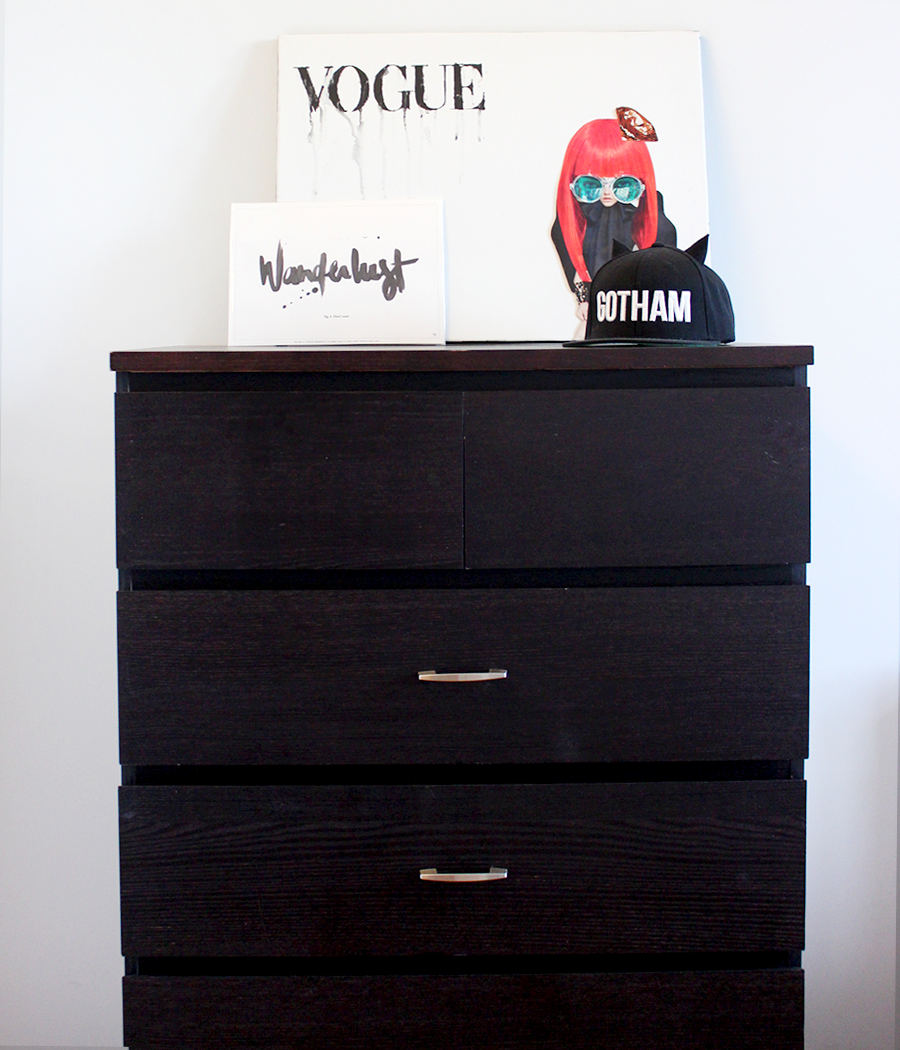
Can’t *handle* the fact that your drawers have no handles? The sleek and minimal look is perfectly fine for some, but it’s been known to cause a bit of frustration (and nail breakage) for others. If you’re tired of grasping at straws, we’ve got an easy DIY tutorial showing you how to install drawer pulls or update the ones you already have.
DIY Drawer Pull Installation
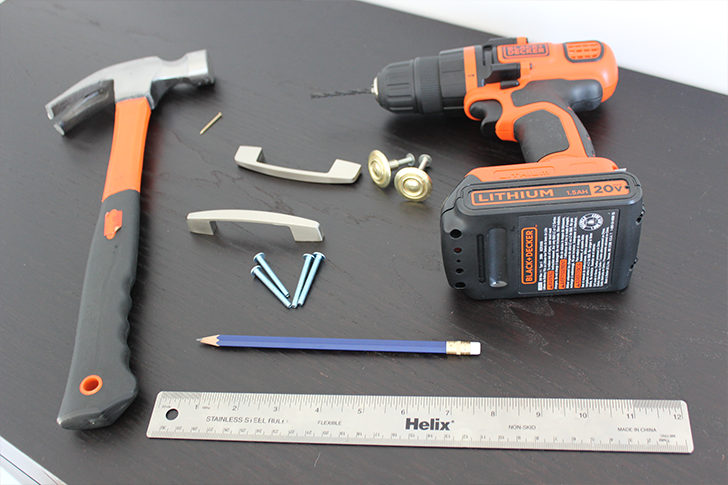
Here’s what you’ll need to get started…
– drawer pulls
– pencil
– ruler
– drill bit
– small screw
– hammer
Note: This tutorial applies to wood drawers. For other materials, you may need to use slightly different tools or techniques.
Step 1:
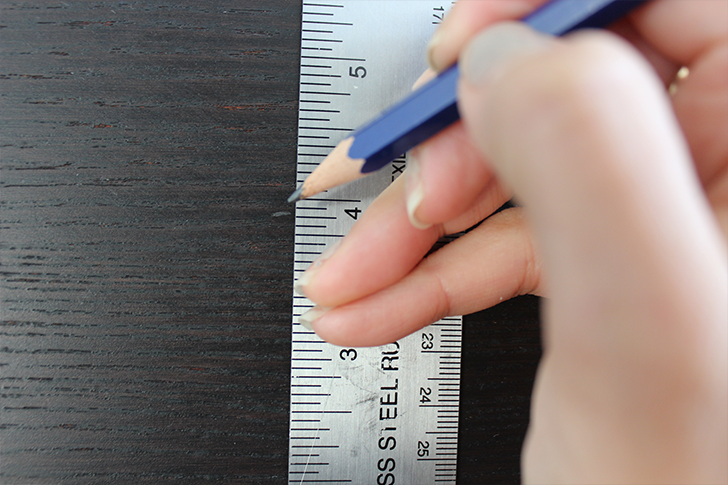
Before you start, you may want to lay down a dropcloth or some newspaper to catch any falling debris. Then, using a ruler, measure off the point where you want your drawer pull to go. You may want it to be totally centered, or you may want to offset it a little. A good way to get a feel for what the handle will look like before you commit to a position is to ask someone to hold it up for you so that you can step back and look from a distance.
Step 2:
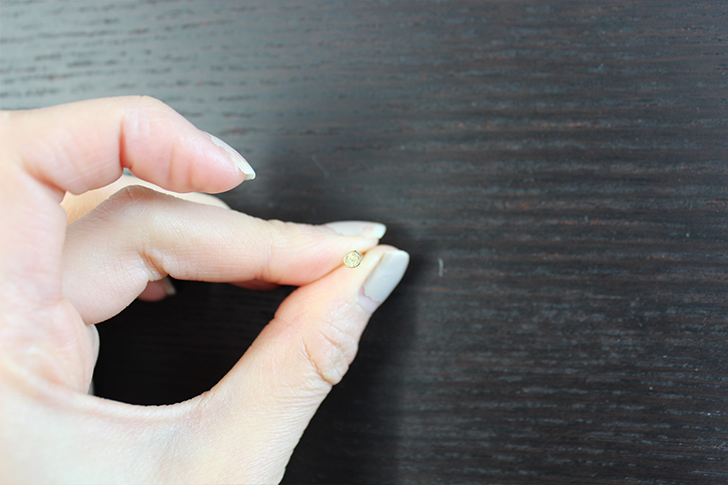
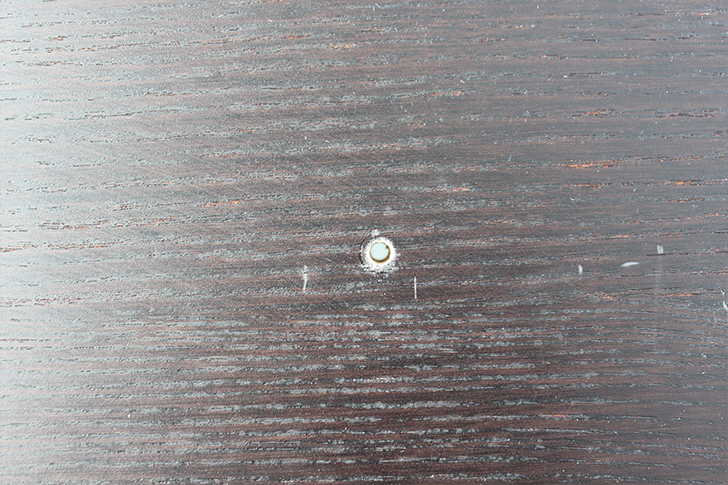
Once you’ve marked off where your screws will go, create a pilot hole by tapping a nail into the spot with a hammer. The nail should go in deep enough that you need to use the tail end of the hammer to remove it but not so far that it penetrates through to the other side. The pilot hole prevents your wood from splitting and makes drilling a lot easier.
Step 3:
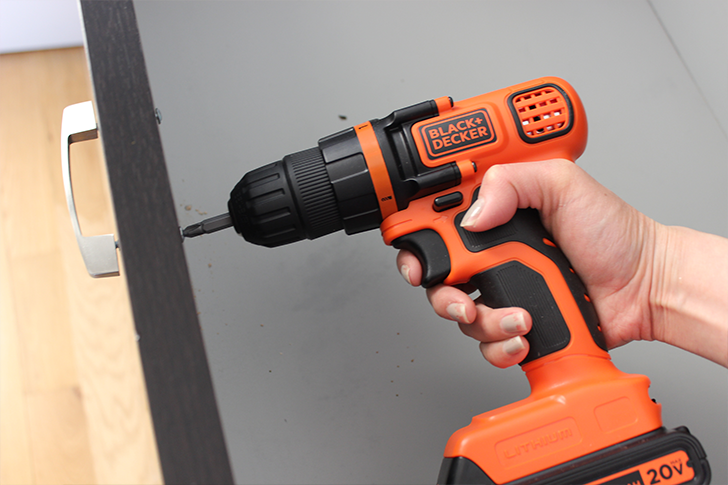
Next, place your drill bit into your drill. If you’re not sure which size drill bit to use, try placing a few different sizes into the hole in your drawer pull. The one that fits is usually the best choice. Most pulls will use a 3/16″ or 5/32″ drill bit. Remember that if you drill your hole too small, you can always go a size larger, but you can’t make your hole smaller again. Once you’ve got your drill bit set up, start drilling your hole. Repeat as necessary if your handle has multiple screws.
Step 4:
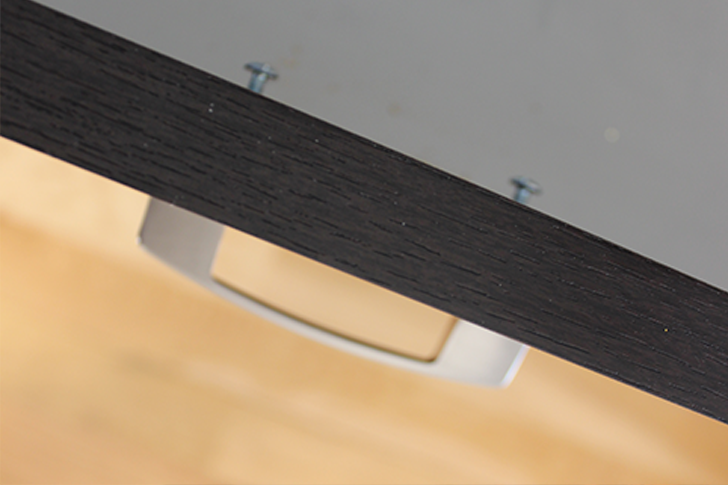
Next, place your screw into the hole you just drilled and thread it into your drawer pull. Then use a screwdriver to tighten. Be sure not to over-tighten as this may cause undue pressure on the drawer face.
Step 5:
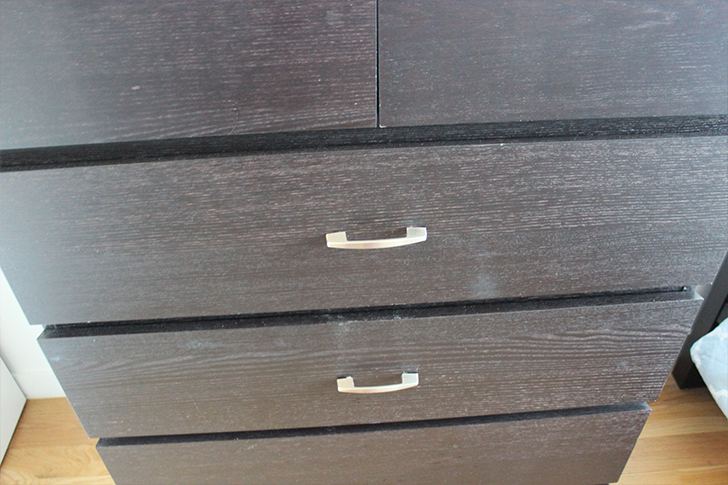
Clean up any debris and admire your handiwork!
We hope this tutorial shows you how easy it is to add handles or pulls to update your drawers and cabinets inexpensively.
