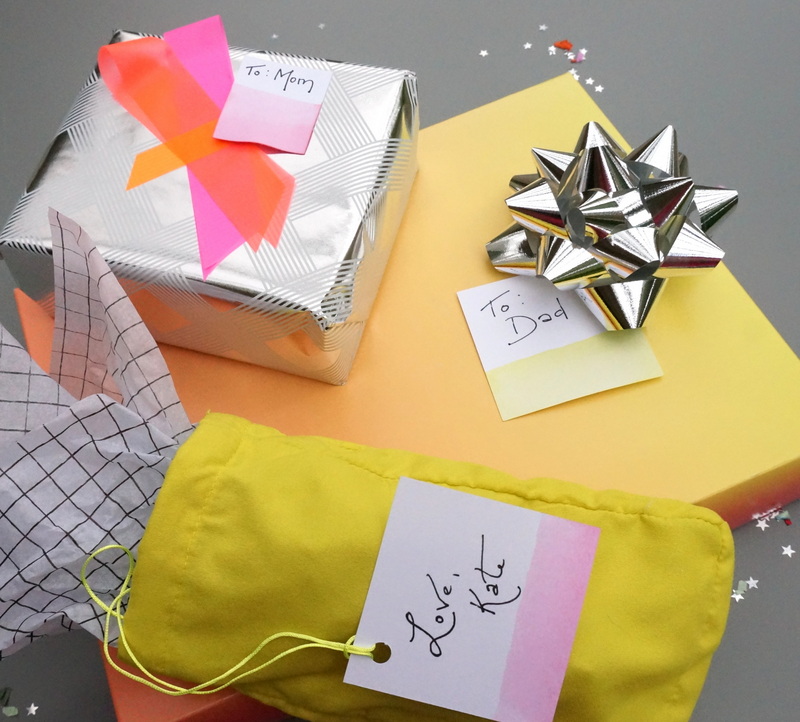
Happy Holidays, Decoist Readers! Today I’m sharing my latest DIY project with you: dip-dye gift tags that add a colorful touch to your Christmas wrapping endeavors. This project is a super easy one to pull off, and I have to say that it’s great fun to dunk paper tags in water dyed with neon food coloring! If you caught Thalita’s tinsel tassel gift wrap project last week and you’re looking for another creative way to spruce up your holiday packaging, read on for all of the DIY details…
Dip-Dyed Gift Tag Supplies
Ready to get to work? Time to start gathering your supplies!
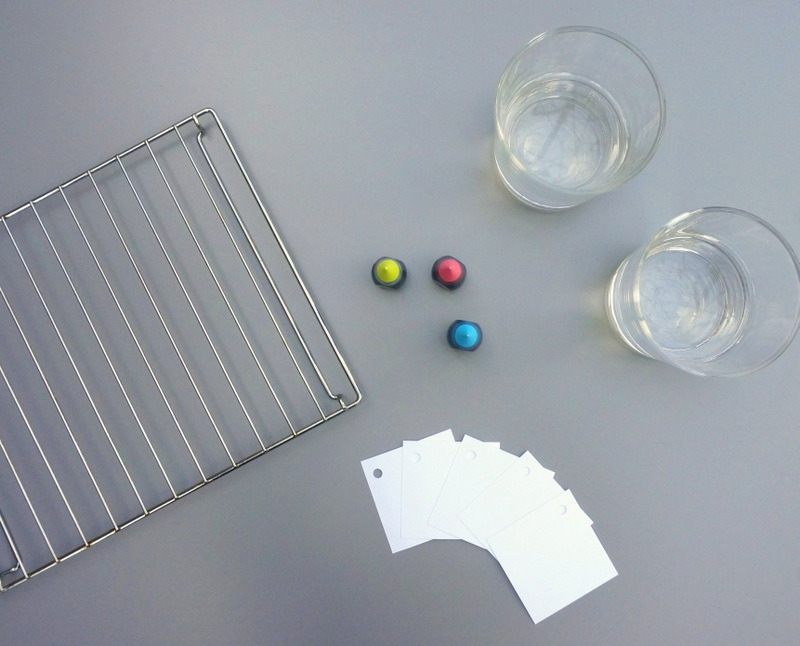
Here’s what you’ll need to get started…
- paper gift tags (you can hand cut them or buy them)
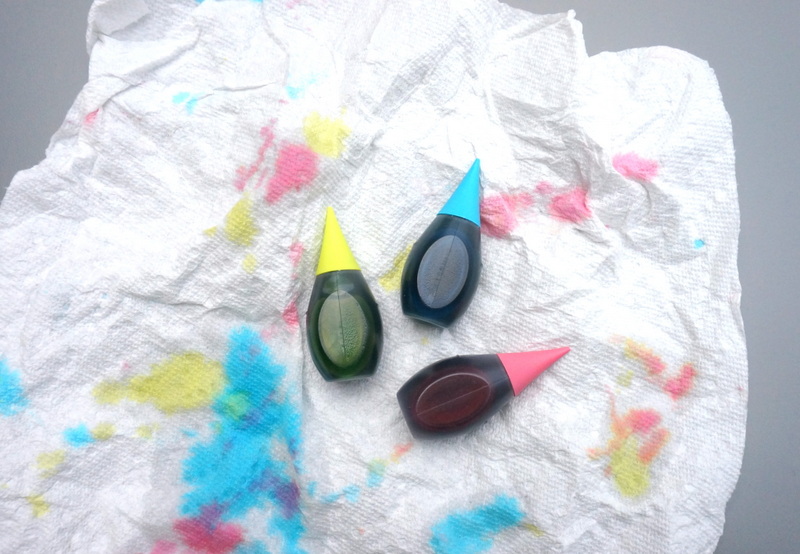
- neon food coloring
- containers of water
- ribbon or string
- scissors
- a hole punch (optional)
- a surface for drying the gift tags (such as a wire rack)
- paper towels
DIY Gift Tag Project Steps
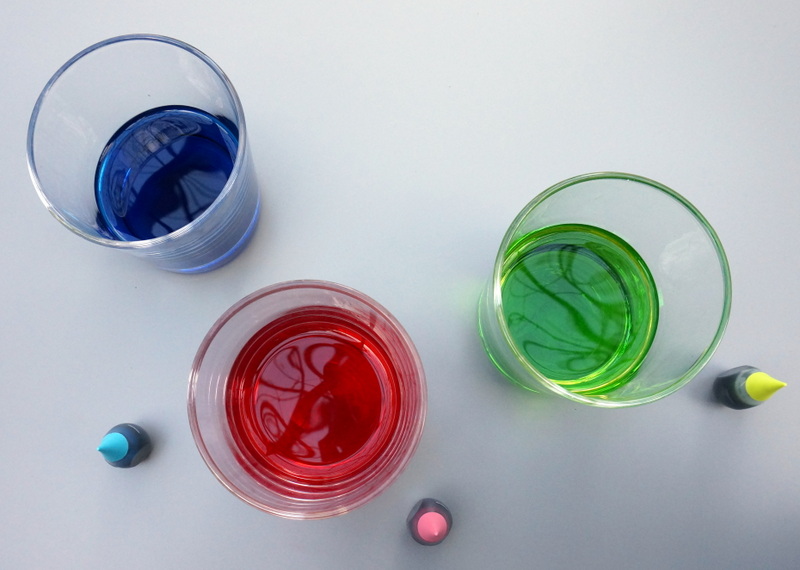
Step 1: Gather your gift tags.
As mentioned, you can purchase them at a store or make them from sturdy paper, such as cardstock. Keep in mind that the paper should be absorbent rather than glossy. You may decide to pre-punch holes in the gift tags or punch the holes after dyeing the paper. You may also decide to leave some tags without holes, especially if you’ll be taping the tags to your packages rather than tying them on with ribbon.
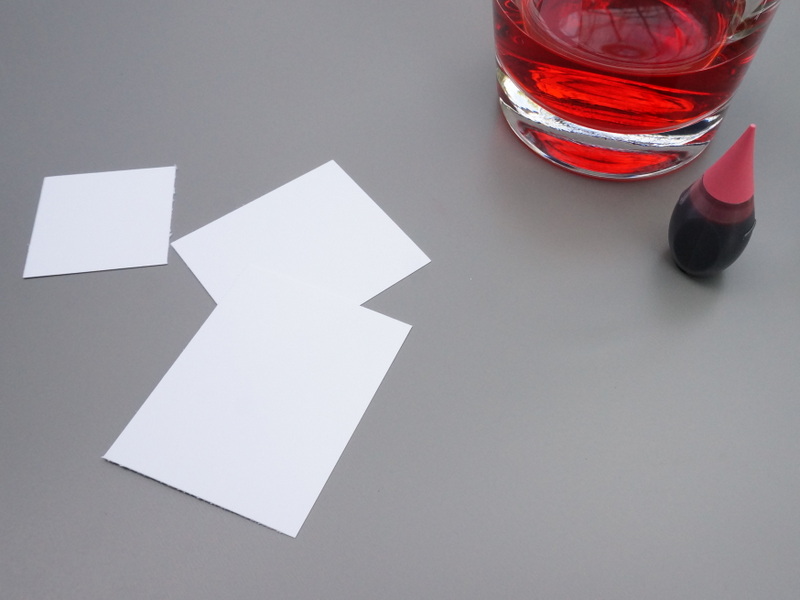
Step 2: Fill the containers with water and add drops of food coloring.
I started with 10 drops of food coloring in each glass, but it soon became obvious that the neon pink and neon blue hues were much stronger than the neon green. I needed additional drops of the green coloring to get a more saturated look. Feel free to adjust the intensity of the colors by adding more drops as needed.
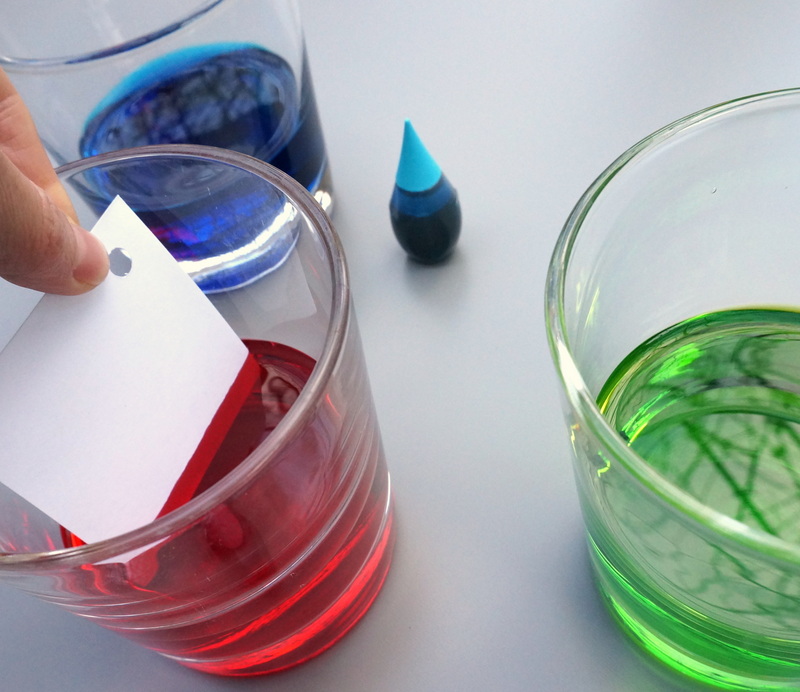
Step 3: Dunk the tags into the glasses of colorful water, holding the paper in the mixture for a few seconds so the color can absorb.
If your paper starts to wrinkle or become over-saturated, simply dunk the tags for a bit less time. You’ll get a feel for what your paper can handle.
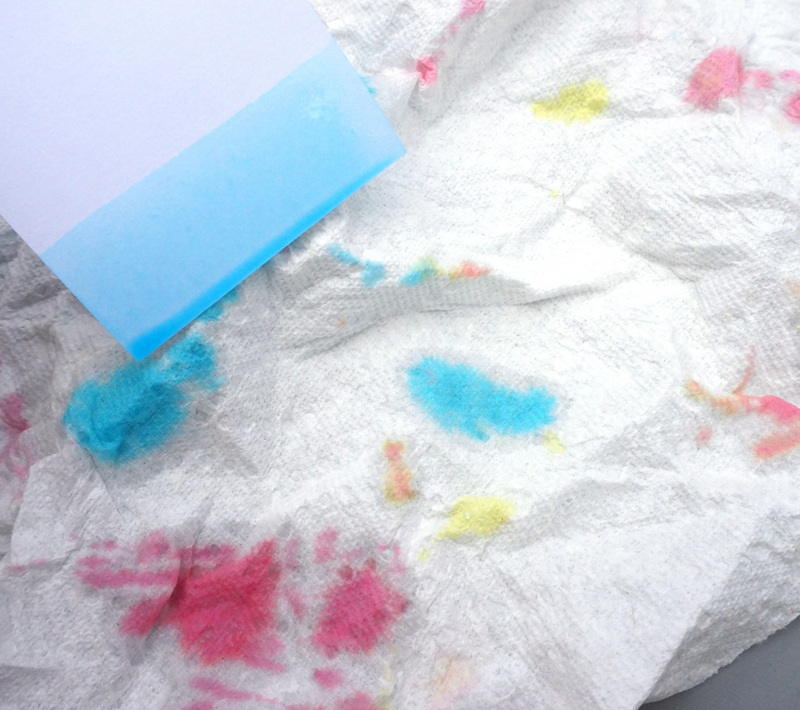
Step 4: Dab excess color on a paper towel to ensure a smooth drying process.
If you’ve got water dripping off of your tag, it’s definitely time to dab it. However, if there’s some extra color accumulating at the bottom of your tag after dabbing (as shown above), feel free to leave it. It just might create an ombre effect as the tag dries!
Step 5: Set the tags on a flat surface to dry.
I used a wire rack (from my toaster oven!), and then moved each batch of tags over to the table as they continued to dry in order to make room for the newest group of wet tags.
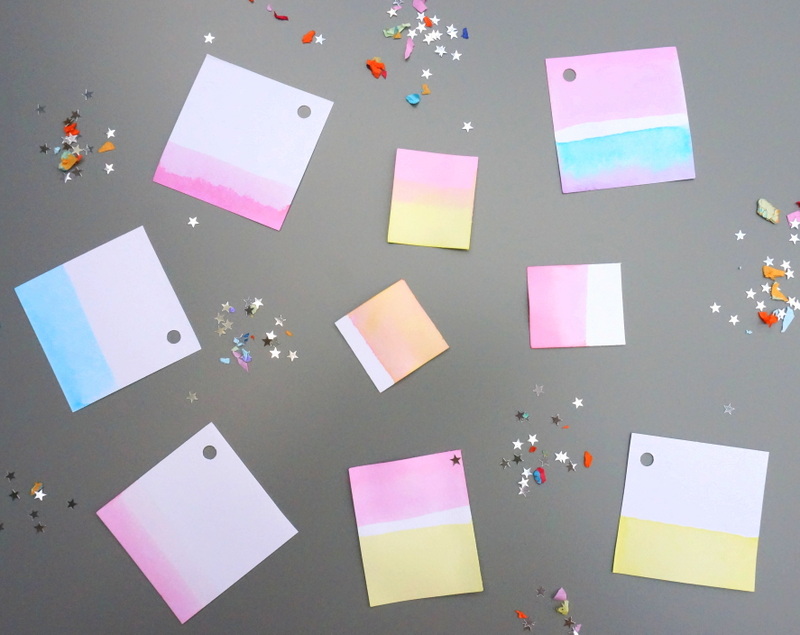
Step 6: Go for a second round of dunking to add complexity to each tag.
I did this in two ways. With the bottom of each tag already filled with color, I chose to then dip the top half of the tag in the colorful water (for a split-color effect). For other tags, I dunked the very bottom of the tag into the original color for a second soaking (which will create an ombre look if you only dip the very bottom of the tag into the mixture).
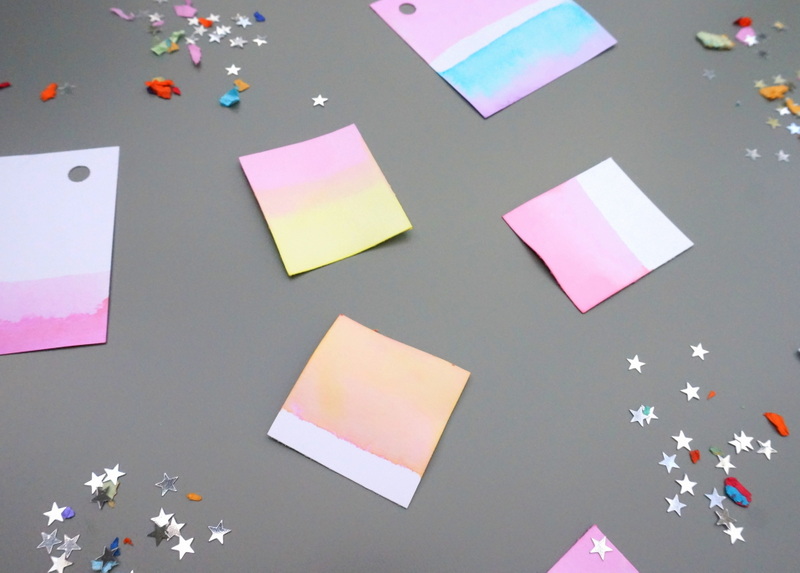
Step 7: Add ribbon or string to the holes in the tags once they’re dry. Embellish your gifts as desired!
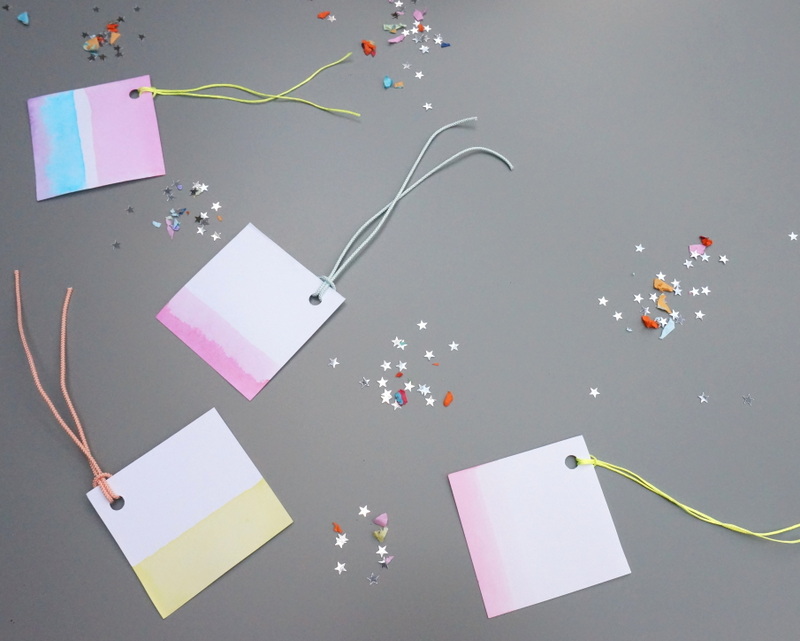
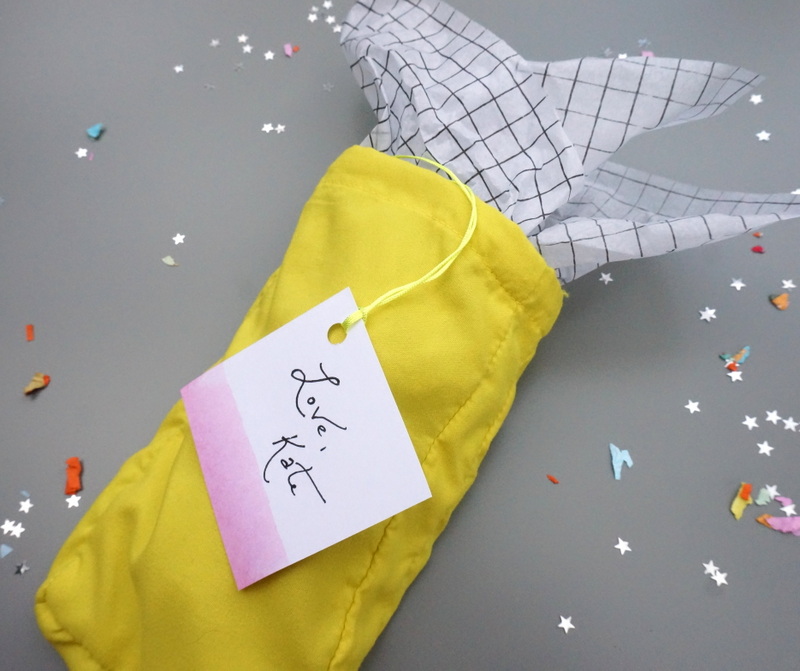
This is the fun part. I enjoyed adding cording in colors like neon yellow, peach and blue.

Here’s another shot of the tags as they finished drying. It’s fun to experiment with the dip-dyeing process. There is no right way to do this, so don’t be afraid to mix colors, dunk and re-dunk as you come up with customized designs!
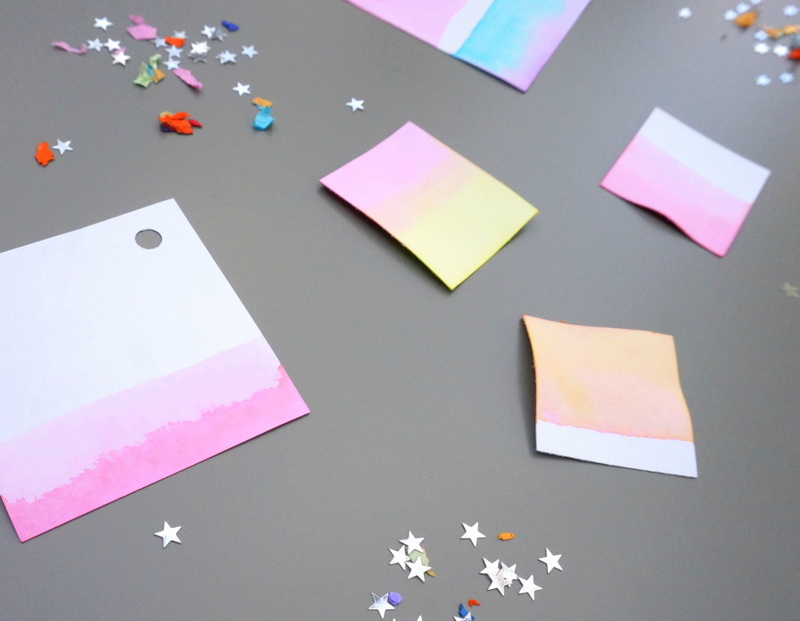
For me, the highlight of the process was adding the tags to my gifts. They create such a personal touch, and when your giftees find out you made them, your gift will be that much more special to them!
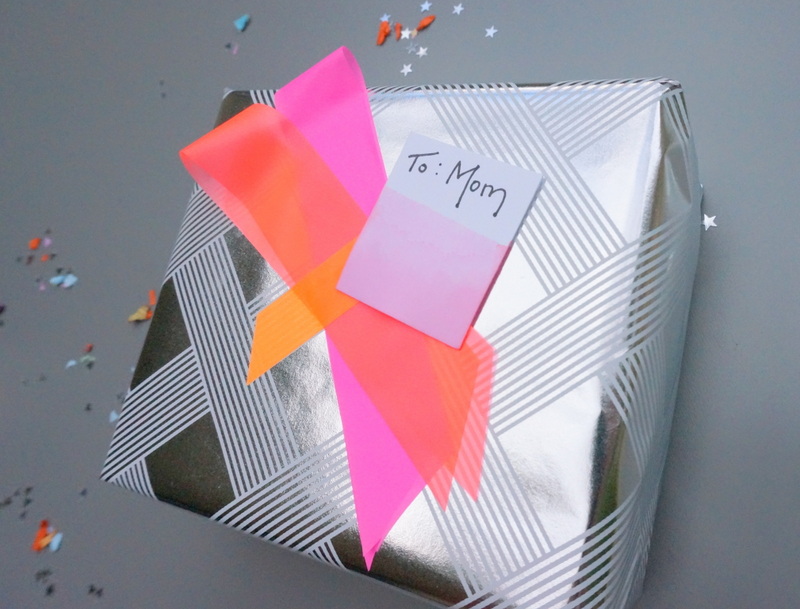
As you can see, some of my tags were directly taped down to the gifts–no hole punch needed!…
Enjoy this budget-friendly DIY project as you prepare to wrap your holiday gifts. From all of us at Decoist to all of you, our cherished readers, may you enjoy the spirit of giving this season. And we’re not just talking about gifting! Make sure you spend time with the people you care about amidst the holiday bustle. The gift of quality time is precious!
