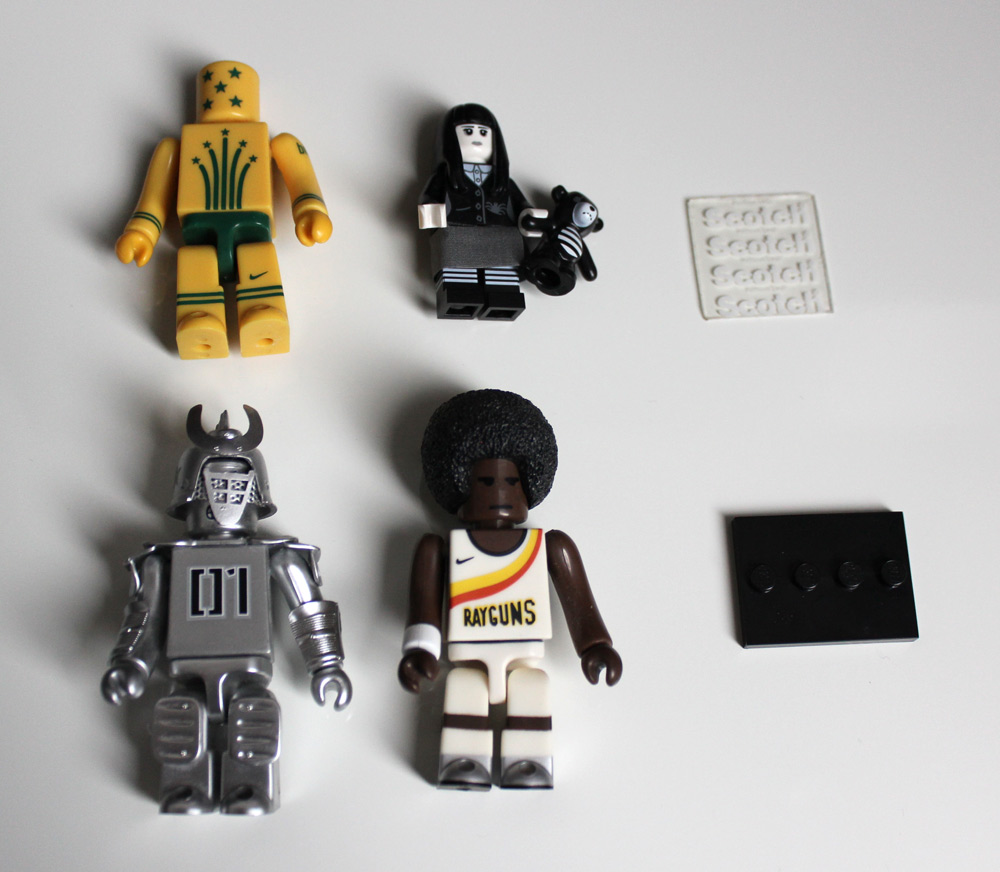
If you’re over the age of 30, it’s very possible that you only encounter LEGO bricks when you end up stepping on the ones left out by your kids. But did you know there’s a way to rekindle your childhood love of the colorful toys by turning them into useful and whimsical pieces of decor? We don’t condone stealing, but by all means “borrow” one of your child’s minifigs to create a cool DIY holder for your phone charging cable to keep it within reach and off the floor following our easy instructions. Or if you don’t have any children, consider raiding your old stash of toys or checking out eBay for a fitting ‘fig for this project.
DIY LEGO Cable Holder Supplies and Steps
Here’s what you’ll need to get started…
– Your favorite LEGO minifig or similar figurine
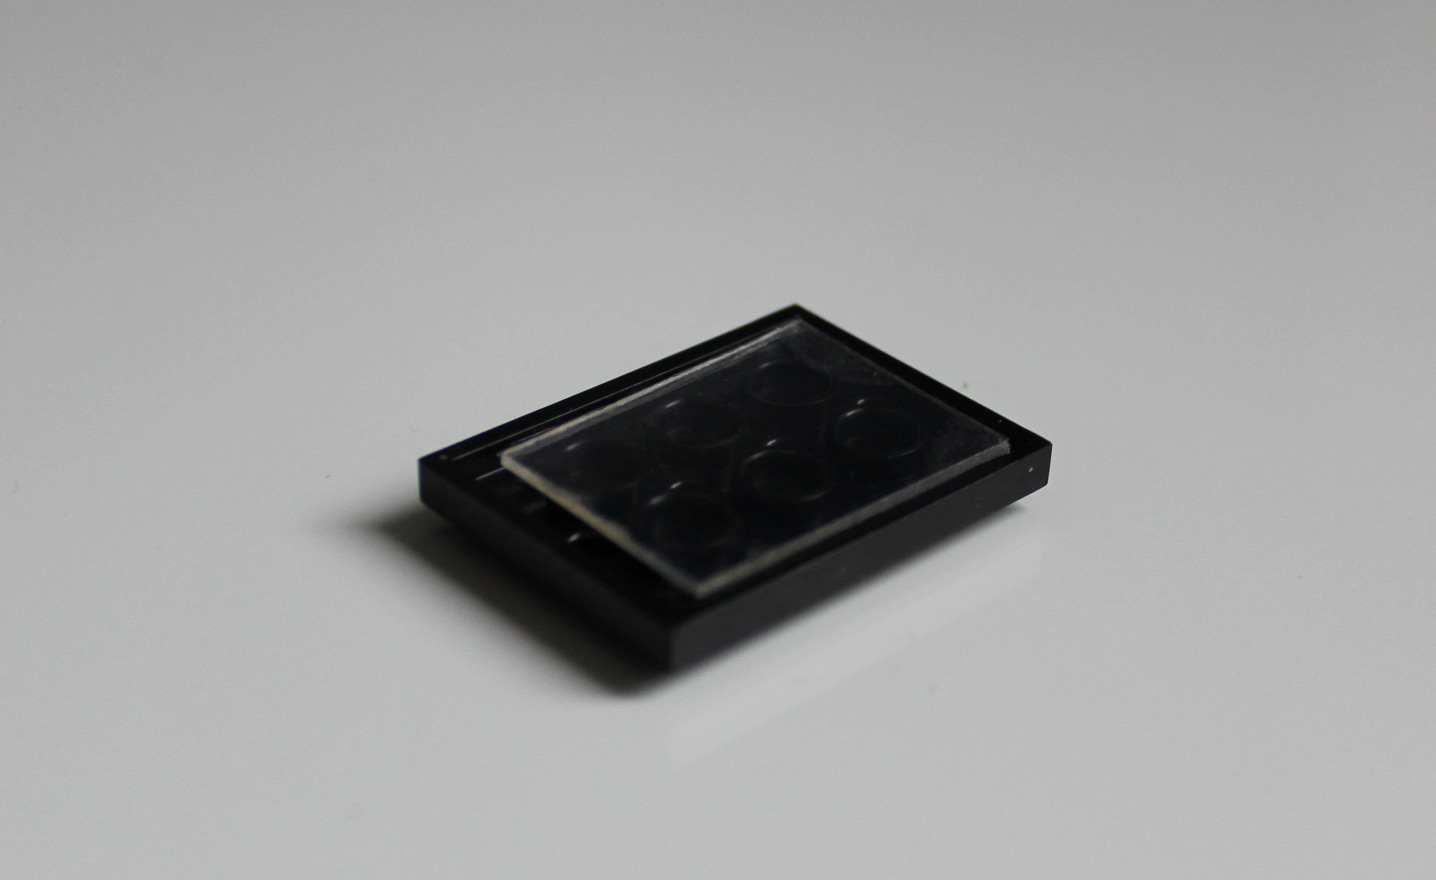
– A thin, flat LEGO piece with at least 2 studs (protruding bumps)
– Double-sided adhesive mounting squares
Step 1:
As a general rule, LEGO minifig hands just happen to fit perfectly around iPhone charger cables. However, before you proceed, it’s advisable to test out your minifig and your cable to make sure that they work together.
Step 2:
Once you’re sure that your cable works with your minifig, identify a convenient spot for your cable holder. Bedside tables and desk edges both work well. There are a few different ways to keep your minifig in place: you can mount it directly to a surface or mount a flat LEGO piece to the surface and then click your minifig into place. Either way, using strong but removable mounting tape is recommended. Your cable holder can be oriented on a horizontal surface or a vertical surface.
Step 3:
After you mount your cable holder in place, pop your cable into your minifig’s hand, and you can rest assured that you won’t have to fumble on the floor for it next time you need to charge.
We hope you enjoyed this DIY tutorial. These quirky cable holders make fun holiday gifts as well. Especially if you select minifigs catered to your giftee’s personality.


