Today I’m sharing a quick shelf organization project that I recently completed in my home office! For over a year now, the orange Cubitec Shelving in the corner of the office has been overpowered by stacks of papers and kitty toys. The room is a work in progress, but soon it will be a fully functional space. To prepare for the final steps of the transformation, I decided to make the shelving as tidy as possible. Do you ever notice that making headway in one area of a room can give you the second wind you need to finish the entire project? The big challenge for this shelf styling: much of the clutter that covered the shelf actually needed to remain on the shelf in the end–for practical purposes! Read on for a few quick and easy shelf organization and styling tips…
Shelf Styling Steps
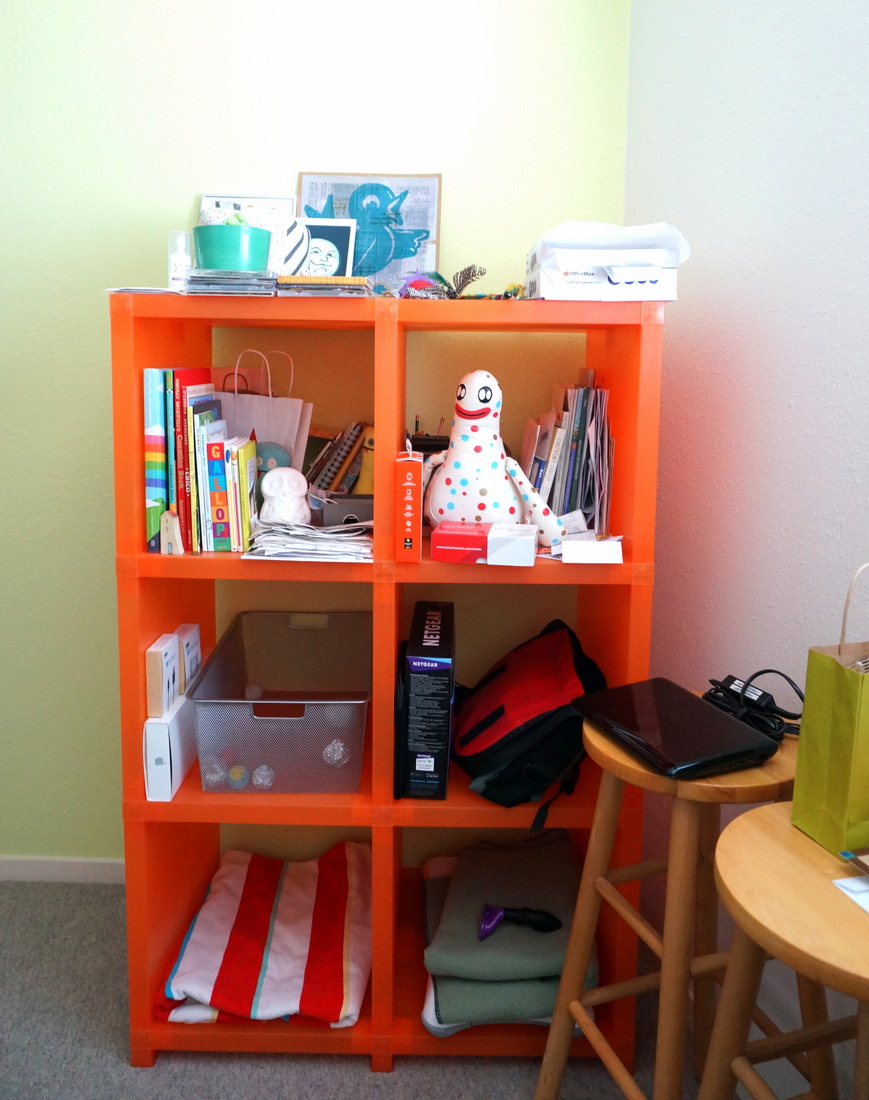
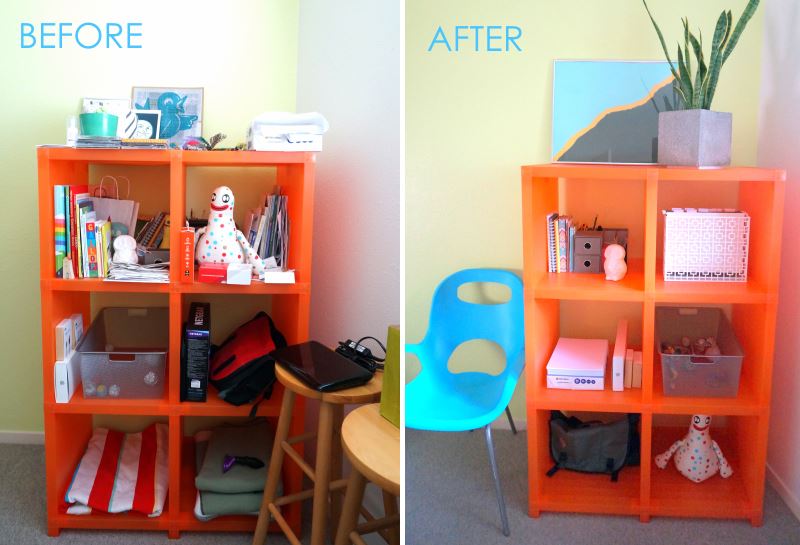
Here’s a little “before” shot of the shelving. Lovely, right? Let’s just say that this shelf was in need of some major help!
Step 1: Remove Excess Items.
Start by taking away any items that can be donated, recycled or placed in other areas of your home. You’ll be encouraged by the clean surfaces that begin to shine through.
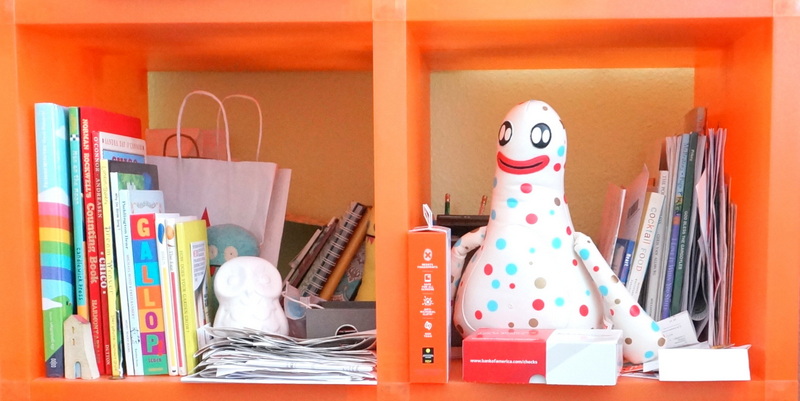
The top of the shelf was no problem. The compartments were another story. Below we see books, receipts, papers, and decorative items hidden by clutter. It’s a lot to take in, right?!
Step 2: Organize the items that remain.
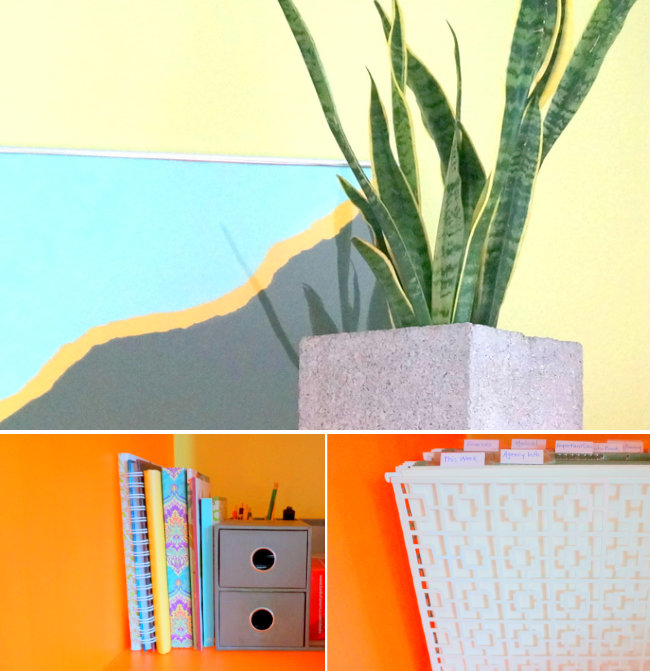
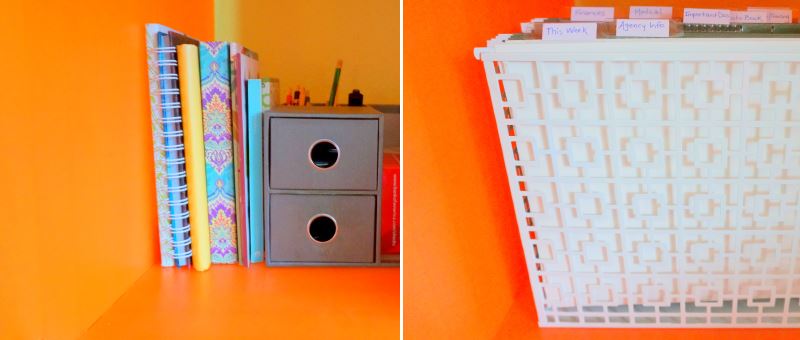
With the clutter out of the way, your remaining organizational needs become clear. When it came to my shelf, one thing was certain: I needed a decent filing system with clearly labeled tabs. Not to mention, loose, stray items needed to be placed in small compartments, such as mini-drawers. Cleaning on this level can be tedious, but it’s well worth it in the end.
Step 3: Add decorative details.
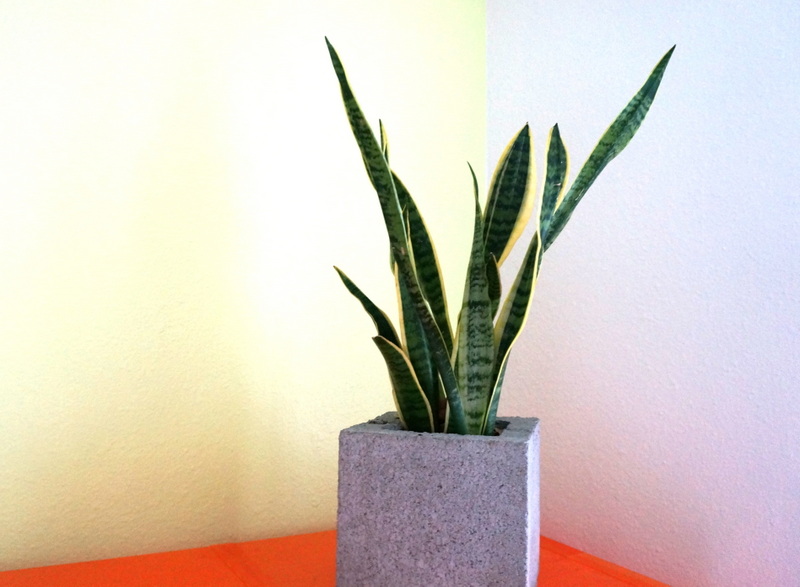
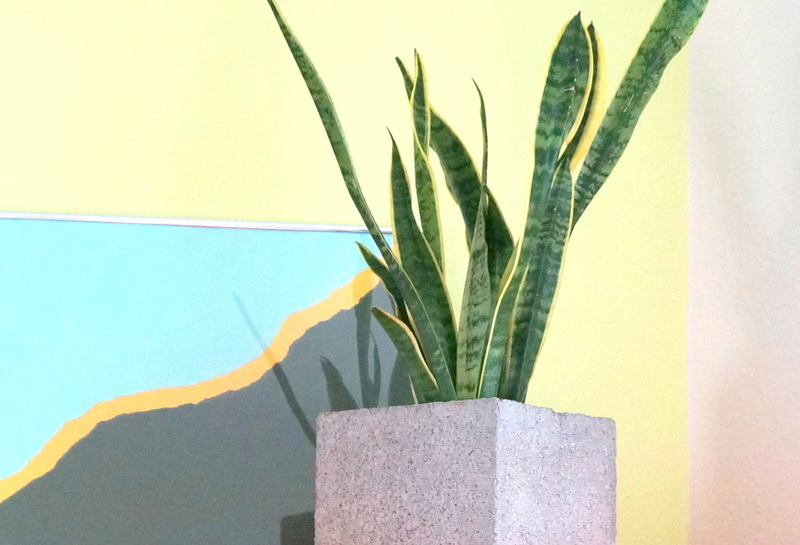
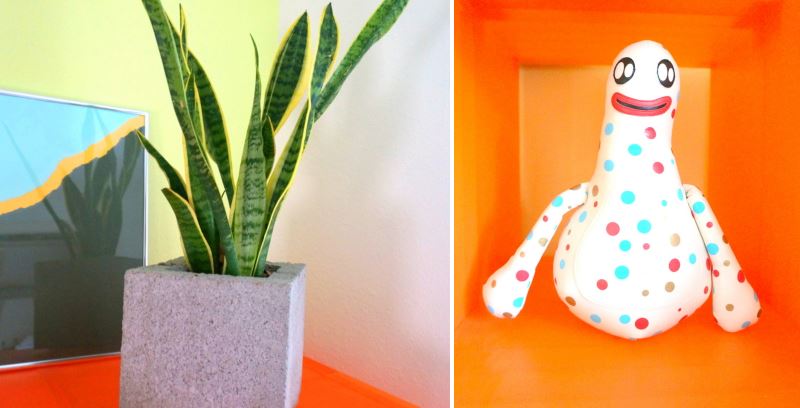
This is the fun part. I skipped ahead a little bit and styled the top of my shelf before organizing each compartment. I placed a snake plant (in a cement planter) on the top level to draw the eye upward. I also added some framed artwork to make a modern statement. With the top of the shelf styled, I got the burst of energy I needed to organize the other compartments as well.
While I couldn’t put pretty things in each and every compartment (this shelf is truly needed for practical storage), I was able to let a few fun details take center stage, such as the Malfi collectible toy from FriendsWithYou (shown below, right):
Final Thoughts
I was happy with the end result. Kitty’s toys were neatly organized in a metal storage bin, stray papers and receipts were filed, and practical items such as printer paper and notebooks were easily accessible. What a relief!
What about you? Do you have any home organization projects that combine styling with much-needed organization? Share your thoughts in the comments below…
