Today’s roundup makes me so happy! That’s because I’m in the mood to decorate pumpkins, and this post is filled with amazing DIY ideas. They’re colorful. They’re chic. And they represent today’s top trends. It’s pumpkin decorating time! Below you will find a collection of eye-catching options, including helpful links that will guide you to the full project tutorials. May they inspire you in creating your own pumpkin centerpiece…
Painting Possibilities
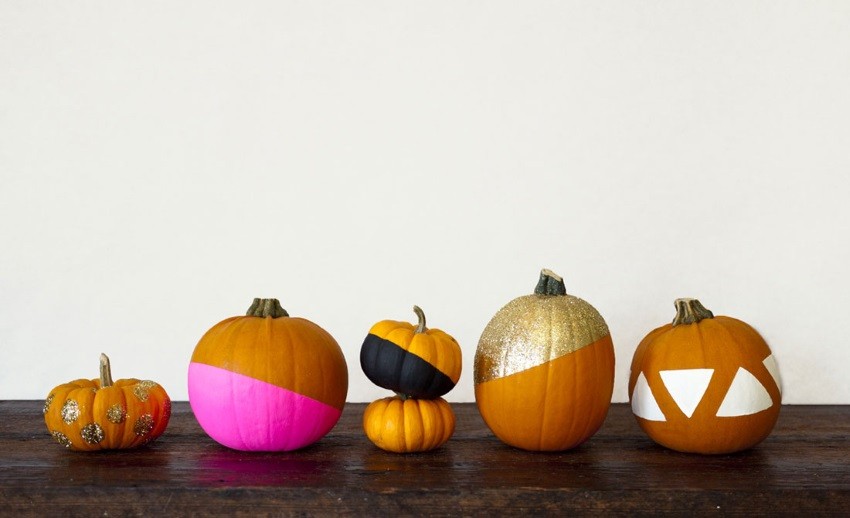
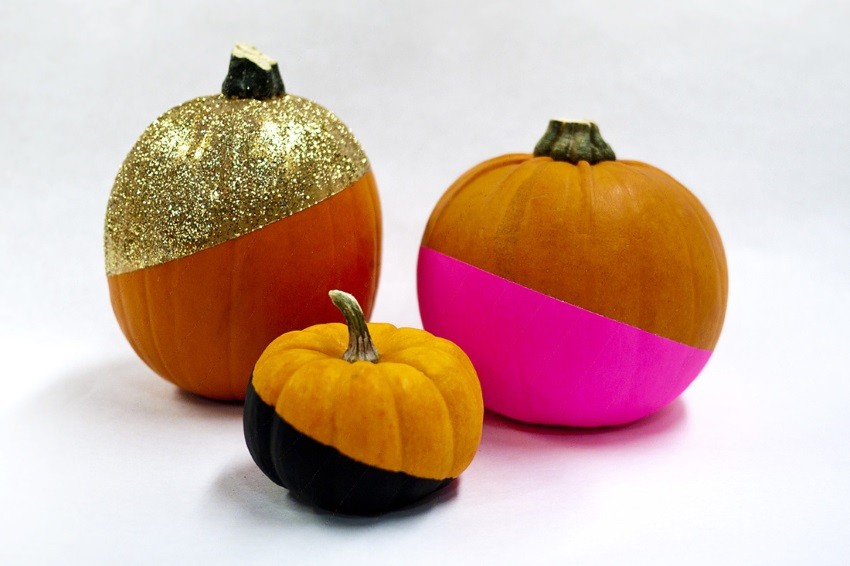
The paint-dipped look is in! Sometimes this effect is achieved by dripping paint over a surface. In other cases, the two-toned effect is much more geometric. These Glitzy Color-Dipped Pumpkins from Brit + Co. represent the latter strategy and are created with the help of acrylic paint, gold glitter and Mod Podge. How is the color blocking so precisely defined? With the help of masking tape!
The Mod Podge is used to help the glitter adhere to the pumpkin. Black, neon pink and gold are the perfect color choices for embellishing an orange pumpkin, don’t you think? Be sure to check out the full tutorial at Brit + Co.:
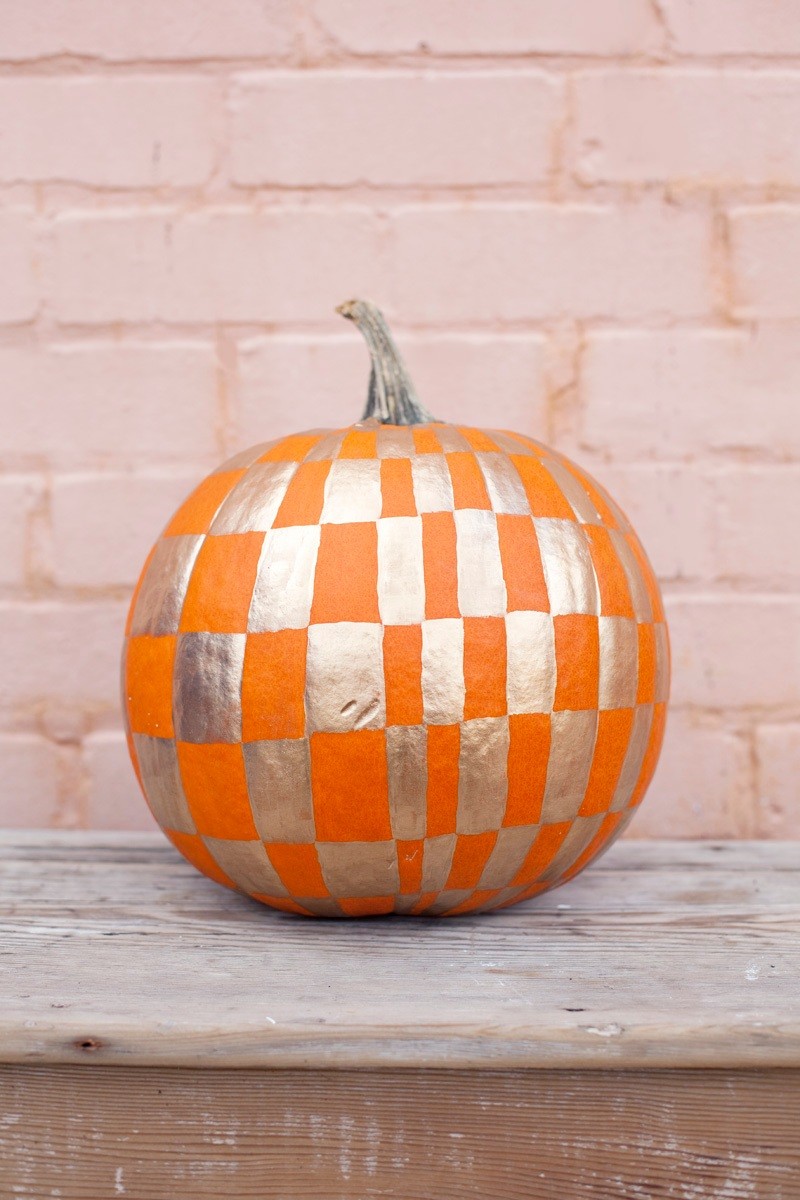
Let’s get a bit more detailed, shall we?! Gold leaf paint was the material of choice for the pumpkin below. The vertical lines of your pumpkin will serve as the perfect guide for this project, making hand painting possible. More information can be found at A Beautiful Mess.
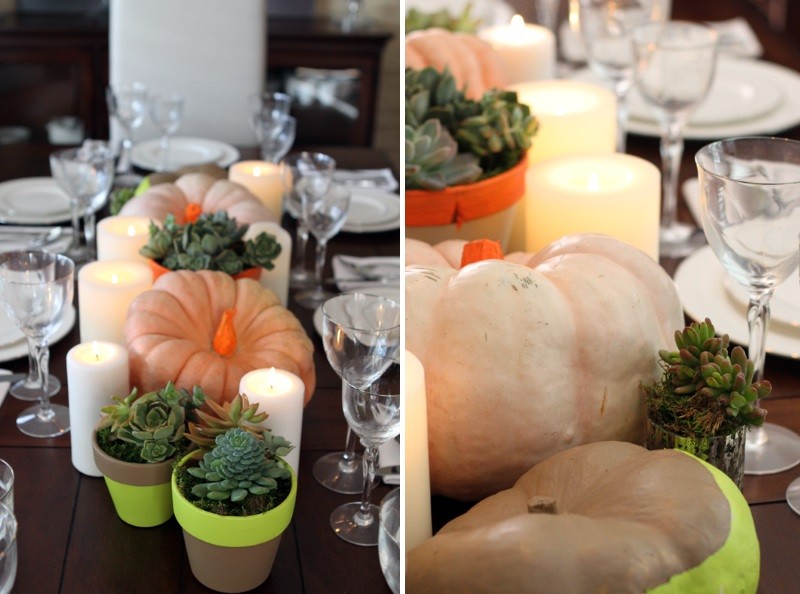
Neon touches are a bit unexpected on the table setting below, designed by For the Love Of. That’s what makes this vignette so alluring! It’s interesting how painting just the stem of your pumpkin can give it new life. Acrylic paint will do the trick, and don’t hesitate to paint your pots as well, especially if they hold succulents as fetching as these:
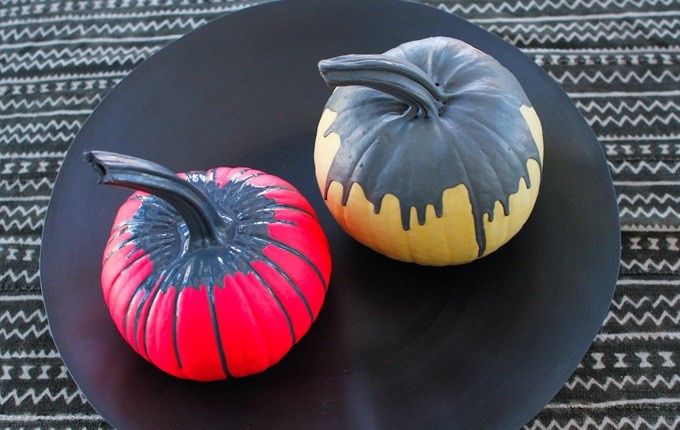
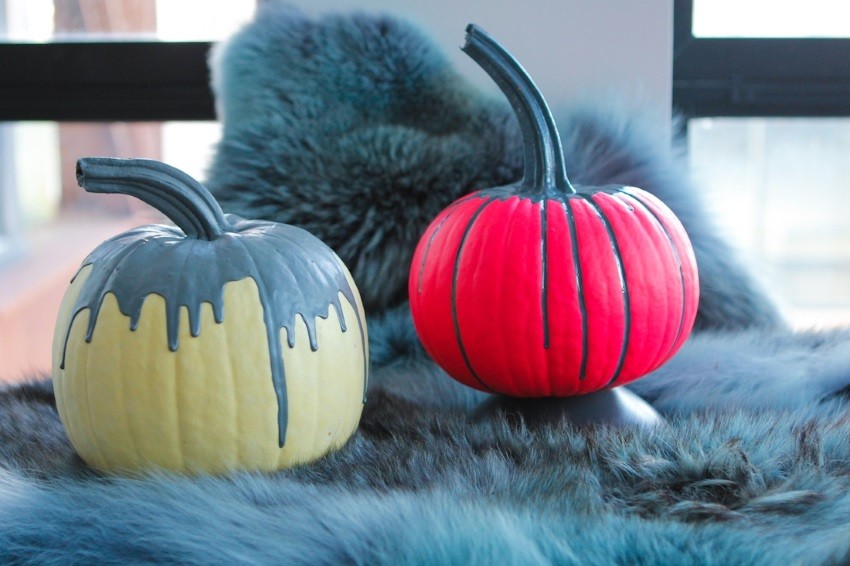
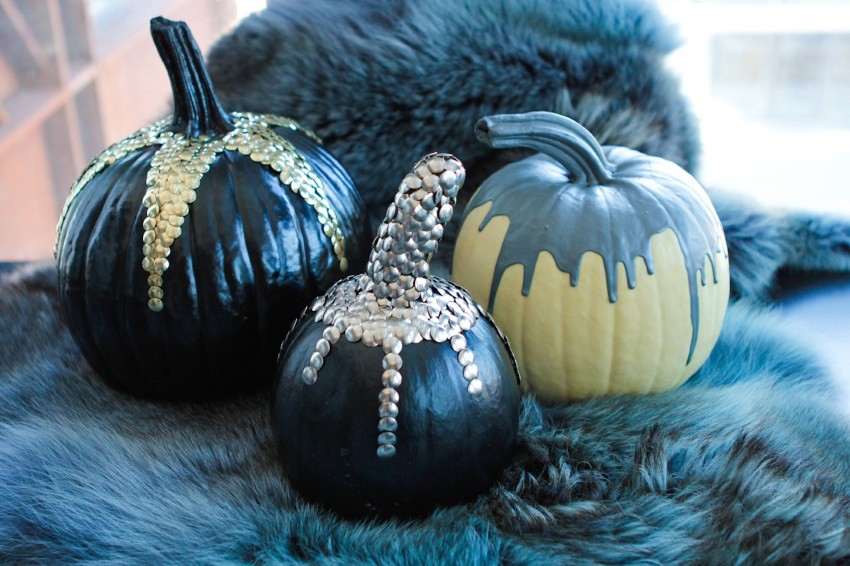
Now we move into paint-drizzled territory. It’s hard to find pumpkins as chic as these elegant selections designed by Athena Calderone of Eye Swoon. Spray paint your pumpkins if desired, then top them with chalkboard paint:
The slate, pink and cream color combination is a flawless non-traditional choice for fall. Add some texture to your vignette, and it skyrockets to another level. Be sure to check out the full photo shoot at Eye Swoon.
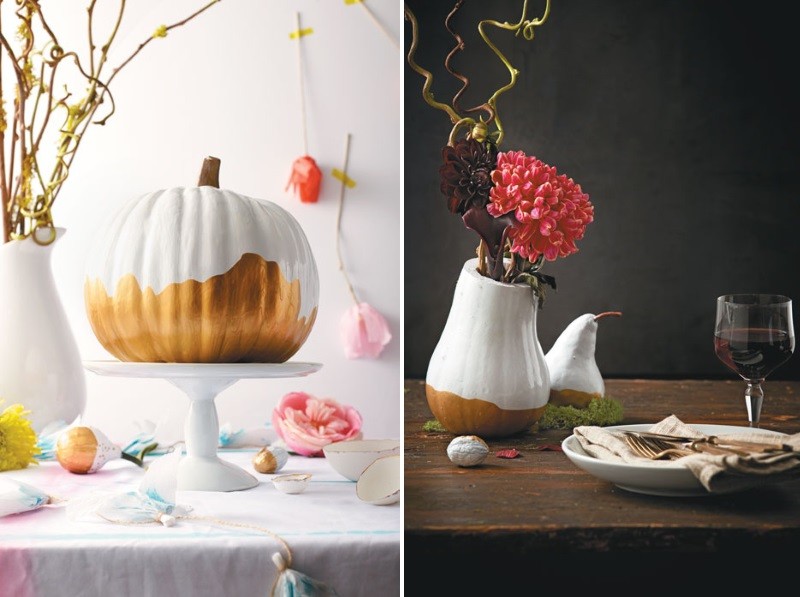
This double-dipped produce from Chatelaine is created by spray painting your pumpkin or gourd white, and then dipping it in gold paint. For an asymmetrical look, dip one side a bit deeper than the other. Bonus: hollow out the squash, insert a glass of water, and then fill it with flowers. Gorgeous, right?!
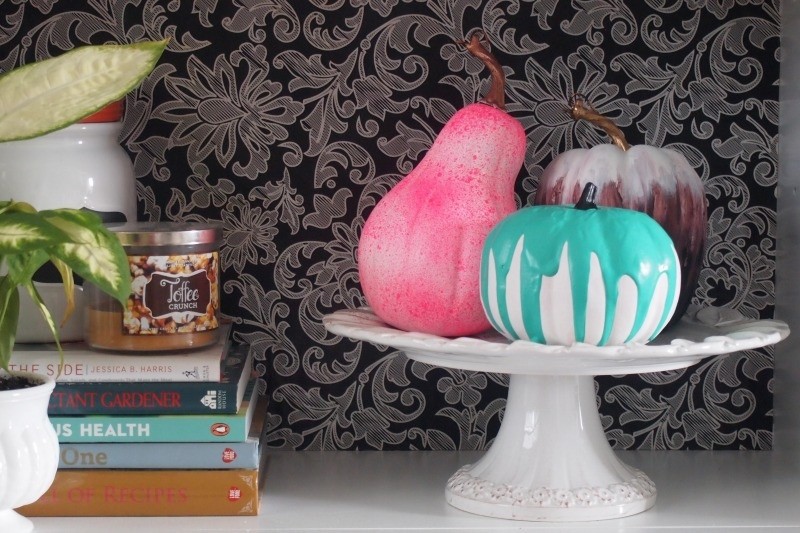
I love this tutorial from Decoist’s own Thalita! Three amazing ways to embellish your pumpkin with paint–one celebrates the splatter effect, another brings ombre style home, and the third involves pouring paint over the pumpkin. These are as fun to create as they are to look at. Check Thalita’s post on DIY Fun and Colorful Painted Pumpkins for additional details.
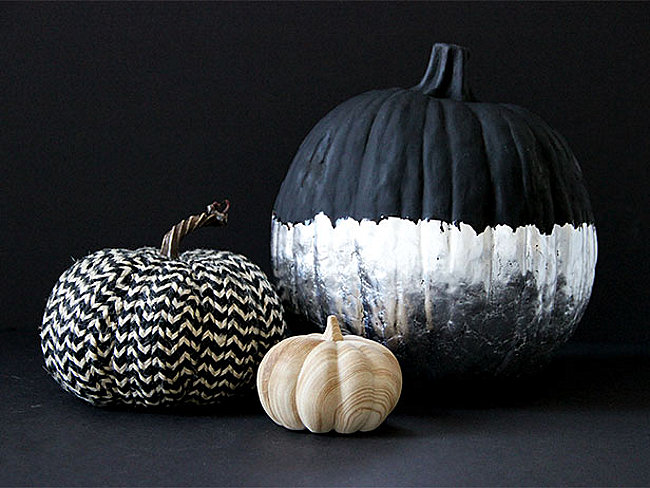
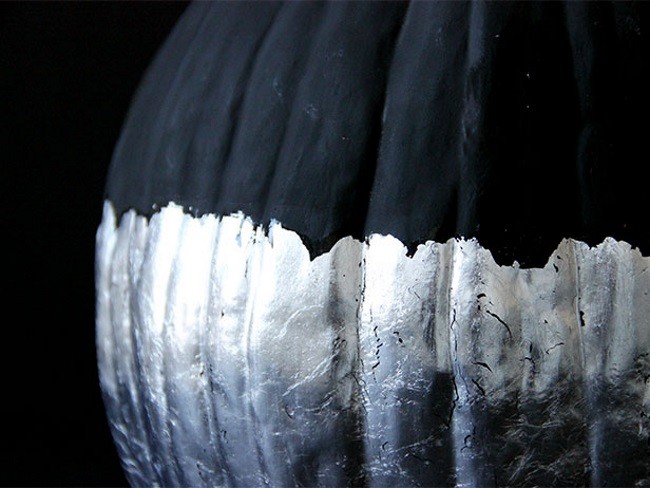
Silver leafing takes center stage in this No-Carve Chalkboard and Silver Leaf Pumpkin project from DIY Network. Chalkboard paint is used as a base, and silver leafing adds shine.
The cracking and waving of the silver leafing adds true character to this sleek pumpkin. Don’t forget to check out the full tutorial at DIY Network.
It’s All About Texture
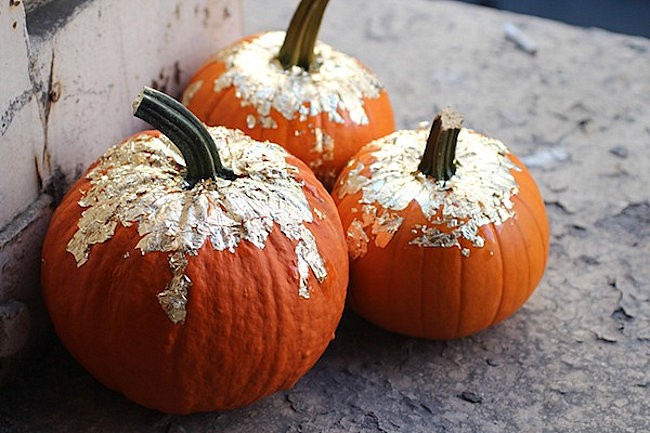
The second half of today’s post is dedicated to all things textured. Like the textural effect created by gold leafing. The DIY Gold Leaf Pumpkins from Sequins & Stripes (shown below) are the perfect way to add sparkle to your table, doorstep or entryway:
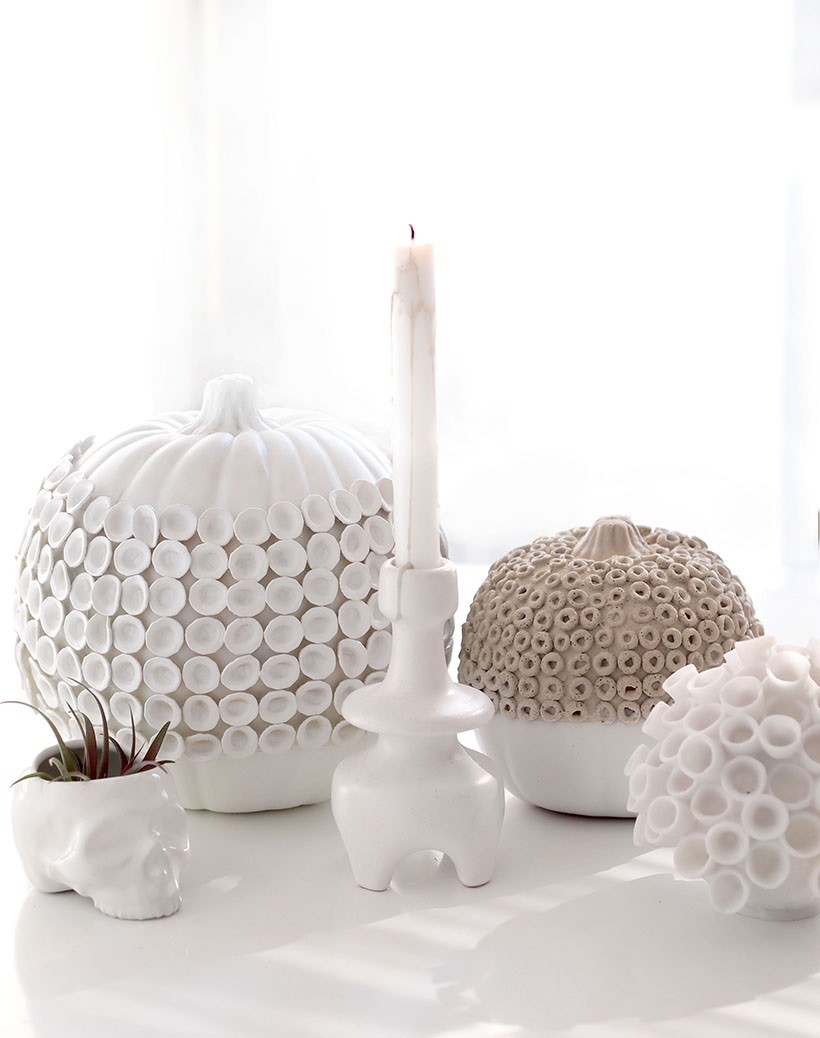
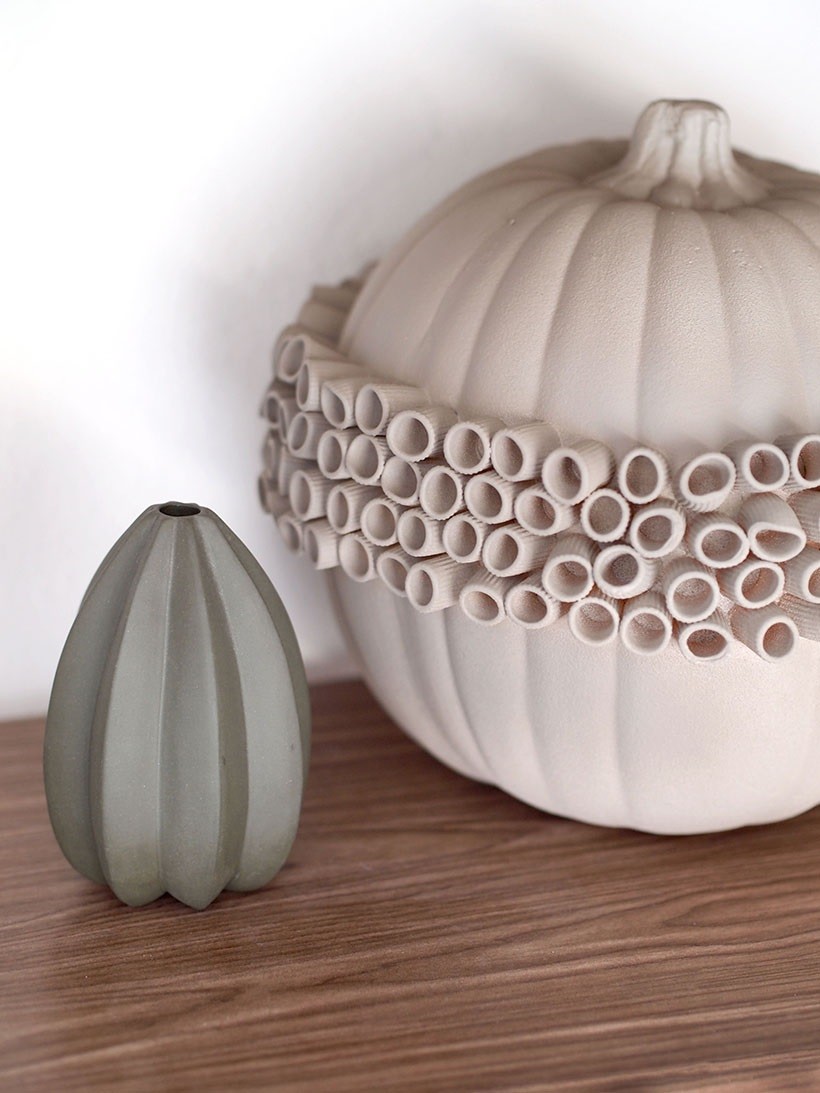
These Tonal Textural Pumpkins from Jonathan Lo of Happy Mundane are a personal favorite. Inspired by tonal textural ceramics, they come to life with the help of pasta and cereal reinforced with tacky glue and hot glue:
Once the pasta is glued into place, the spray painting fun can begin. Shades of tan and light taupe are the perfect choice for this project. A truly creative idea that can be enjoyed year after year, thanks to the use of faux pumpkins! Don’t forget to check out all the details at Happy Mundane.
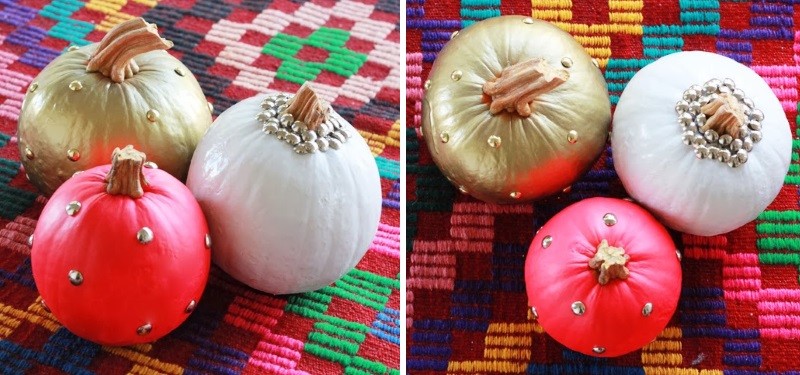
Have you noticed a boom in pumpkin projects that involve thumb tacks?! The pumpkins in the next featured image get their power from upholstery studs and a “less is more” approach. And the amazing paint job. I’m also a fan of the way these DIY Studded Pumpkins are displayed against the backdrop of a tribal pattern. Visit The Vagabond Queen for additional details.
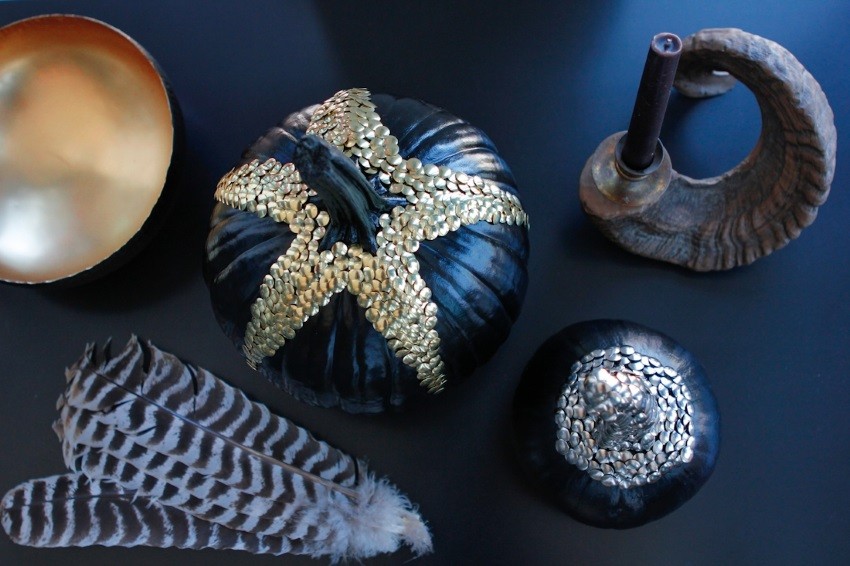
Let’s turn our attention back to the pumpkin decorating endeavors of Eye Swoon. Thumb tacks are artfully arranged and set against the backdrop of dark paint. Also note the interesting artifacts that surround these pumpkins:
A detailed tutorial and many more texture-fabulous pics can be found at Eye Swoon:
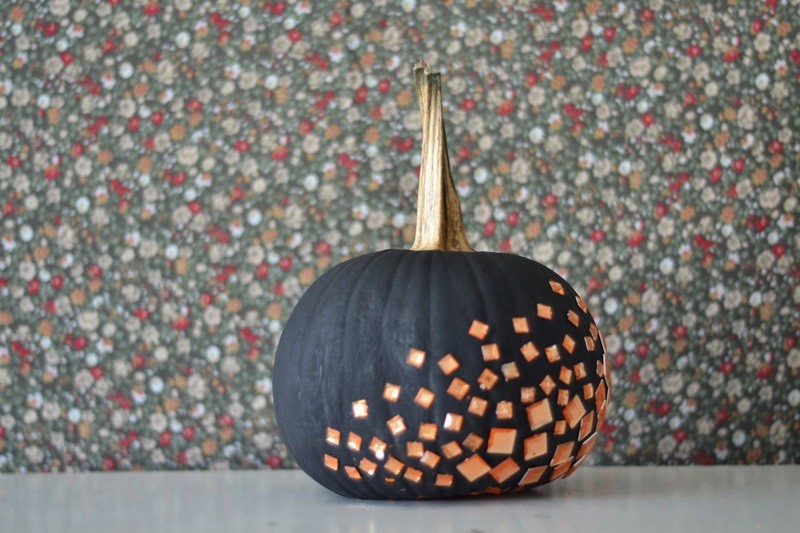
Glue-on gems from the craft store are the perfect way to glitz up a pumpkin spray painted black. I love the use of orange jewels. And the fact that they’re square-shaped. And different sizes! Find out more about this pumpkin decorating endeavor at Whimsy Darling:
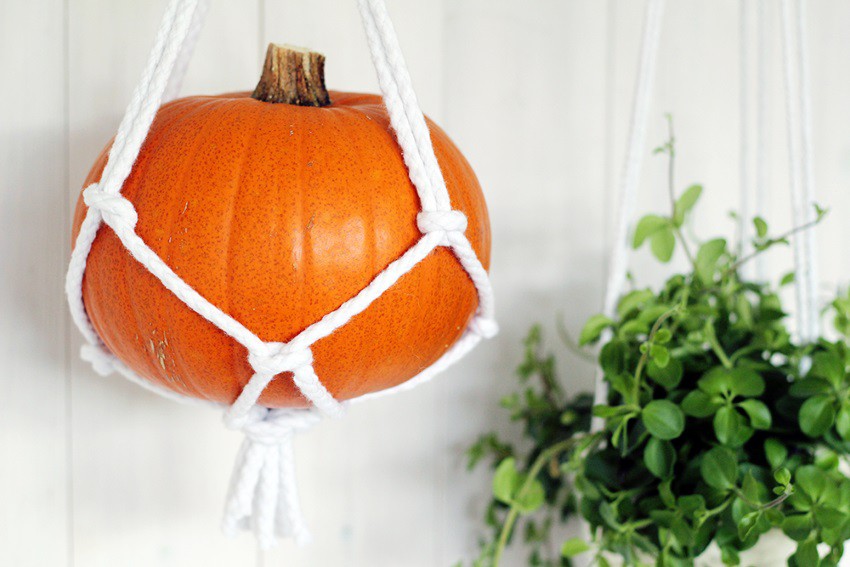
Here’s one more textural project to finish out today’s post. But rather than the texture coming from the pumpkin itself, it can be found on the rope that suspends it! Celebrating one of today’s crafting comebacks (macrame!), this DIY Macrame Hanging Pumpkin project is masterfully designed by Fall for DIY:
Is your head spinning with ideas?! Mine too! I’m not sure which of these projects I’m going to try, but I have a feeling that neon paint, gold leafing, or chalkboard paint will be involved. Happy crafting!
