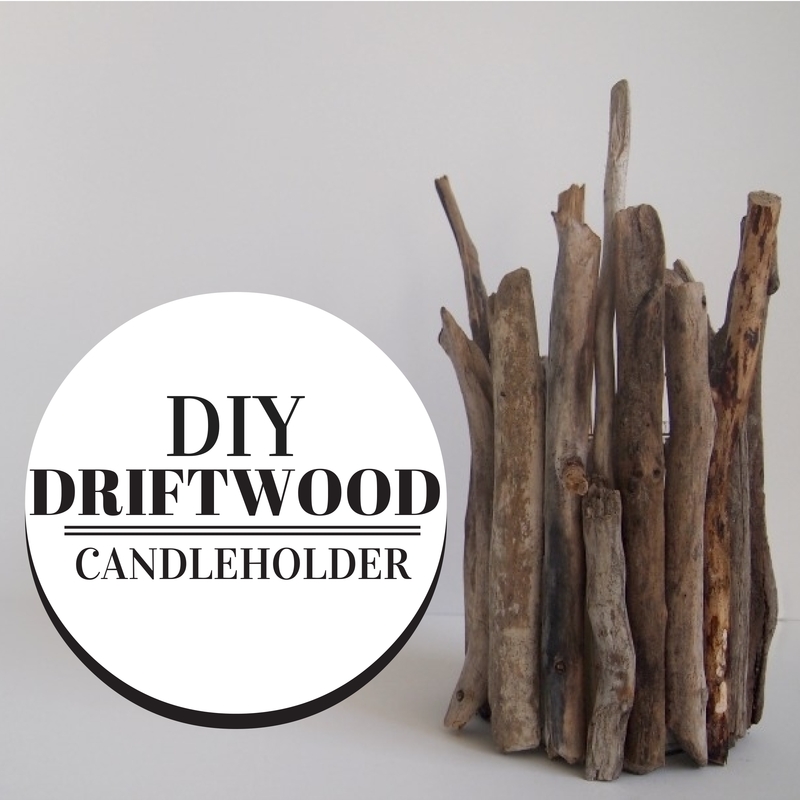
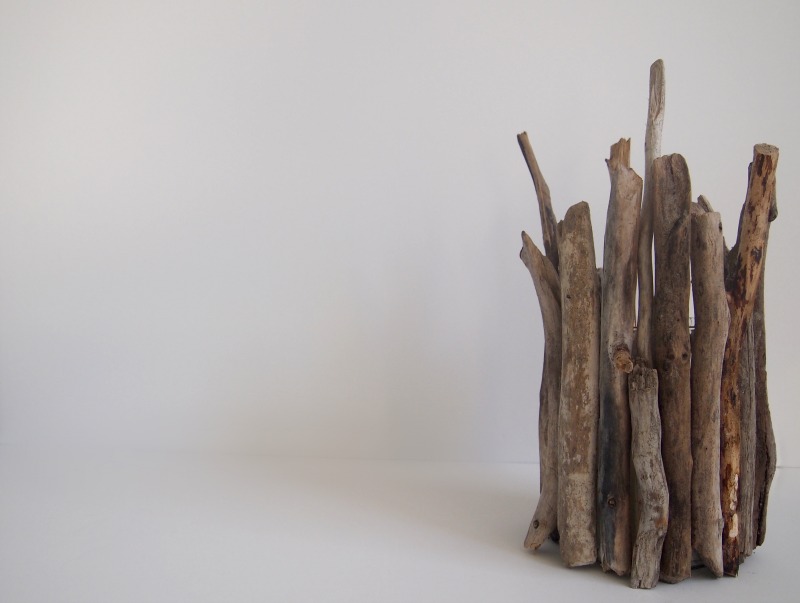
Summer is quickly fading away and I am doing everything I can to hold on to it for as long as possible! One of my favorite things about summer is being close to the water. I love listening to it, feeling it, and discovering all kinds of cool treasures around it. Driftwood happens to be a favorite of mine, because each piece of wood is so distinctly unique, weathered and has fabulous faded colors. I collected these while on a beach day with my parents, so the actual driftwood brings back happy memories, which is an added bonus to having it!
Bring Home the Summer Charm!
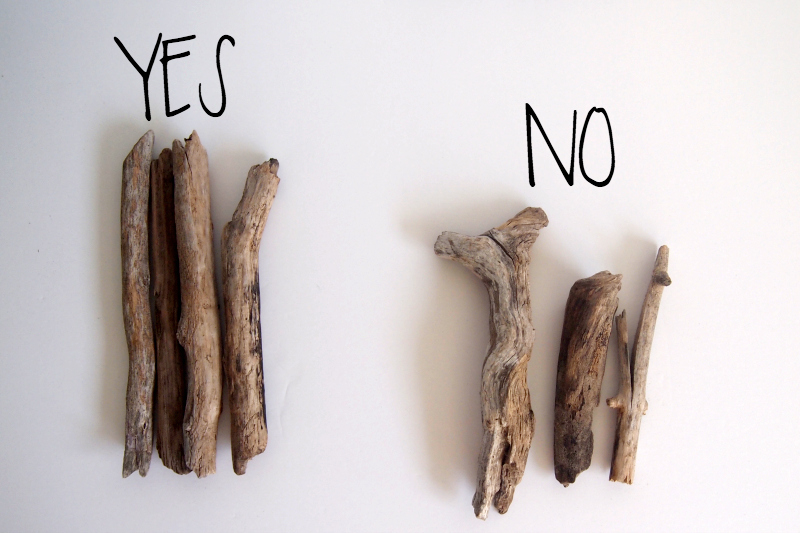
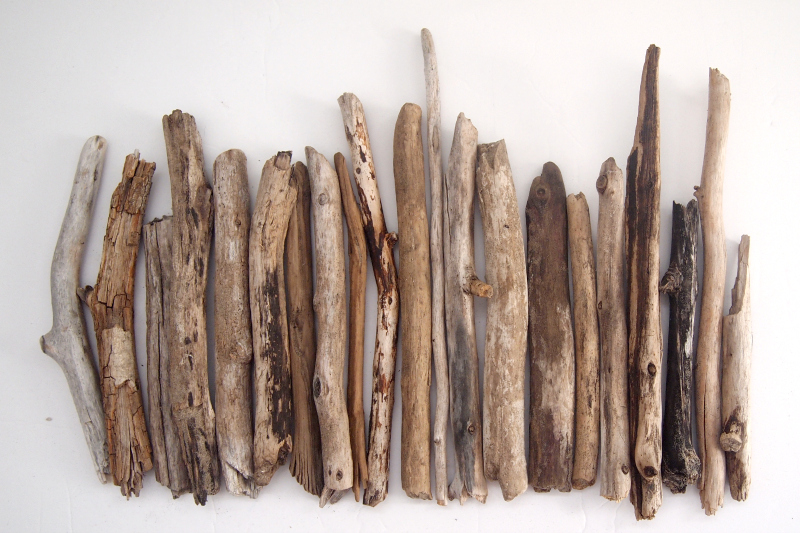
Because this requires collected items, it’s a very low-cost DIY, so start by selecting the right pieces of driftwood. Believe it or not, there is a right and a wrong! You want sticks that are as straight as possible, tall enough to cover the height of the vase you’ll be using and all around the same size. I went for a varied set of heights, but they’re mostly all the same size.
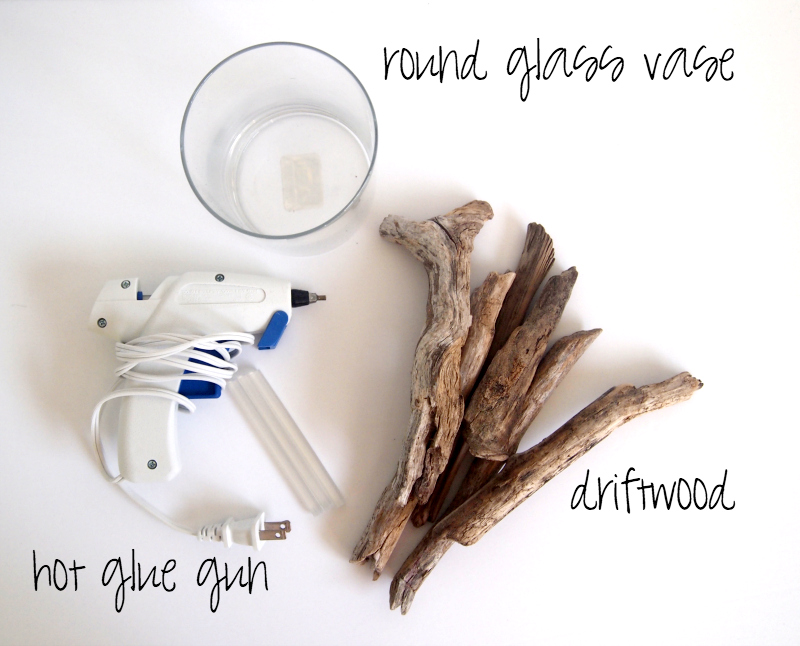
Now let’s talk about other materials you’ll need. A cylindrical vase is best because you don’t have to work with angles and corners. These are easy to find, and you might even have one kicking around the house! You’ll also need a hot glue gun. That’s all!
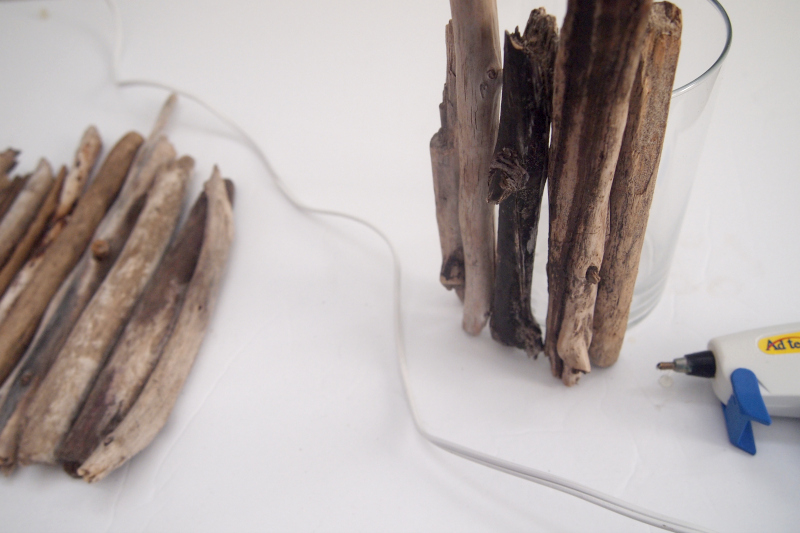
I know I have some of the “bad” examples up there, but I hadn’t selected them yet for gluing! Sorry! Ok, so next is lining them all up so you have your “pattern” set, and so you don’t have to sift through wood while working a hot glue gun! Line them all up in the same way you’d like to attach them.
Putting the Pieces Together
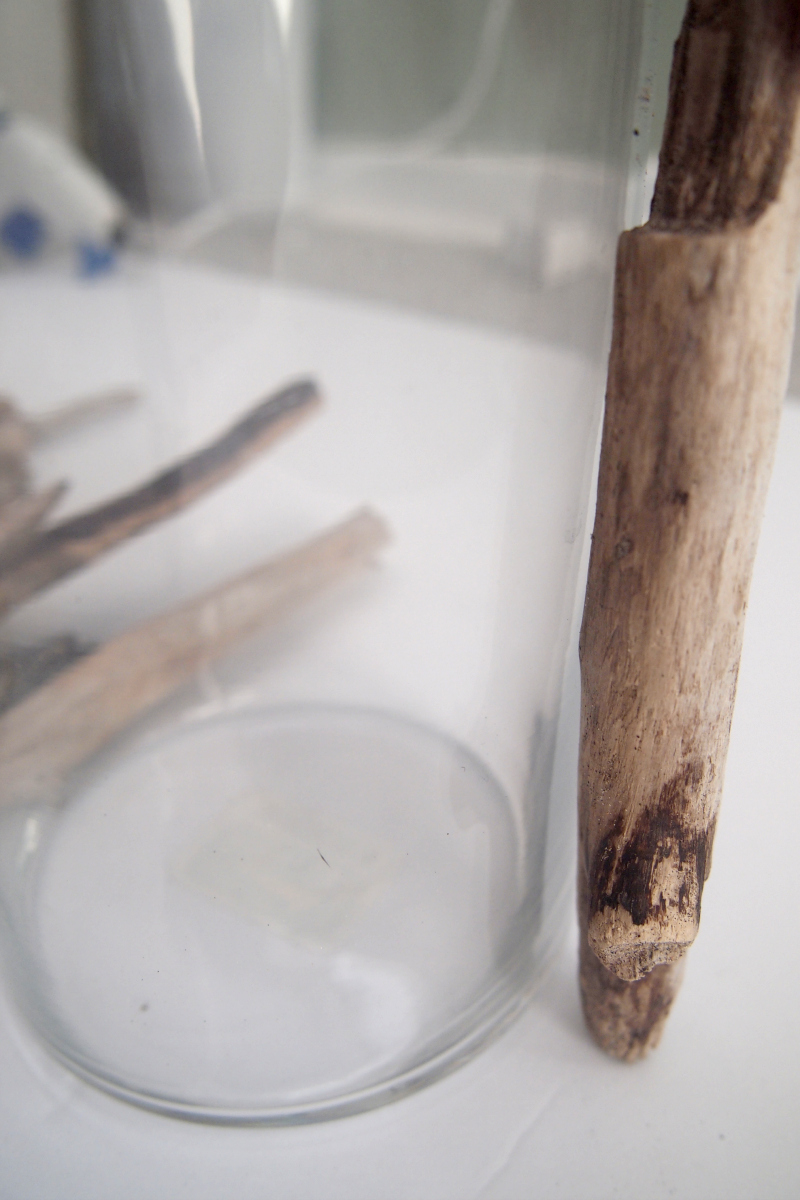
Now here comes the crafty part! Plug in your hot glue gun and start gluing!You don’t need glue on the whole stick, just the parts that will touch the glass. To help know where to put the glue, just place your piece of wood against the glass and look at the spots that touch. Easy!
Make sure you’re working on a flat surface and keep the glass container down at all times, because otherwise you might end up either having sticks too high or too low – neither of which would be good. You want your candleholder to sit nicely on whatever surface it will live on later!
During the process, don’t be afraid to sit back and look at your creation. I ended up having to remove a stick because it wasn’t quite working and then also had to fill in a gap that was a little too large for my liking.
A Rustic DIY Addition
As you get closer to the end, consider placing the final 2-3 pieces on to see how they will fit. If they overlap a little, don’t worry. The whole thing will be a little wonky and that’s part of the beauty of it, because driftwood is all warped and twisted. Once that final piece is on, let the glue set a little and drop your favorite candle in there!
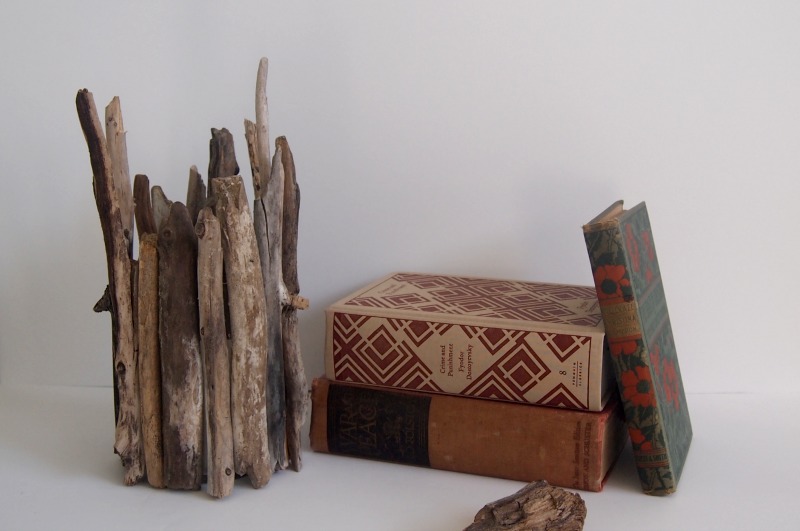
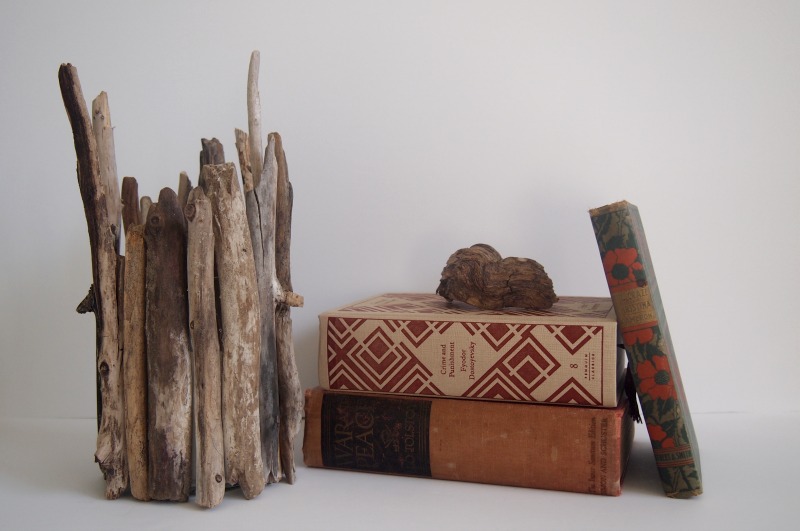
I love that this piece can be seen from any angle and it looks great! The little knots that stick out are probably my favorite part, because they make the whole thing so much more special! See what happens when you turn it just a little? Totally different shape and colors.
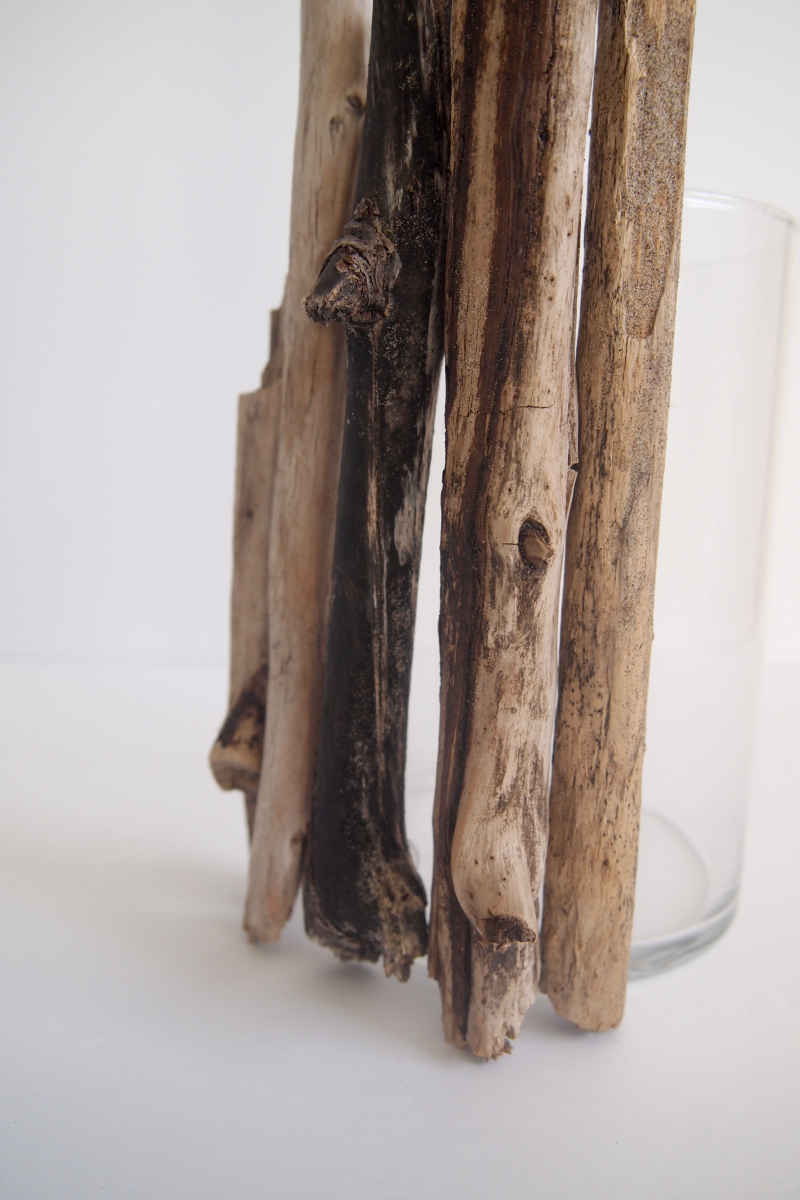
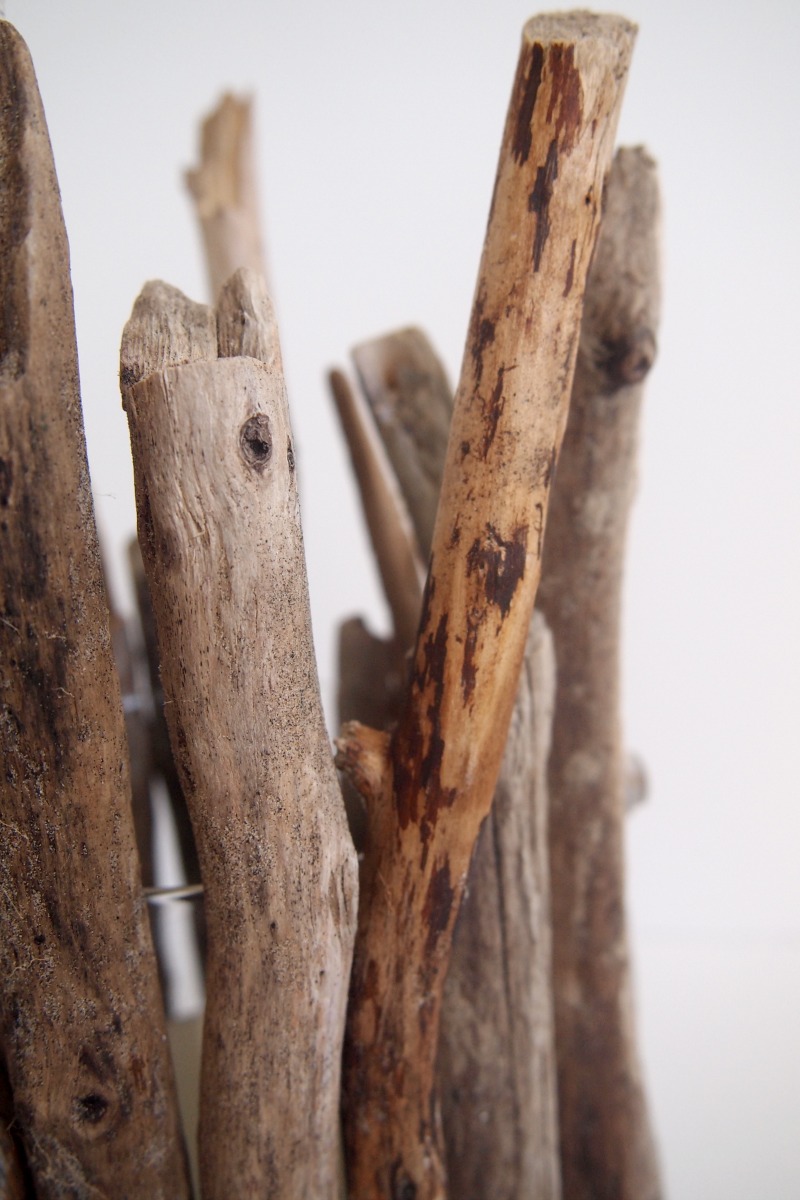
You’ll notice there’s a little short piece I added in there to cover up the large gap I didn’t want showing. It blends in well enough and lets me keep that tall, skinny piece in there. See a little close-up so you can fall in love with the warm colors like I did:
Such a fun and quick project, and every time I look at it I’ll think of the beach – as you can see I didn’t even bother removing the sand from the wood. I liked the pieces too much just the way they were!
So there you have it – a project you can try with your own beach treasures, because I can’t be the only one that likes to collect things I find on the beach, right?
