Greetings, Decoist Readers. Kate here, and if you’ve been following my recent posts, you know that one of my top summer projects has been creating an outdoor lounge on my patio–an outdoor lounge on a budget! First I explored some key elements of outdoor lounging areas, including a comfy place to sit, stylish cushions, and plants that make an impact.
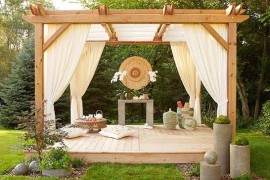
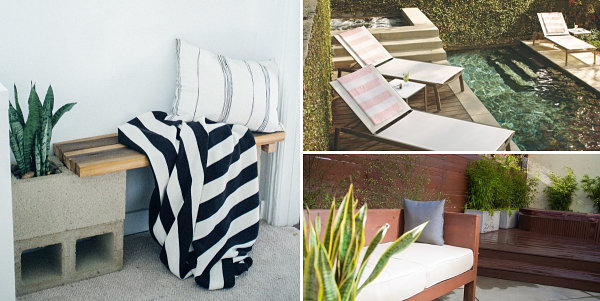
Next I shared some design inspiration for an outdoor summer retreat, from striped fabrics to cinder blocks and plants. Below you can see a few of the images that served as inspiration for my outdoor lounge:
Today I’m sharing the results of my design project with you! I’m very pleased with my new outdoor lounge, and I can happily report that I came in just under my allotted budget of $100! Read on for all the details…
The Perfect Lounging Area
With my budget of $100 or less, I knew that I would have to be thrifty when it came to finding outdoor seating of the lounging nature–lounge chairs are expensive, often selling for several hundred dollars! I decided to start with craigslist, but in my area, people seemed to be selling used lounge chairs for near the original retail price. I thought about perusing garage and estate sales for my lounge chair, but sometimes a hunt for an item that substantial and specific can take weeks.
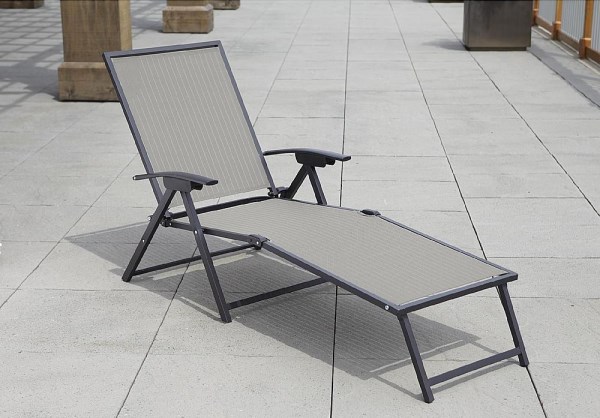
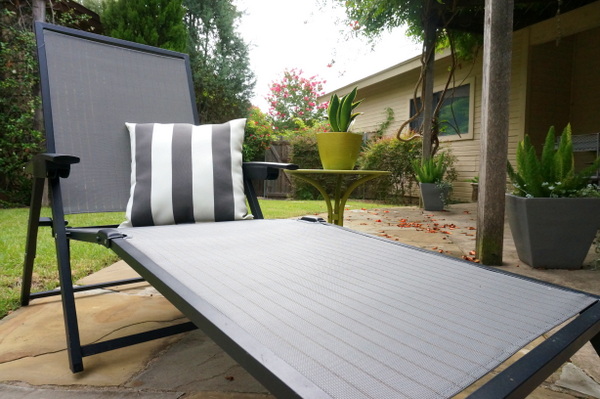
I knew that I wanted a lounger with a modern look, so I began researching retail options. It didn’t take long to realize that the best-looking, comfiest product for my price point was the Garden Oasis Hinton Sling Folding Chaise, available at Kmart and Sears for around $57. I was hoping that this item was as attractive in person as it appeared online (as shown in the photo above). It was! And comfy too!
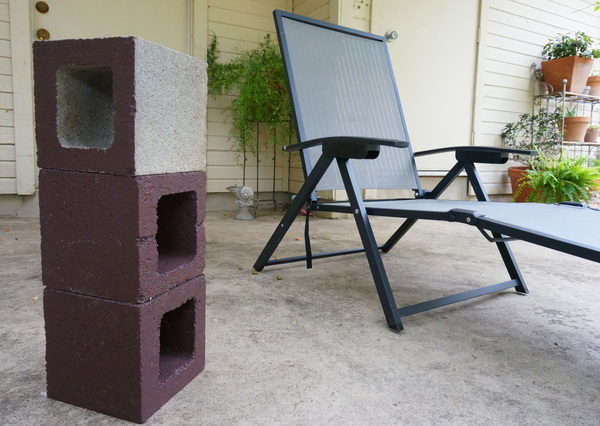
I immediately began exploring my outdoor side table options. After all, a girl needs a place to set her cold drink, book and tablet while lounging, right? I decided to rely on one of my all-time favorite DIY supplies: cinder blocks. I’d even painted three of them before the chair arrived, with the hopes of combining them with unpainted blocks to create a little table. But something about the color combination of the painted blocks and the chair seemed off (see above).
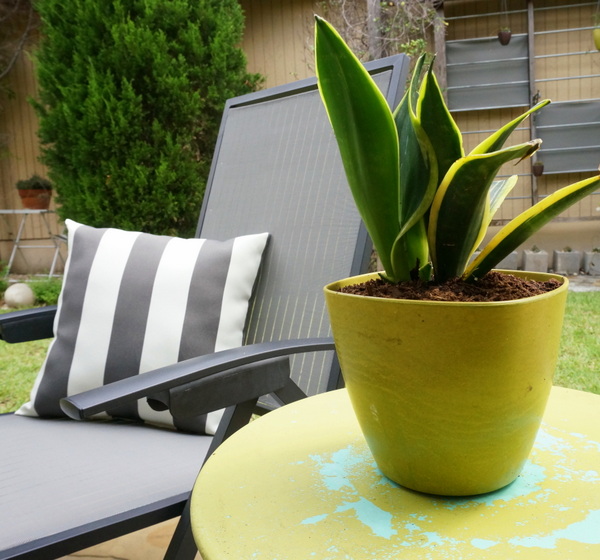
So I ended up using an olive green table that I already had! When I purchased the table years ago, it was turquoise, but I’d spray painted it a classic shade of green. The paint was starting to chip a bit, revealing the blue undertones, and I really liked the distressed look that resulted.
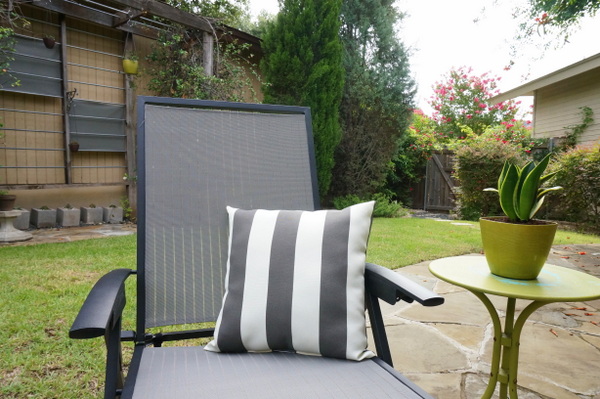
Next up: the pillow. I seriously considered making my own pillow. I even thought about using outdoor tablecloth fabric for an extra dose of weather-resistant style. But then I found this gray and white striped pillow from Lowe’s for an affordable $13.98! It was exactly what I wanted. The description actually lists the pillow as black and white, but in person, the stripes seem more like a nice shade of charcoal.
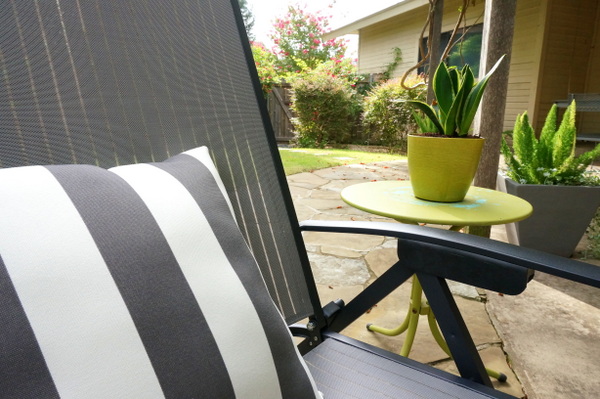
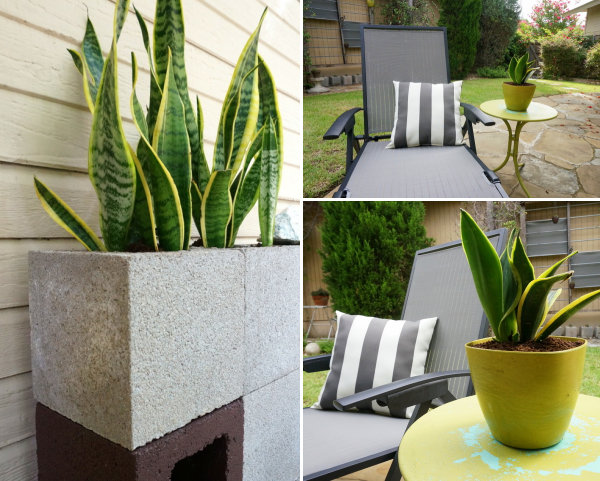
I then added an olive green planter that I’d purchased earlier this summer for around $2.50. I love the monochromatic look created by the planter and the table when combined. A snake plant was my greenery of choice, as shown above! You may be wondering what I did with the 9 cinder blocks I’d purchased, originally intended for the table…
A DIY Cinder Block Planter
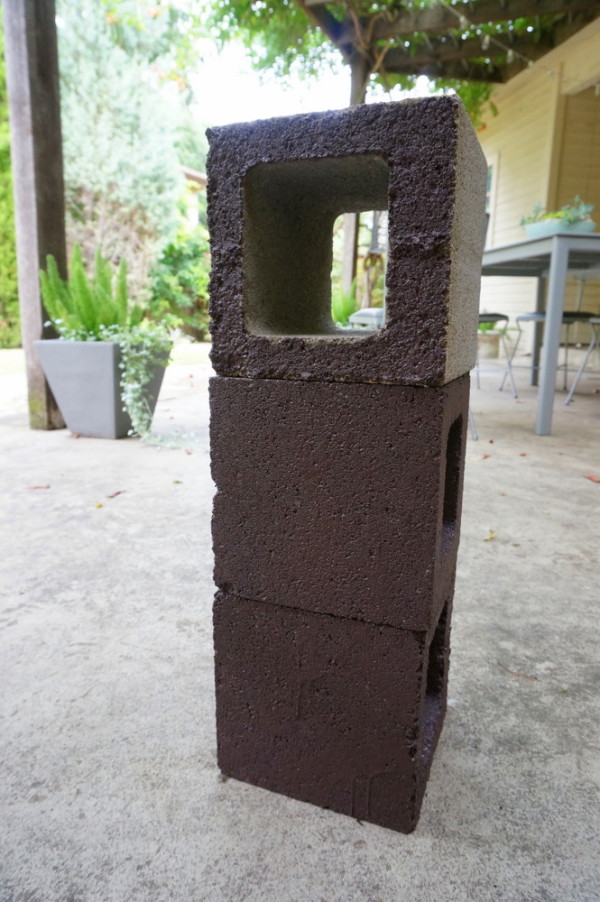
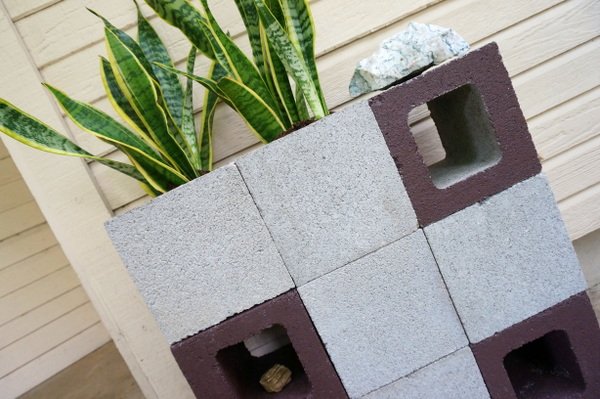
Yes, I created a cinder block planter! My lounging area needed a little bit of embellishment, after all. As mentioned, I began by painting a few of the blocks for a little bit of variety. I left the sides and interior of one of the painted blocks gray for added interest:
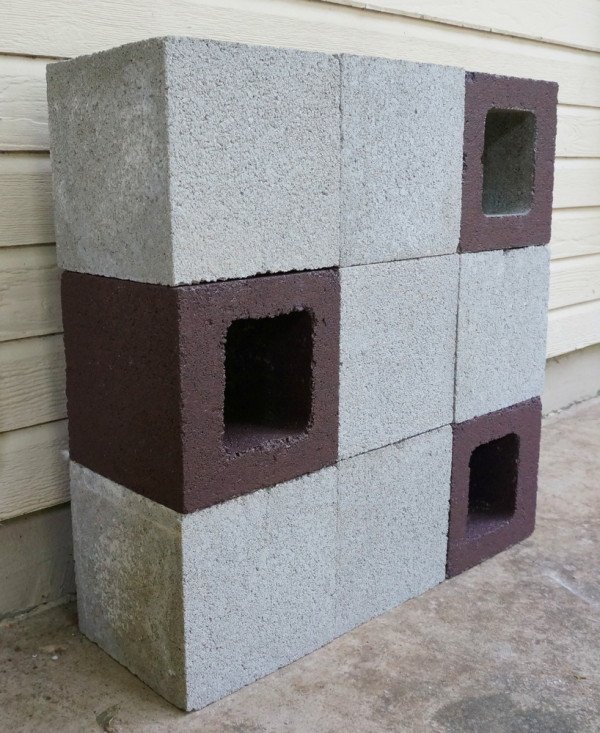
I then strategically stacked all of my blocks, making sure that the two upper gray blocks were arranged so they were open on top–these blocks would hold plants. Note that since the bottoms of these blocks are also “open”, they should be stacked on top of the solid sides other blocks (rather than on other open sides). You don’t want the potting soil dropping to the bottom of this structure!
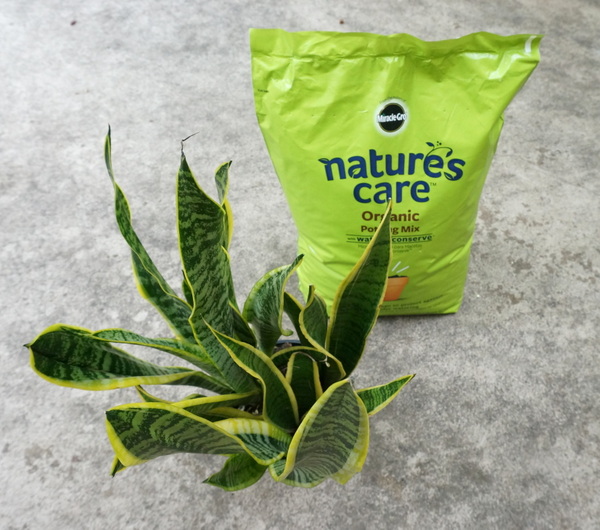
Then it’s time to plant! Gather your potting soil and the greenery of your choice. I opted for the snake plant, also known as mother-in-law’s tongue. Note that this plant is often used indoors, but it can work for shady outdoor areas. If the summer heat starts to have a less than desired effect on the plants, I will switch them out with another choice.
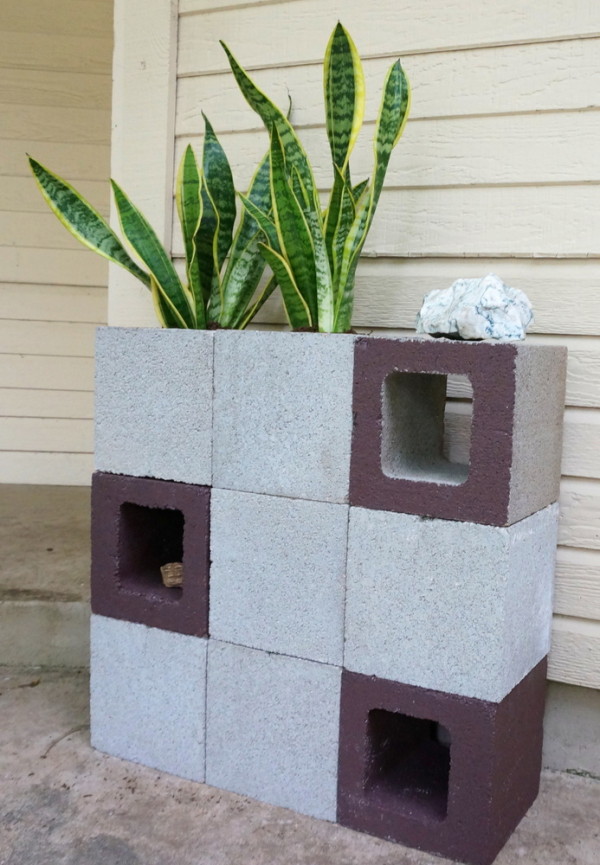
I love the height and color that these snake plants add to the drab beige wall on my patio! I added a decorative rock to the top of my planter, and I even placed a rock inside one of the other openings. Until my cat decided to try and eat it. Safety first!
Summer Lounging
I’ve spent so much time outside in the last week, thanks to my new comfy seating. Every outdoor lounge should have a chair that really allows you to recline–with your feet up! Guess who else has been taking full advantage of the new seating? Kitty!
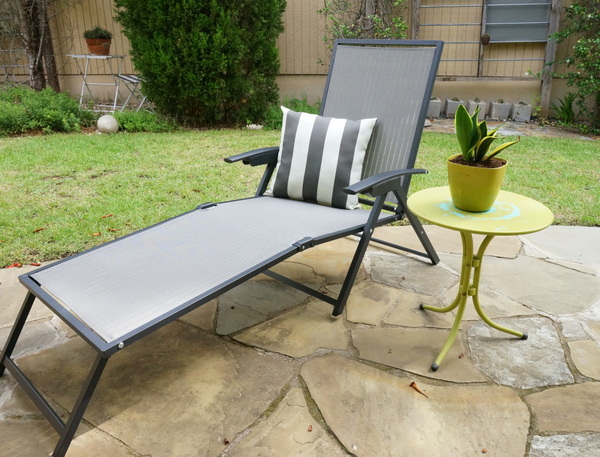
The pillow does wonders for back support. Plus, it adds such a fresh, summery look to the lounge, don’t you think?!
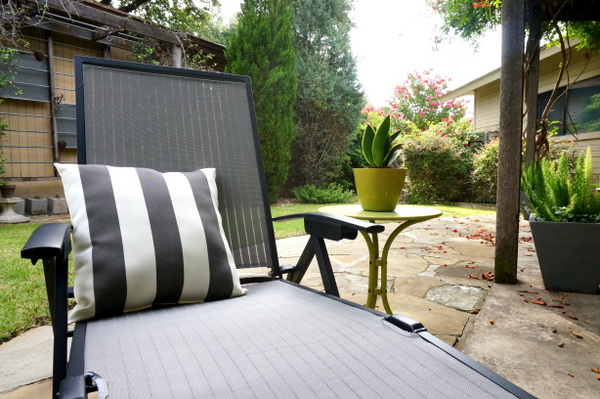
Creating an outdoor lounge on a budget is quite possible, especially if you put comfy seating first, then combine DIY and used items for the rest of the arrangement. Don’t be afraid to get crafty, but also know that you don’t have to make everything yourself. If you find a great deal (like a reasonably priced striped pillow), treat yourself!
Hope you’re enjoying a relaxing summer!
