It feels like I’ve spent a big portion of the week outside. Kate here, and this past weekend I began a lengthy yard makeover that was supposed to last two days…and ended up stretching out to six! That’s the thing about home improvement projects–once you get started, you find many other areas that need your attention. But with the weather being that perfect blend of not too hot and not too cold, there’s nowhere I’d rather be than outdoors!
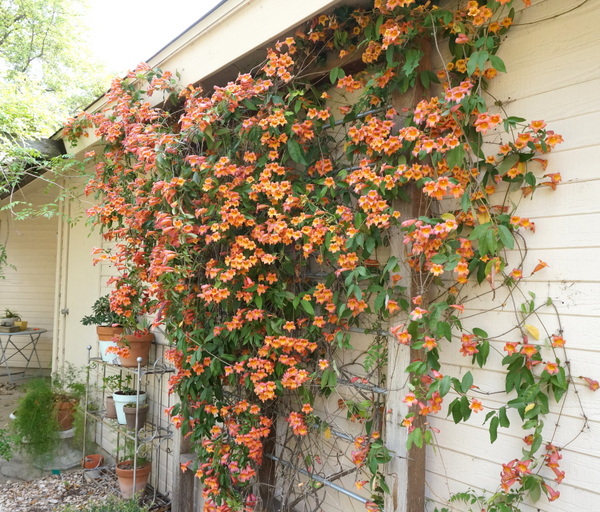
It all started when I looked around my yard earlier this month and realized that although the flowers were blooming and the sun was shining, my outdoor space wasn’t quite ready for spring. I knew it was time for an outdoor makeover, and over the past week, this endeavor has included everything from xeriscaping to affordable DIY projects. As promised, today I’m sharing a few snapshots of the process. Take a look, and then tell me about your spring yard makeover plans in the comments section at the end of the post!
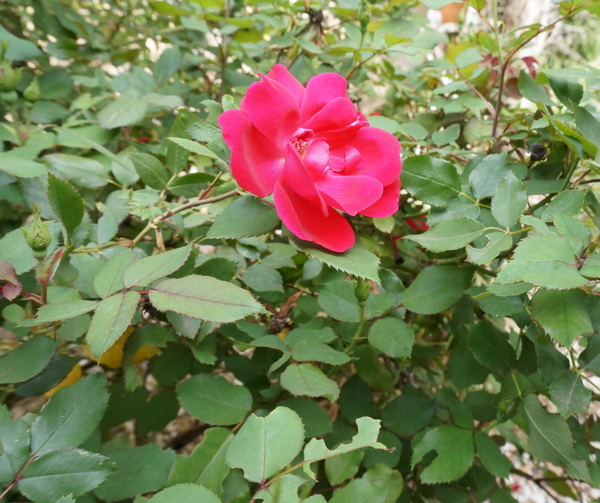
Start with the Ground
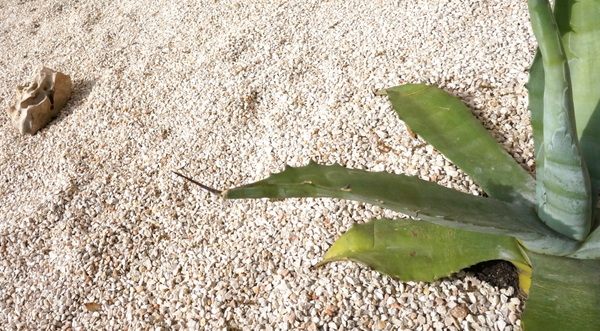
I began my outdoor makeover by assessing the space–starting with the ground. We moved to our place last year, and until recently, we had completely neglected our side yard. This spring, we decided it was time to xeriscape. I chose a strip of land next to the house–an area that was dominated by weeds rather than grass. I pulled the weeds, covered the ground with a weed barrier and planted some drought-resistant greenery that can tolerate full sun. Then I added limestone gravel and sculptural rocks. The process was much easier than I expected, and we can’t wait for the plants to take root and flourish!
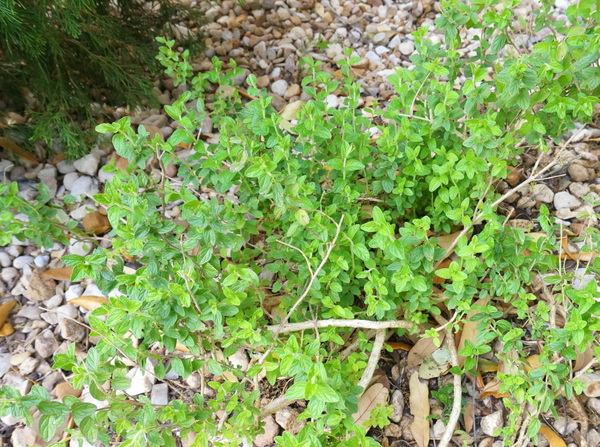
In addition to changing the layout of the yard through xeriscaping, I assessed the plants for dead leaves and stalks, cutting them back as needed. Below we see a plant called skullcap, which has been trimmed so the dead stems are no longer exposed. This greenery produces purple flowers, and I love the way it thrives all year long.
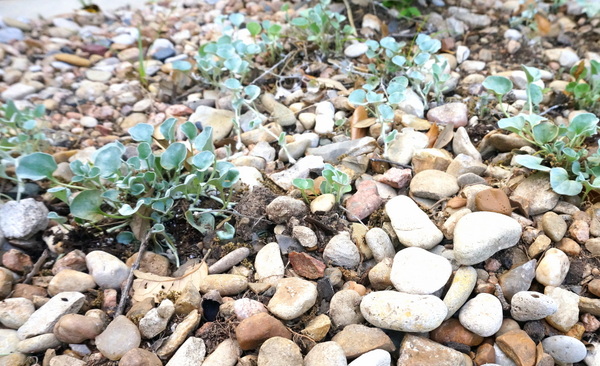
Before winter, my Silver Falls dichondra was beautifully cascading over the edges of my terraced front yard. Then winter hit, and the season was much colder than usual. All that remains of my Silver Falls are a few sprigs here and there. So I took to the ground with a shovel and a slew of new plants to fill in the gaps. Yes, refreshing the ground cover is important too! I’m hoping to have some cascading action in the next few months…
Reviving Potted Plants
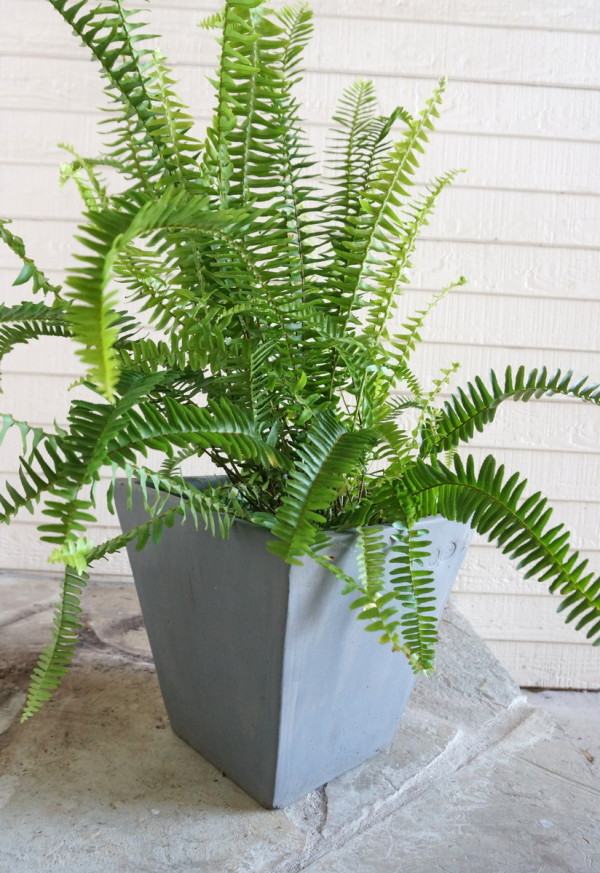
I spent as much time reviving my planters this week as I did xeriscaping, trimming and filling in the greenery gaps. Winter was hard on my potted plants, even though I brought them inside from time to time and covered them during cold snaps. So when it came to getting my yard ready for spring, some plants just had to go. Like the dead fern near my front door. Time to refill the planter with a fresh fern selection!
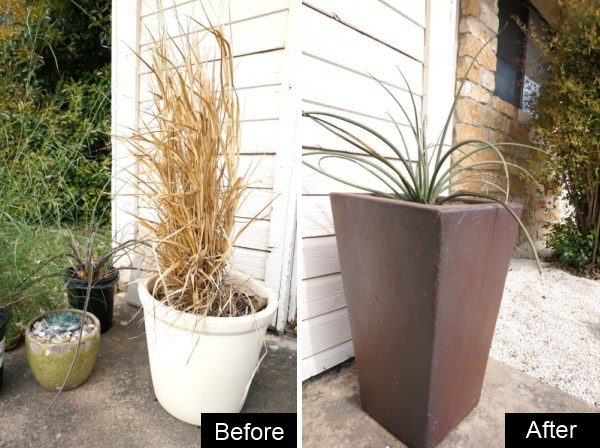
See the dead fountain grass in the image below (left)? It was another casualty of the winter. Not to mention, it was time to replace the random assortment of pots with one bold statement. The result: the deep maroon pot below (right). Not only was I drawn to this selection for its clean lines, it was 50% off!
A metal shelf sits to the left of the trellis in my backyard. I fill that shelf with various potted plants. Several of them were needing some love in the form of repotting after the cold winter months. In addition, the pots themselves needed a lift! So I refreshed several of them with some left over paint. You can see the results in the next featured pair of images.
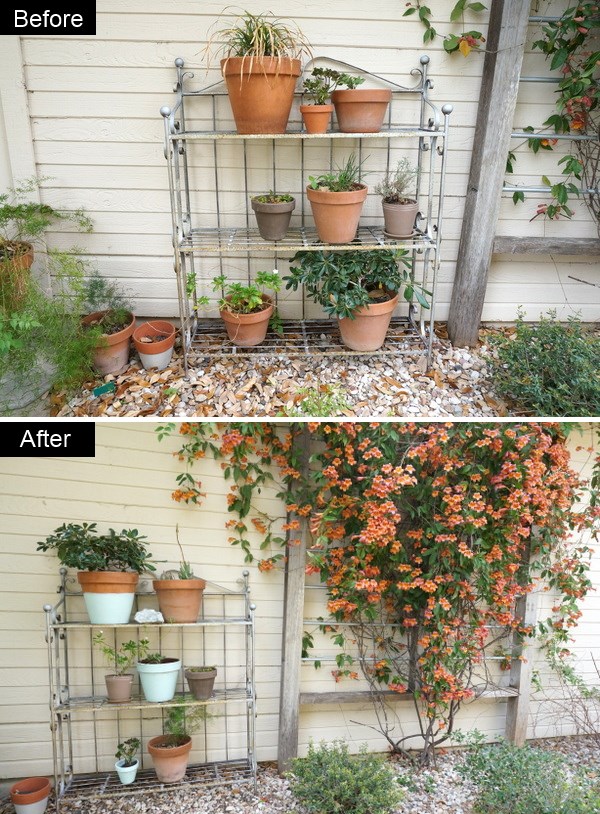
The pots on the shelf weren’t the only ones that got a paint job…
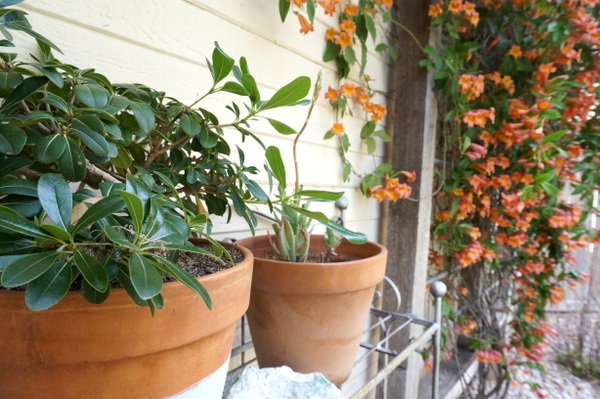
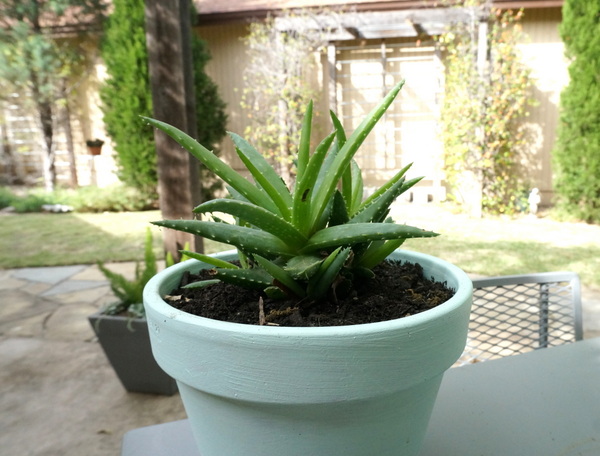
I pulled seven pots total and gave each of them a fresh coat of paint in a shade of icy blue. A common color unified the pots and helped introduce a new hue into my outdoor space. The painted pots are scattered throughout my backyard.
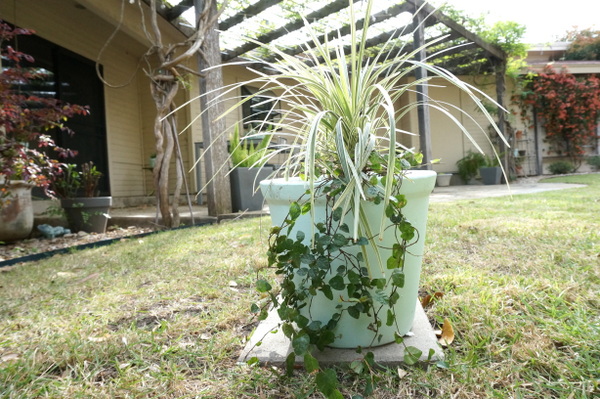
Another great idea for enhancing potted plant arrangements: add different layers and shades of greenery. I filled this blue pot with a tall grass, then added a cascading vine for a dramatic effect.
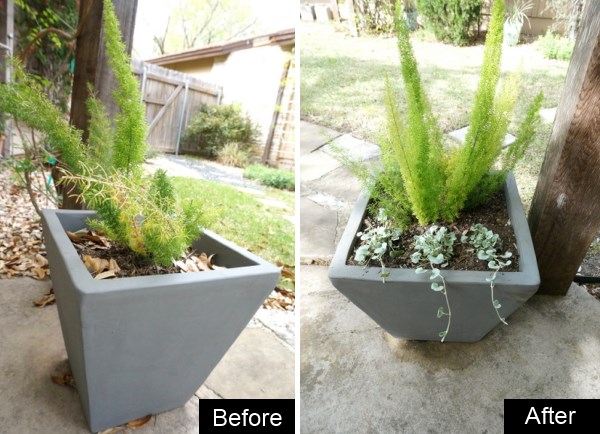
On a similar note, I added some Silver Falls dichondra to my pot of foxtail fern after trimming away some of the fern’s dead stalks. Again, I’m hoping for some cascading action in the near future!
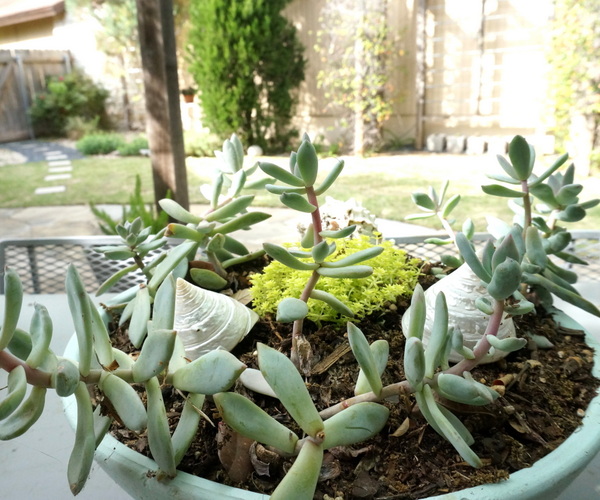
In many cases, pots with more than one plant may lose a bit of greenery along the way. For example, the container of succulents below looked pretty empty in the center after the winter. A cluster of sedum (the lime green selection below) is just what this arrangement needed! That’s right–don’t forget to fill in greenery gaps with new plants.
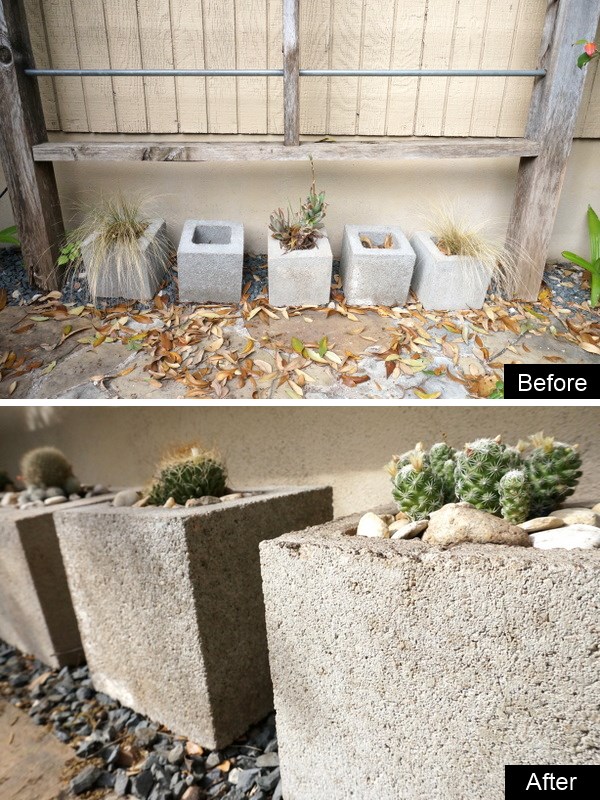
Now is also the time to ask yourself if your plants are in the right location. Below we see a row of cinder block planters. Two of the blocks hold no greenery–the plants that once lived there did not survive. Not to mention, the Mexican feather grass on each end clearly needs bigger pots. And the aloe in the center would do better in a location where it could continue to get taller without hitting a wooden beam. I moved these plants to different pots and replaced them with cactus that could easily tolerate the sunny location.
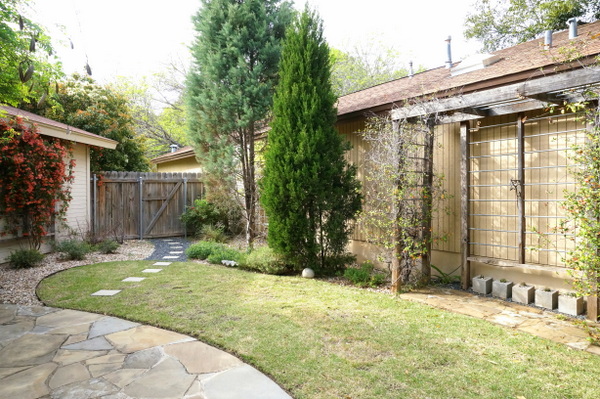
I’ll end with a shot of my yard–as you can see, the green grass is still coming in. I can’t wait until more flowers have bloomed, the newly planted greenery is truly thriving, and the lawn is a vibrant shade of green.
Thanks for reading about my outdoor makeover! Are you tackling any spring projects in the yard? I’d love to hear about your upcoming endeavors…


