I’m excited to be sharing my laundry room makeover with you today on Decoist! Kate here, and it’s no secret that this room update has been in the works for awhile. Not too long ago, I shared some helpful tips for painting cabinets — a post inspired by my own painting endeavors in this very laundry room. And I’m not ashamed to admit that my recent posts on geometric designs and laundry room shelving ideas doubled as research for my laundry room DIY projects.
This past weekend, I painted a couple of two-tone geometric pots — you may recognize them in the pics that follow. For me, they were the icing on the cake for this room redo. Let’s put it all together and take a look at the results of my laundry room makeover below. Thanks for letting me share my DIY journey with you. I’ve learned a lot through this process, and I can’t wait to get started on my next room makeover!
The Makeover Plan
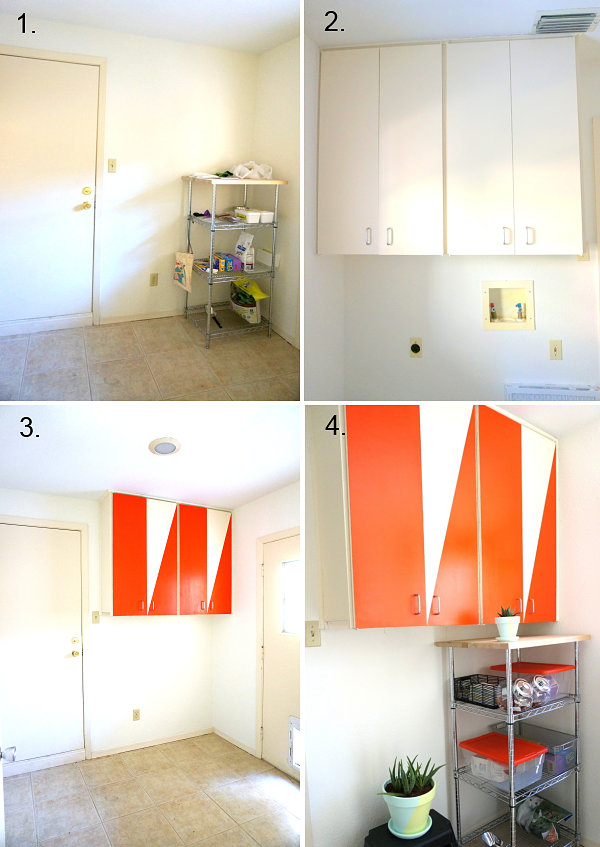
Do you come up with a plan of action before beginning your design projects? Or do you see where the process takes you and go with the flow? I did a little of both for this project. Below (images 1 and 2) we see how the room looked before I began the makeover. Kind of drab, right?!
The biggest obstacle was a double cabinet hanging right above the washer and dryer connections. The problem: putting the appliances side by side would render our door to the backyard completely useless. The cabinets had to be moved to the other side of the room so we could install a stackable washer and dryer. We got some help with this part of the project, as it involved a bit of woodworking!
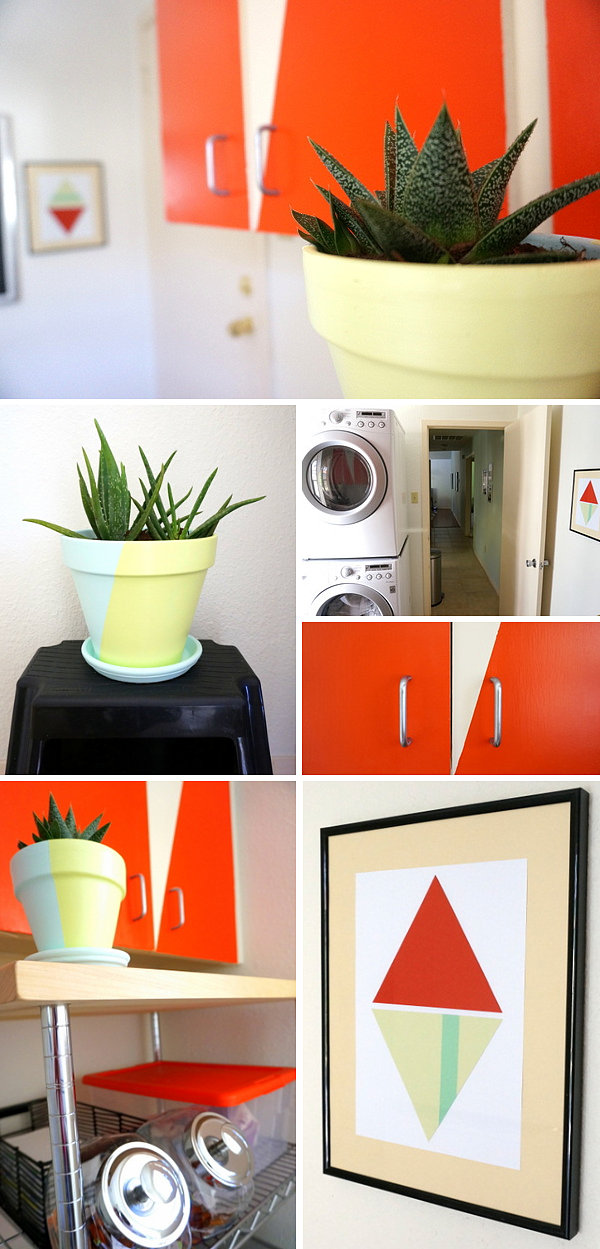
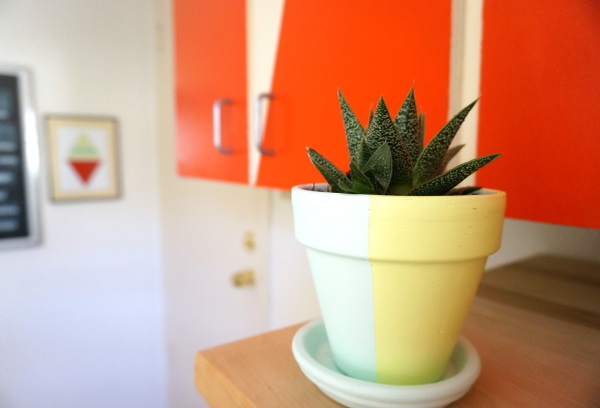
Once the cabinet had been moved, I knew it was time to paint the doors. In fact, I was inspired to embellish them with a two-tone geometric design. I used an alternating motif, painting one cabinet door tomato red while dividing the next door in half with the help of a diagonal line created with painter’s tape. The original cream paint remained on the cabinets, and I found bold red-orange to be the perfect accent color.
It took several coats of paint to pull this off, but I’m happy to report that contrary to originally insisting that the cabinet doors would have to be removed for the painting process, I was able to paint them while still on the hinges. Whew! Then it was time to organize the space, which I’ll talk more about in the next section.
A Functional Space
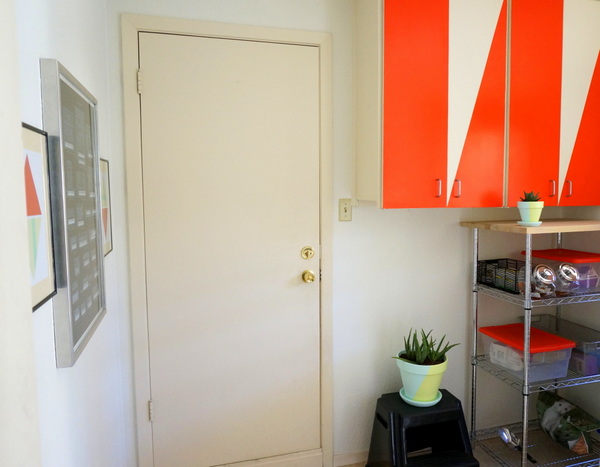
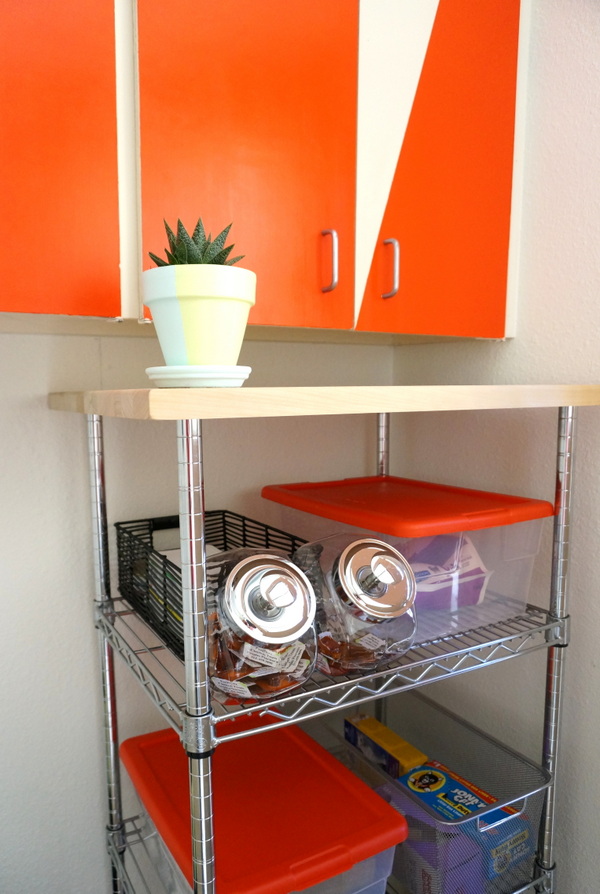
We’ll get to the art and decor in a minute, but first let’s delve into the process of organizing this space. Did I mention that this room doubles as a kitty room? Yes, we keep our Little Mister’s supplies in the space, from his food to his kitty treats. The laundry supplies are concealed behind the cabinet doors, but we need Kitty’s loot out in the open for easy access. The industrial-style shelf you see below is from The Container Store.
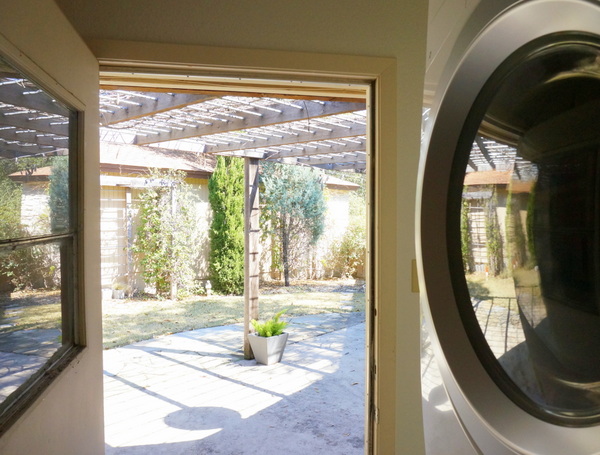
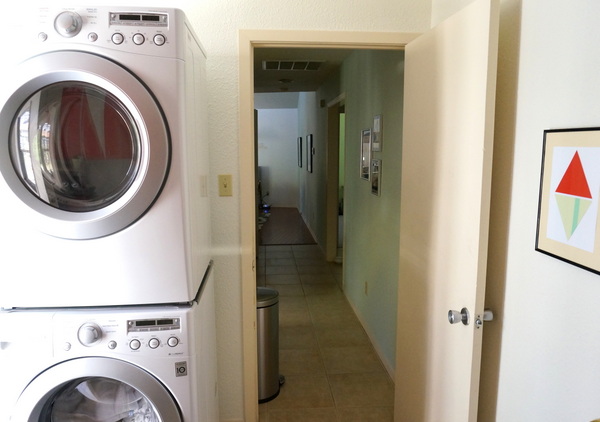
My hubby and I had these Metro shelves at our last place, but what we didn’t have were the bins and boxes that you see above. I found some plastic bins with tomato red tops at Target, and additional bins came from The Container Store. Below we see why getting a stackable washer and dryer was key for this space. Stacking the appliances meant more room to access our backyard. In fact, that door wouldn’t open with a side-by-side washer and dryer in place:
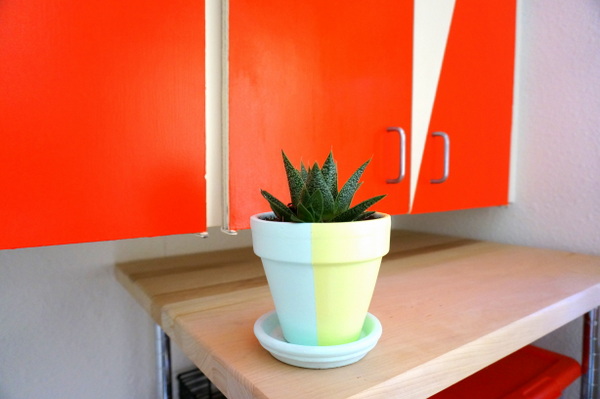
See the candy jars below?! We picked them up at Target. They’re perfect for storing Kitty’s treats and medications. And yes, I put a plant in front of one of our cabinet doors. That particular cabinet holds wall paint, which we only use from time to time. I wouldn’t dream of putting a potted plant in front of the cabinet that holds our laundry detergent! Remember, easy access is key in a functional space.
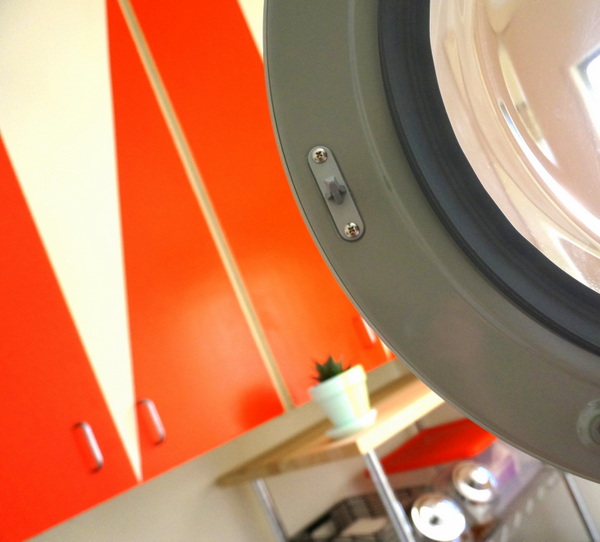
Below we get a look at the stackable washer and dryer. They are LG models, and we thank our lucky stars for them each day. For a variety of reasons, we had to wait eight months to purchase these, which makes us appreciate them all the more!
The Details
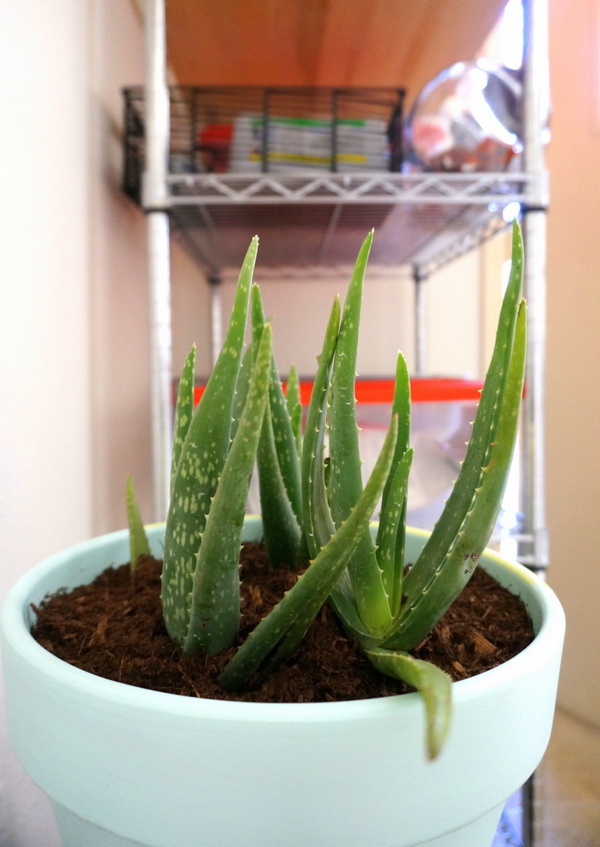
Now we’re on to the art and decor–my absolute favorite part! As you can see, I’m a big fan of indoor plants. They are refreshing, they improve the air quality, and they are an affordable way to add instant style to your space.
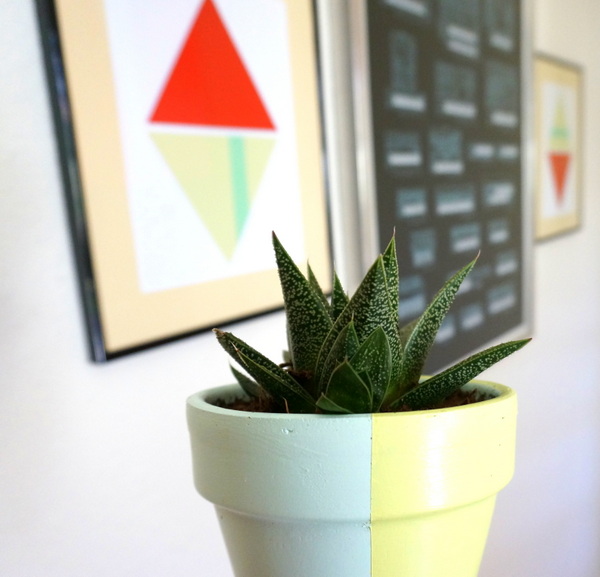
I created the two-tone pots using leftover wall paint. The process was easy and fun. You can read the full tutorial here. Because the tomato red of the cabinets is such an invigorating color, I chose soothing, calm hues such as lime green and ice blue as accent hues. They help achieve a nice balance in this space.
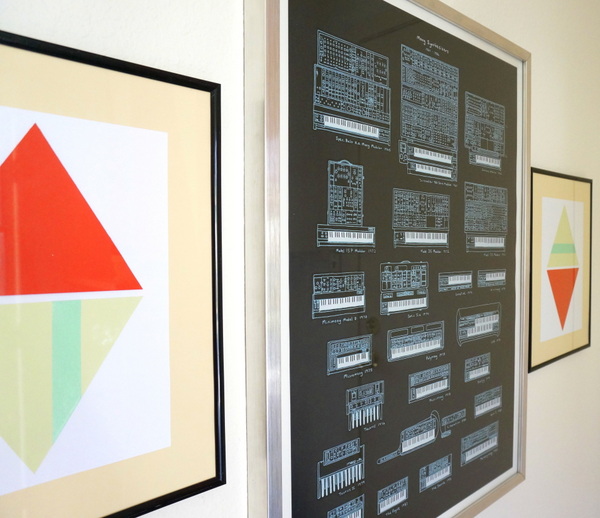
I couldn’t wait to get some art on those blank white walls! The Moog synthesizer poster is a purchase from our favorite annual art fair. The geometric pics on either side are DIY pieces I created one evening. I used an inexpensive paper cutter to craft the triangles you see below. The mint green stripes in the artwork are made from washi tape. Yes, it was that easy!
Here are a few more shots of the decorative details…
When it comes to designing a practical space such as a laundry room, creating a balance between functional pieces and decorative accents is key. Even the most utilitarian of rooms can be dressed up with a thoughtful arrangement or a nearby plant in your line of sight:
What I loved most about this project: the fact that I felt free to go crazy with bold color and geometric forms. That’s the beauty of decorating a small, practical space. It was a drab laundry room–I had nothing to lose! Now it’s my favorite room in the house.
Not to mention, following through with a project in one room creates a desire to improve the rest of the house. I can’t wait to bring this DIY energy to other areas of my home. Thanks again for letting me share my laundry room makeover with you today! Have you transformed a space in your home? Any tips or tricks you’d like to share with Decoist readers?
Leave a comment below.
