Happy Valentine’s Day, Decoist Readers! We wish you a day filled with love–love for family, love for cherished friends, and love for that special someone. Looking for some last-minute DIY valentine ideas? Not only are today’s featured projects a wonderful way to say “I love you” (much like a unique Valentine’s Day card), they can even double as little gifts…
Kate here, and I’ve put together three last-minute DIY valentines for you to assemble. Not only will I guide you through the steps I used to create these projects, at the end of each section I’ll also give you a shortcut version that you can create with everyday items. Because even when you’re pressed for time, it’s the thought that counts! Read on for more details:
Champagne Flute Valentine
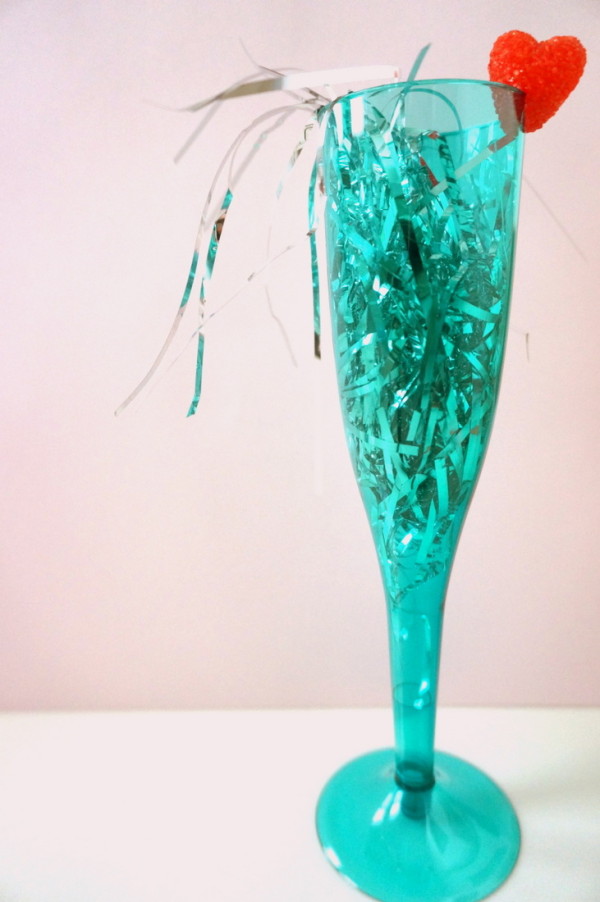
We begin with this champagne flute valentine, which sends a festive message of love.
Here are the supplies you’ll need…
- champagne flute (plastic or glass)
- metallic shred
- one gummy heart candy
- paper and a pen to write a special message for your Valentine
Step 1: Select your champagne flute. I used a teal plastic flute that was left over from this New Year’s Eve party photo shoot. If you’re making a group of these special valentines, consider purchasing a pack of plastic champagne glasses from your local party store. If you’re crafting only one or two, it may be cheaper to buy individual glass flutes.
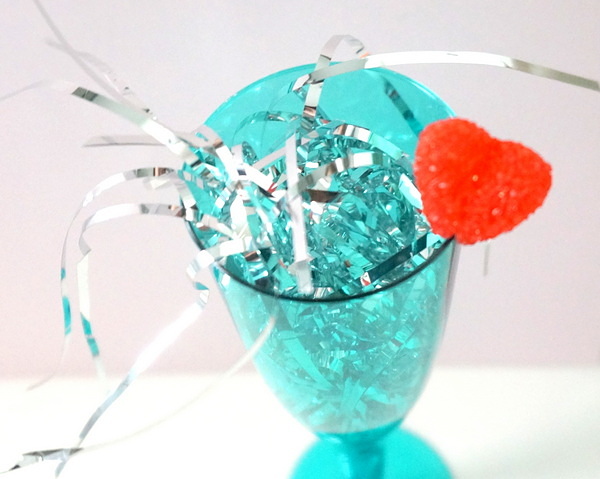
Step 2: Fill the glass with metallic shred. I always have a pack of metallic shred on hand. It’s an instant way to add glitz to a festive centerpiece or jazz up your party table. You may also decide to fill the glass with edible treats rather than metallic strips!
Step 3: Garnish the glass with a gummy heart candy. This special touch gives your valentine a sweet treat to enjoy.
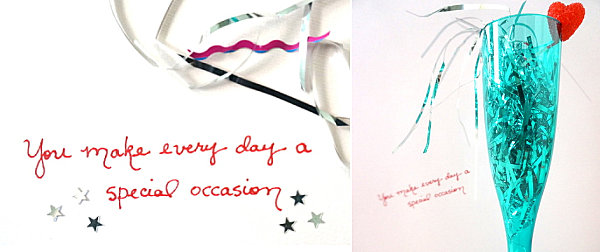
Step 4: Write a thoughtful note for your Valentine. You may decide to attach your message to the stem of the glass with a ribbon. My favorite message for this project: “You make every day a special occasion.”
EASY SHORTCUT: If a trip to the craft store isn’t in the cards today, don’t worry. You can throw this valentine together in no time! Fill your champagne flute with any festive material you have on hand, such as curled gift ribbon. No candy? “Garnish” your glass with a paper heart. If your Valentine happens to live in your home, you can use a glass champagne flute from your pantry–you know it will be returned!
Valentine’s Day Arrow
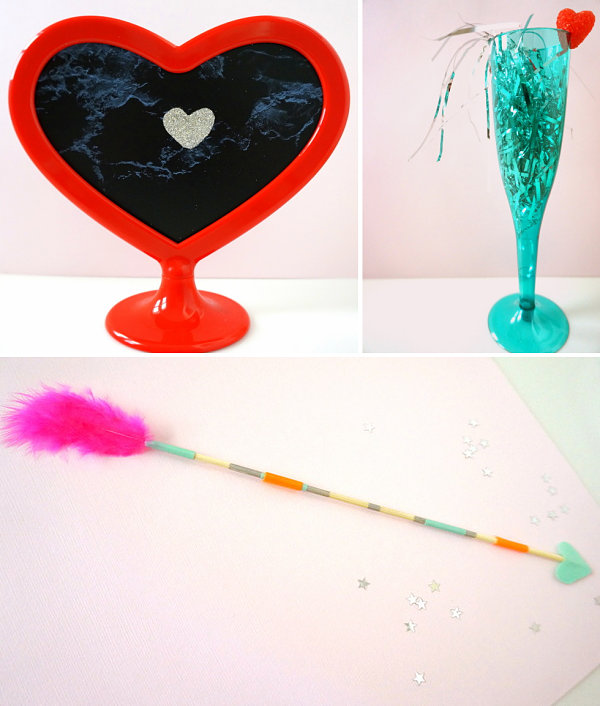
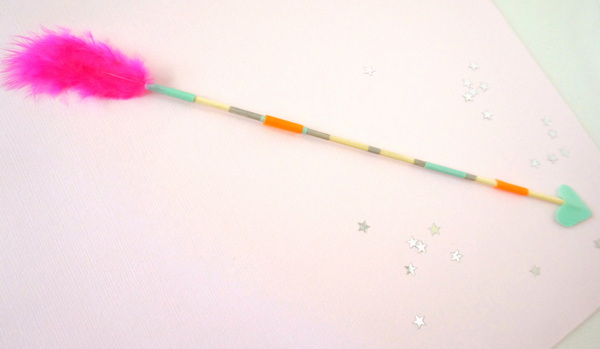
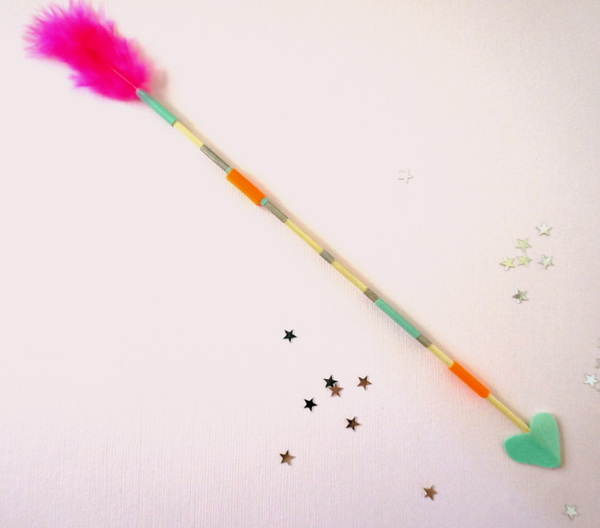
I’ve been so inspired by all of the DIY valentine arrows that have hit the blogosphere this year! I’ve adapted my Valentine’s Day arrow project (shown below) from this amazing DIY via Curbly.
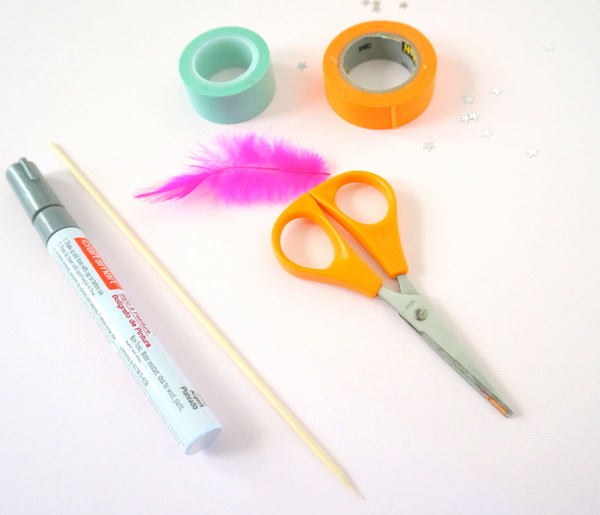
Here are the supplies you will need:
- a bamboo skewer
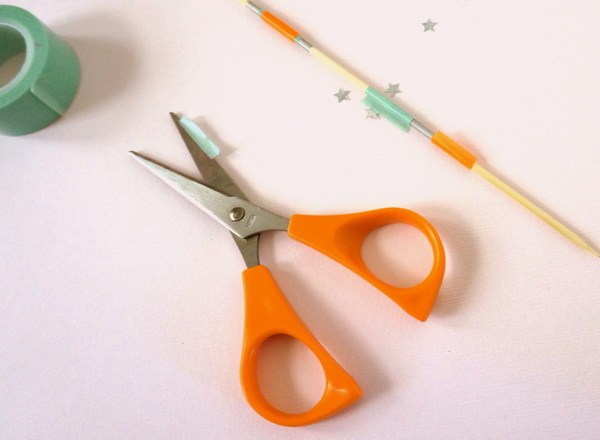
- washi tape
- one feather
- a paint pen in the color of your choice
- scissors
- glue
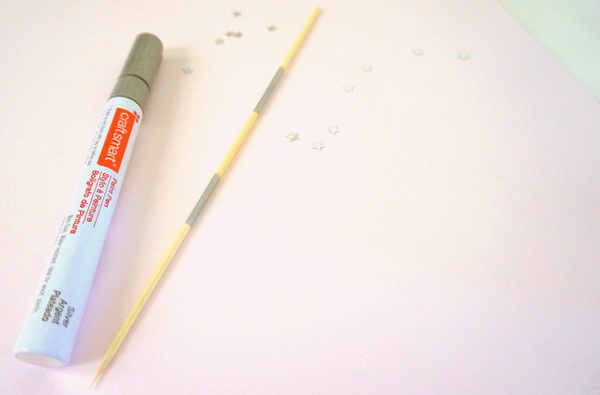
Step 1: Use a paint pen to decorate sections of your skewer. For a special touch, use more than one paint pen/color.
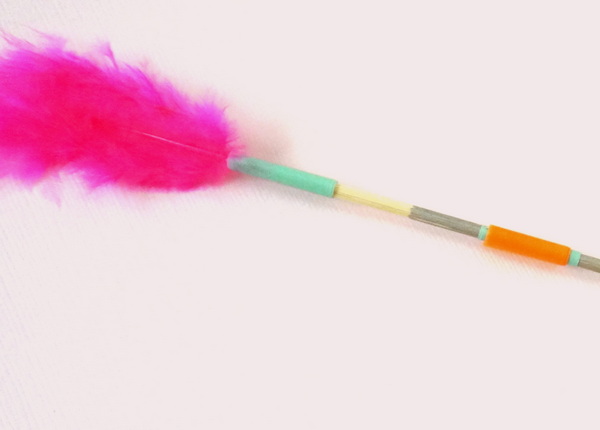
Step 2: Use washi tape to attach your feather to one end of the skewer. If your feather doesn’t have a prominent quill, cut away some of the feathery bulk near the bottom. A clean quill is much easier to wrap/attach to the skewer than a fuzzy one.
Step 3: Wrap the washi tape around the skewer in colorful sections. If you have more than one roll of tape, and the rolls are different widths, you can even layer the tape. A helpful hint: use a dab of glue or a swipe of the glue stick to help secure the end of each piece of tape–washi tape likes to unravel itself!
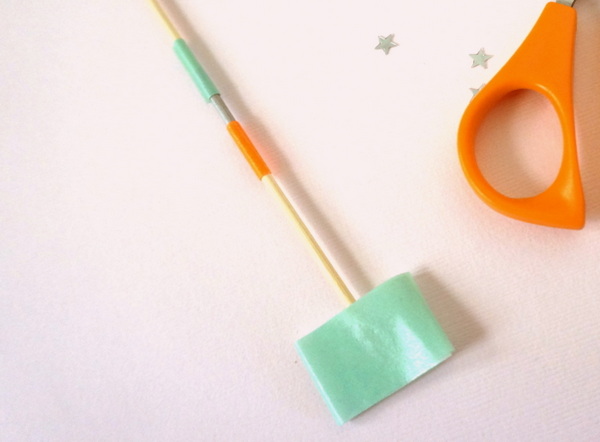
Step 4: Create a heart-shaped arrowhead for the tip. Feel free to use paper for your arrowhead. I actually used washi tape! I began by doubling, then tripling the tape at the end of the skewer so it formed a flat surface (as shown below). I made sure there was a little opening for the skewer, then removed the tape. I then cut a heart from the flattened tape and re-inserted the skewer. Again, a dab of glue is helpful in attaching the “arrowhead.”
I’ve made several of these Valentine’s Day arrows to give as gifts this year, and the recipients loved their colorful mementos! Skewers are smaller than dowels (which are often used for this project), and the result is a mini-arrow that makes a big statement.
EASY SHORTCUT: No skewer? Embellish a pencil. If you have a skewer or a dowel on hand, you can use markers to add color in lieu of paint pens. No feather? Craft one out of washi tape. No tape? Use paper to create a feather and an arrowhead. The shortcut possibilities are endless…
Marble Heart Valentine
Our final featured DIY project celebrates the current marble revival. The look is fun, sleek…and a little bit ’80s!
Here are the supplies you will need:
- marble-patterned scrapbook or contact paper
- a heart-shaped frame
- glitter
- glue
- a pen or pencil for tracing
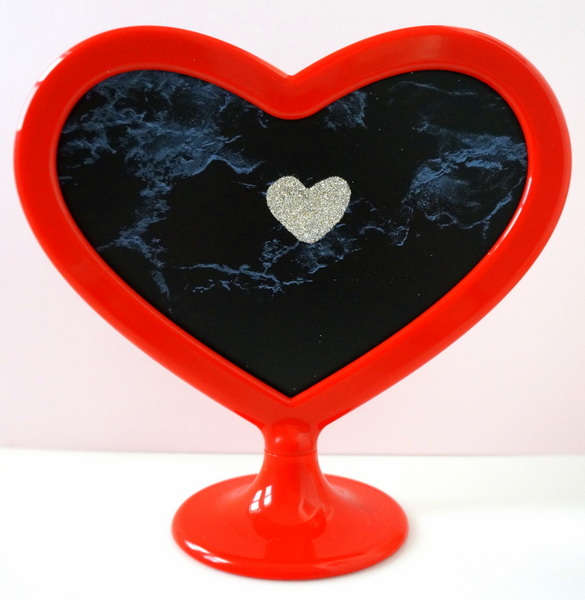
Step 1: Remove the glass, plastic or paper insert from the frame of your choice. Use it as a stencil to trace and cut out the shape–likely a heart–onto your marble-patterned paper. Any marble-patterned paper will do. I had some leftover contact paper from another DIY project, and it did the trick! The frame is from IKEA.
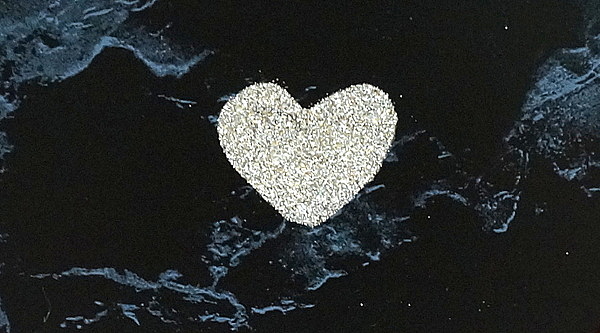
Step 2: Paint or dab a heart design of glue onto the paper. Sprinkle with glitter, then shake off the excess sparkles. I used ultra-fine glitter for a more defined look.
Step 3: Wait for the glue to dry, then insert your valentine back into the frame. If the glue isn’t dry, the design will become smudged.
EASY SHORTCUT: Use a piece of construction paper and embellish it with a glitter heart. Framing is optional. This project is not about the exact supplies. It’s about creating a glittering focal point that catches the eye!
We at Decoist wish you the Happiest of Valentine’s Days. Let the people you care about know they are cherished. And whether you have romance in your life at this time or not, do something nice for yourself. There’s no rule saying that one of these valentines can’t be for you!
