I am pleased to announce, my dear friends (and soon to be friends once you read this) that you are four steps away from owning a replica, a knockoff of wood flooring that will wow your friends in its authentic appeal that is fashionable, but more importantly affordable and achievable. Today we’re going to talk about the stylish plywood flooring.
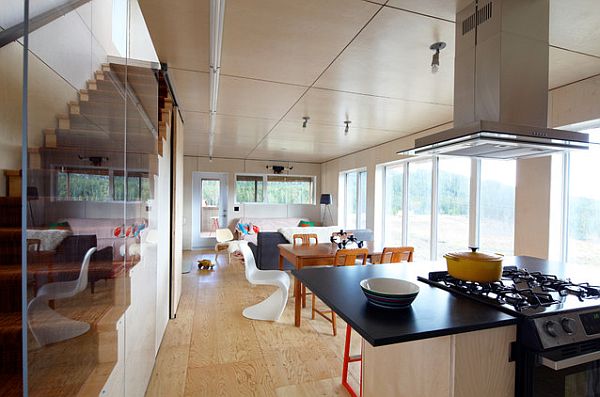
by Challenger Living / Photo by Lori Andrews
I admit that the vane part of my system loves browsing through a history of fashion faux pass made by individuals who otherwise set the standards for us mere self convicted chattel of humans to the fashion industry. While some of us may unintentionally start a wave or trend of a new innovative way to dress or dress up, we often look to New York, Paris or even Hollywood for inspiration when we endeavor to expand our tastes and wardrobe.
But when our wardrobe role models commit an inexcusable error in their dress conduct we lose a bit of our trust in them. What if an outfit we perceived as awesomely attainable came under the harsh spotlight of the critical media and makes it to the What Were They Thinking? section?
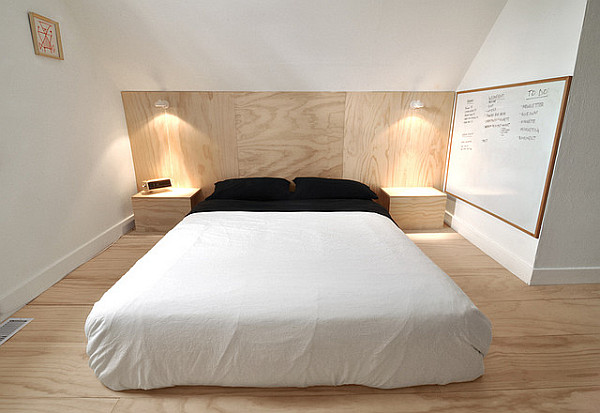
One recognized appearance of our lofty star in this column and we are crushed. How could they do this to us, we bemoan? And so we encounter the ugly side of ‘faux’ in a maddeningly personal way and are forever destroyed by this word as it blacklisted in our minds. Right? Wrong!
Many good things, however, can come out of faux.
Little bunny rabbits live long happy lives thanks to faux rabbits, and we DIY enthusiasts are given more chances to prove our usefulness as we reinvent one object to make faux ornamentations and furniture pieces for our home.
And today we are going to breathe back some positive connotation into the word faux and tackle the foundation of our living space. The floor- an often-abused area of our lives- is where we tread none too lightly, spill our refrigerator belongings and neglect to maintain it to its original perfection.
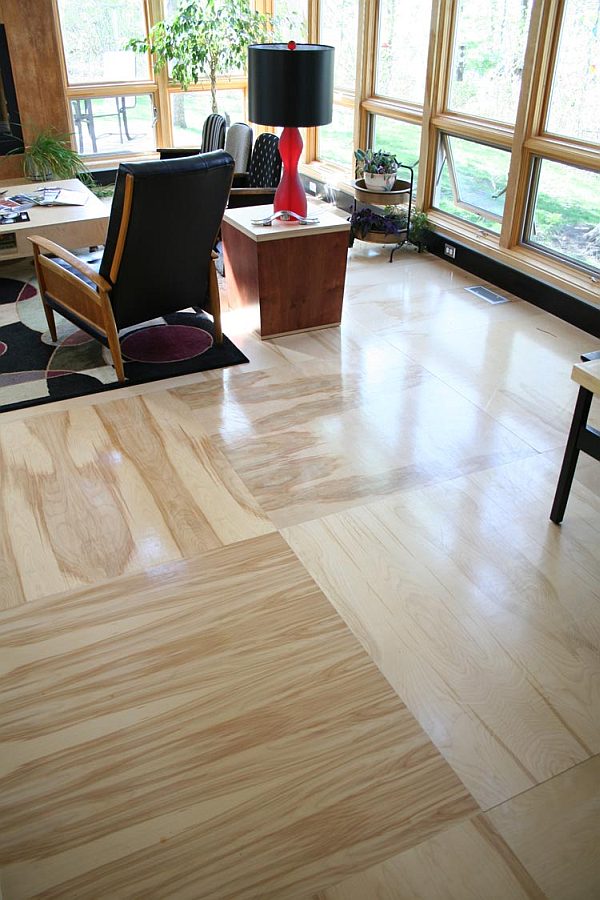
After hours of intense labor, weeks of combined paychecks and time wasted on decision-making we treat our floor worse than the incessant fly we have dedicated both mental and physical alertness trying to swat.
Roll up your sleeves, bandanna your hair back like Rafael Nadal, wrap your knees with some heavy duty protection and let’s meet the faux of today’s show.
It’s a common enough ingredient of a Do It Yourself individual and I dare say is hidden somewhere in the structure of most if not every home. Ladies and gentleman, I introduce to you the very esteemed but often hidden: Plywood.
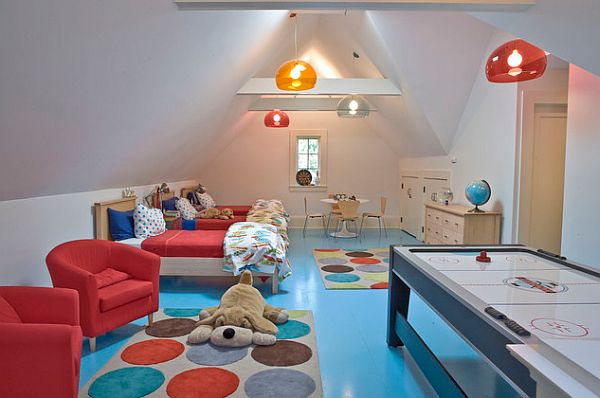
by Beinfield Architecture PC / Photo credit: Michele Scotto | Sequined Asphault Studio
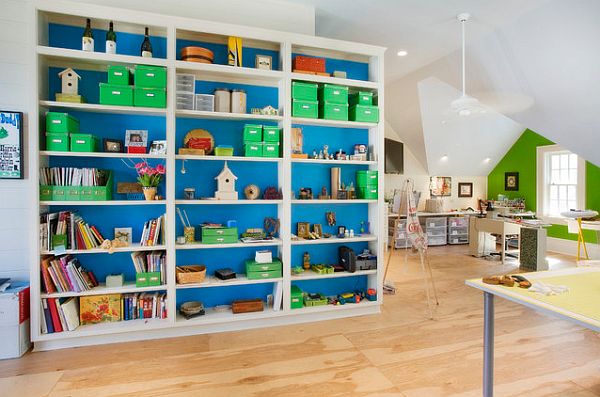
by Norris Architecture
I can almost hear you whistling a jaunty tune as you twirl your keychain around your finger and walk towards your pickup truck, the sun barely finished with its salutation to your part of earth. And I say pickup truck for would not an earnest and dedicated DIY mogul not own at least one vehicle that can transport their potential treasures? So here are those four steps I was talking about,
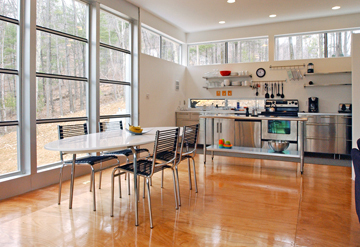
Step One: Measure and Secure
Take detailed measurements of the room you have chosen to give this affordable flooring and calculate how much wood your will need. Next make sure the subfloor is all tightly nailed down and evenly, then shop-vac any dust.
Step Two: Cut Plywood
Today the planks of hardwood range in widths anywhere from 2.5 inches all the way up to 7 inches, the most popular being around 3.5 inches.
Choose a size that is not so large that it will shrink the perception of your room, nor be too small it will get lost in the grandeur of a large open room.Cut all pieces the desired width and the entire length of the plywood.
Be careful to measure all pieces to ensure a clean, concise look once installed. (Photo: livemodern.com)
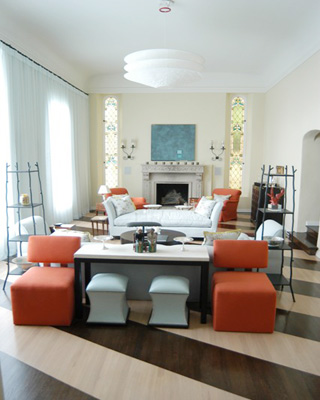
Step Three: Glue and Nail
Leaving a small gap between the wall and first plank for expansion and the baseboard, apply Liquid Nail to adhere the plank. Then, using cut nails finish the board.
Once again bring out your math skills and create a plan that you can mark where your nails will go so that your work looks professional. Also you want to make sure the joints of the boards are staggered.
All these little steps will help in the pursuit of giving the illusion of real wood floor.
Step Four: Sand and Stain
We all know that plywood is made of raw and rough matter, so once you have installed all your planks and the nail heads are deep in the wood, sand away these rough spots and the areas that are green or blue; common colors found on plywood.
Now begins the laborious job of staining, but this is the key point of this project as this is where the transformation of plywood to plank wood floor starts. After hand staining your first coat decide whether the color is satisfactory and be prepared to add a second coat.
Once this is dry start applying your first layer of polyurethane. Most manufacturers poly takes up to 12 hours to dry fully to enable adequate consistency for the next coat. You may have to sand in between coats to prevent any bubbles or grit. And you may have to apply up to five coats, but sixty some hours later and the smooth, shiny surface that only you know was once just basic plywood will receive many loving glances from your guests!
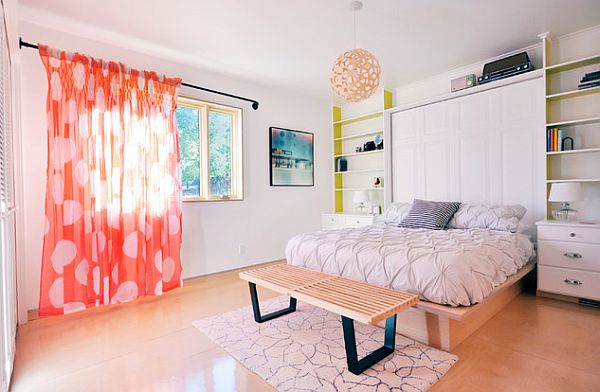
by Parallel Lines Studio
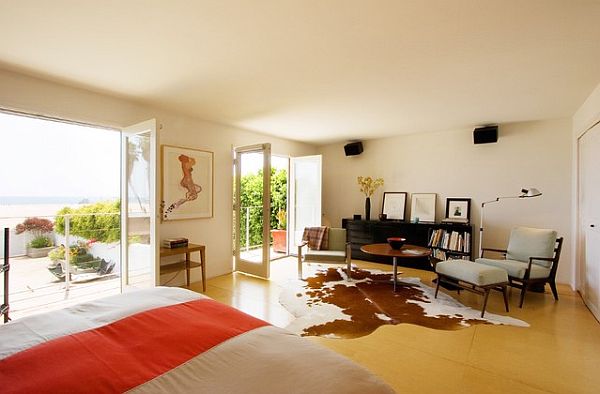
by emily jagoda
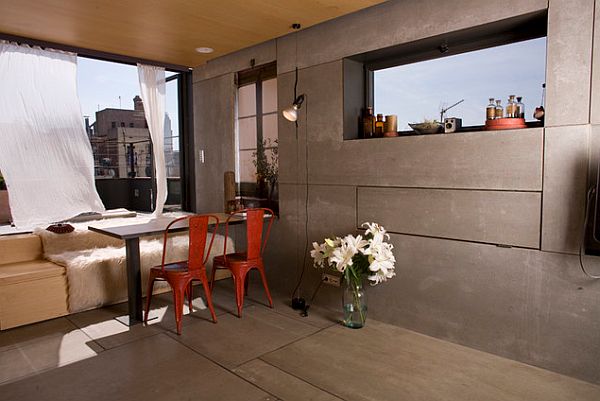
by Churreria Photography
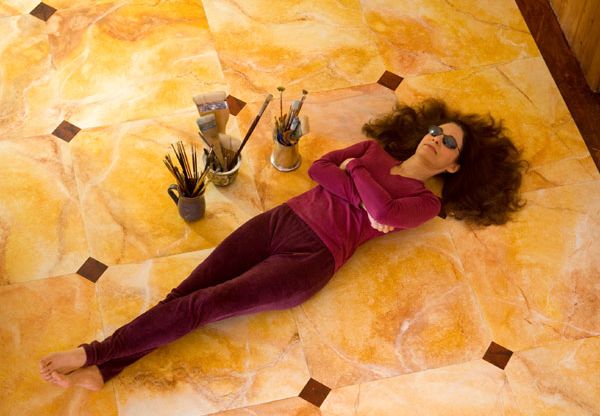
Project by paintyoga
And so tell me my new friend, how do you feel about faux, now?

