Paintbrush. Paint. Blue tape. Purchase these three items and you can make our DIY project itself the beauty to behold.
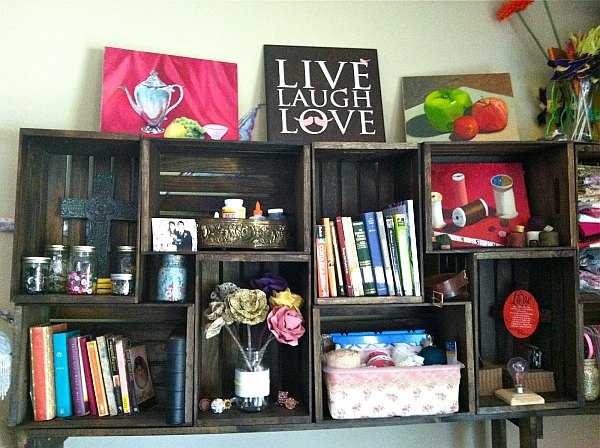
For the sports jockey: trophies. For the artist: paintbrushes and paper. For the doctor: scalpel and stethoscope. For the child: scattered toys. For the jet setter: globe and atlas. For the reader: books and magazines.

While once these collections were carefully and safely harbored in chests, but now the shelf has many purposes, carries the weight of many hobbies and is a storage unite that can display just as easily as it holds. But when it’s all white it could use a little plastic, I mean paint, surgery.

Follow these easy four practical steps and you can have a “new” bookcase in no time at all!
Step One: Undoing All Your Hard Interpretation of Your Instruction Manual
Pull out those individual shelves and their brackets. Note to self: Contain brackets in plastic Ziploc bag. Seal bag. Check if it’s secure. Find missing bracket on the floor. Open bag. Place the last bracket in the bag. Seal bag. Check if it’s secure. Stare at air bulge in bag. Open bag. Compress air out. Seal bag. Check if it’s secure. Mark bag. Put on top of fridge. Don’t forget it’s there. Walk away. Forget what you were doing. Oh, yeah. Proceed with project.
Step Two: Getting Friendly with the Sticky Spirits
This may seem like a quick easy part, but take time when taping the inside of the side panels where it touches the backboard. Using a strong hold tape that is leak resistant so that no stray drips or streams of paint find their way into uninvited spots or you’ll be starting over!
Step Three: Giving Your Bookshelf a Happily Ever After Horizon
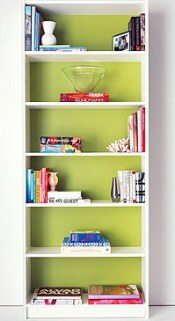
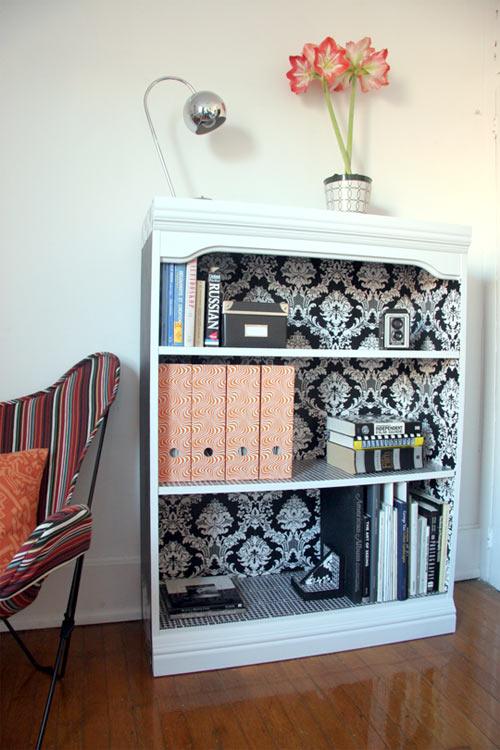
With your new bright color that will compliment your white shelf and blend with its designated room, go ahead and paint that baby! Or you have the retro option of installing a crisp layer of wallpaper on. Use a fun pattern that matches your room or coordinates well.

Step Four: The Great Revelation
Do not remove the tape until the paint is entirely dry. Allow extra time even after that. When you remove the tape pull it outward at a 45 degree. Unlike ripping off a Band-Aid, take your time so not to pull any dried paint along for the ride.
Take a picture, tweet it, just stare at it for awhile, but at some point and time you are going to have to put it back in its place against the wall and refill it with its proud possessions. But for now I’ll leave you and your shelving to enjoy each other.


