Royalty is an intriguing concept and part of the DNA makeup that keeps the world’s social and political force strong. Knighthoods, Earldoms, Dukedoms, this aristocratic birthright is romantically portrayed as debauched tea socials with the Baroness and the Viscountess.
Privilege, wealth, international fame and responsibilities are all a part of the nobility job description as well. If we are completely candid with ourselves, we have to admit that the only real enviable component is the crown. That glorious, jewel set, sparkly headgear which rests so gracefully upon a Queens head alerting the world of her significant and historic role.

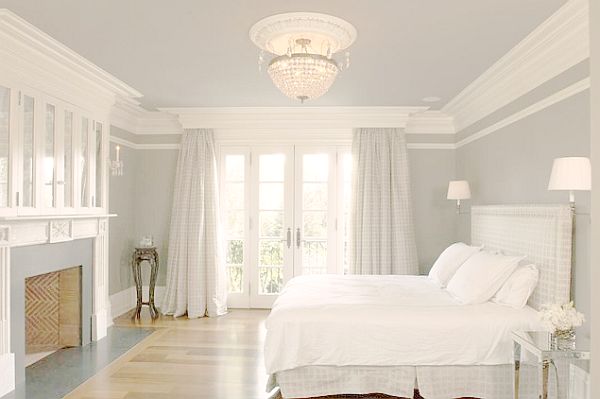
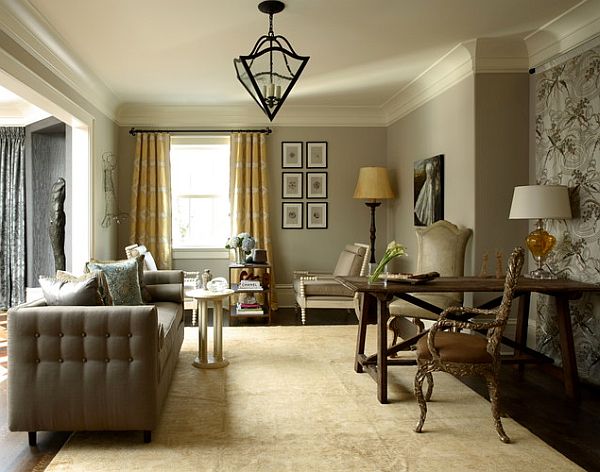
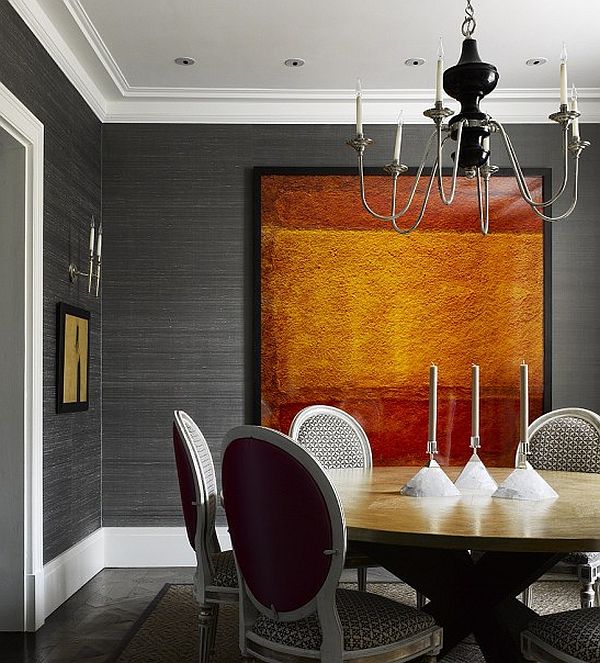
Bring in the royal scepter! We are renovating our home into a mansion. Complete with a crown. The headgear our walls will be wearing flush against the ceiling is the fashionable crown molding that will have our acquaintances thinking we have imperial blood flowing through our veins.

1. Paint your molding before application. You can touch up later, but you decide what’s easier. A.) Painting the wood on ground level as it’s stretched across some makeshift sawhorse, or B.) Installing it, climbing up, down, up, down the ladder until you have completed painting the molding without splattering on the wall.
2. Turn your stud alert on! Pull out the old electronic stud finder and find both the framing members of wall and ceiling. A crown is a dignified honor that if not balanced and adhered properly will shame the entire household when it begins to sag. Locating these joints is essential to the procedure of your project. This will determine where you will cut your molding and how you will fasten it.
3. Once you have completed step two you can measure your crown, cutting your crown using a compound miter saw. Watch your fingers! You wouldn’t want to lose the digit that will humbly bear your signet ring!

4. With one flange level against the ceiling and the other flange flush on the wall fasten in place using your hammer gun loaded with 2 ½ inch finish nails through the flanges-so that visibility of the nail head is limited. This duel, between the wall and your gun is one you must win to finish the crown molding. So sticking and following your measurements is a must: No guesstimating!
5. Summon your seconds! Measure and instead of the square cut of your first pride and joy, your saw blade settings need to be set at a horizontal degree of 34 ⅝ and the bevel-the vertical settings of the saw blade- set to 31 ⅜. This will taper your blade and allow for the standard cut for crown molding. Again, I don’t want to be a nag, but watch your fingers!
6. Let’s get handy with our good friend the coping saw. Using this you want to meticulously shadow the outline of only the front edge of the angled cut you just made. The end result should be a perfectly aligned edge that will rest securely with no gaps against when fastened flush against the neighboring crown molding.
7. Continue this procedure for pieces that rest just inside the wall. When it comes to outer corners, the ones that point into your room- cut your molding with the miter and bevel measurements, only making the blade taper in rather than out. These cuts do not have to be coped. Just test the fitting between the pieces, then fasten with small finish nails, and glue to interlock the two edges tightly together before installing them to your wall.
8. Everything is set, but you will notice some raw spots that can easily be fixed by applying acrylic caulk on the tops and bottoms of the crown and in the joints. This will smooth out gaps and irregularities. Last confront the offending nail heads insistently peeking out. Counterattack with some wood putty. Once all your cosmetic touches are finished complete the crown molding with a few paint touch ups.


The inauguration of presenting your living room as a member befitting the nobility with it’s new crown molding has come to an end. It now must entertain worldwide dignitaries in its warm welcoming embrace of four walls topped with a decadent crown. You did it. You made the league and cut a path into a new class for your home.
Bravissimo!!


