Are you staring at blank walls, wondering how to fill the empty space? It’s too bad affordable quality art is so hard to find…or is it? Why not take matters into your own hands? With the right supplies, who knows what’s possible? Whether you’re on a tight budget or you just can’t find the right wall art for your space, the DIY ideas below are sure to spark your creativity!
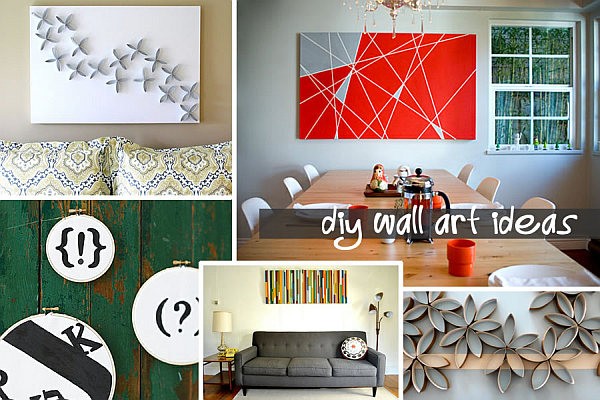
DIY Wall Art Using Everyday Items
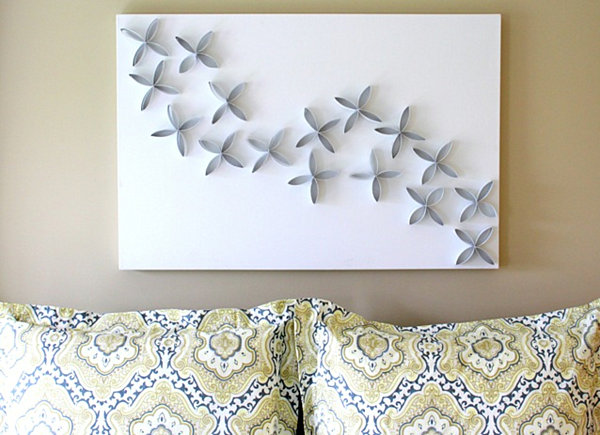
We start with art that can be made from accessible items found around the house. One exciting trend is the use of paper towel rolls to create three-dimensional artwork. The canvas below displays cut paper towel tube sections that have been flattened and arranged to create an organic yet geometric motif. For the full tutorial, check out Just a Girl.
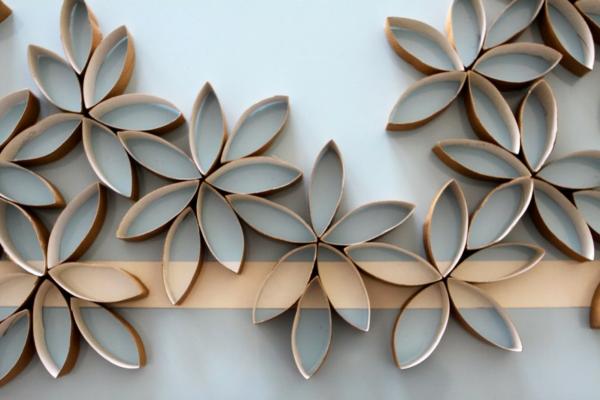
For a similar look with a slightly more floral result, check out Tali Schifer’s art tutorial at Imperfectly Perfect. As you can see, paper towel tubing can be every bit as charming with its natural coloring:
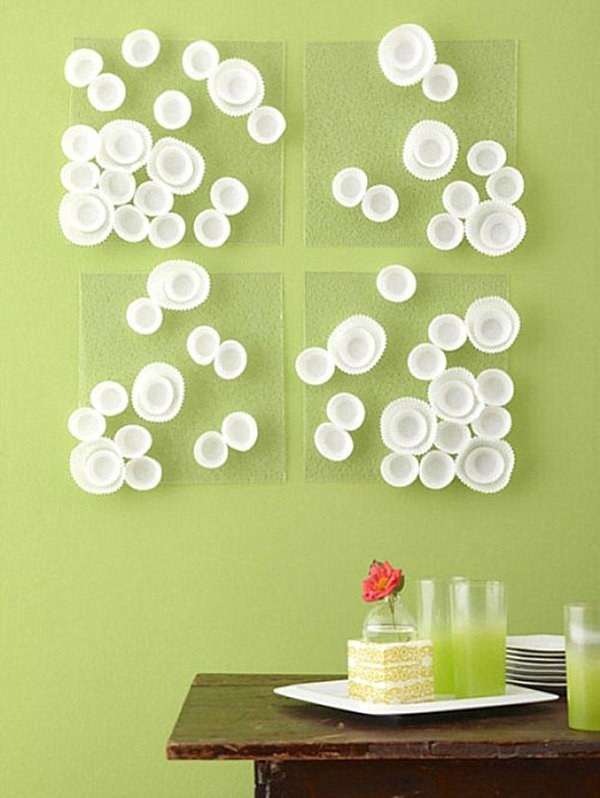
From paper towel tubes to cupcake wrappers… The artwork below makes use of rippled plastic sheeting and white cupcake wrappers in two sizes. We can imagine this contemporary creation in a range of cupcake-fabulous colors! [full tutorial at Shelterness]
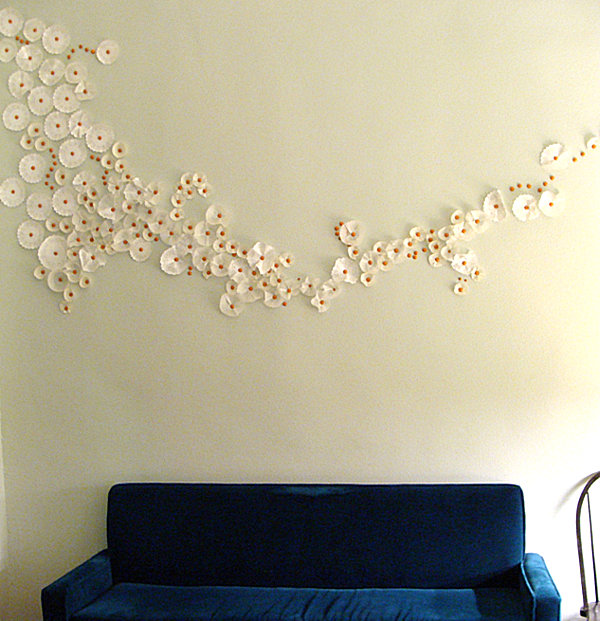
For another dimension to the cupcake wrapper art phenomenon, add large orange thumbtacks to the mix. In the wall art below, the wrappers become petals and the thumbtacks become the center of each flower. Can you spot the paper doilies as well? [from Christine of CityPix via Curbly]
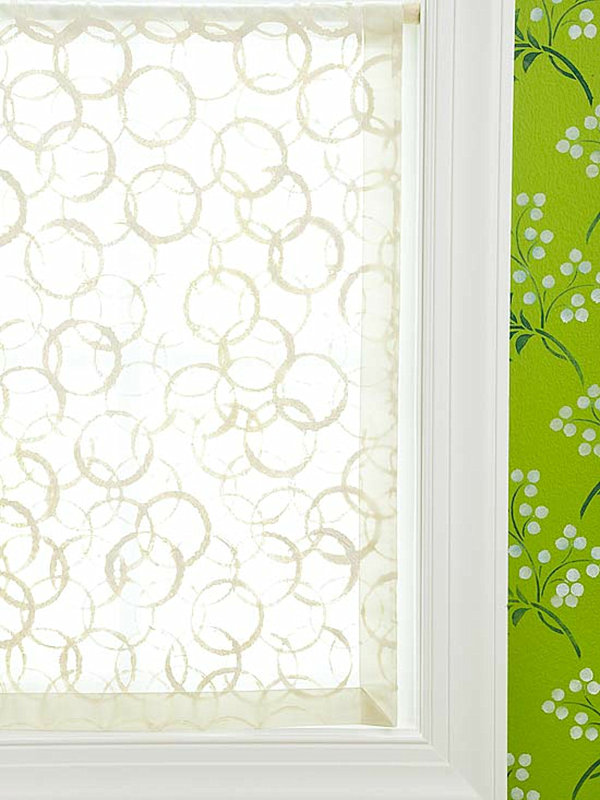
Once you’ve finished the eating the contents of your round yogurt cups, dip them in paint and start stamping to create some contemporary DIY bubble art. The results are shown on a window panel below, but we think the effect would be equally stunning on a canvas. White on white looks ultra modern, but experimenting with colorful shades of paint could be just as striking. [from Better Homes and Gardens]
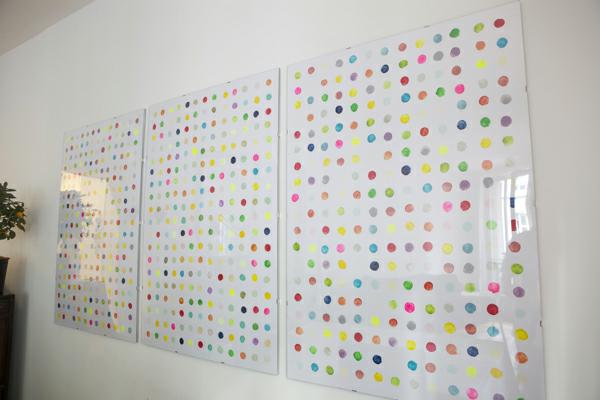
Do you have any small potatoes in your kitchen? It’s time to carve them into stamps and use them to create a wall of polka dots! The temporary Paris apartment below needed an affordable wall art solution, and the answer was DIY potato prints! Don’t forget to check out Oh Happy Day for the full tutorial.
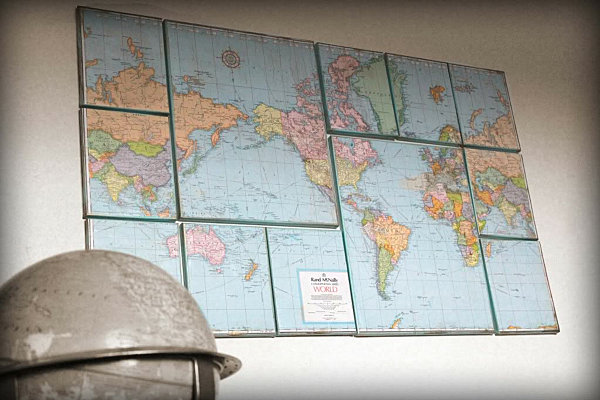
There’s something to be said for a powerful grouping of canvases. Especially when they’re covered with sections of a thrift store map. The creator of this project took special care to give the borders of each canvas an aged effect, which plays up the vintage quality of the artwork. [full tutorial at Little Birdie Secrets]
DIY Wall Art Using Interior Flourishes
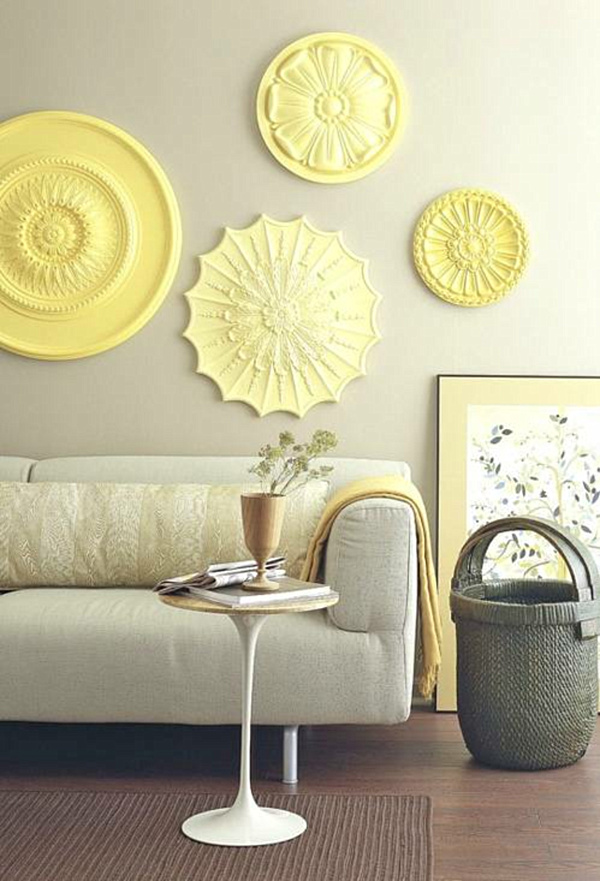
With a little wallpaper and a trip to the builder’s supply store, some architecturally interesting results are in full bloom… Like this charming arrangement of painted ceiling rosettes. [from Better Homes and Gardens via Apartment Therapy]
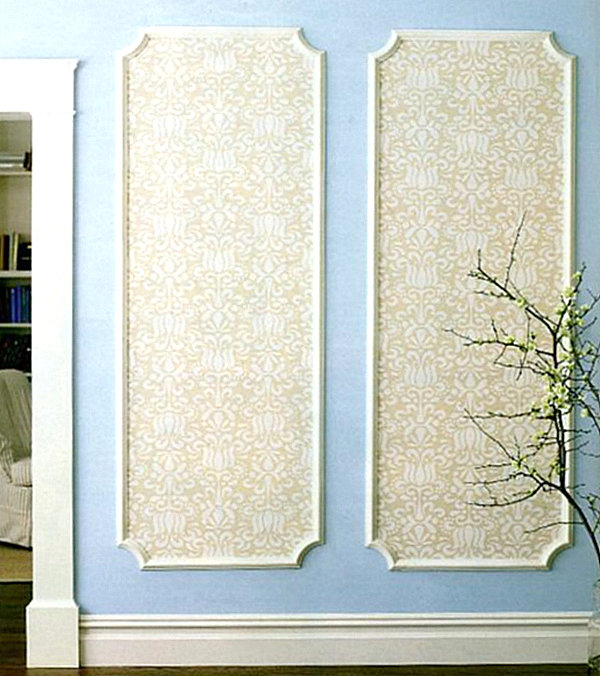
If you’re a fan of wallpaper but don’t want to cover the entire room, try framing sections of the paper with painted crown molding for a paneled effect. [from Calfinder Nationwide Remodelers]
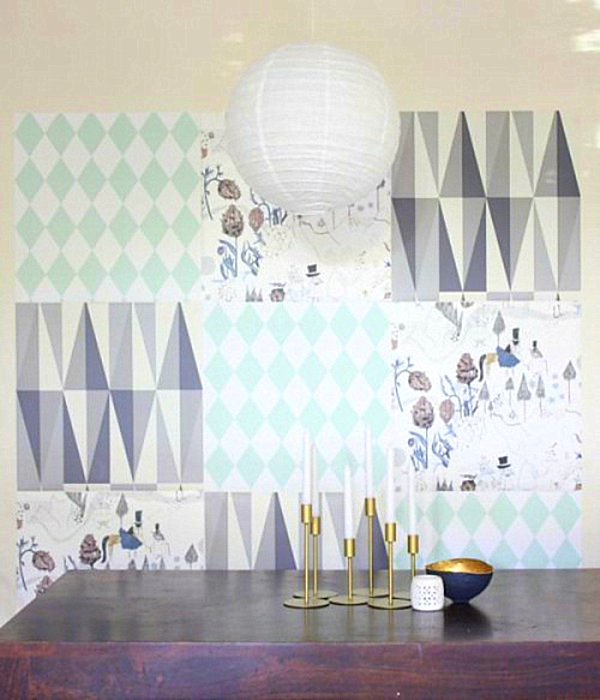
If you can’t decide on just one wallpaper pattern, go with an assortment. In the DIY wallpaper mosaic below, poster strips are used to secure cut wallpaper squares. Choosing complementary shades of paper allows for an artful mix of patterns. [full tutorial at Shelterness]
Paint Your Own Wall Art!
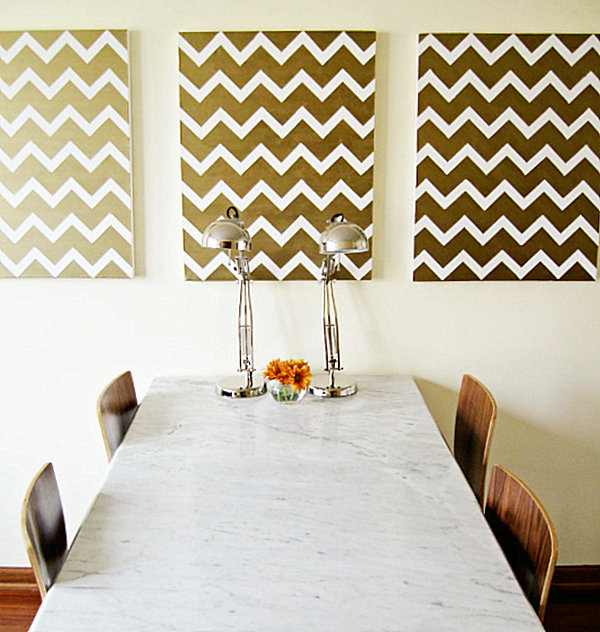
If you’re willing to pick up a paintbrush, you’ll find a myriad of opportunities awaiting you! In the DIY chevron art project below, a stencil and some metallic paint provide geometry and shine. [full tutorial at Make Under My Life]
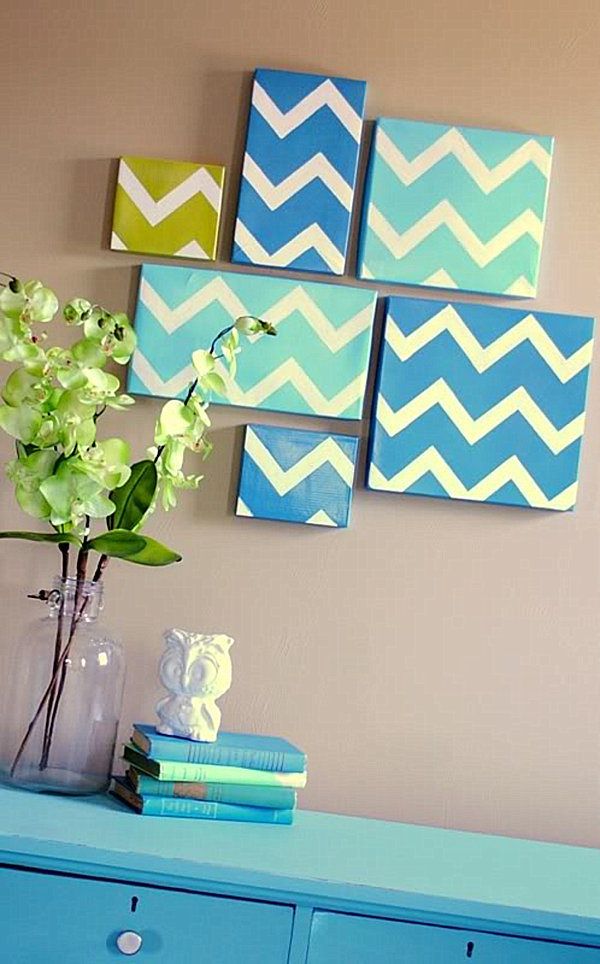
For more chevron fun, try covering an assortment of shoe box tops with paint. The project utilizes a downloadable chevron pattern and a variety of box lids sizes. The best part: the edging on the lids makes them easy to hang on the walls with the help of pushpins or nails! [full tutorial at Shelterness]
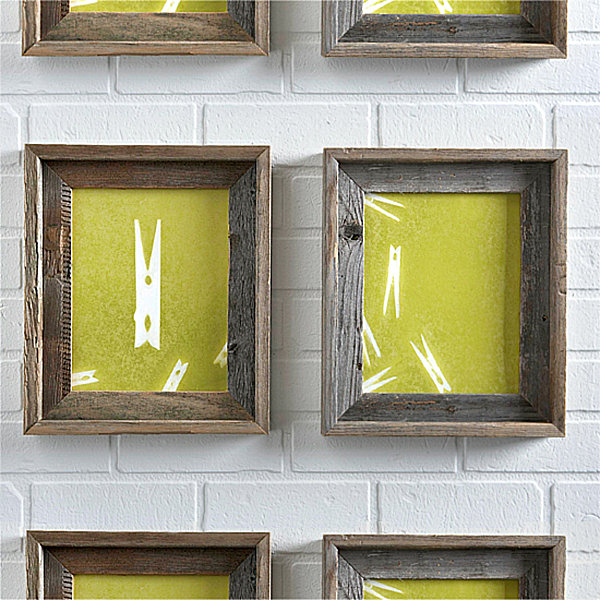
For this next wall art grouping, create a series of silhouettes using spray paint and small items, such as clothespins. Scan your home for other trinkets that would make interesting silhouettes. We can envision this art hanging in a child’s room, especially if old toys are used in the process! [from Better Homes and Gardens]
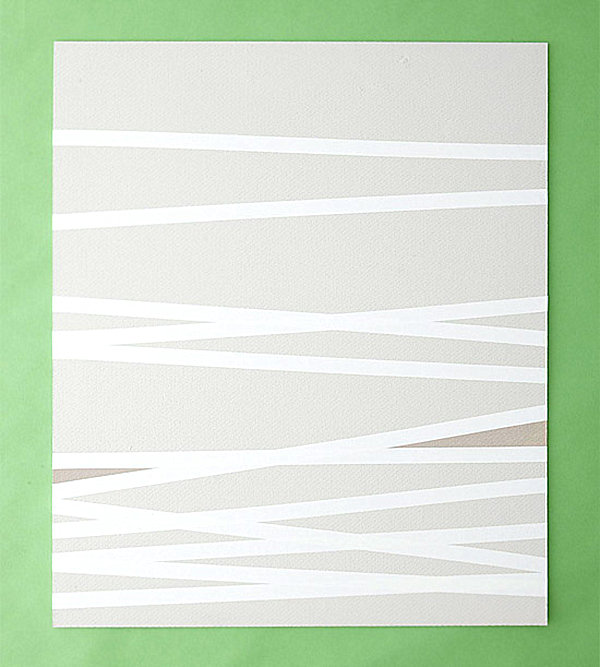
Who would have thought that skinny painter’s tape could be used to make such fabulous contemporary geometric DIY wall art! By covering the canvas below in crisscrossing strips of painter’s tape, then painting over the surface with bold acrylic paint and peeling away the tape, the creator of this project formed a series of modern overlapping triangles. [full tutorial at The New Domestic]
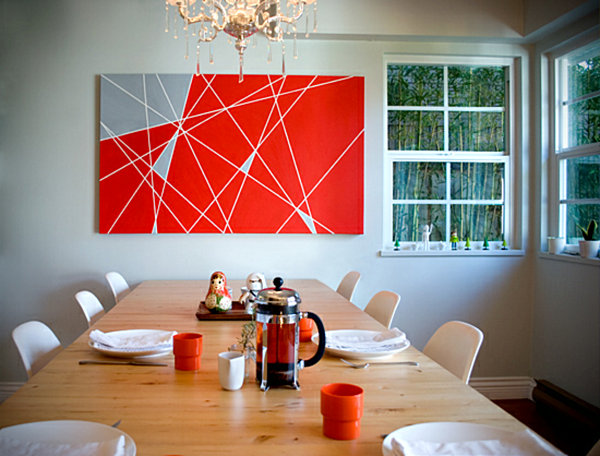
For a similar look with a monochromatic touch, use light shades of paint and white tape. But this time, the tape gets to stay on the canvas! [from Better Homes and Gardens]
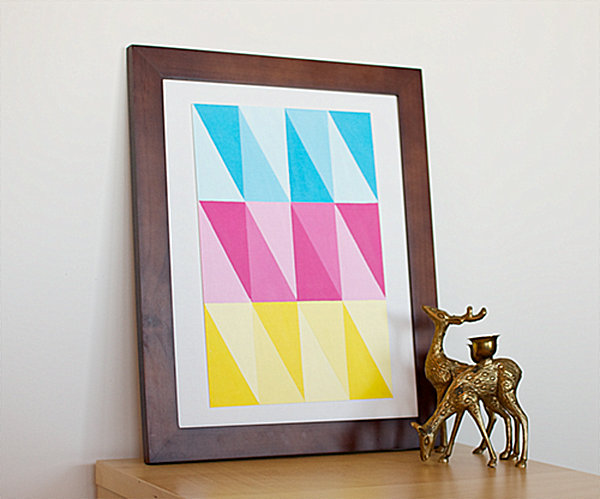
It seems triangles are a modern trend in wall art, especially when eye-catching colors are involved! For a full tutorial on modern triangle DIY wall art in primary shades, check out Mr. Handsomeface:
DIY Wall Art Made From Crafty Supplies
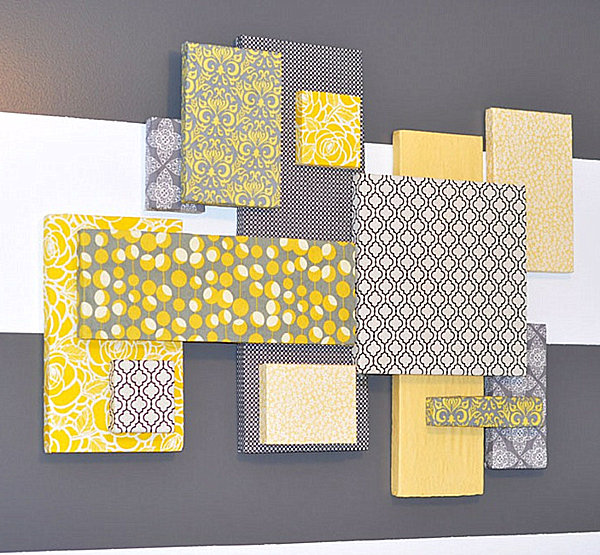
What other supplies can you involve in your wall art creations? We bet you weren’t thinking “Styrofoam.” Luckily this next project had the perfect use for this art supply, which can be covered in fabric, then overlapped for an art piece full of pattern and depth. [from Crafts ‘n Coffee]
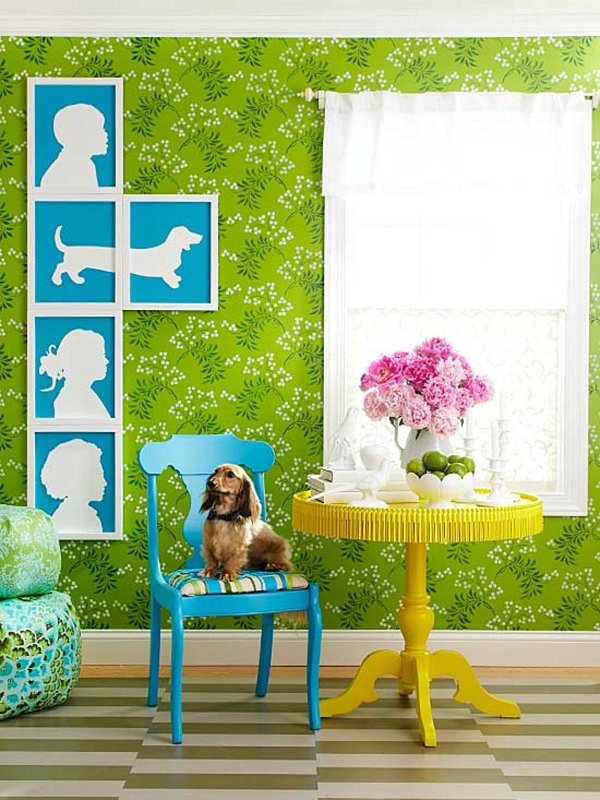
Speaking of foam, if you purchase some white scrapbooking foam and are willing to use a pair of scissors and a bit of patience, the silhouettes that result are amazing! We’re a fan of the 2-frame doggie silhouette shown below. [more info from Better Homes and Gardens]
This next project is a labor of love well worth the time and energy. To create your own modern painted wood wall art, purchase an assortment of thin wooden pieces, as well MDF board, paint and liquid nails. Make sure you have access to a table saw, then get the full scoop on this piece at Salvage Love.

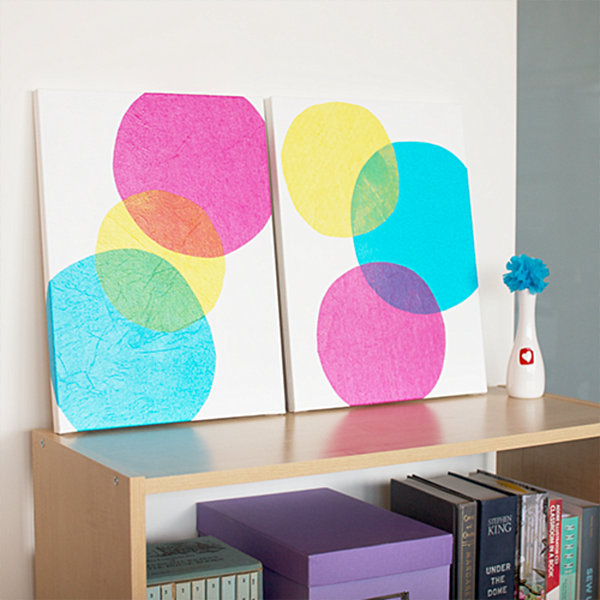
Check your gift wrap drawer for tissue paper in vibrant colors. With the help of mod podge and white acrylic paint, whimsical wall art with a circular motif can be yours! [full tutorial at Mr. Handsomeface]
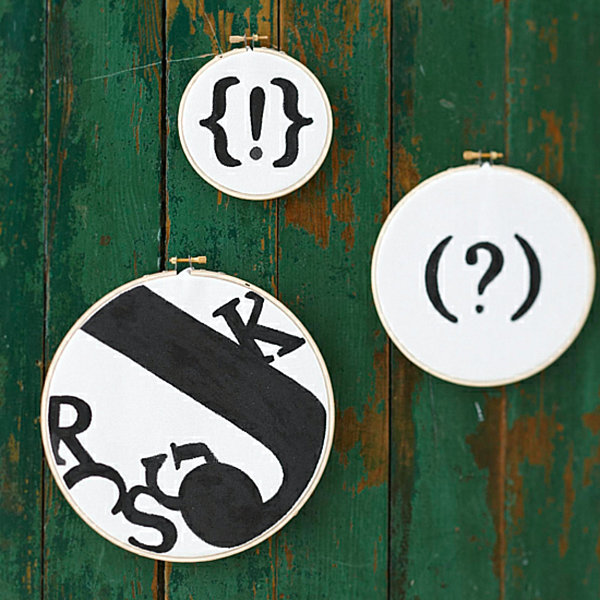
Let’s hear it for the vintage look of typography! The embroidery hoop wall art below utilizes white fabric, a pack of scrapbook letters and black acrylic paint. [from Better Homes and Gardens]
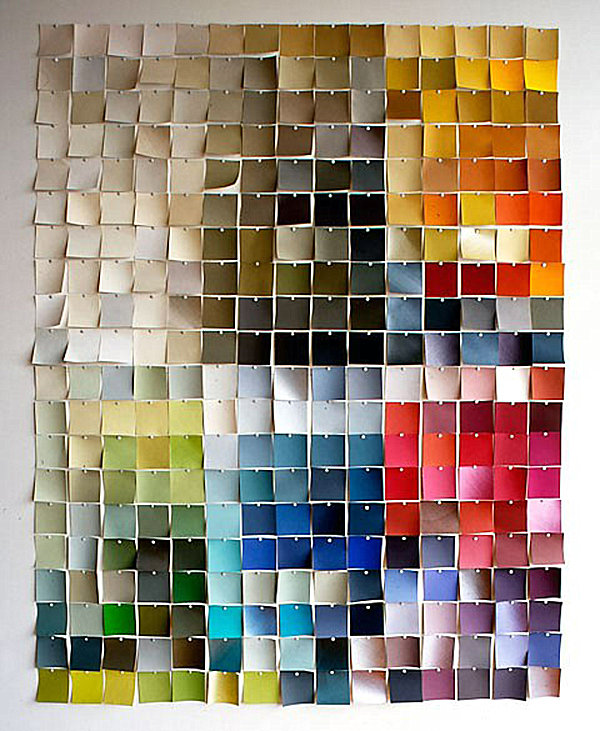
Pick up a few paint samples during your next trip to the home improvement store. Actually, you may need more than a few… In this next DIY wall art idea, pushpins help create a textured piece that showcases an array of colors. We love how the paint chips curl away from the wall, adding movement to the art. [from Abbey Goes Design Scouting via Apartment Therapy]
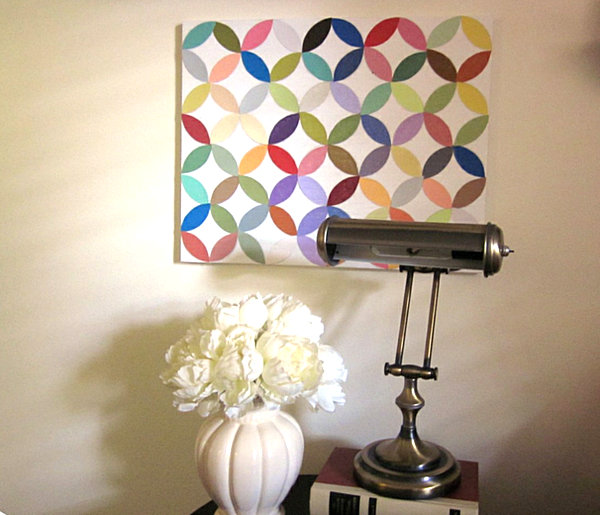
For added interest, try cutting the paint sample strips and using them to form a series of intersecting circles. This project takes patience, but it’s well worth the effort, as you can see below. [from Two Girls Being Crafty]
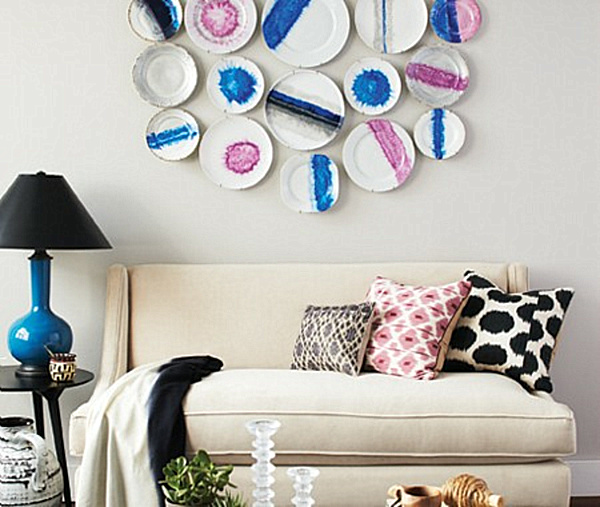
If you enjoy collecting vintage plates, this next idea is for you! White porcelain plates are the supply of choice, along with porcelain paint. Use the paint to decorate the plates, then hang them in a grouping. Note how the blurred edges on the designs below blend nicely with the ikat pillow patterns. [full tutorial at Canadian House & Home]
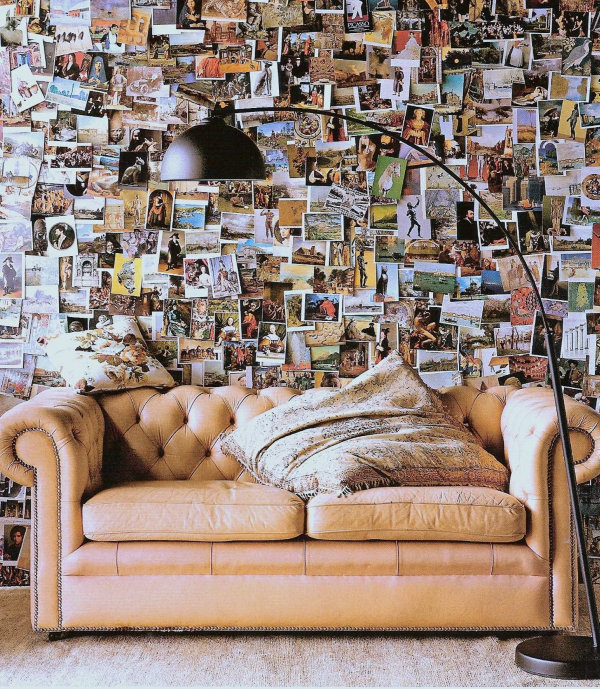
We end with a large-scale wall art installation involving a postcard collection! We think this DIY project could work with photos as well. There is certainly power in the number of images involved, especially when bold modern lighting and a solid-color sofa are in the foreground. [from From the Right Bank]
Many people find inspiration in the DIY ideas of others. Perhaps one of the art pieces above will soon be hanging in your living room. Or maybe an image you’ve seen has given you an idea of your own. Build on one of the DIY projects above by adding a supply, changing a color or expanding the scope of the original plan. Happy creating!
