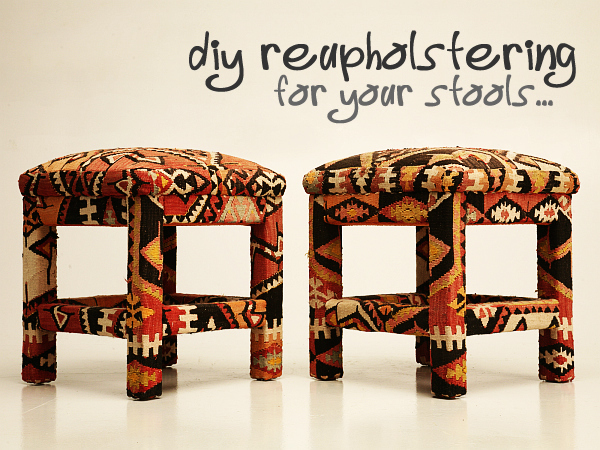
We all know at least one person who can do (or claims to have the ability to do) anything they set their mind to. And sometimes it doesn’t even take that much effort for them. They just are intrinsically talented and overqualified for every task, hobby, and job they set out to do. You dread the family visits to their house as you get your third interior tour and are left speechless, with your mouth hanging wide open inhaling their sweet air conditioned air as you take in their DIY projects that look like something off a showroom floor.

“You made that?” You finally manage to murmur. It was rhetorically, as you already know the answer.
“Oh this? That’s nothing. Just a little project I did over the winter. You really need to see….”
Flashbacks of the collage of picture frames you were trying to hang up yesterday barrage your mind. All you had to do was hammer a nail, hang up and that’s it. You are done. Somehow that even ended up crooked.
So maybe your fingers aren’t as nimble as the DIY power couple but spoiler alert! There’s one DIY project that looks great and is easy to do. It’s a couple of hours a couple of tools kind of easy.
Ingredients for a fresh serving of new upholstery:
• Foam / Cotton Batting / Staple Gun / Staples / Fabric
Obliterate the Old:
Rip away the stained, ripped, lopsided covering and upholstery of the your stool. If this is the first time your stool is going to be upholstered make sure it’s clean.
Measure the Materials:
Place your stool upside down on your foam. Trace around it making sure the circumference is not smaller than the circumference of the stool. Next cut a square piece of cotton batting large enough to cover the foam once applied to the stool and has enough to extra material to wrap under the stool and be stapled down.
Take your new upholstery fabric and cut a square slightly bigger than the batting to ensure complete coverage.
Staple the Stool:
Hold the foam firmly in place and use the batting to secure it as you start stapling this down. By avoiding adhesives like glue you will make the job of re-upholstering several years later that much easier. If you have ever had to remove glued foam or material off from a wood surface you understand what I mean.
Finish the Furnishings:
The last layer is the most important in looks. The upholstery material will cover a little unintentional wrinkle here or there in the batting. But only your rear end or the heels of your feet kicked up in comfort will cover the top of the upholstery. Unless you are aiming for a full gathered look you want to pull, tighten, double check and then staple. Staple at 12 o’clock, then 6 o’clock, 9 o’clock and 3 o’clock to evenly distribute the material. Continue to staple in the open spots. Trim any unnecessary excessive fabric.
Rejoice over Reupholstering:
Pat yourself on your back in self-recognition of a job superbly done! The last and final step of your DIY session is to rearrange the furniture in your sitting room to make plenty of showcase room for this beaut!


