It’s sleek. It’s smooth. It’s cool, sophisticated and it’s modern. Or at least it used to be. The metal lines in our home welded to perfect curves and angles have lost a little bit of their luster and are showing their true skin tone. From railings to tables to doorways to chairs we can easily reinvent our pieces with a splash of paint.

Target Problem Areas
The first step we take towards achieving a like new piece of metal furniture is recognizing the worn out parts. Nothing a little 120 grit sandpaper and repetitive back and forth motions can’t cure. Another great tool for messing with the roughness is a wire brush and for those rust spots we have been trying to avoid and have been in denial about up until now, try some real chemical remover like naval jelly. Although there will be obvious areas that need some cosmetic sanding and treatment, it’s wise to give everything an overall swipe to ensure smooth even surfaces.
Elimination Process
Once you are satisfied with this fun technique of releasing repressed anger oriented emotions, it’s time to clean up. You want to be double sure that you remove all the loose curled shreds of metal that are left behind from your successful efforts.
Spray with some glass cleaner and wipe down, following with a microfiber tack cloth to attract the stragglers that refuse the pick up lines of Windex. This step is essential, as all leftovers will frustratingly seem ten times more emphasized once covered with paint.
Prelude to Perfection
Next comes the primer. The red carpet to the star called paint spray. As you choose your primer I cannot stress enough to use the same company. There is a reason Heinz packages their mayo, mustard and ketchup together come picnic season time or the back of your shampoo bottle tells you to wash, rinse, repeat and follow with their brand of conditioner. They were made to compliment each other, just as primer and paint from the same company does. You will be much happier with the end result if you trust and use what is recommended and be assured that your paint will stick and stay and help reduce the continuation of corrosion.
Painting in Progress
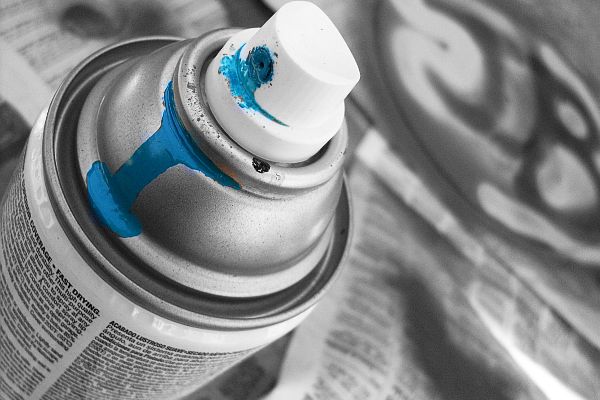
For those of us who use hairspray on a regular basis (regular meaning one 2 minute continual spray in the morning and two to three touch ups during the day) we are familiar with the 10-12 inch rule. The surface being sprayed, and the hand that holds the potent nozzle must have enough space so that clumps, clogs and unevenness can get straightened out before it hits the surface and infects it with imperfectness. Paint with metallic finishes offers the most realistic end result for your project as it contains real flecks of metal contributing towards a smoother, cleaner appearance.
While it is always convenient to paint from a can that can spray, there are times we may find affixed indoor metal pieces not accessible to only a spray paint can and we must rely once again our trusted friend the paintbrush. To tackle projects like this you will still want to target the problem areas, eliminate the dirt and grime, and prime, prime, prime and top off with a coat or two of no drip paint. While many companies have structured their original finishes to be more enduring of metal textures you will want to avoid matt and flat finishes for metal painting projects as these tend to be a heavier finish for something you want to remain sleek.
Allow adequate time for drying and try to keep at bay the urge to touch and see if it is dry. When paint on metal gets smudged its harder to cover up than when smudged on a drywall surface as the paint frequently accumulates more prominently on metal surfaces.
While it’s drying out under the outstretched hands of the sun feel free to take a little time to sunbathe yourself so that a mere two hours later you and your DIY spray painted project will be ready to face the curious eyes of your peers!


