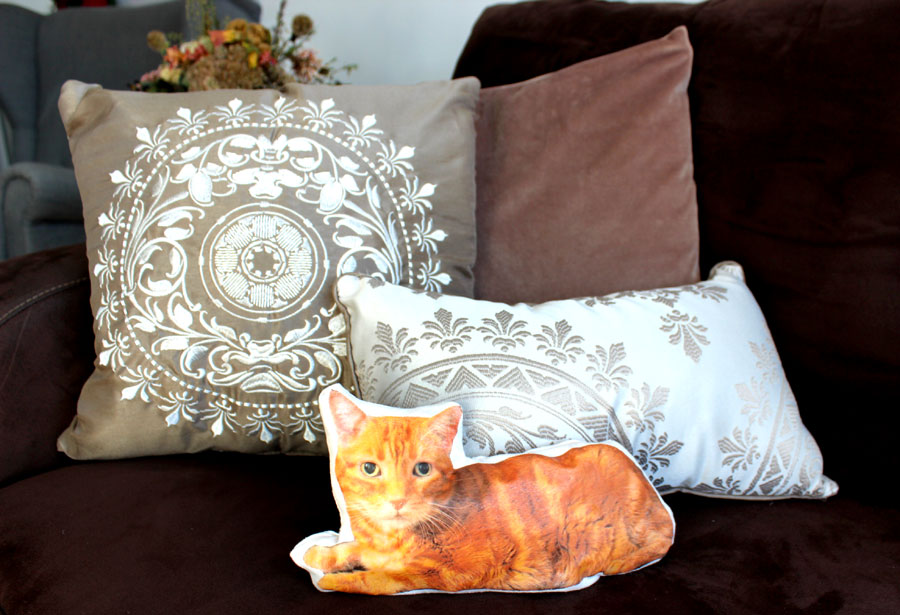
Cats make fine companions, but did you know that they’re also a great source of design inspiration too? If your favorite pet is of the feline persuasion, pay homage to their furry form with a DIY cat cushion in their likeness. This cute project can be crafted out of mostly recycled materials and would also make a thoughtful gift for the cat lover in your life. Read on for the easy instructions to learn how to make this squee-worthy pillow yourself.
DIY Shelf Project Supplies and Steps
Here’s what you’ll need to get started…
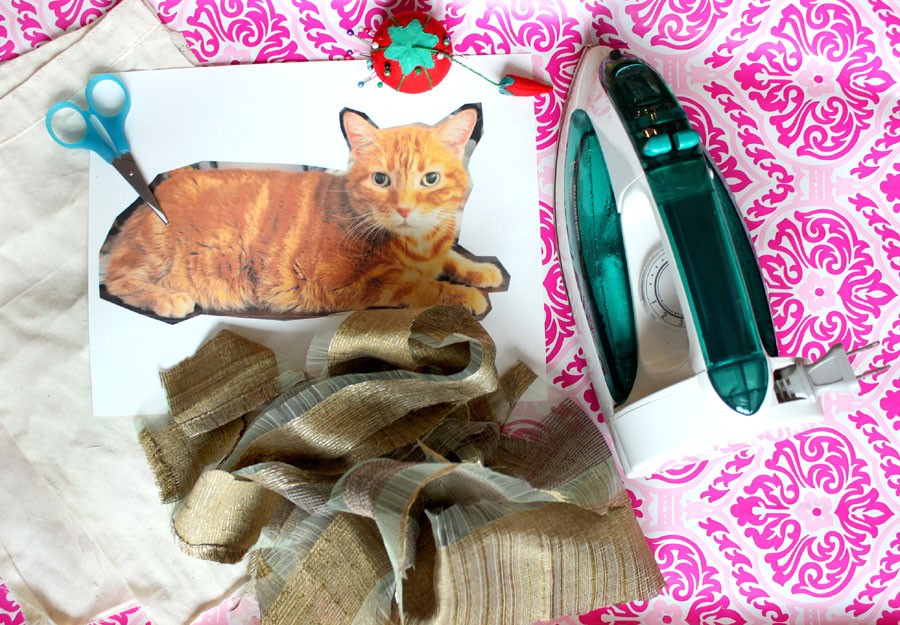
– Two pieces of light colored cotton fabric about the same size as a piece of letter-sized paper (I used an old canvas bag that I already had).
– A high-resolution digital photo of your cat
– Iron-on photo transfer paper (like these Print ‘N Press™ Iron-On Transfer Sheets by Tailor)
– An iron
– Good scissors
– Stuffing for your pillow (I shredded up some old fabric for mine)
– A needle and thread or a sewing machine
Step 1:
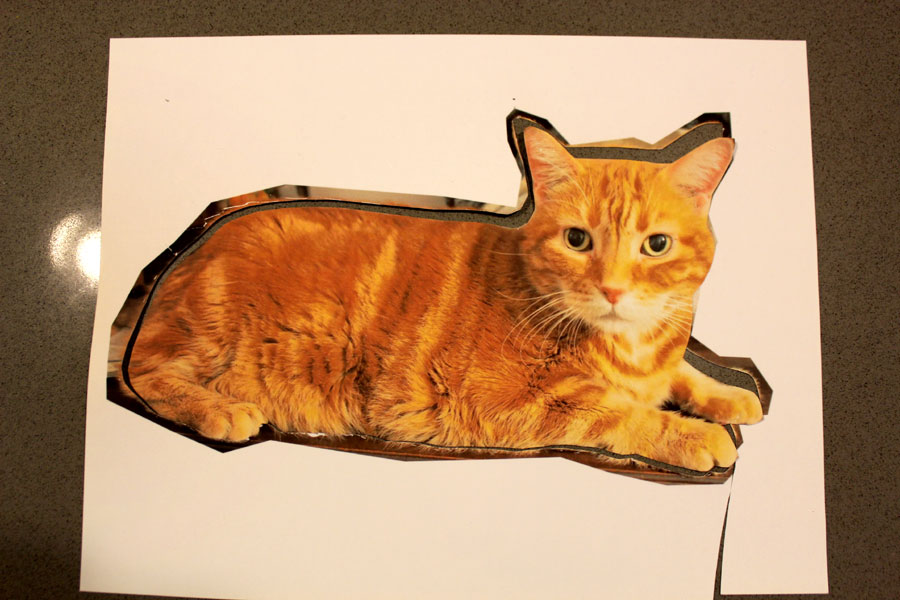
Print your high resolution photo of your cat out onto the iron-on transfer paper. Make sure you print it using the best quality setting. Don’t worry about the edges of your photo since you’ll be cutting the whole thing out in step 2.
Step 2:
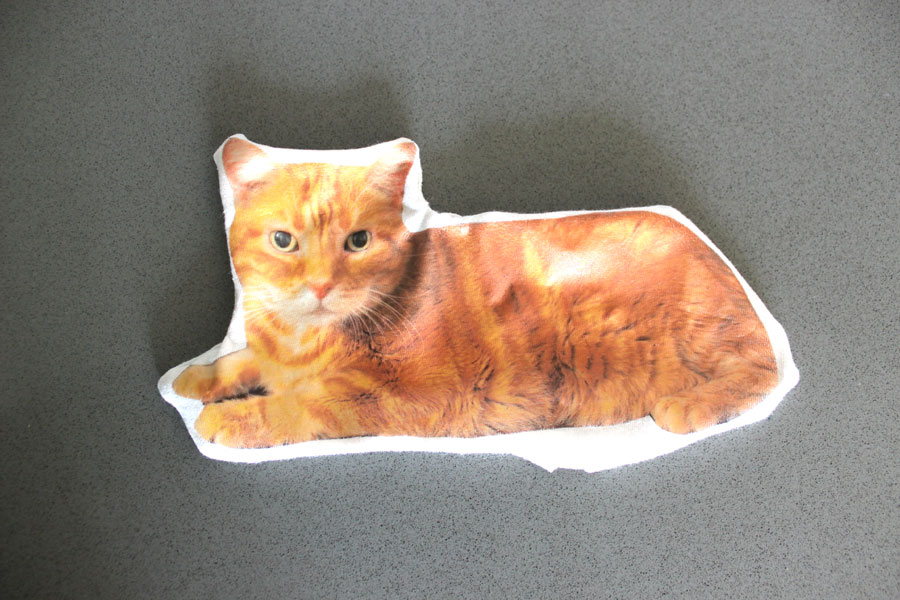
Cut out your cat photo, making sure to clean up the edges and cut away any parts that you don’t want to show on your pillow.
Step 3:
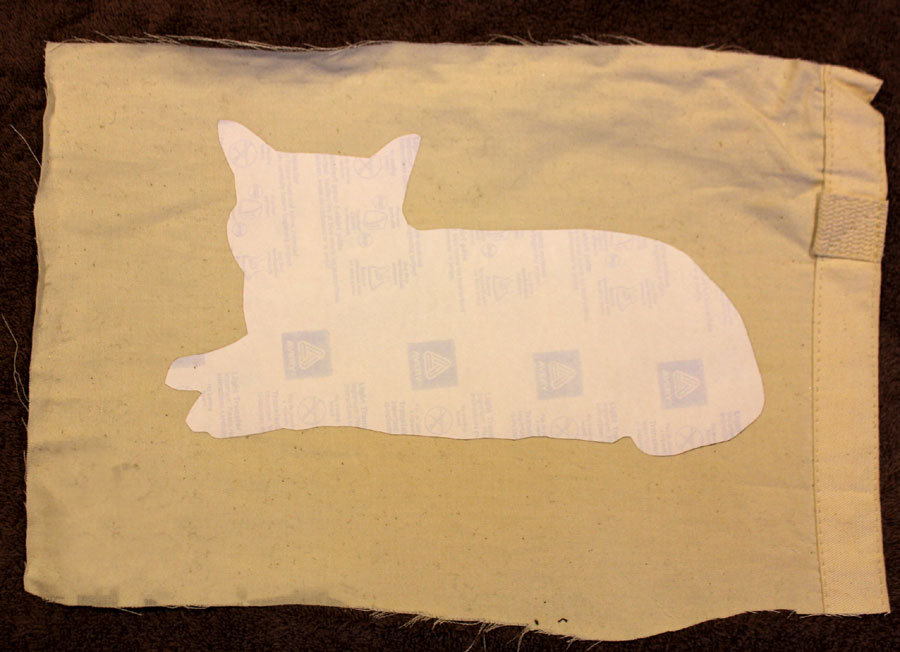
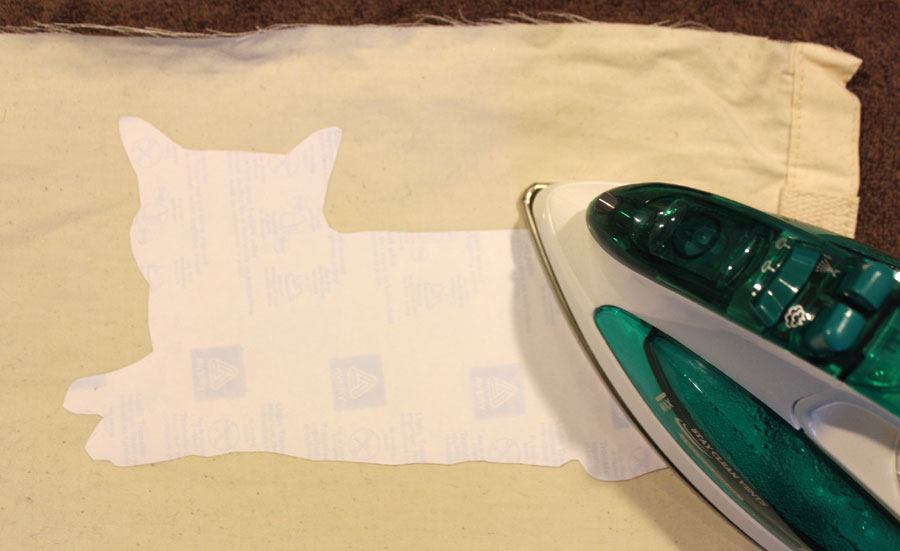
Lay your cat cutout photo-side-down onto a piece of your fabric. On an ironing board or flat, protected/padded surface (make sure not to iron on top of anything you don’t want to damage), carefully iron the image onto the fabric following the instructions on the back of the iron-on paper package. Usually, the manufacturer will suggest using a non-steam setting and passing over each part of the image several times for about 10-20 seconds per section until the photo adheres to the fabric. Make sure you get the edges too!
Step 4:
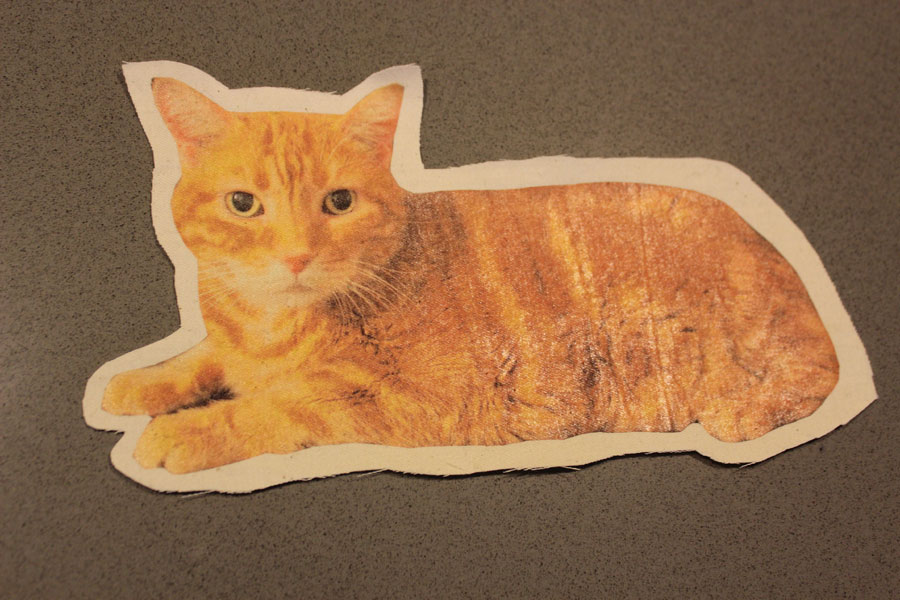
When your fabric and photo are cool to the touch, carefully peel away the paper from the fabric, revealing the photo that is now newly adhered to your fabric.
Step 5:
Next, cut around your cat photo, leaving about an inch of space around it as a seam allowance.
Step 6:
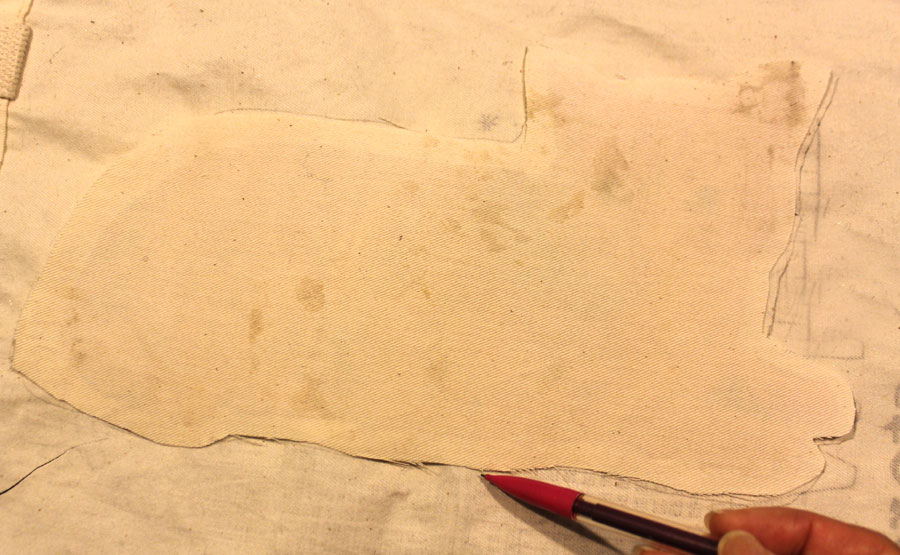
Then lay your cutout on top of your other piece of fabric and trace around it. Cut out the other piece of fabric using the line you just traced.
Step 7:
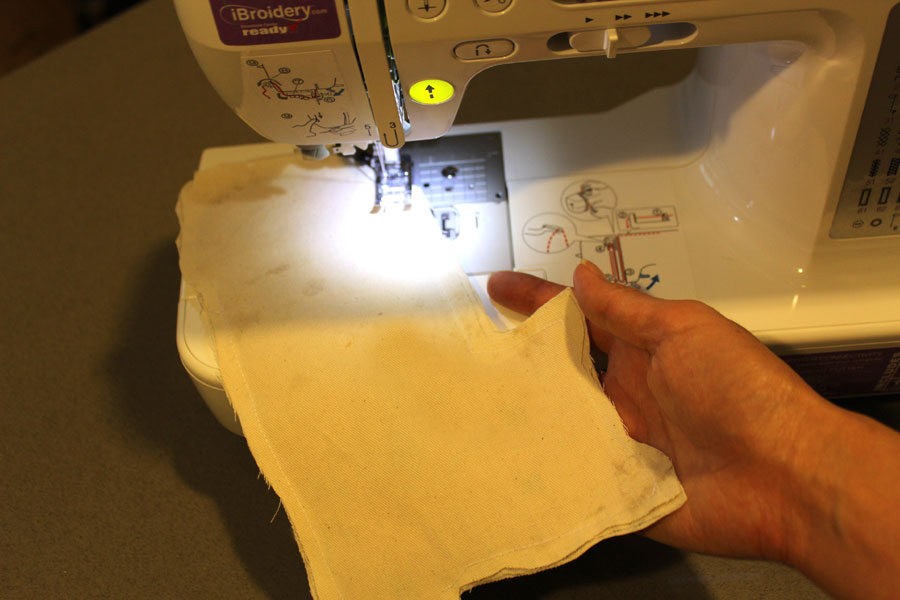
Place your two pieces of fabric together so that the fabric with the image of your cat is covered by the other piece of fabric. Then sew around the perimeter of your cat photo (remembering the one-inch seam allowance), but leave about 5 inches unsewn.
Step 8:
Turn your cat pillowcase inside out so that the photo of your cat is visible. Fill the pillowcase with your stuffing.
Step 9:
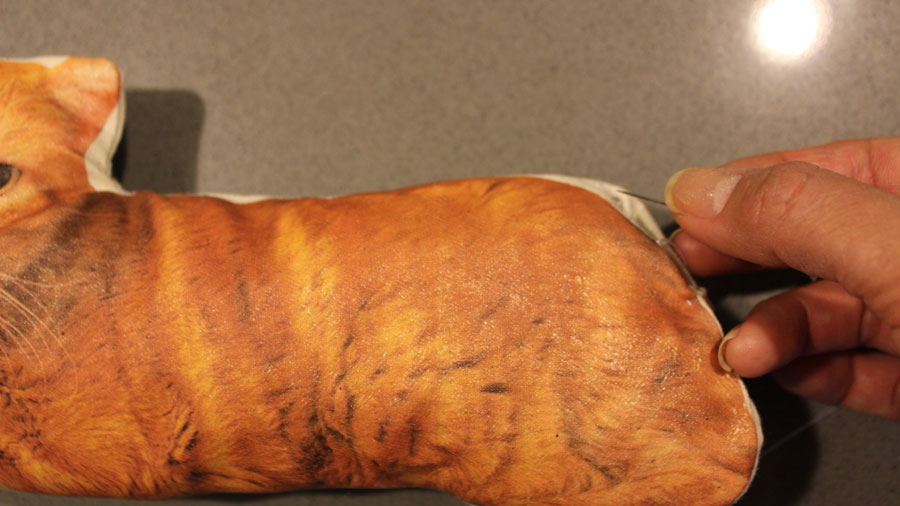
Once your new pillow is stuffed to your liking, sew up the remaining gap using a needle and thread.
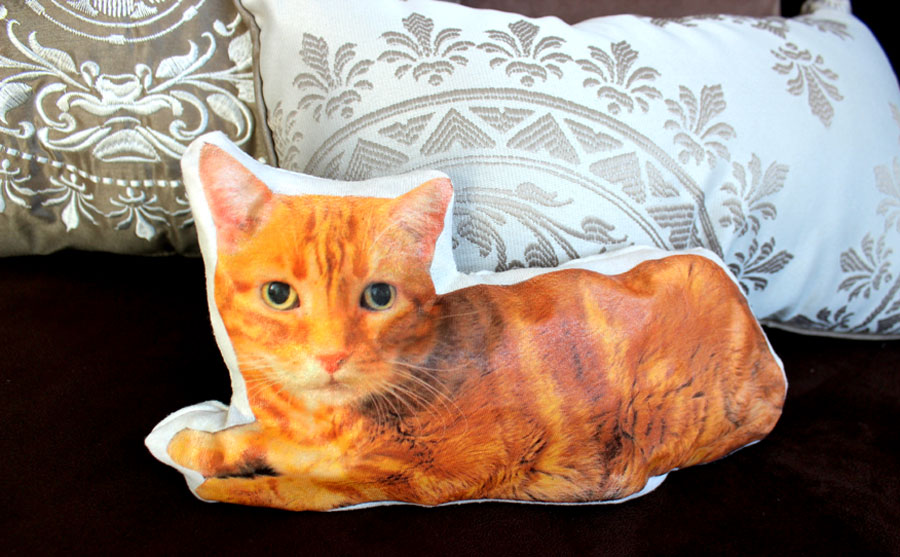
Et voilà! You now have an adorable plush addition for your couch or bed.
