Making a lamp from a jar might sound complicated, when in fact it’s really not. All you need is some free time and a few easy to find things. In no time, your DiY Jar Lamp will be decorating your home and you will have another project to be proud of.
This low-budget DiY project could brighten up your evenings and it will be a pleasure to have a conversation or read a book under these beautifully recycled jar lamps. Tom & Brit from WoonBlog show us how to transform a few old jars into functional pendant lamps, so read on.
Vintage Jars for an Outstanding Result
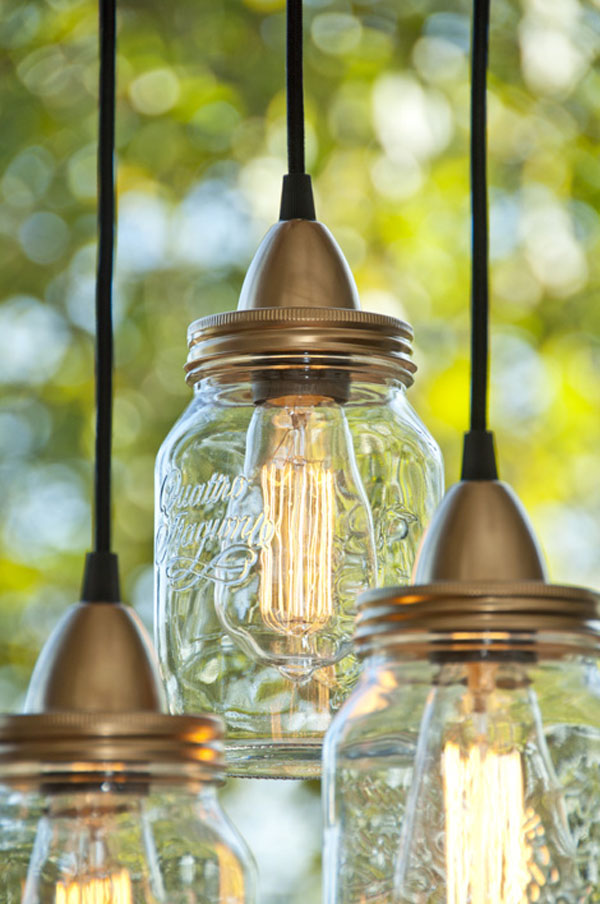
Vintage jars are a treasure to have lying around when you take up this simple DiY project. Keep an eye out for old jars from friends and family or go hunting for the perfect set of vintage jars at your local markets or on the internet. It depends on how much you want to complicate this fairy simple transformation, just bare in mind that unique jars will become your unique jar lamps.
The jar’s opening must be large enough to fit a light bulb. The second thing you need is beautiful light bulbs because they will be clearly visible through the glass jars. The more complicated the filament, the more intriguing the result.
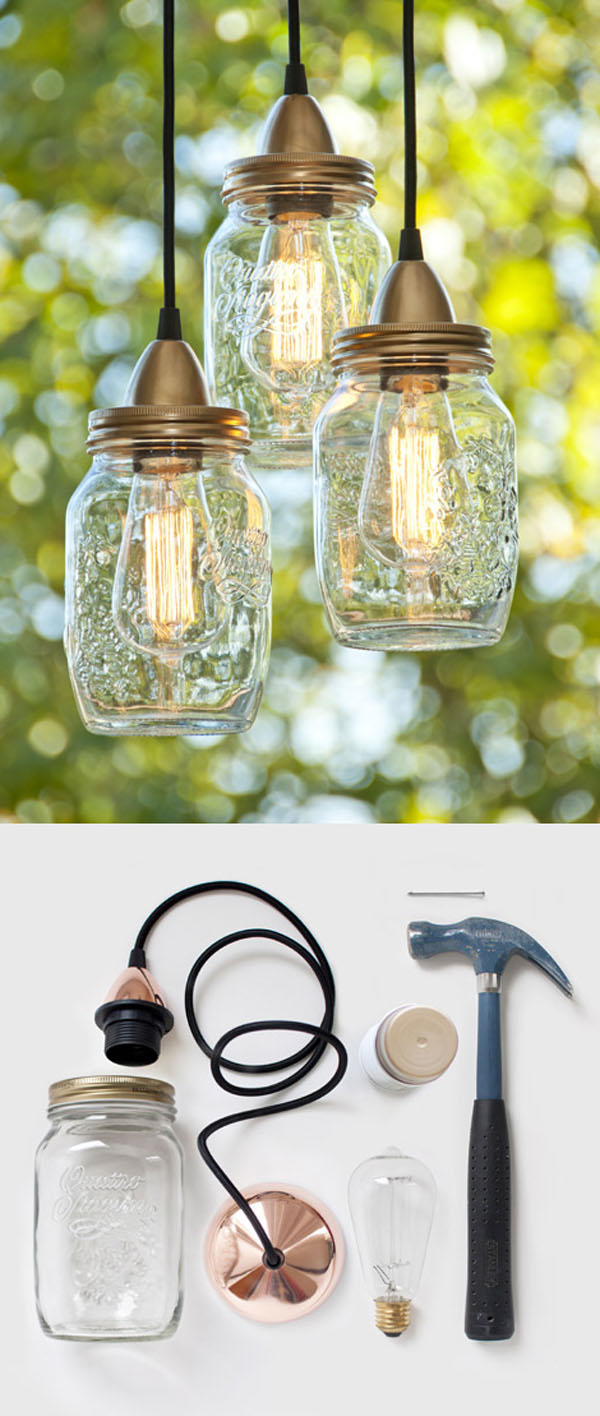
What You Need:
Glass jars (google for Ball vintage jars)
Light bulbs (cage style bulbs on Amazon)
Lamp sockets
A nail and a hammer, Tape & Paint
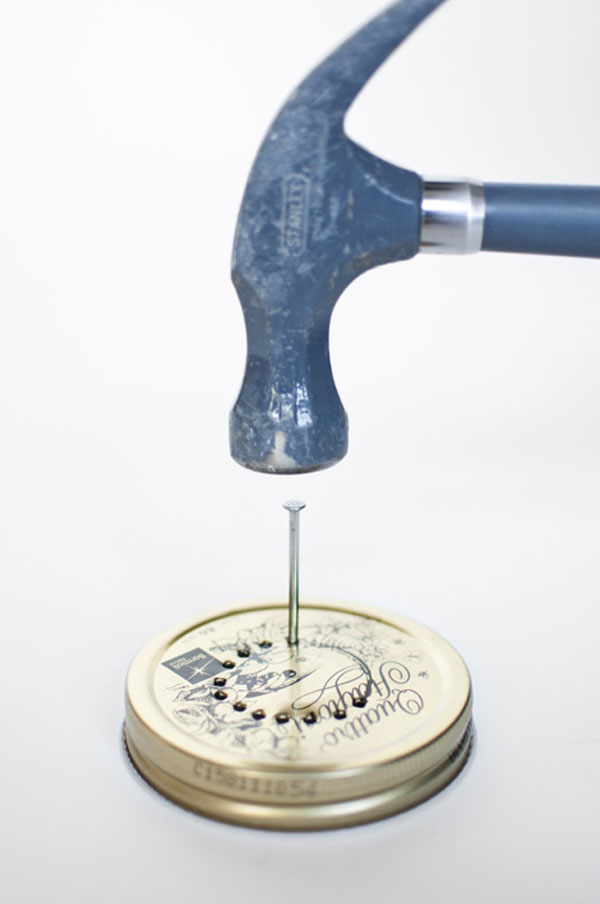
How to Do it Yourself
You will be using the nail and hammer to punch holes on the lid of each glass jar so that the lamp socket fits right in. First, draw the lid with the lamp socket template so that they will match perfectly. Use the nail and hammer to make a round of holes on the lid, leaving some space between each two holes, then do a second round of drilling to make an opening.
Warning! Watch out for sharp edges, as you don’t want to say you made a bloody DiY project after Halloween.
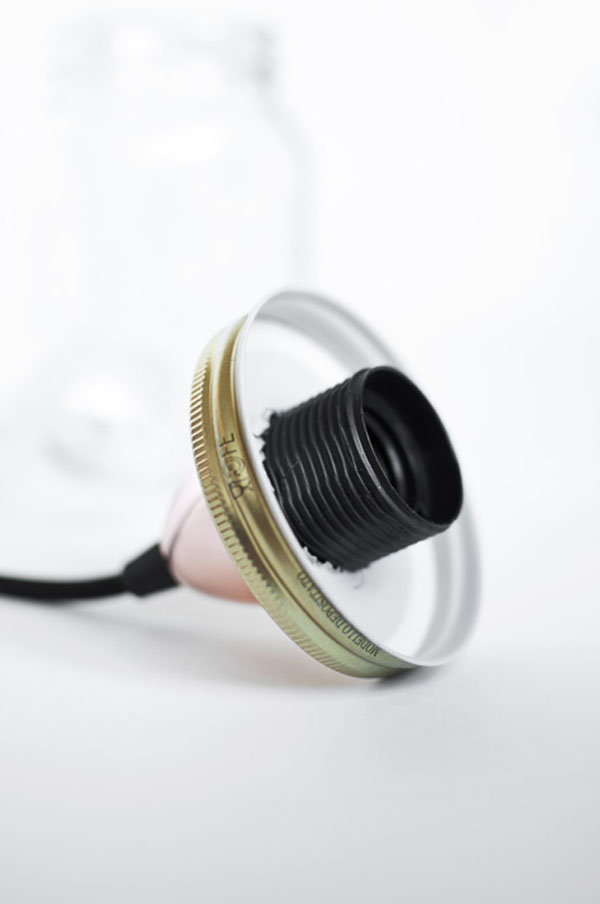
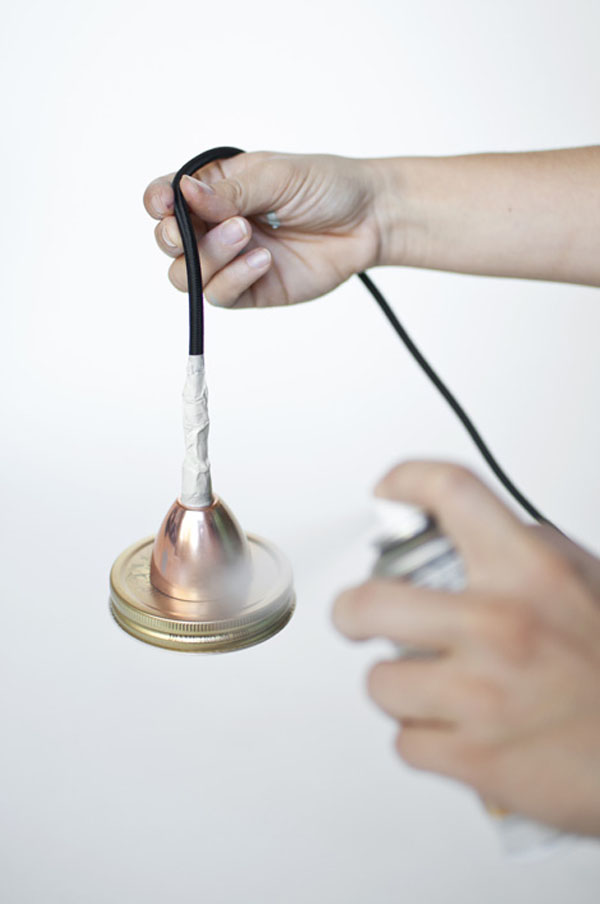
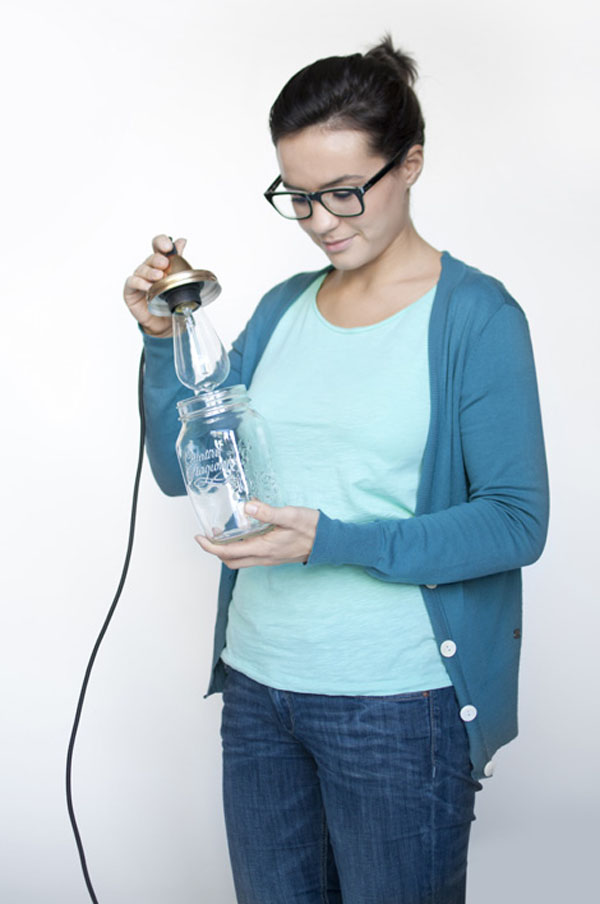
Insert the fitting through the hole and screw the lid on the jar. Next, put tape on the thread to prevent it from getting dirty while you paint the lid and socket with the color of your choice. After the paint has dried, peel the tape off and screw in the light bulb. Done!
The more, the merrier
Gather more jar lamps in a bunch, maybe hang them on different heights and enjoy your beautiful, functional DiY project with pride! Head over to Tom and Brit’s blog if you still have any lingering doubts or wish to give a few other interesting DIY projects a shot…
