Ever feel the need to break loose and escape the constraints of city, social interaction, constant connectivity, responsibilities and life? To run free, barefoot, wind in the hair, sun piercing blindly in our eyes? To have opportunity to entertain ourselves with only our brilliant, utterly captivating personality as our only companion. If we could just have one day, one hour of answering to no one. To dance to music that can’t be heard. To snort when laughter overwhelms, with no shame, no audience.
With Facebook timeline as just one clue as to how invasive daily living can be when we interact with peers, family and friends. For most of the part this can be entertaining as we try to keep it harmless. But after an incident of accidentally disclosing your “secret” destination, you realize it’s time to upgrade your privacy: To invest in bigger personal space and reinvent the comeback of the personal bubble. To construct spectacular edifices of brick barriers with security having our best interests at heart. Okay so maybe that is extremist behavior when all we need is some frosting. Ah, sweet, sweet frosting.
by Robin Miller
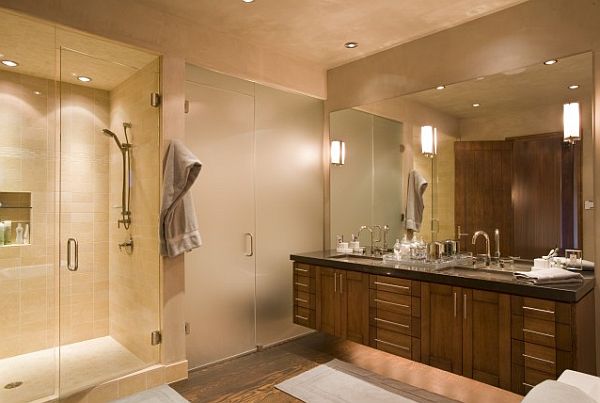
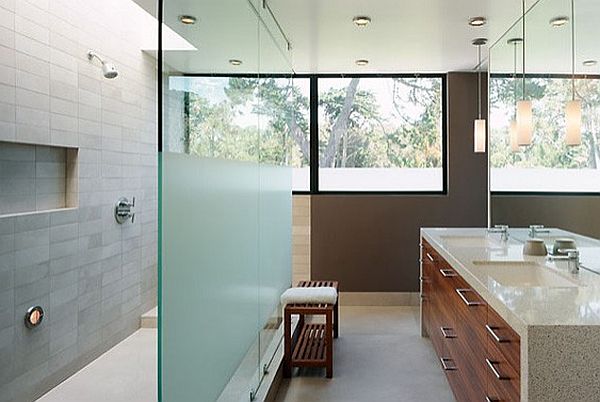
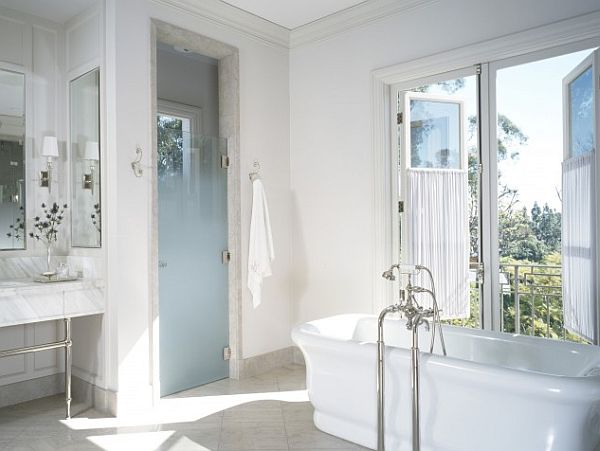
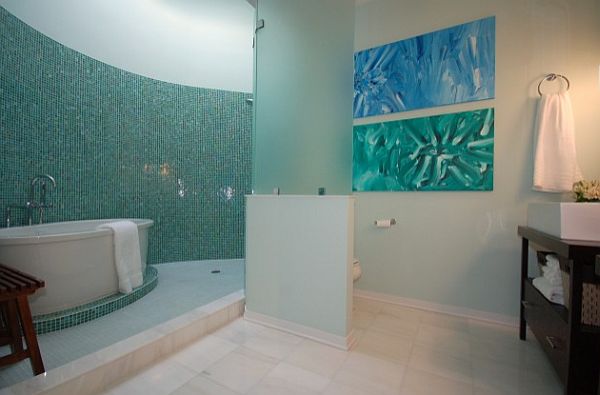
The only way I can help empower you with taking charge of your privacy settings is through a DIY bathroom window treatment. All we will need is your credit card, frosting contact paper, Windex, and a razor knife or pair of scissors. An odd assortment of tools but these inexpensive ingredients will bring some seclusion to your life.
- Step One: Clean the window. Using your preferable cleaning method scrub until sparkly. Follow by drying and making sure there are no leftover fibers. Once the frosting is on the last thing you want to see are little bumps that harbor fugitive lint.
- Step Two: Peel the corner tab of allotted amount of frosted contact paper. Frugality doesn’t count here, so you don’t have to cut sparingly. Allow plenty of room for mistakes and bubbles to be released. Then carefully apply on the window keeping it straightly aligned as possible. Frosted paper can have what seems like an off-balance pattern, but you will see the pattern slant once installed. Work from top to bottom, carefully lying down the paper to stick to the window.
- Step Three: Cash or Credit? Charge your credit card against this! Using the edge of this money behemoth you can even out air pockets and flatten the paper to the window to an end result of a flat, smooth and even surface.
- Step Four: Get Edward Scissorhands happy and cut away the fringe and extra paper. A razor knife will give you the best advantage, as it will cut right at the edge of the window leaving a flawless finish.
- Step Five: Lock the door, take a luxurious bubble bath and soak in the experience. Tune in to some Beethoven and let your muscle release the tension. When your hands get wrinkled this is a sign it’s time to mingle with humanity once more but know that you now have a little bit of privacy that still streams in beach-like sunshine! An inedible frosting that doesn’t begin to resemble gingerbread housing, but surely just as enjoyable and lasts at least twice as long.
by CCS ARCHITECTURE
by Studio William Hefner
by Elad Gonen & Zeev Beech
by Emily Mackie
